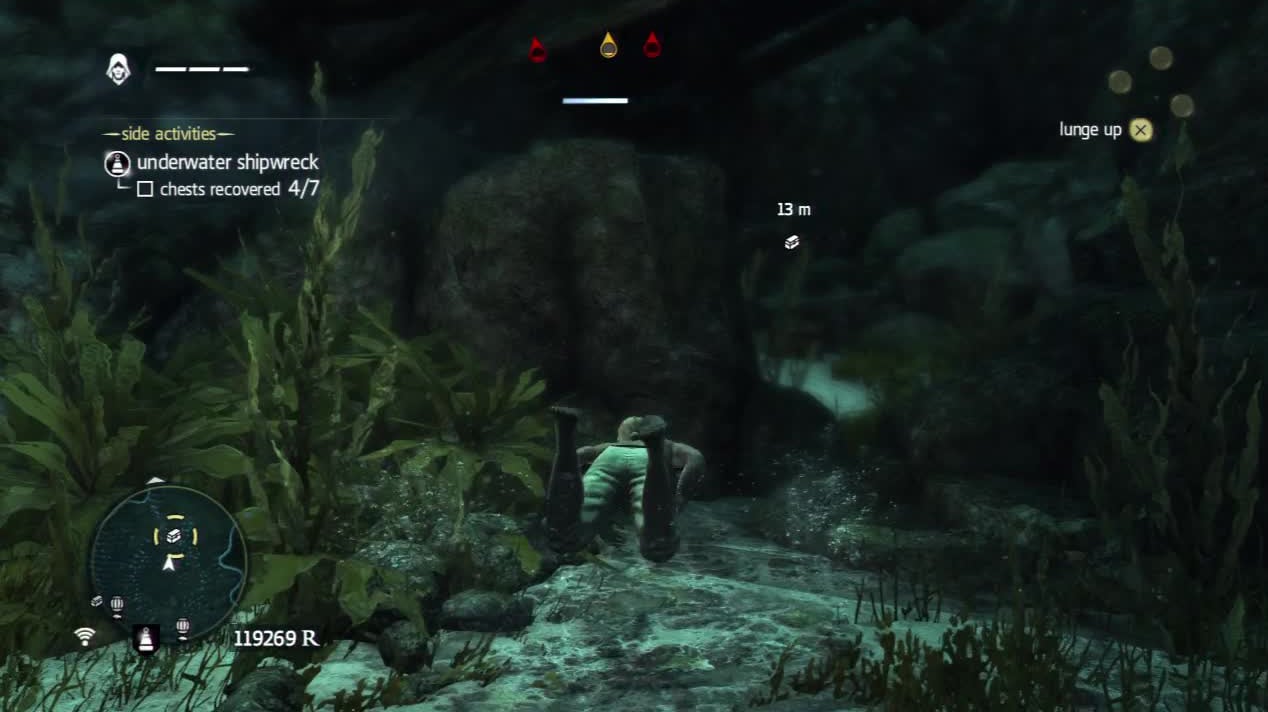
Swim to the north and over the top of the bowsprit of the sunken ship. As you reach the deck, enter the doorway on the right to find a chest. Exit and continue along the ship until you reach the air barrel. Ignore this for a moment and follow the deck of the ship until you reach a gap where the ship has snapped in half.
Swim straight down this and find the section of ship wedged between the rock cliffs below. Inside this you will find an Animus Fragment. Return to the air barrel and use this to get some air back.
Now swim north across the gap to the north side of the ship. As you arrive on deck, find the entrance nearby. As you enter, look down the hallway to the left for a chest. Return to the deck and keep following it to the north until you find two sets of stairways. Look in the small alcove between these to find another chest.
Now quickly swim to the left hand side of the ship, over the edge and follow the hull down to the seafloor. Look out for a hole in the ship’s hull as you go. Enter here and grab the chest ahead, then check out the hallways to the right for another Animus Fragment.
When you have both, exit via the same hole in the side of the ship we entered from and follow it to the north until you reach the next air barrel. Use this to replenish your O2.
The plan for the Elite Cannons is the northernmost chest just up from this position.
Quickly duck into the small passage to the west to grab the chest here and then follow the wall past the used air barrel to the northeast. When you see the sideways ship at the bottom of the seabed there swim over and look inside for a chest.
Return outside and face south; you should see an Animus Fragment on top of a section of rock directly ahead of you. Swim over here whilst avoiding the shark as best you can. After grabbing the fragment, swim down to the floor below and use the air barrel to get some air back.
Follow the path along the seabed here to the south, using the seaweed to hide from the sharks as you go. When you see the path on the left, swim up and over the eel you can see here and back to the floor on the other side. Open the chest beneath the ship here and use the air barrel to replenish your air supply. Now swim back over and interact with the diving bell just to the south west to return to the Jackdaw.


 Sign up

No Comments