| **Collectibles** | # |
|---|---|
| Voxophones | 8 |
| Kinetoscopes | 4 |
| Telescopes | 0 |
| Infusion Upgrades | 2 |
| Equippable Gear | 2 |
Soldiers Field Welcome Centre
As you enter the area, go down the stairs and take a right. Go down the smaller set of stairs here to find a new type of vending machine – MinuteMan’s Armory. This type of vending machine allows you to purchase upgrades for your weapons this one has the following upgrades on offer:
Minutemans Armory Machine
| **Weapon(s)** | **Upgrade(s)** | **Cost** |
|---|---|---|
| Pistol | Clip Increase | 275 |
| Machine Gun | Damage Boost 1 | 236 |
Upgrade if you wish and pick up the lock picking kit from the crate to the right. Continue down the next set of stairs to find a miniature map of Columbia. Against the back wall you will find a Kinetoscope [1/4].
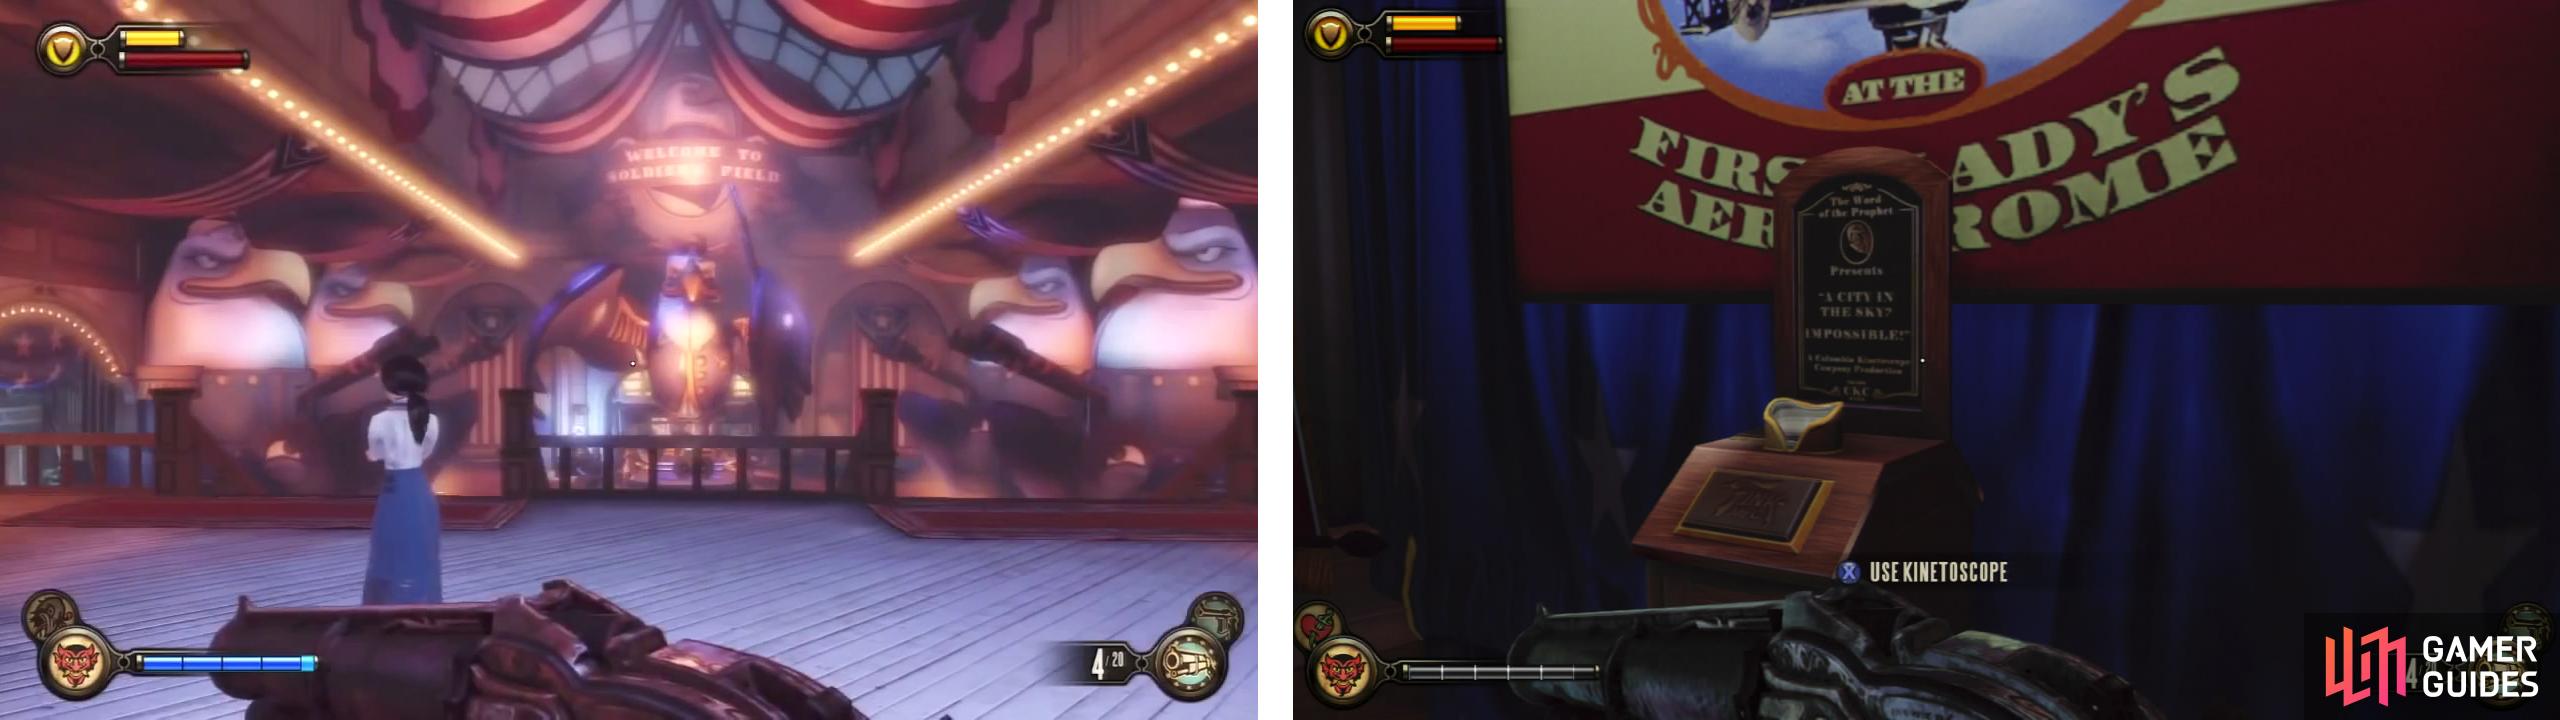
After entering the welcome centre, check out the room to the right for a Kinetoscope (right).
Return to the main part of the room and now check out the side area to the left.
Grab the lock pick from the floor in front of the locked door and get Elizabeth to open it (requires 1 lock pick). Inside, you’ll find an Infusion Upgrade [1/2] on a desk against the left wall. Additionally if you follow the
room to the end there is a small office with a lock pick on the desk, a safe you can unlock for 200 coins (requires 5 lock picks – at this point I wouldn’t bother as lock picks are quite hard to come by) and an open locker with a Voxophone [1/8] . You’ll also find a new weapon – the carbine against the wall in here. When you are done with all of your looting, return to the main room.
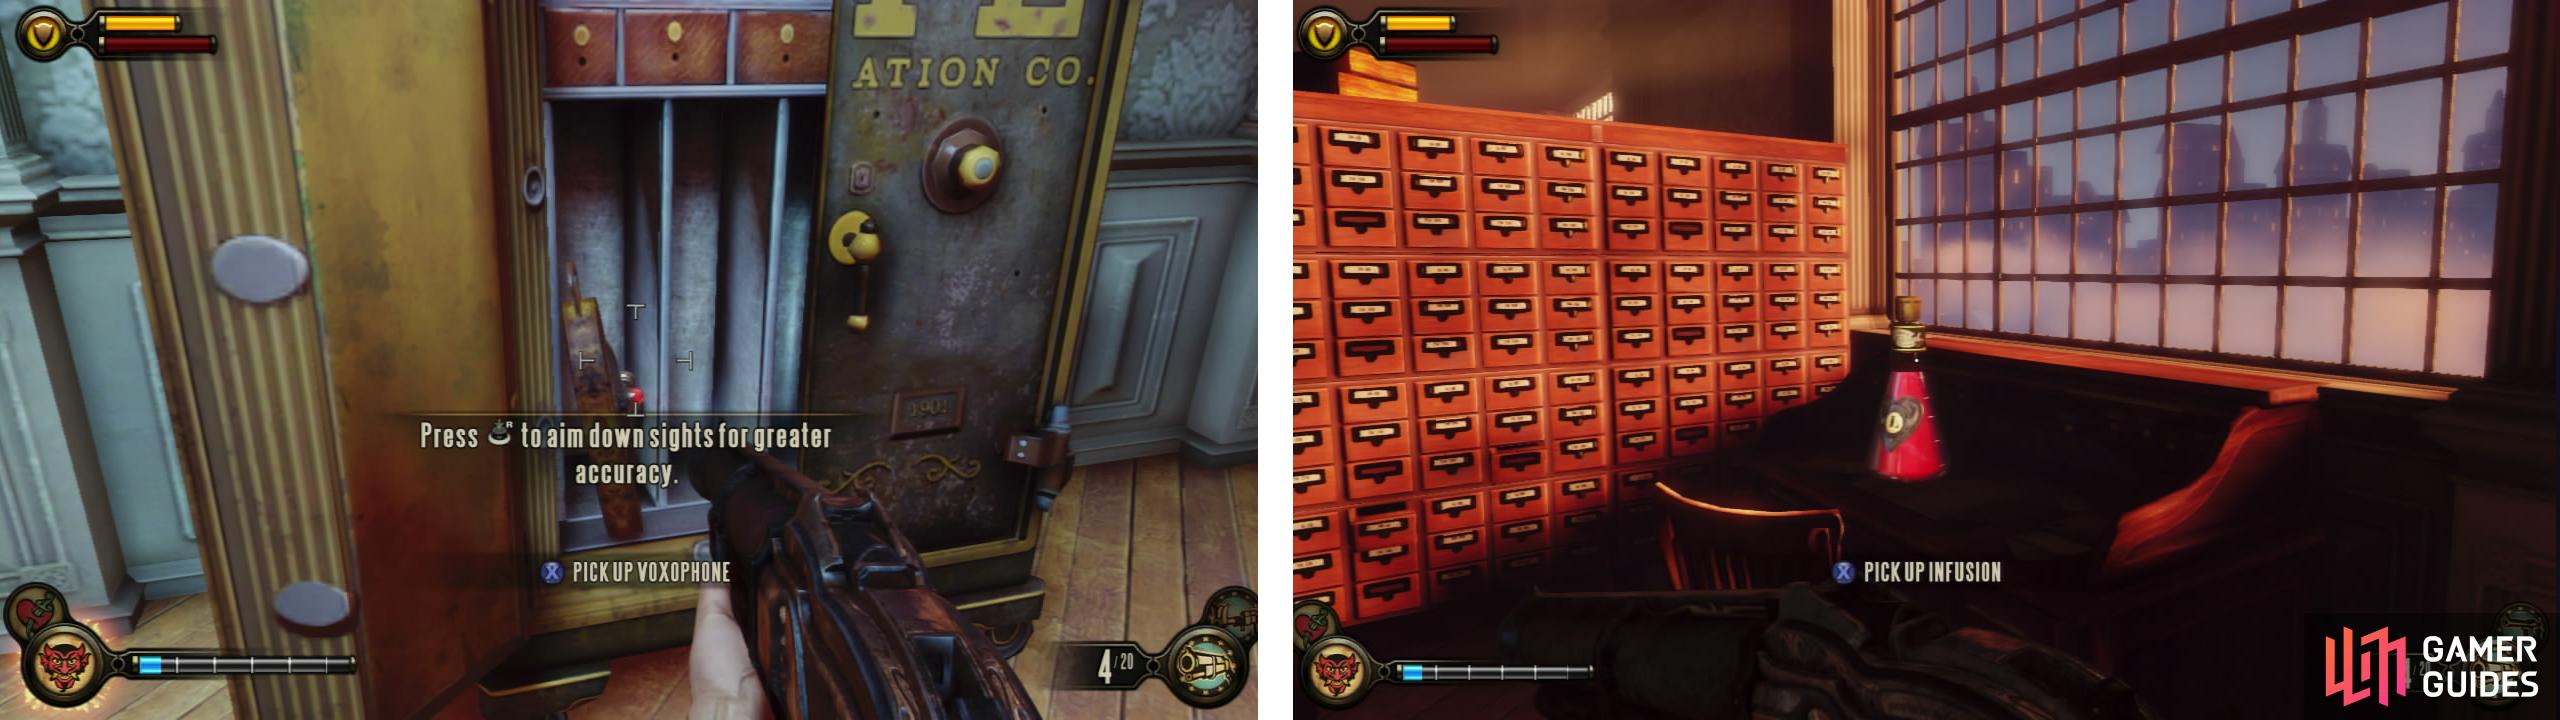
Unlock the door on the left of the main room to find an Infusion Upgrade (left) and Voxophone (right) inside.
As you approach the door opposite the entrance, the gate will slam closed. Run over and interact with it to go through to the next area. Follow the room round until you reach the exit and feel free to use the salt machine here to replenish your salt if you need to do so. Exit the building to enter Soldier’s Field.
Soldier’s Field
Note that in this area, the citizens and police will be non-hostile and like the start of Battleship Bay or the welcome Centre they will all usually have something to say if you let them. Looting willy-nilly as we have done previously will not go unpunished. Before picking up items inside shops, know that if an item description has a pinkish hue, picking it up will be considered stealing and all of the police in the area and the shop owner will become aggressive and attack.
After going beneath the ‘Soldier’s Field’ sign, take a left. There is a small observation deck to the left before the ice cream shop that has a Kinetoscope [2/4] on it. Enter the aforementioned Ice Cream shop to find a Voxophone [2/8].
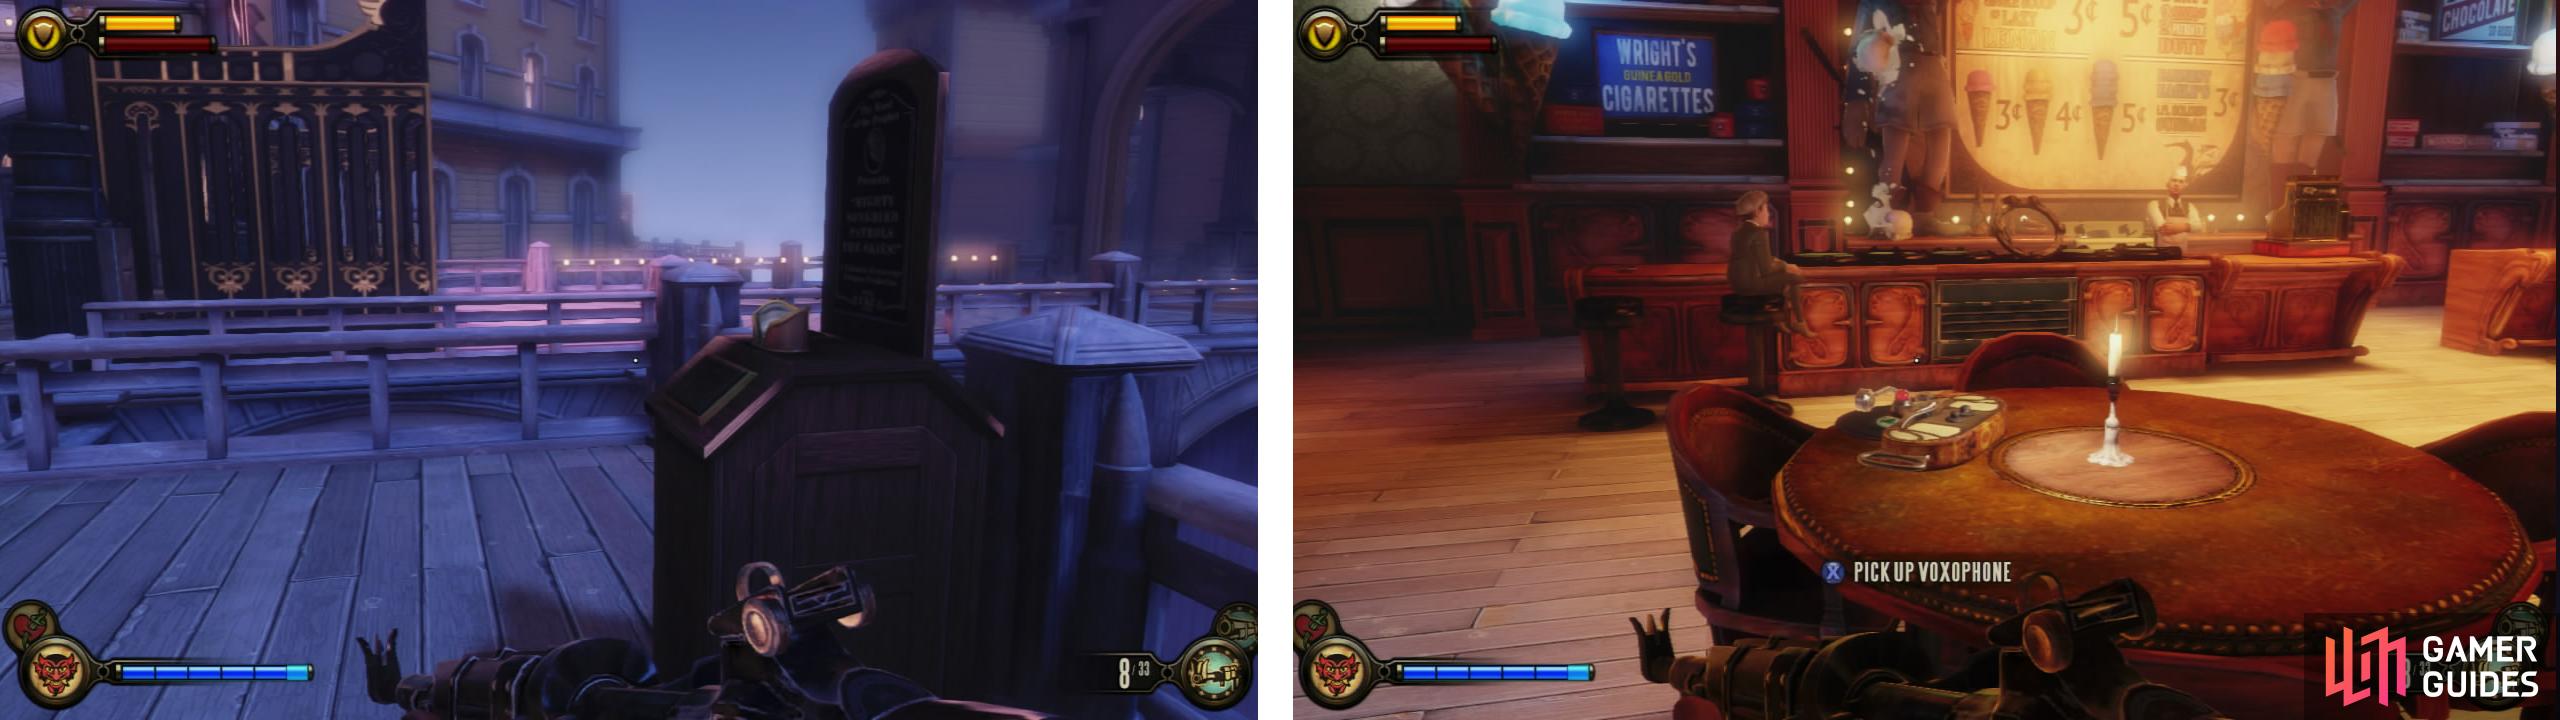
The second Kinetoscope (left) is outside of the Ice Cream Shop, the second voxophone is inside it (right).
Exit the Ice Cream shop and turn right. See the building with the ‘Patriot’s Pride Confections’ sign on it? Head over to left of this building to find the Founder’s Bookstore. At the back of the room there is a Voxophone [3/8] on a desk at the top of the short flight of stairs.
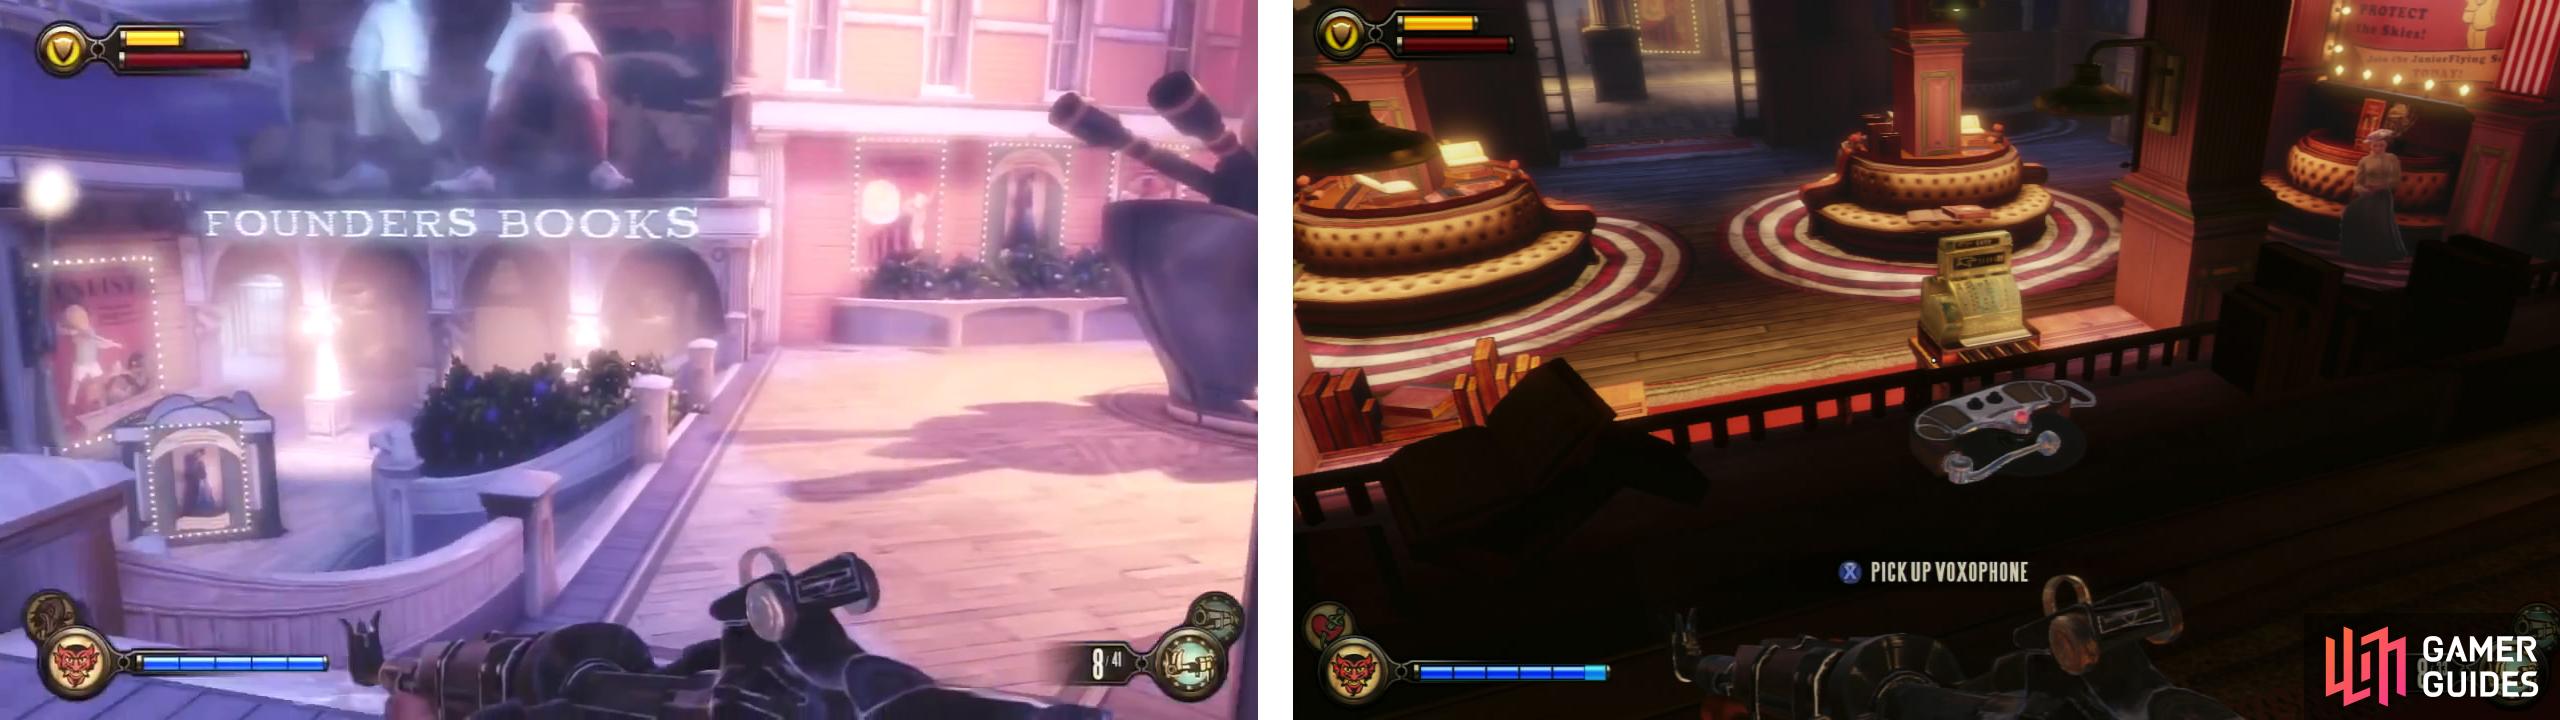
Inside the Founder’s Books store, you’ll find the next Voxophone (right).
Exit the book store and go straight ahead until you find a ramp leading down to the right. Follow the path here until you reach the sign reading ‘Gondola to the first lady Aerodrome’. Continue past it and at the end of the platform here pull the lever.
After the short scene, head back to the Founders bookstore and climb up the stairs to the right of its entrance. As you reach the top, you will pass a police roadblock which will cause all the police in the area to become hostile (there are 6-7 of them). Additionally the road block will be manned by 4-5 Founder soldiers.
You can kill them all if you wish, alternatively you can keep running past the Dollar Bill vending machine and information booth and up then next set of stairs on the left side of the area, enter the next area and take the elevator without killing anyone.
Either way, before entering the elevator, loot the lock pick from the floor near the crates to the left of the door, there is also a Veni! Vidi! Vigor! vending machine to the right if you require it. When ready, head inside and ride the lift to the next area. When the elevator goes offline, interact with the fuse on the wall for a scene.
Sky Road Entry
After getting off the lift, go down the stairs and check out the side area on the left. Here you will find a broken vending machine and on the floor next to it a lock pick. There are two doors we can explore here. Facing the broken machine, enter the right hand door first. Kill the two soldiers in here. Loot the room and then do the same with the door to the left.
Make your way around the display in the very center of the main area and find the door on the far side of the room marked “Employees Only”. Get Elizabeth to unlock the door for you. Once it is unlocked, enter with caution and look to the left. There is an auto-turret in here. Destroy it. After that is done, work your way down the right hand wall of the room, here you will find a desk holding a Voxophone [4/8] and a gift box
containing a new piece of Equippable Gear [1/2].
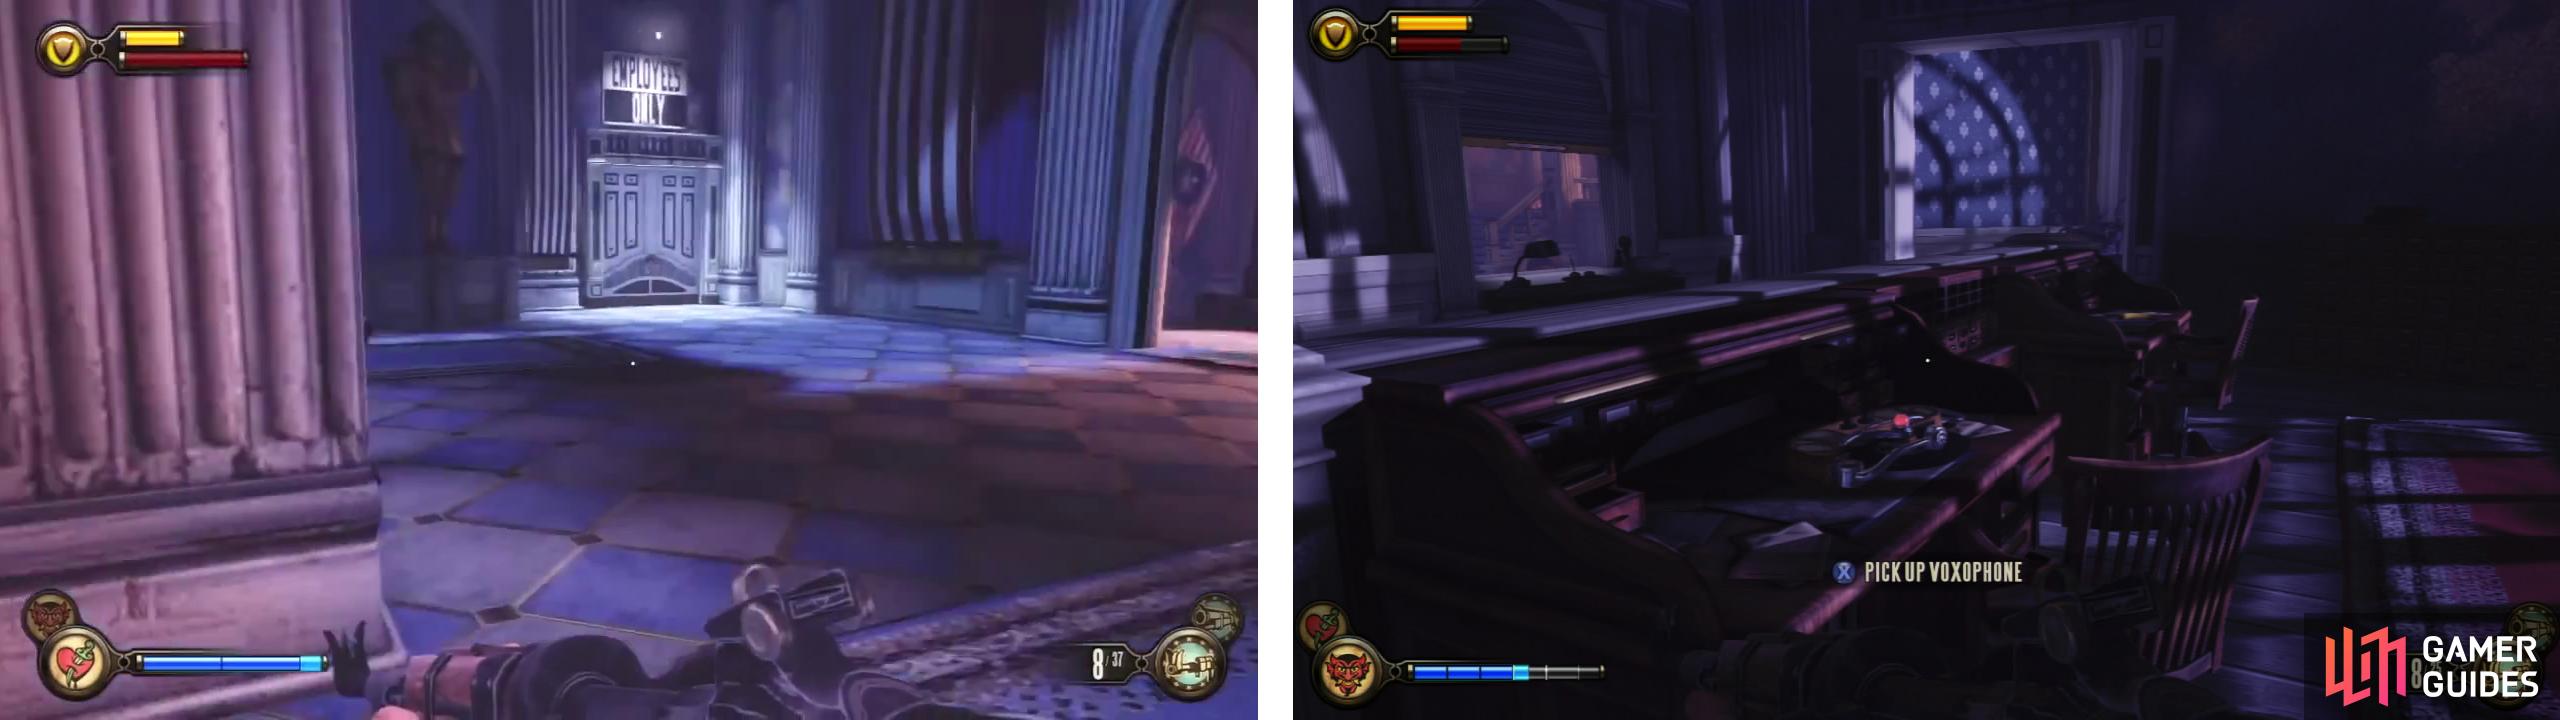
Pick the lock to the Employees Only door to find a piece of Gear and Voxophone (right) within.
In the back room where the auto-turret was, there is a safe we can open (requires 5 lock picks) for a sum of money. Exit back to the main room and take the door to the left. Grab the golden vigor flask from the box here for a new vigor – Bucking Bronco .
Continue along the path there until you exit the building.
Sky Road
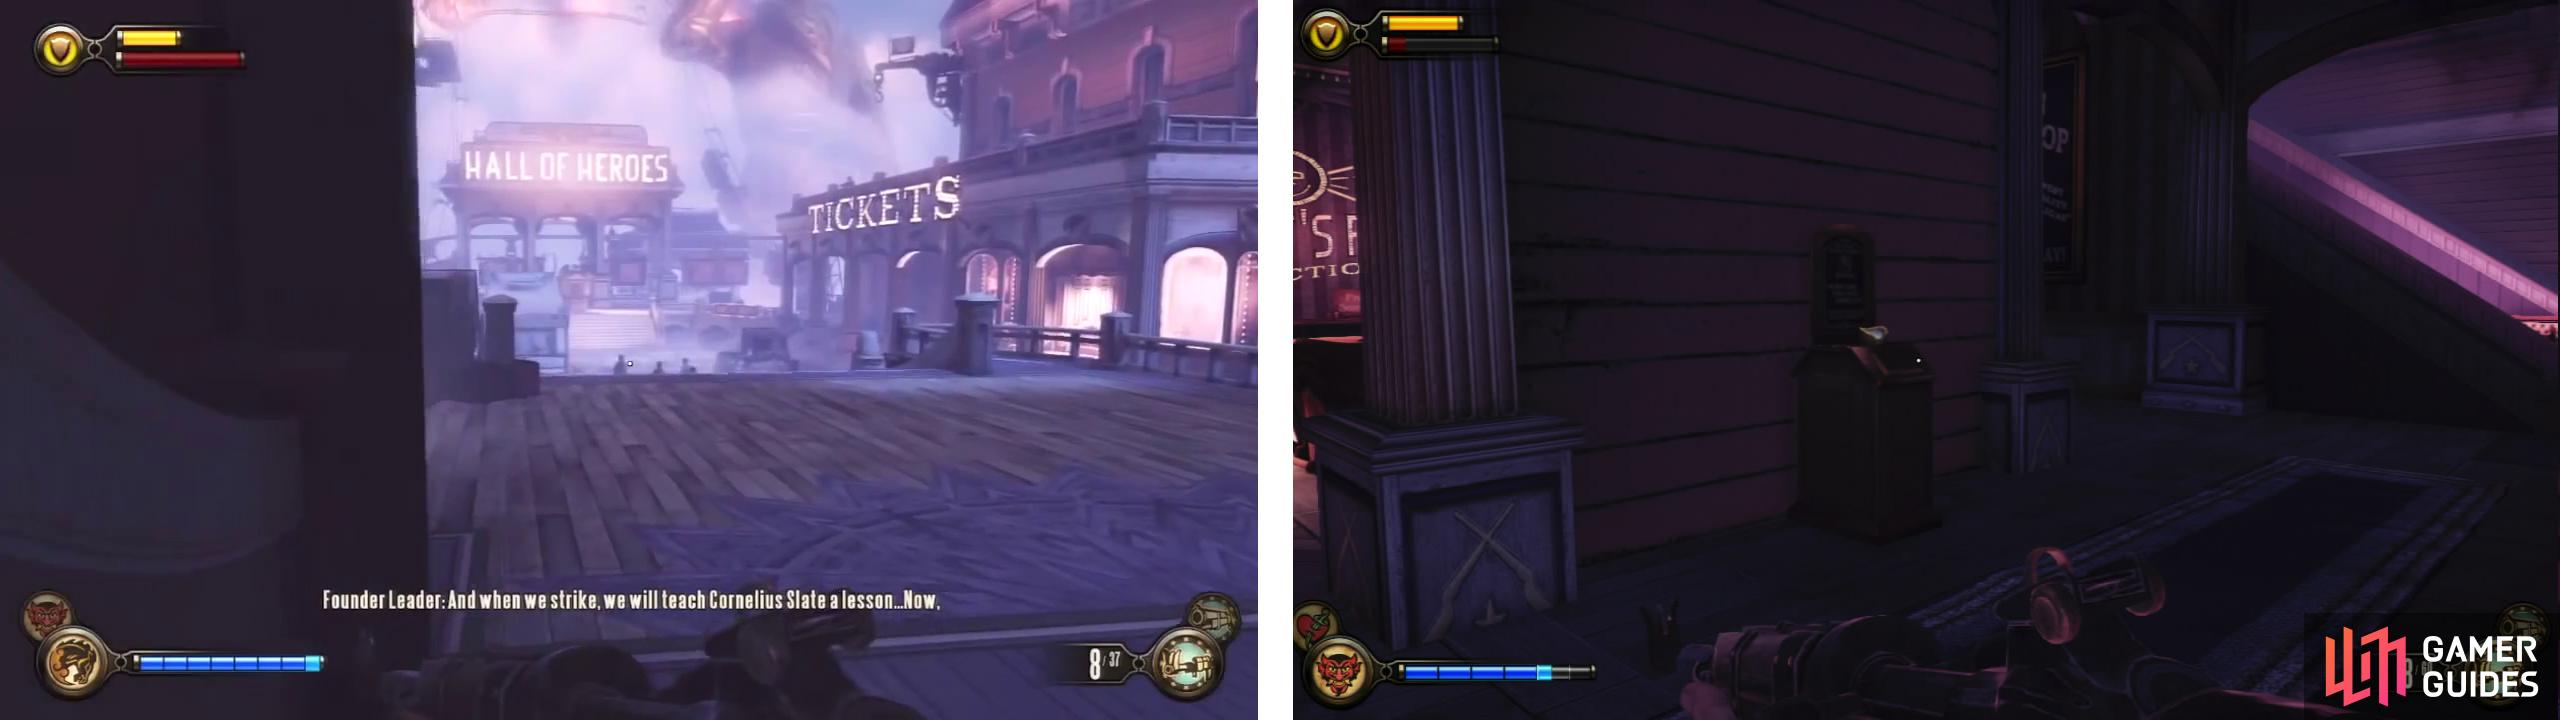
As you exit the building, you will see a large group of Founder soldiers in the plaza in front of you. They will remain stationary for a brief period of time, so use the opportunity to drop a Devil’s Kiss trap in the middle of them from a distance. This should kill the majority of enemies that you can see. Unfortunately there are a whole lot more of them lurking about that we can’t see who will become aggressive.
In total there are around 20 soldiers in the area below and they will emerge from both the ticket building on the right (including one or two on the upper balcony of the ticket building), the gondola platform in the distance and from the ‘Fellow Traveller’ building on the left. There is also an auto turret on the left side of the gondola area. In addition to sticking behind the crates at the top of the stairs, you can also use the hooks above the ticket building to access the balcony there and attack from above. Once the enemy numbers start dwindling a Crow will also enter the area.
After all of the hostiles have been subdued, head over to the gondola platform and throw the lever to clear the sky-lines of cargo to allow us access to the next area. Before we go however, there is an optional task and a few collectibles lying around this area to collect. Return to the ticket building and go inside.
On the left hand side of the lower level in the room closest to the main area you will find a Kinetoscope [3/4].
Inside the Ticket office, you’ll find the third Kinetoscope (right).
In the far left room you will find a locked door (requires 3 lock picks to unlock) containing a new piece of Equippable Gear [2/2] and a Minuteman’s Armory vending machine which now features the following upgrades:
Minutemans Armory Machine
| **Weapon(s)** | **Upgrade(s)** | **Cost** |
|---|---|---|
| Carbine | Damage Boost 1 | 357 |
| Machine Gun | Accuracy Boost | 512 |
| Pistol | Damage Boost 1 | 199 |
| RPG | Damage Boost | 385 |
| RPG | Clip Increase | 816 |
| Sniper Rifle | Damage Boost 1 | 349 |
Head up the stairs in the main area of the ticket building and look beneath the arcade machines. There is a lock pick and some coins to be found there. Against the railing overlooking the ground floor you will also find a propped up Carbine. On the ground next to it is another Voxophone [5/8] .
Head across the road to the Fellow Traveller building and make your way inside. As you enter, look on the table to the right of the entrance for a lock pick. Head up to the bar. Enter the door behind and to the left of the bar and grab the Voxophone [6/8] stuck on a cupboard on the back wall of the room.
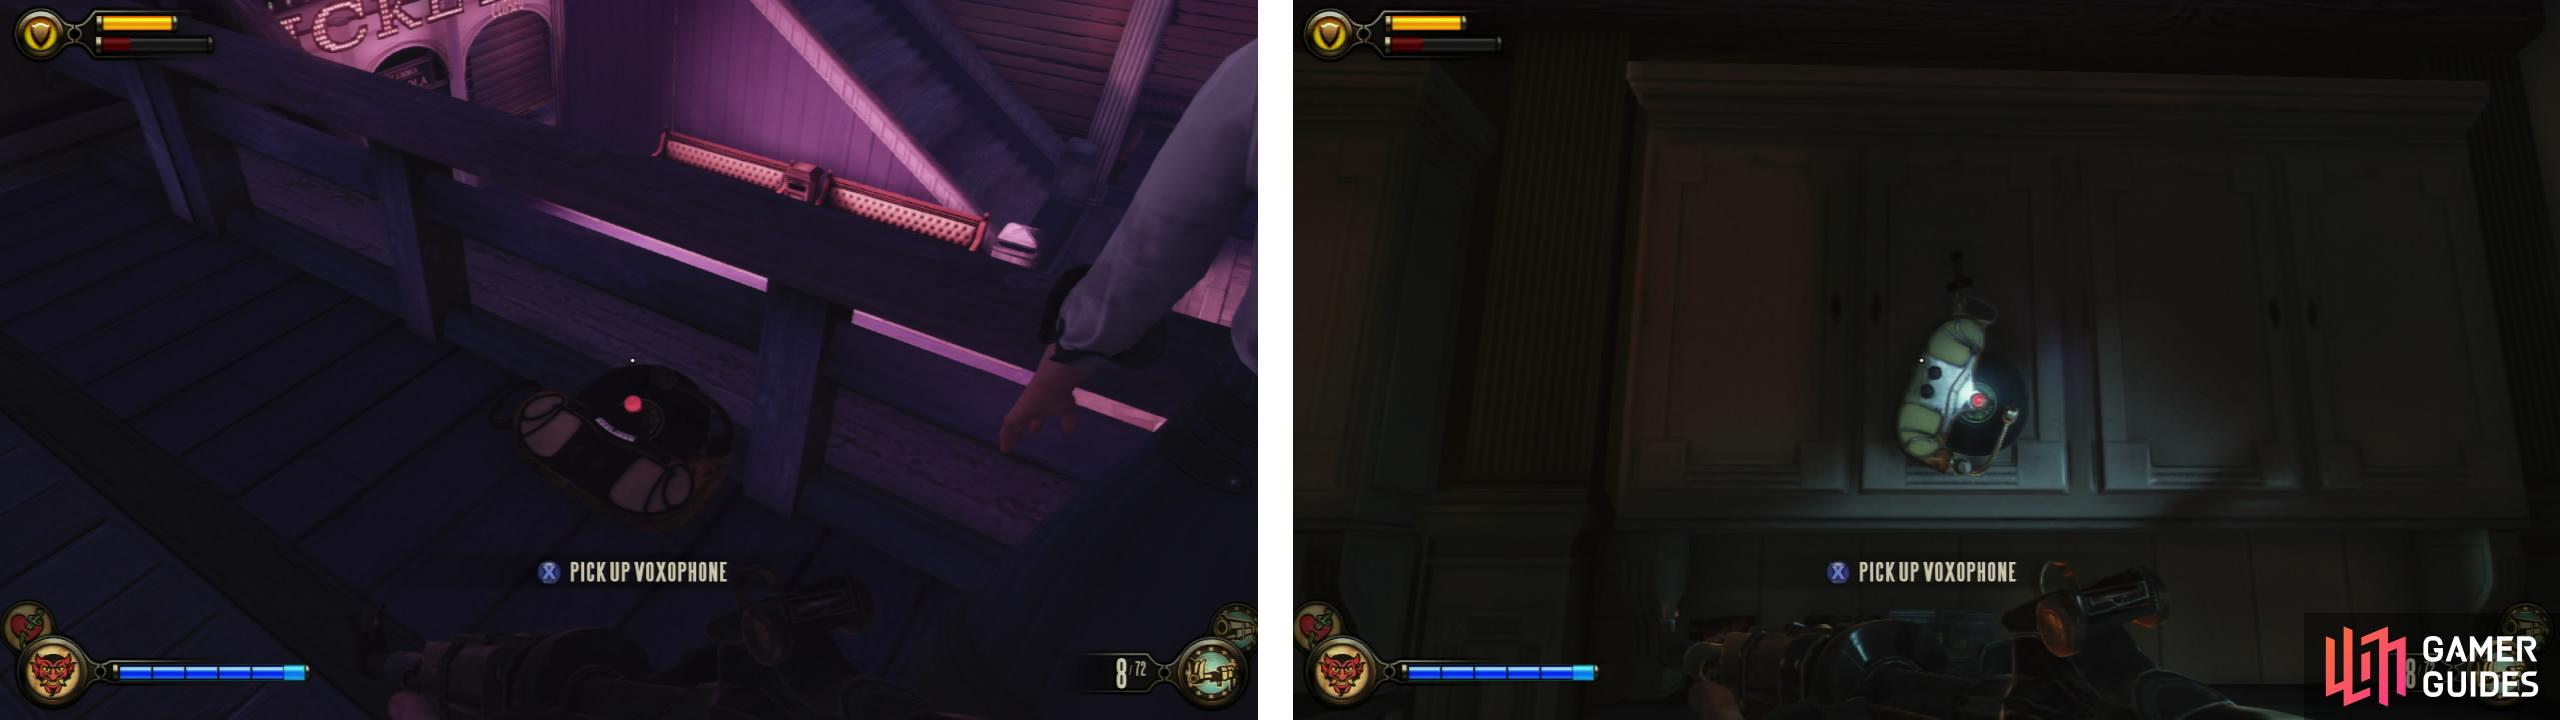
There is a Voxophone on the top floor of the Ticket building (left) and another in the Fellow Traveller building (right).
Return to the bar and go down the hallway to the right of it. Enter the first door on the left and examine the scribble on the wall. This will begin the optional mission – Find the Cipher.
| **Optional Mission: Find the Cipher** |
|---|
| **Reward/s:** 1 x infusion Upgrade, 1 x Voxophone |
| To find the Cipher, go back to the ‘Tickets’ building. On the ground floor is a large canon on a pedestal. Dangling from the end of the barrel is a **code book** . Pick this up and return to the scrawled code inside the Fellow Traveller. Elizabeth will decipher it for you. Exit to the hallway and enter the next door on the left. Interact with the hat on the hat rack here to open up a secret passage nearby. Inside you’ll find an RPG, an **Infusion Upgrade [2/2]** and a **Voxophone [7/8]** . Loot the rest of the room and head back outside. |
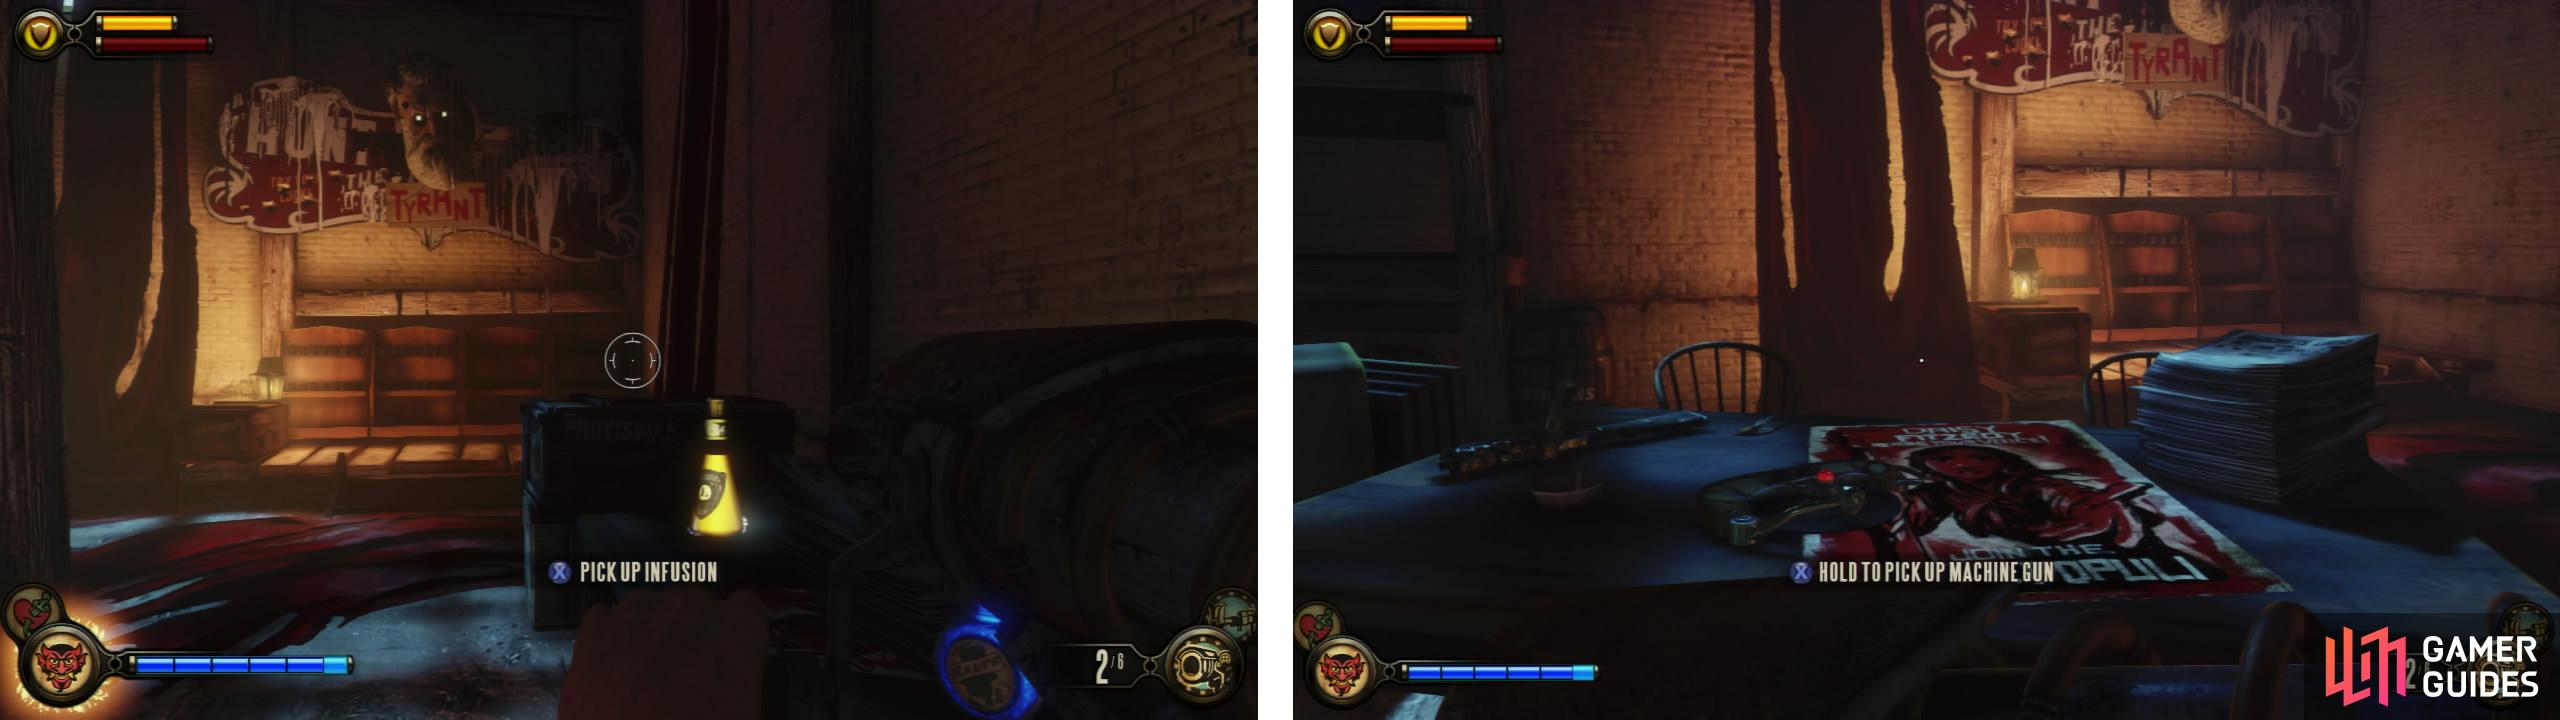
Within the secret room you’ll find an Infusion Upgrade (left) and a Voxophone (right).
Note that four more soldiers will have spawned during the time you werein the secret room, two in the Fellow traveller building and two out on the main street. Once they are dead, you are all done and good to continue!
After you have finished looting the area, return to the gondola platform and use the sky-line. When you can go no further, hop over to the second sky-line nearby and ride it up to the platform in front of the Hall of Heroes.
Hall of Heroes Plaza
Upon arriving, drop down to the ground. Take the stairs nearby down and investigate the parked gondola. If you didn’t do the optional mission just before, you can grab an RPG from the crate to the left of the gondola and inside it, there is a Voxophone [8/8] on a chair.
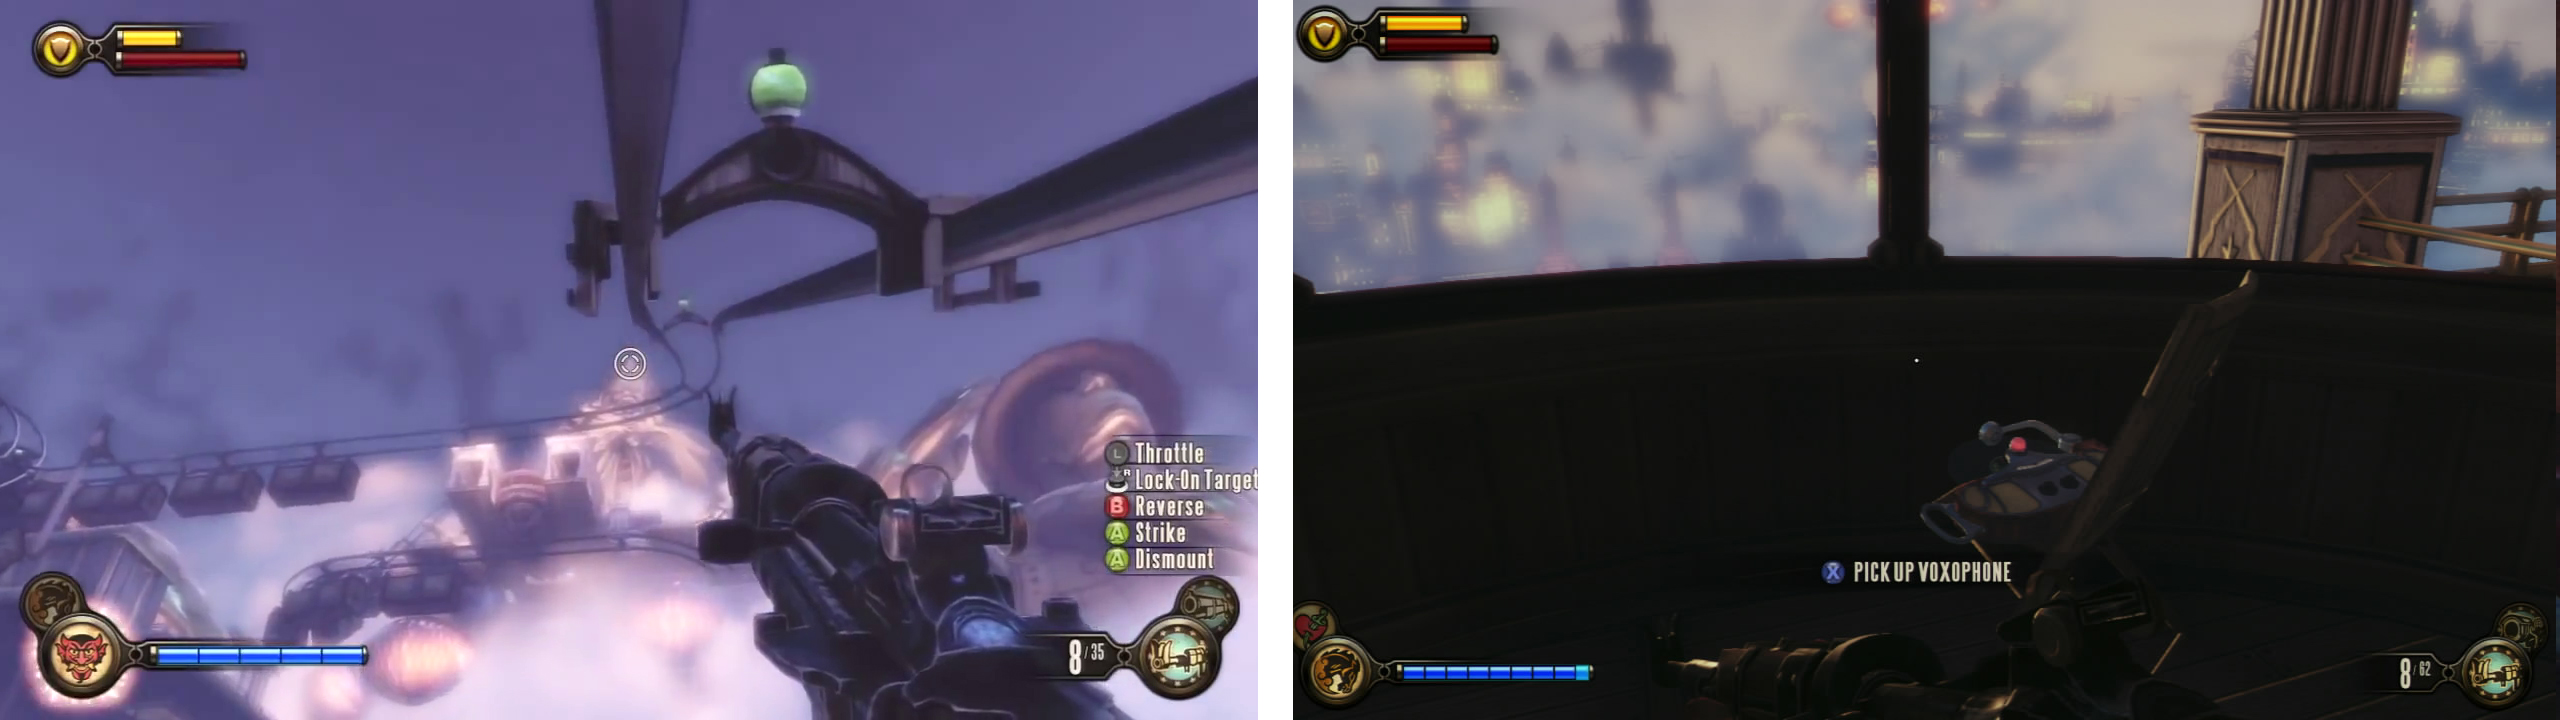
Take the skyline up to the Hall of Heroes Plaza (left) and when you arrive, look in the gondola for a Voxophone (right).
When you are ready to continue, take either set of stairs up to the main platform. As you arrive a sniper will open fire on you from the upper balcony on the left side of the building ahead. Take cover behind one of the statues immediately in front and Elizabeth will throw you a sniper rifle. Grab it and shoot the sniper. Continue forward a short distance and 10-12 Founder soldiers will spawn around the base of the building in the distance. A couple of them will charge at you with melee weapons, so deal with them first before using your newly acquired sniper rifle to pick off the ranged attackers.
Once they are all dead, you can use the Dollar Bill vending machine on the main tier of the plaza if you require any salts/ammo/health before proceeding up the stairs at the back of the area. Before entering the door to the next zone, look to the right and grab the Kinetoscope [4/4].
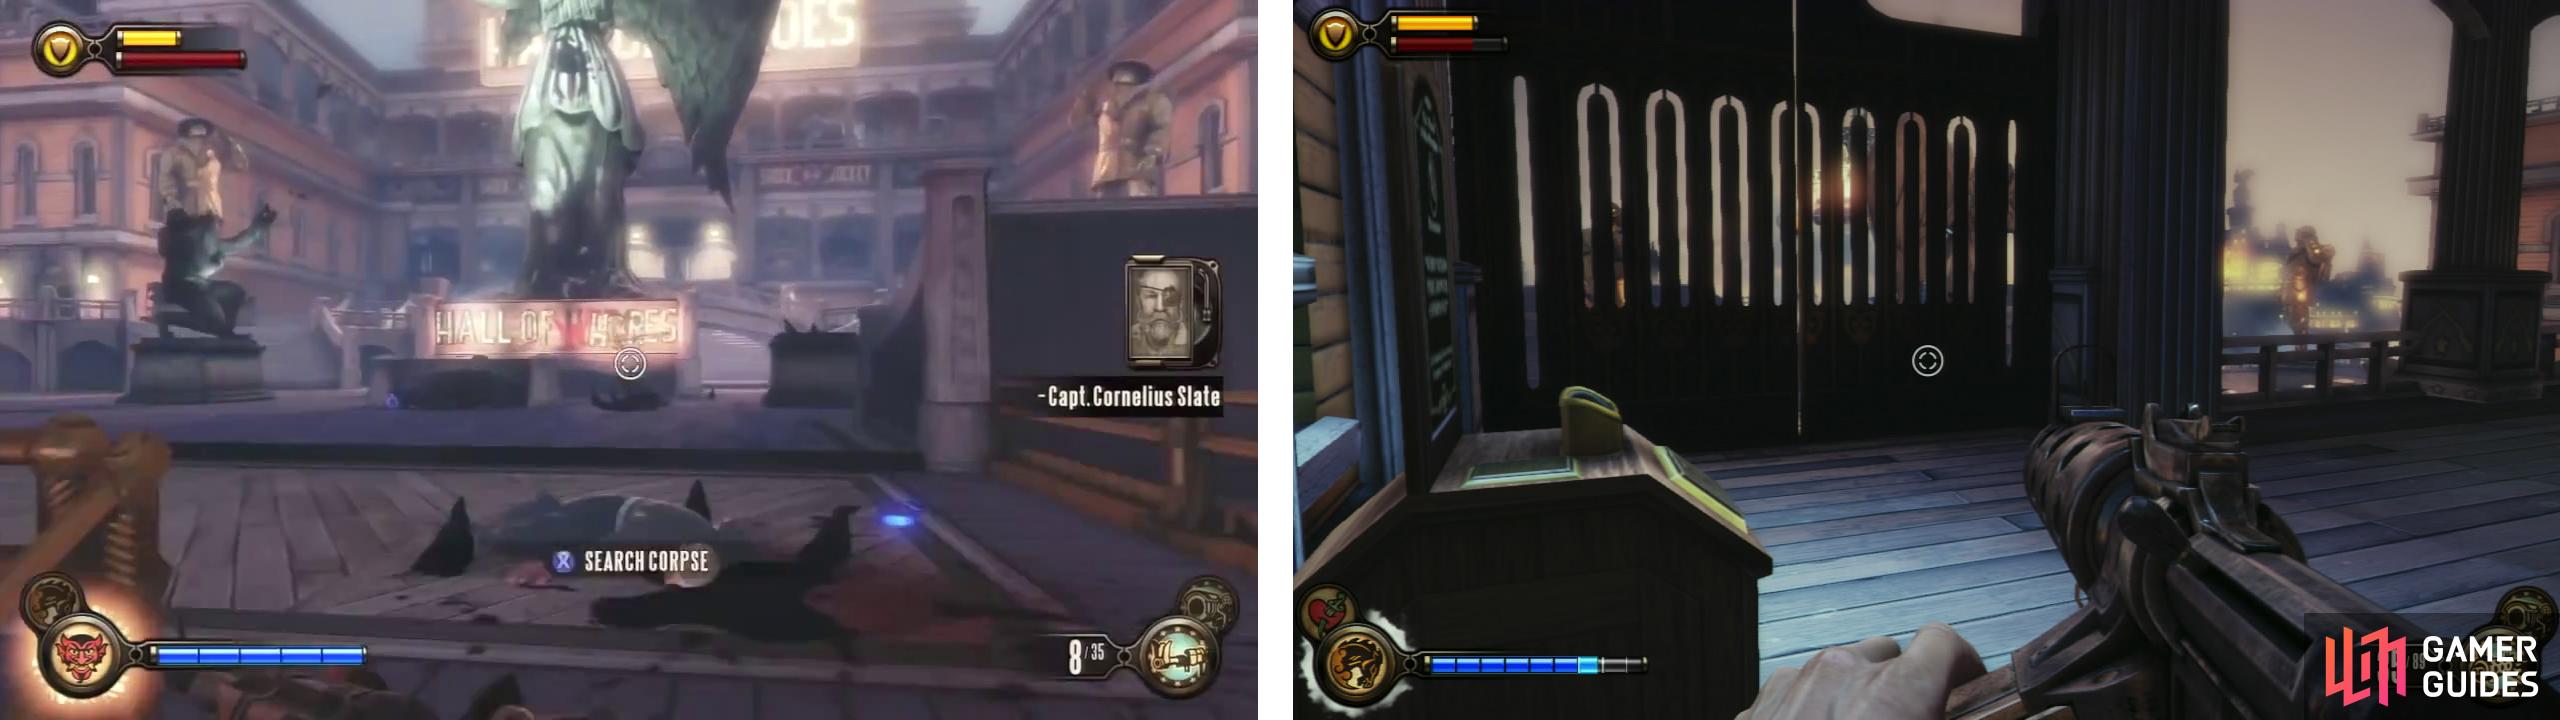
Fight your way across the plaza (left) and before going inside, grab the nearby Kinetoscope (right).
Return to the main door and continue inside.

 Sign up
No Comments