| **Collectibles** | # |
|---|---|
| Voxophones | 2 |
| Kinetoscopes | 1 |
| Telescopes | 1 |
| Infusion Upgrades | 1 |
| Equippable Gear | 1 |
Worker Induction Centre
When you regain control, turn to your left to spot the gondola. On the railing to the left of this is a Telescope [1/1] you can use to add to your collectibles tally.On board the gondola is a door that Elizabeth can unlock (requires 5 lock picks). Inside is a present containing a new piece of Equippable Gear [1/1]. Exit the gondola and climb the stairs at the back of the area.
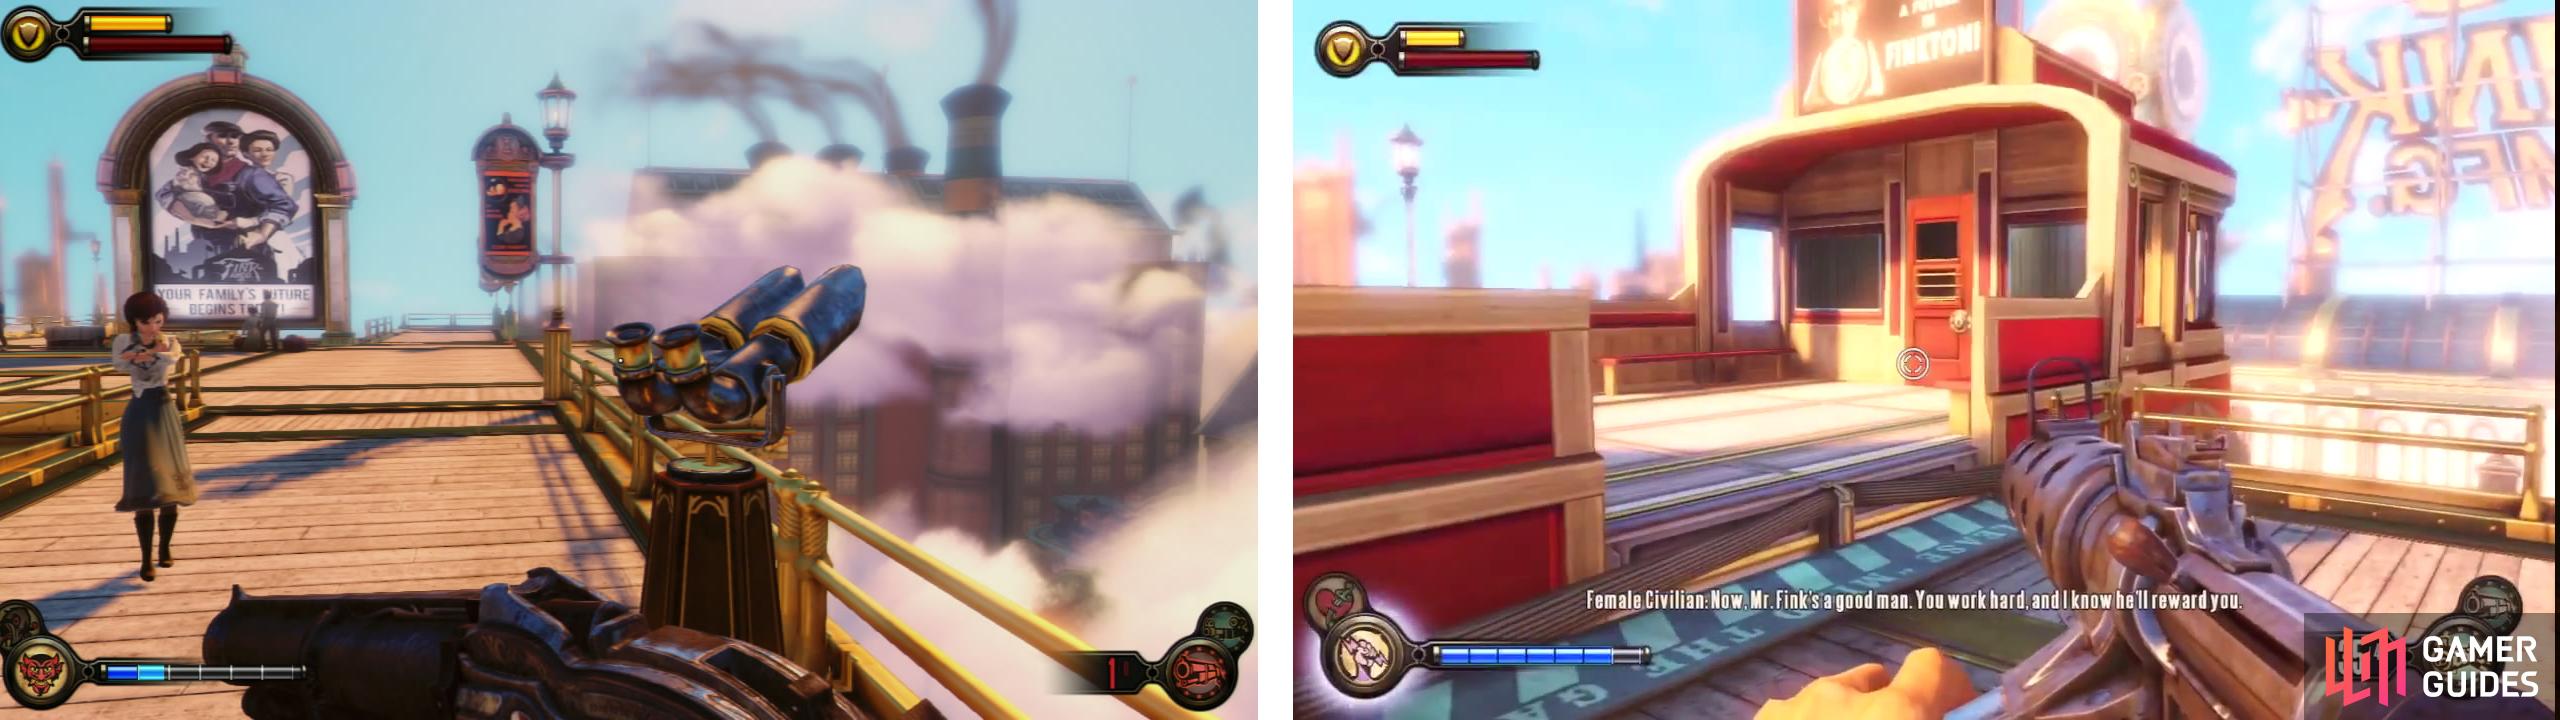
In the starting area is a Telescope (left) and a locked door (right) with a piece of Gear inside.
At the top, there is a Dollar Bill vending machine (this is one of the few machines in the game to sell lock picks, so be sure grab what is on offer!) to the right of the large door leading to the next area and a Minuteman’s Armory vending machine on the left with some new upgrades.
Minutemans Armory Machine
| Weapon(s) | Upgrade(s) | Cost |
|---|---|---|
| Carbine | Clip Increase | 484 |
| Machine Gun | Clip increase | 391 |
| Pistol | Ammo Increase | 404 |
| Shotgun | Damage Boost 1 | 255 |
| Shotgun | Reload Increase | 456 |
| Sniper Rifle | Fire Rate Boost | 654 |
| Sniper Rifle | Recoil Decrease | 288 |
| Volley Gun | Damage Boost 1 | 522 |
When you are ready to continue, go through the next door to Finkton Proper.
Finkton Proper
As you enter the building, turn to the left. At the end of the hall here you will see a Veni! Vidi! Vigor! vending machine (no new upgrades yet). On the wall to the left of this is a Kinetoscope [1/1].
Follow the path around until you reach the main room. When you arrive, enter the open door behind the counter on the left. On a desk in here you will find a Voxophone [1/2] . There is also a lock pick jammed into one of the desk’s drawers.
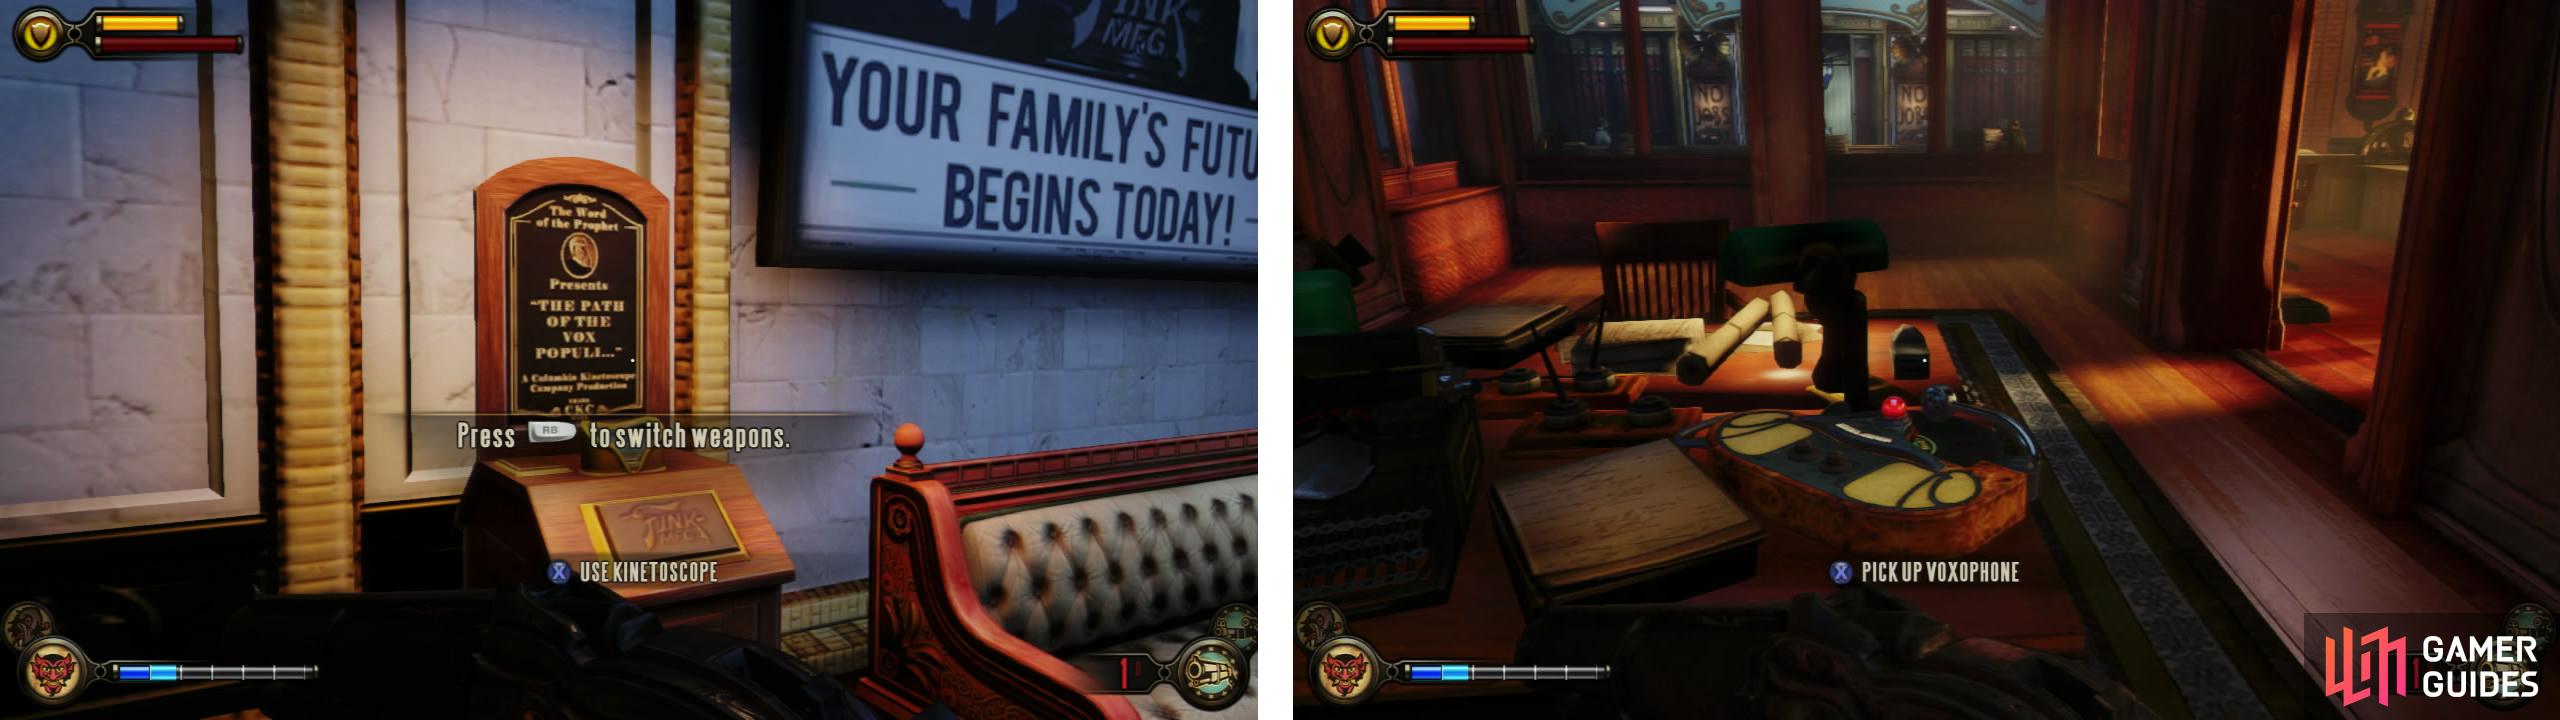
Once inside, you’ll find a Kinetoscope (left) and in the room behind the counter in the main room is a Voxophone (right).
Exit the office and head to the left. Follow the wall to the office we just exited all the way around to the far side of the room. Here you will find a door that Elizabeth can open (requires 5 lock picks). Inside there is an Infusion Upgrade [1/1] on a desk. There is also a new weapon – the volley gun on another desk at the far end of the room if you wish to grab one.
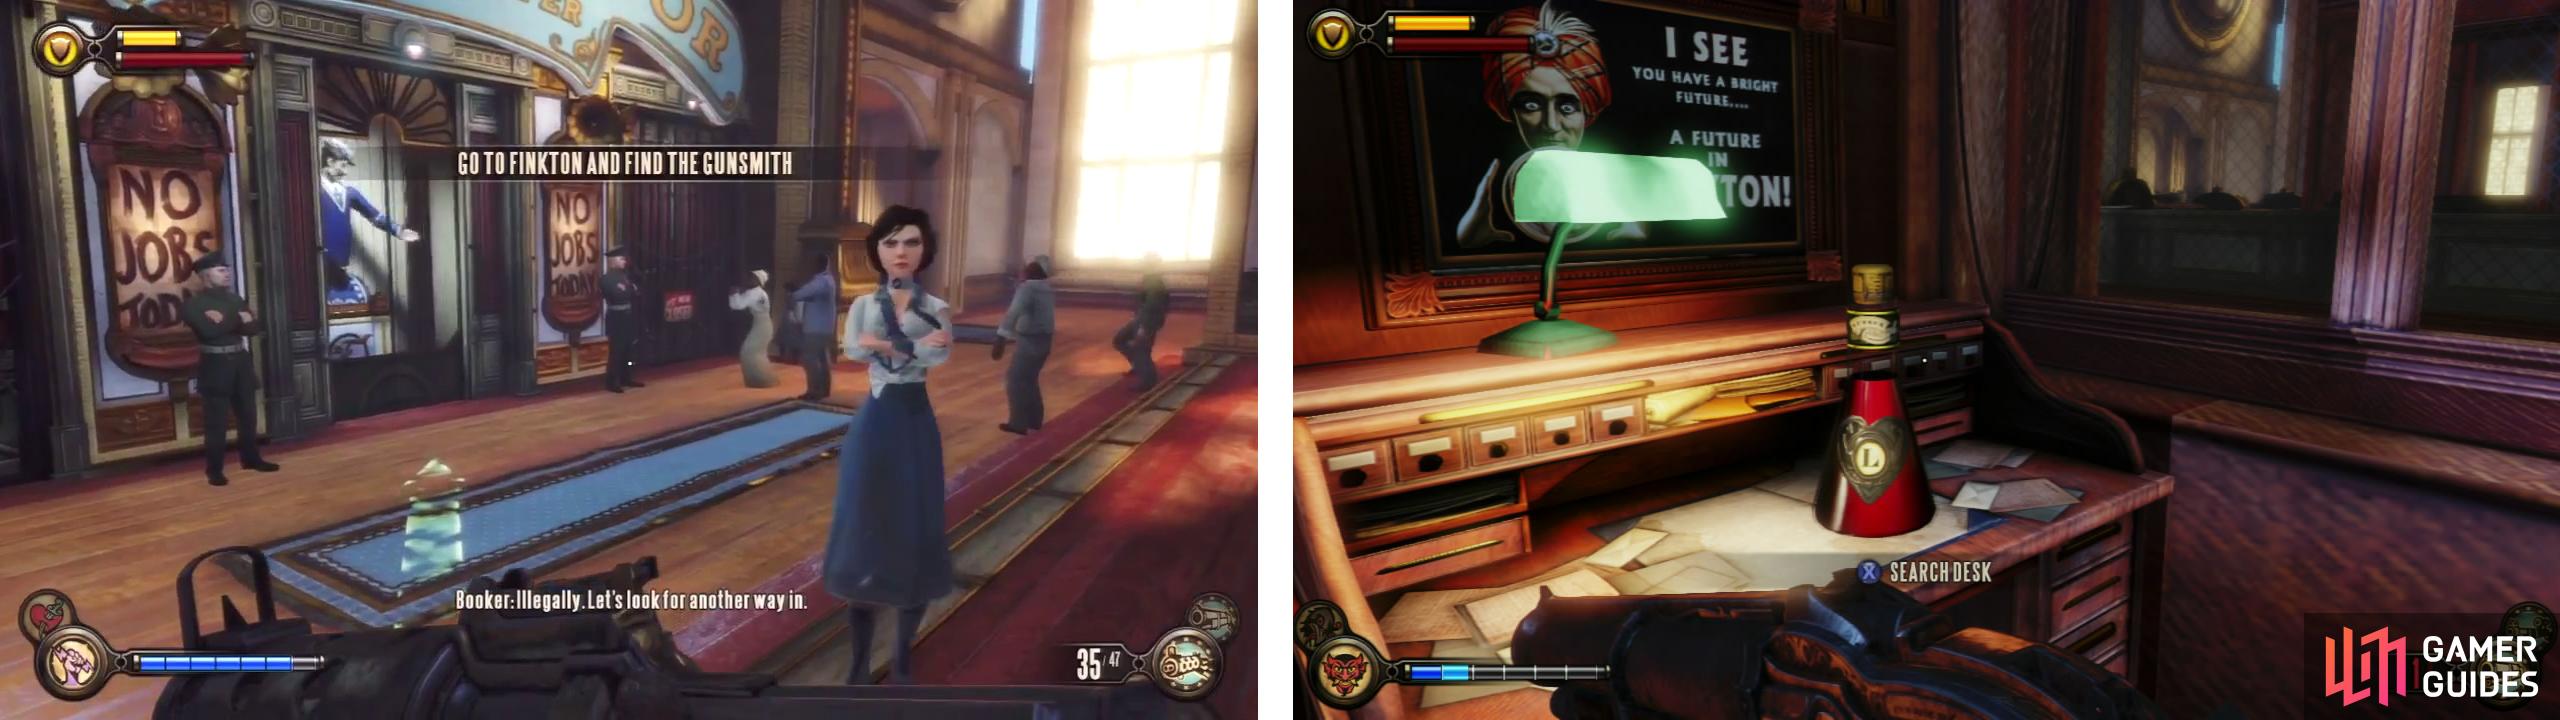
Go past the lift (left) to find a locked door. Inside you’ll find an Infusion Upgrade (right).
Go back out to the main hall and approach the elevator. It’s not going anywhere. Look to the left or the right to see stairs on both sides of the room behind the elevator. Climb down either of these (it makes no difference, they go to the same place) and have Elizabeth pick the door here.
Follow the platform out into the next room and look down at the room below. There are around 10-12 policemen and a motorized patriot we will need to destroy before we can continue. Whilst they have not yet noticed you, drop a trap or two down there to thin out the numbers (or possess the motorized patriot if you have the upgraded Possession).
Once everything is dead, descend to the lower level. The elevator we need is marked by the door signed ‘employees only’. Instead of heading in there right away, look opposite. There is an office here with a Dollar Bill vending machine to its right and a Minuteman’s Armory vending machine (no new upgrades yet) to its left. Inside the office, there is a safe that Elizabeth can open (requires 1 lock pick) for some money.
Head over to the left of the elevator room and look in the corner for a lock pick. Enter the room with the elevator and loot the desks. There is a lock pick on the rightmost desk in the room. Before entering the elevator, check
out the lockers to the right of it. Inside the open locker is a Voxophone [2/2].
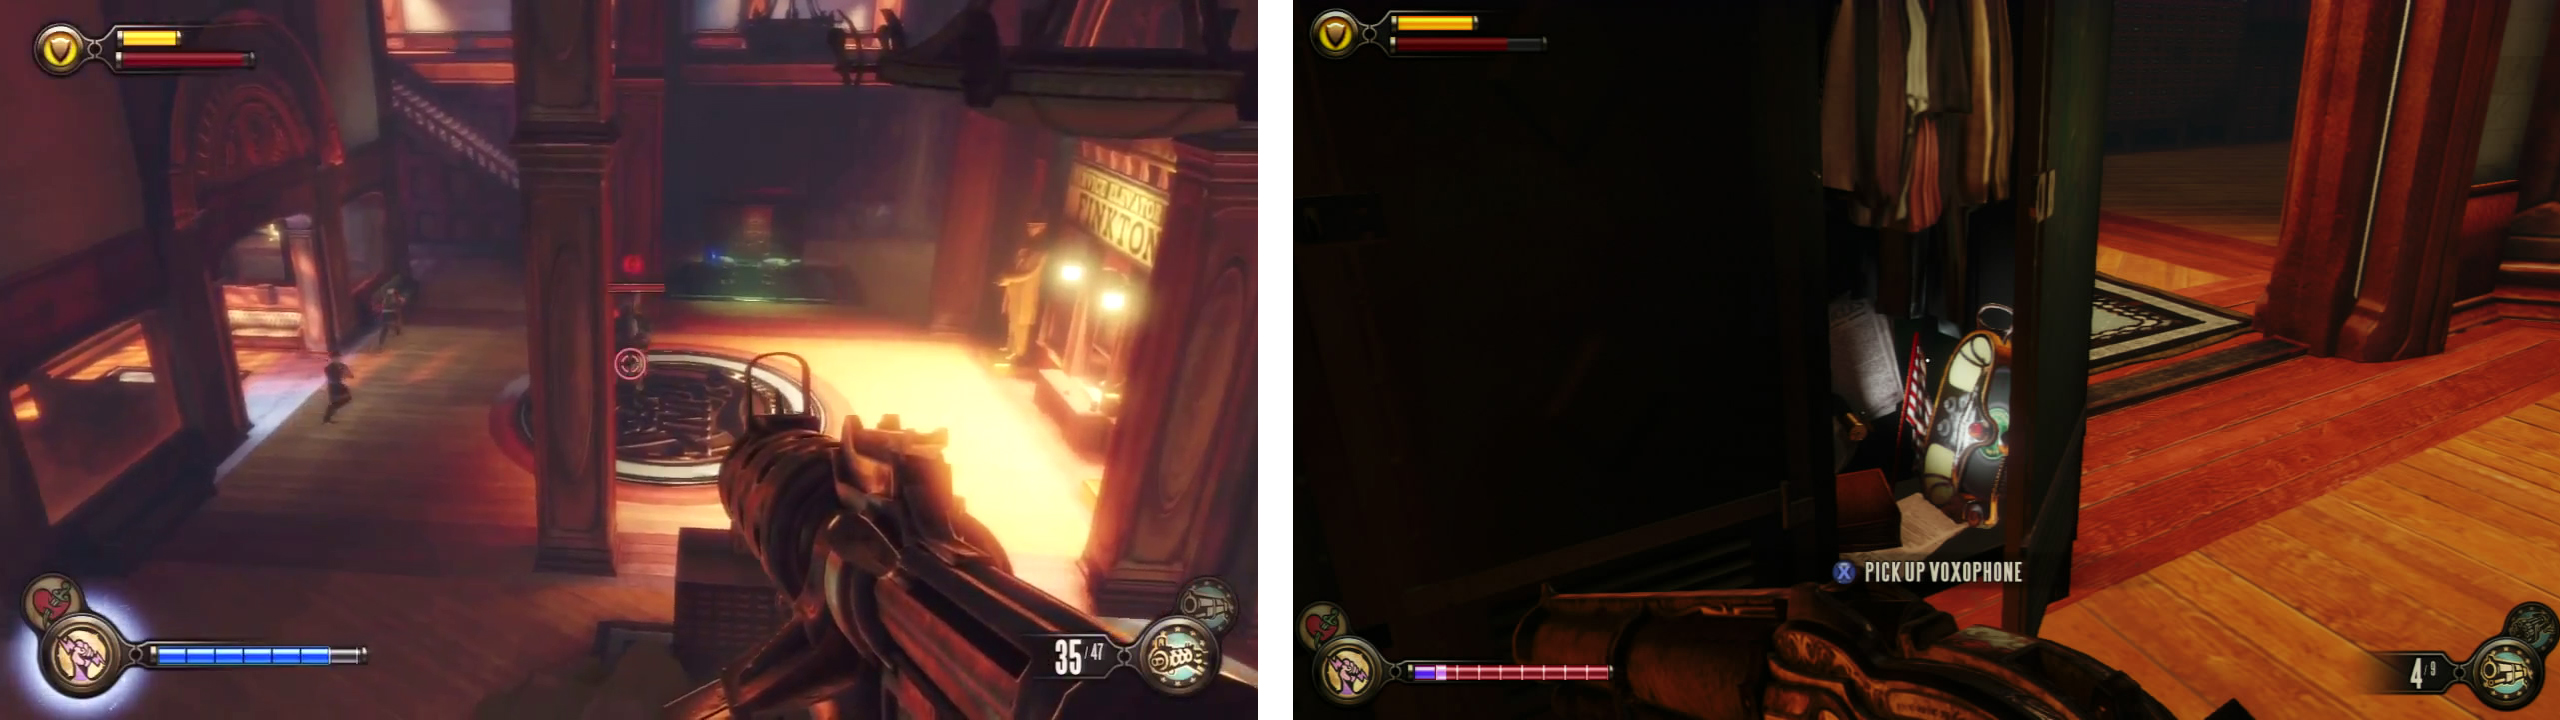
Clear out the room of the Patriot and guards (left) and then explore the side-area for a voxophone (right) in a locker.
Call the elevator and when it arrives, enter and hit the button to ride it down to the next area. About halfway down, the lift will stop. Interact with the phone on the wall to continue.
After exiting the lift, loot the table in front of you for a lock pick, some money and a new weapon – the hand cannon. Speak to the guy next to the door and he will open it for you. This will start the next chapter.

 Sign up
No Comments