| **Collectibles** | # |
|---|---|
| Voxophones | 0 |
| Kinetoscopes | 0 |
| Telescopes | 0 |
| Infusion Upgrades | 0 |
| Equippable Gear | 0 |
Chen-Lins Shop
Once inside the shop, find the stairs and climb to the very top of the area. Talk with the man here. After a few moments, he’ll tell you to “go downstairs”. Head back down the stairs and talk with the woman blocking your way. After the conversation, head back downstairs and go through the door.
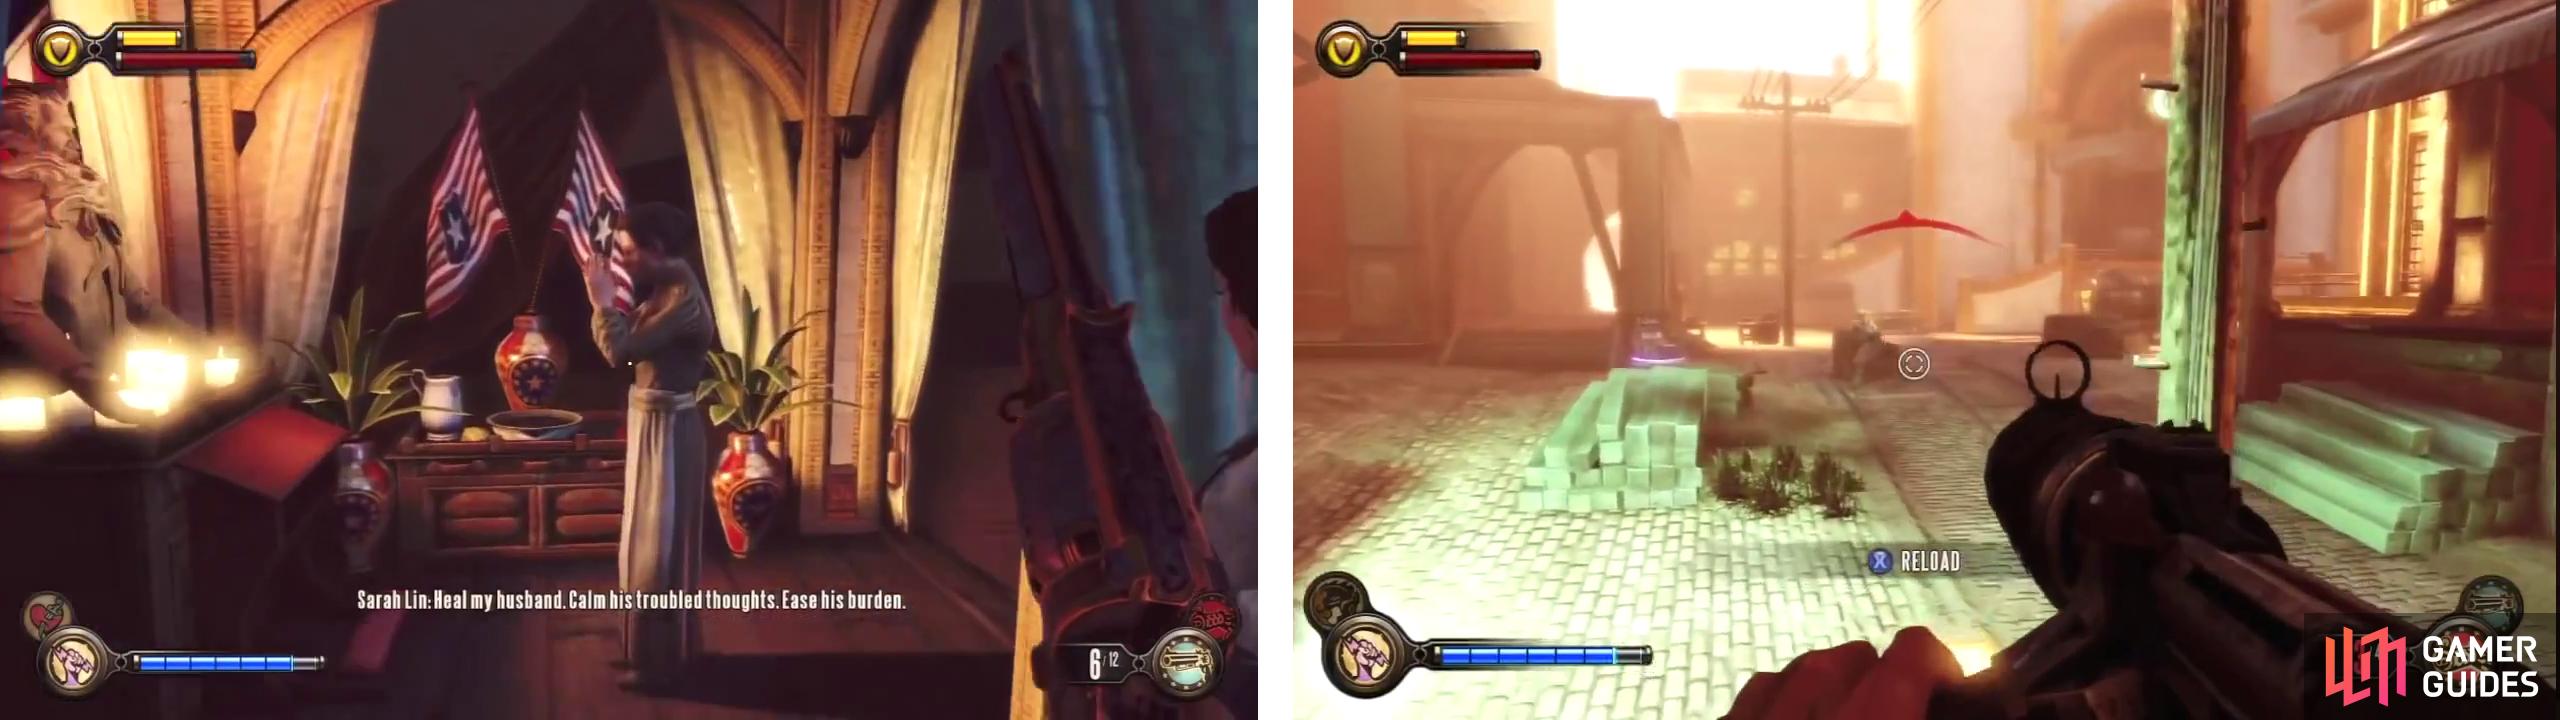
After talking with the woman in the Gunsmith Shop (left), return outside and kill the soldiers (right).
The Plaza of Zeal
Once you are back outside, turn left and go back around the front of the main building. Great, there are another 7 soldiers here waiting for us! Watch out as the enemies will use the auction platform and the stairs to the right to try and get a vantage point on you if you let them.
Also note that one or two will try to sneak around the back of the central building to attack you from behind. There is a one more soldier out by the door to the optional task we completed earlier and you can go and kill him if you like.
Once the area is clear of hostiles, head down the road towards the Good Time Club. Look for the building with the ‘Shantytown’ sign on the right side of the street. Go into the door here. Inside you will find a Dollar Bill and Veni! Vidi! Vigor! vending machine. Use them if you want (no new vigor upgrades here yet) and then use the lever opposite. Head on through the now accessible door.
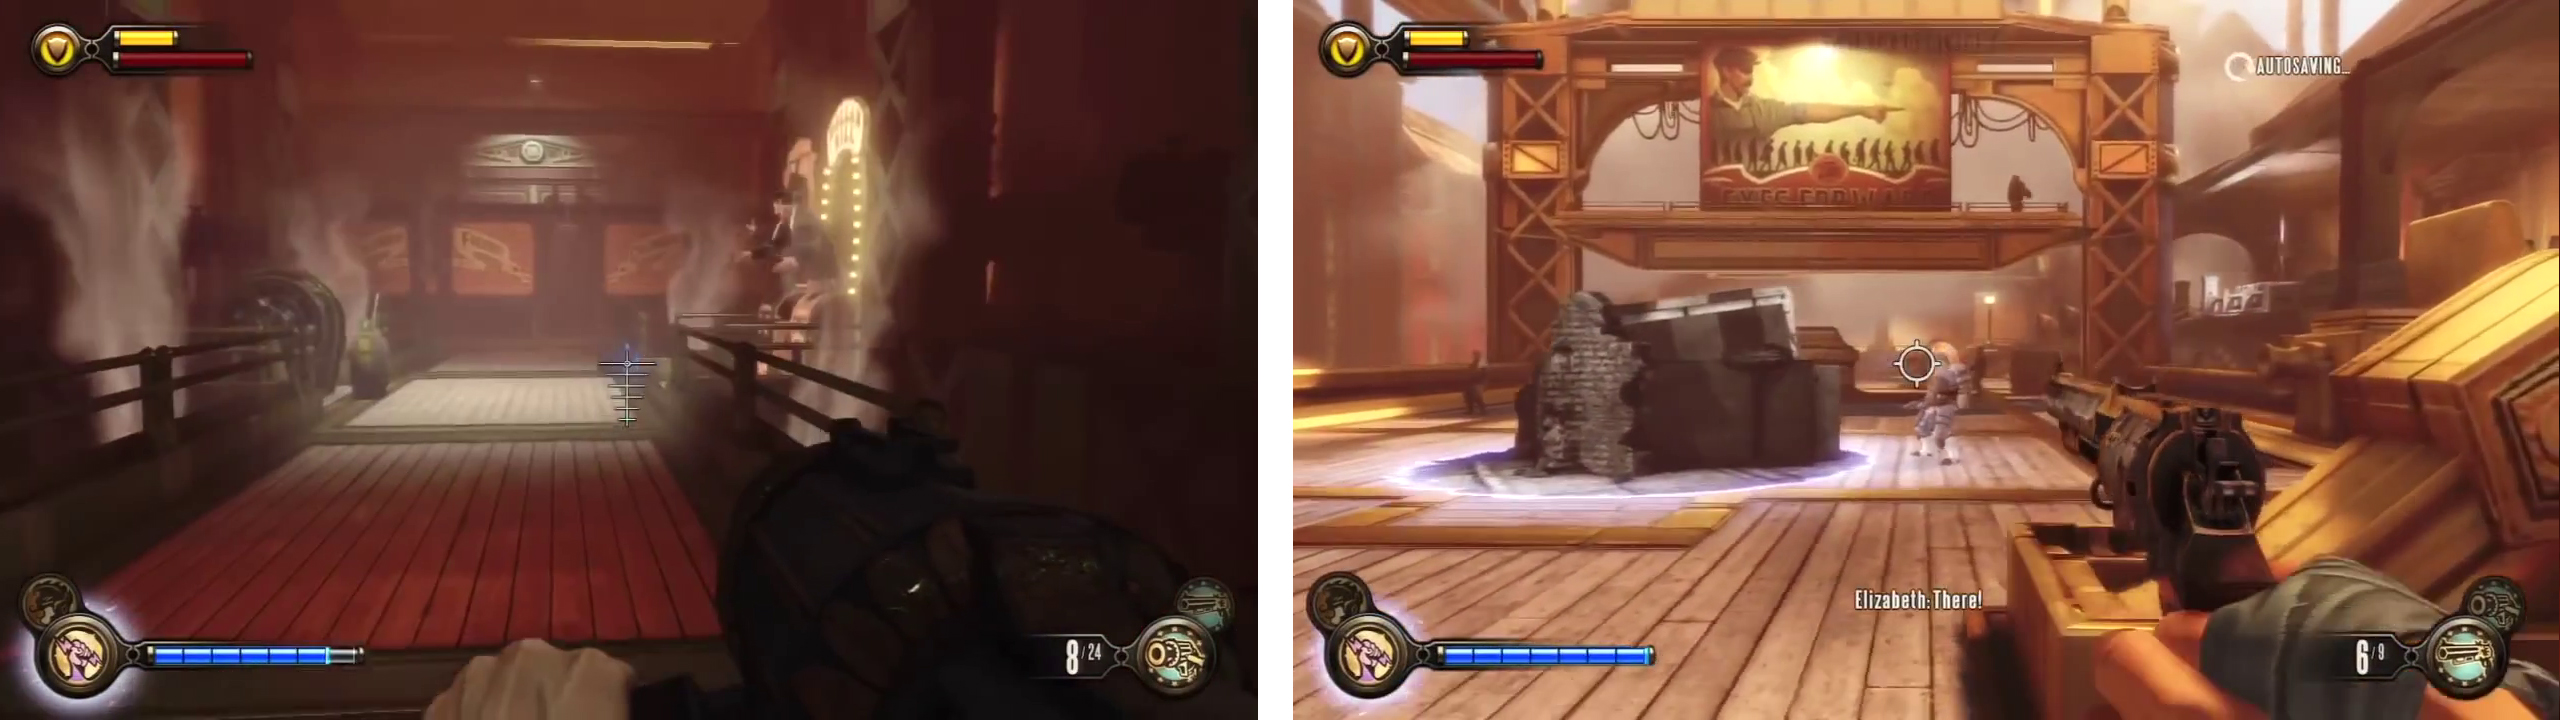
Use the switches to move the crates (left) and then fight your way across the bridge to Shantytown (right).
Path to Shantytown
From where you are standing, you should be able to see a few Founder Soldiers standing around ahead; there are five of them in total and a rocketeer who is standing on the raised platform straddling the centre of the area. They will not attack right away, so have a look at the three tears that Elizabeth can use here.
| **Tears in this Location** |
|---|
| A freight hook on the left side of the area. A piece of cover directly in front of you. A friendly auto-turret on the boardwalk of the adjacent building on the right. |
Use the cover first so that you can kill the rocketeer from safety (and any other soldiers who venture too close) and then activate the friendly auto turret to help you mop up the remaining enemy forces. Once it is safe to do so, check out the open door on the adjacent building behind the auto-turret tear for a Minuteman’s Armory if you wish to upgrade some weaponry. Or, keep on going along the bridge.
Climb the stairs at the end and go around the large wall here. As soon as you reach the other side, look towards the middle of the room to spot an office. Go inside and loot the desks. There is a hand cannon on one and a lock pick on the floor between two of them. You will also see a vigor locked up behind bars at the back of this room. We can’t get this yet, but remember that it is there for the trip back!
Exit the office and climb the nearby steps. Enter the elevator here and press the button to descend to Shantytown.

 Sign up
No Comments