| **Collectibles** | # |
|---|---|
| Voxophones | 5 |
| Kinetoscopes | 1 |
| Telescopes | 0 |
| Infusion Upgrades | 2 |
| Equippable Gear | 2 |
Port Prosperity
When the gondola reaches the far end, exit the vehicle and loot the area before proceeding up the stairs. At the top, enter the door to the left and kill the pair of Vox soldiers inside. Note that there is an oil slick on the floor below them so you can make the fight a lot faster by tossing a Devil’s kiss vigor at them.
Enter the door on the left hand side of the room. There is a safe you can have Elizabeth open here (requires 5 lock picks) for some cash. At the far end of this room, there is another door you can open with a new weapon – Hail Fire in it. Return to the main room and kill the two new enemies that have appeared here. Now we can use the Veni! Vidi! Vigor! and Minuteman’s Armory vending machines if you require them (although they do not feature any new additional upgrades as yet).
Continue down the hallway to the right of the vending machines. Around three quarters of the way up the hallway, look out for a chest on the left with a corpse on it. There is a Voxophone [1/5] on the floor below the chest and a lock pick on the chest next to the body.
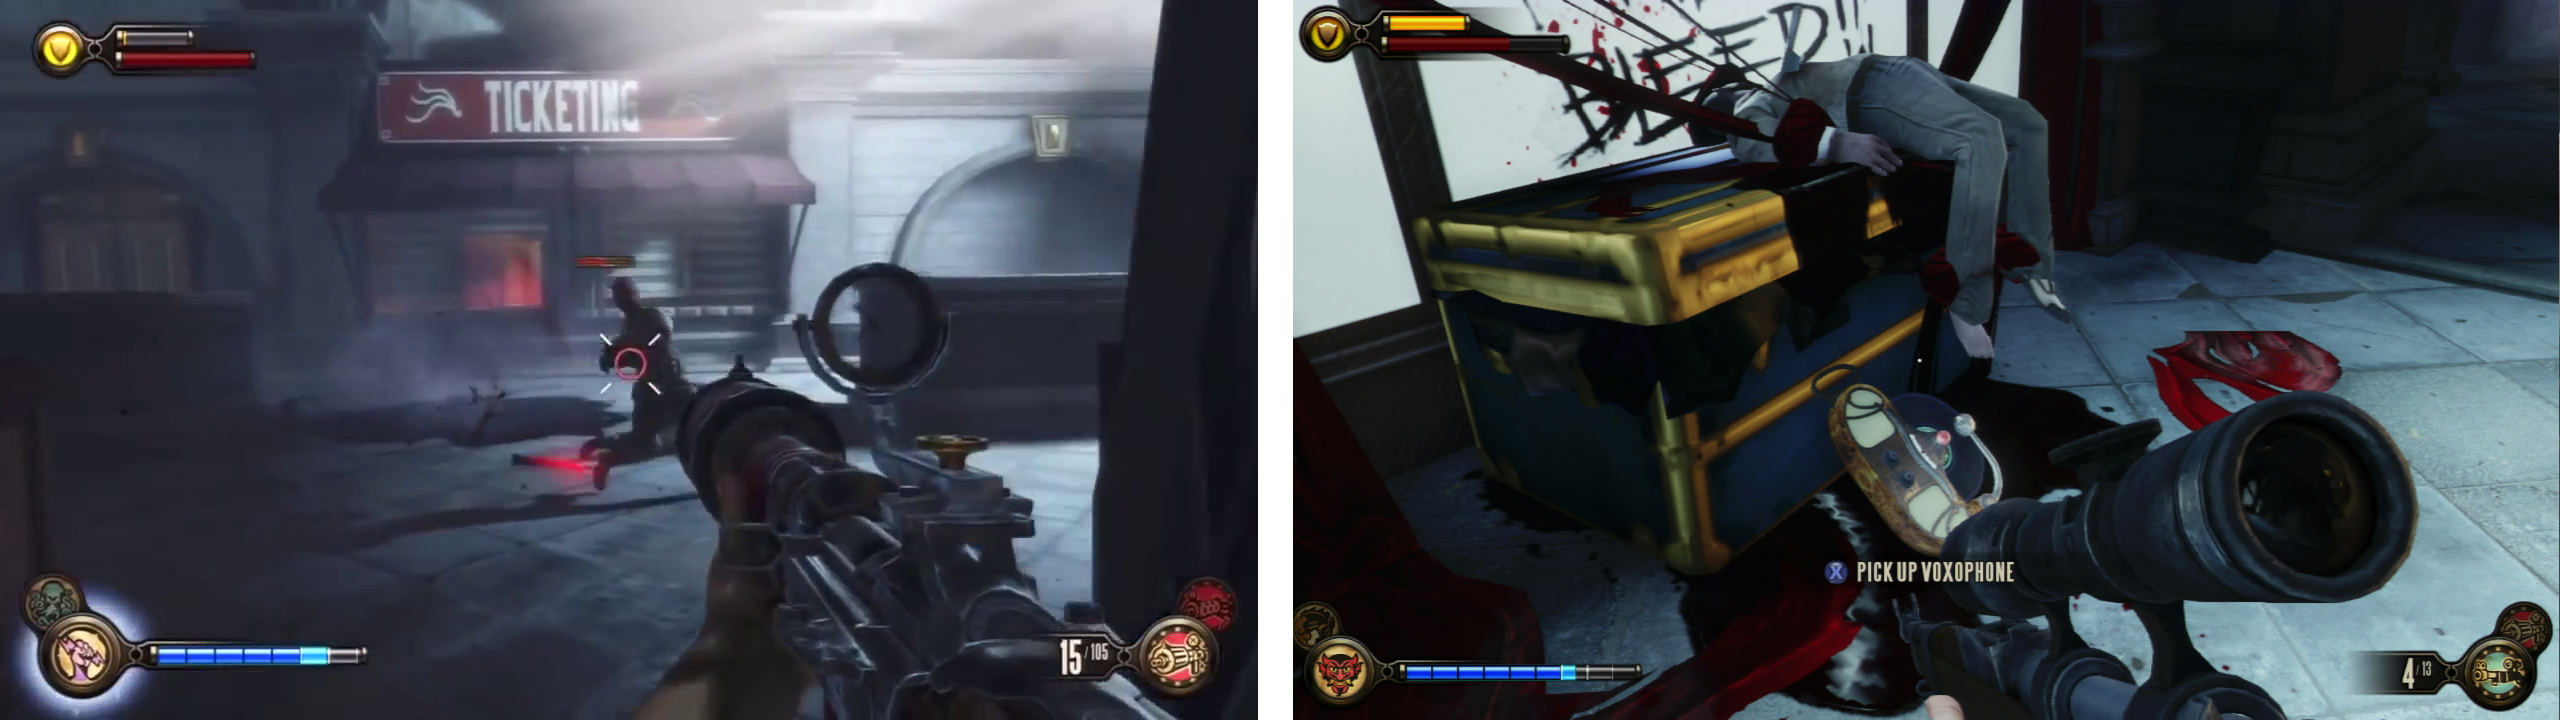
Fight your way through the station (left) until you reach the first Voxophone (right).
Follow the hallway until it exits into a larger room. Ignore the stairs for the moment and enter the ticketing office on the left. There is a safe in here Elizabeth can unlock (requires 3 lock picks). Exit and go to the door to ‘The Salty Oyster’ on the opposite side of the room. Elizabeth can also unlock this one (requires 3 lock picks).
Enter the Salty Oyster. There is a group of three Founder soldiers in here who will attack as you move inside. Once they are dead, check out the right side of the room.
In the corner closest to the window on the floor next to a chest is a lock pick. Turn around and beneath one of the tables here is a gift box containing a new piece of Equippable Gear [1/2] . Continue past the Minuteman’s Armory vending machine and between the two bathrooms. you will find a Kinetoscope [1/1]. There is an RPG in the furthest toilet if you want one. Loot the rest of the bar and head back outside.
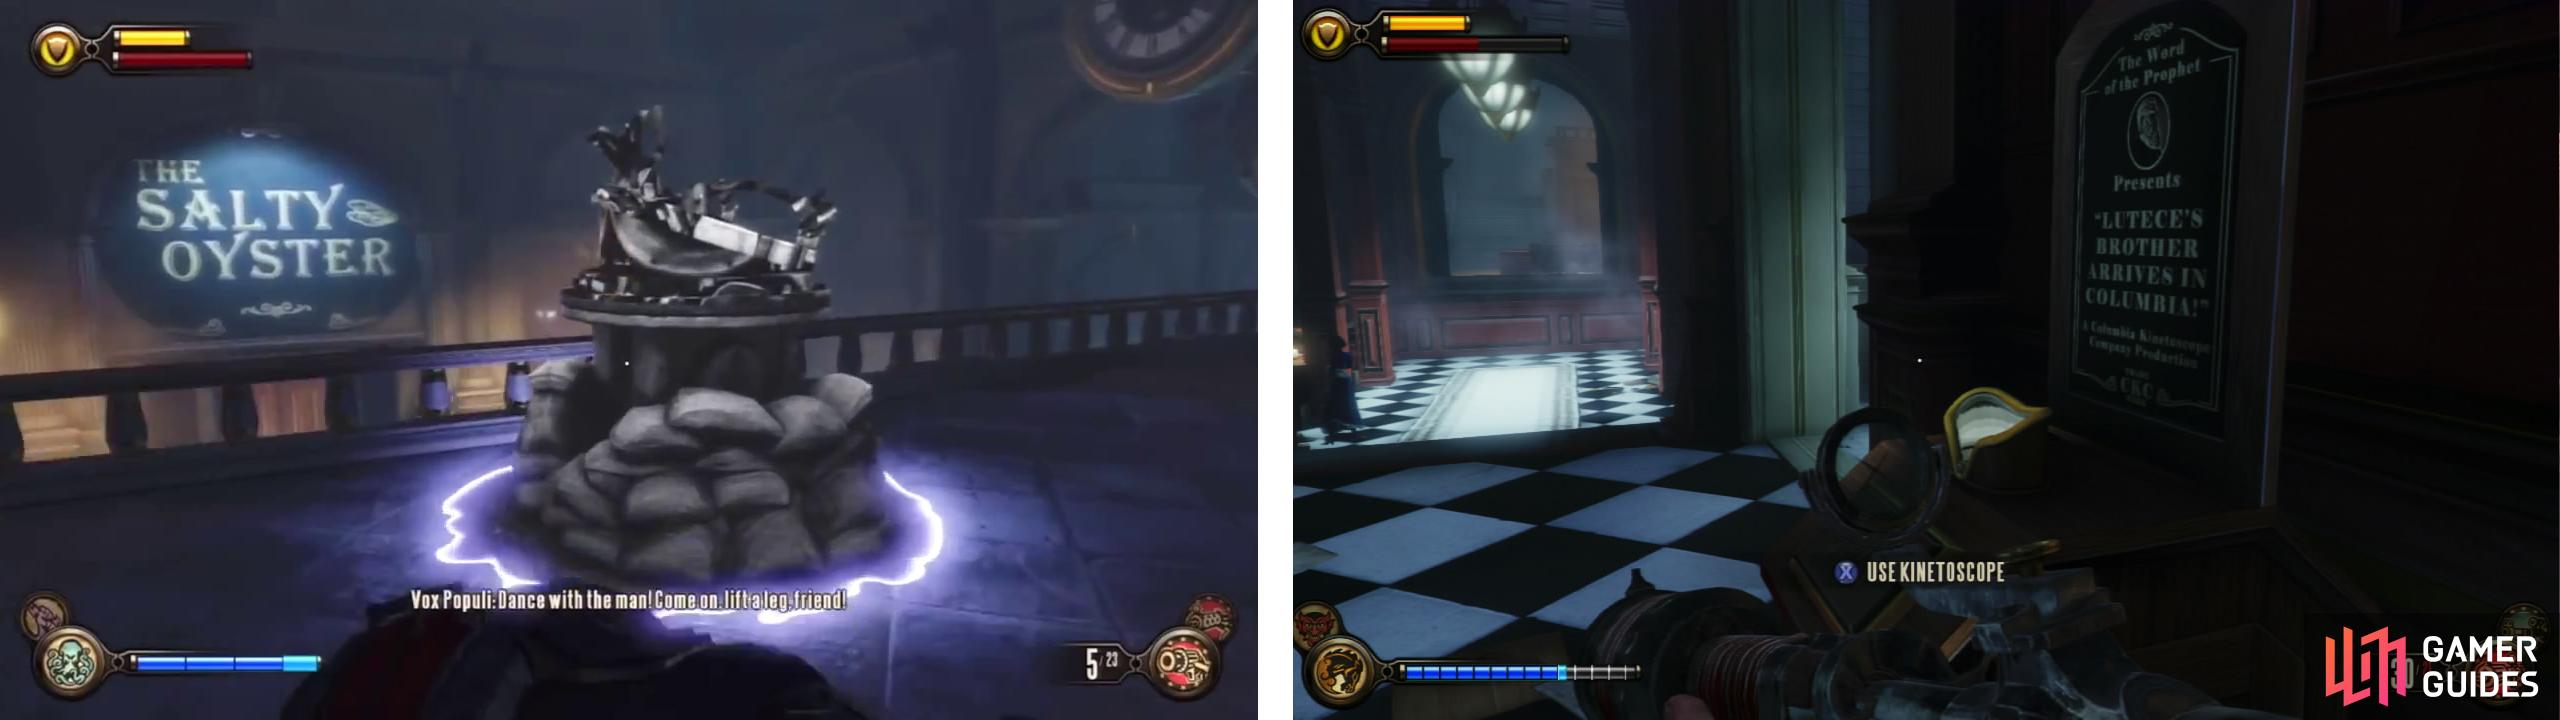
Enter the Salty Oyster (left). Inside you’ll find a Kinetoscope (right) and a piece of Gear.
Climb the stairs here and use Elizabeth to bring in the tear at the top for a friendly auto-turret. Proceed into the room ahead and kill the 4 Vox soldiers and the fireman inside. There is another Minuteman’s Armory vending machine at the back right of the room. Climb the stairs at the back of the room to enter a large open room.
As you reach the top of the stairs you’ll see a group of Vox soldiers and a motorized patriot. If you have some salts, possess the patriot and help it murder its friends. After this initial fight a whole bunch of additional enemies are going to enter the room. If we take a quick look around you will see that there is a large open area in front with raised walkways on the left and right hand side of the area with stairs leading up from both the back and each side. There are a number of tears we can utilise here to help us out.
| **Tears in this Location** |
|---|
| Tesla coil trap on the right side of the large ground floor area. Tesla coil trap on the left side of the large ground floor area. Box of medical packs between the sets of stairs we used to enter the room. Crank gun at the top of the stairs to the left. Volley gun and ammo on a small balcony on the right. Piece of cover at the top of the right hand stairs at the far end of the room. Piece of cover at the top of the left hand stairs at the far end of the room. |
Another 20-22 Vox soldiers and 2 firemen will spawn in the area and come to attack you. They will come from both the left and the right and from both sets of stairs at the back end of the room. As such, you should stay near where you entered the room and have Elizabeth switch between phasing in the pair of tesla
coil traps to hit enemies when they get close whilst using your vigors and weapons to pick off the other enemies.
When no more enemies come your way, cautiously work your way up to the far side of the room, eliminating any further resistance as you go.
Once the room is clear, look back to where you entered the area. There is a ticket office to both the left and the right of the stairs. The office on the right contains a safe Elizabeth can unlock (requires 3 lock picks) for some coins and a small store room near it that contains a Voxophone [2/5] . The left hand office doesn’t have much of interest although inside the small store room within you will find a lock pick.
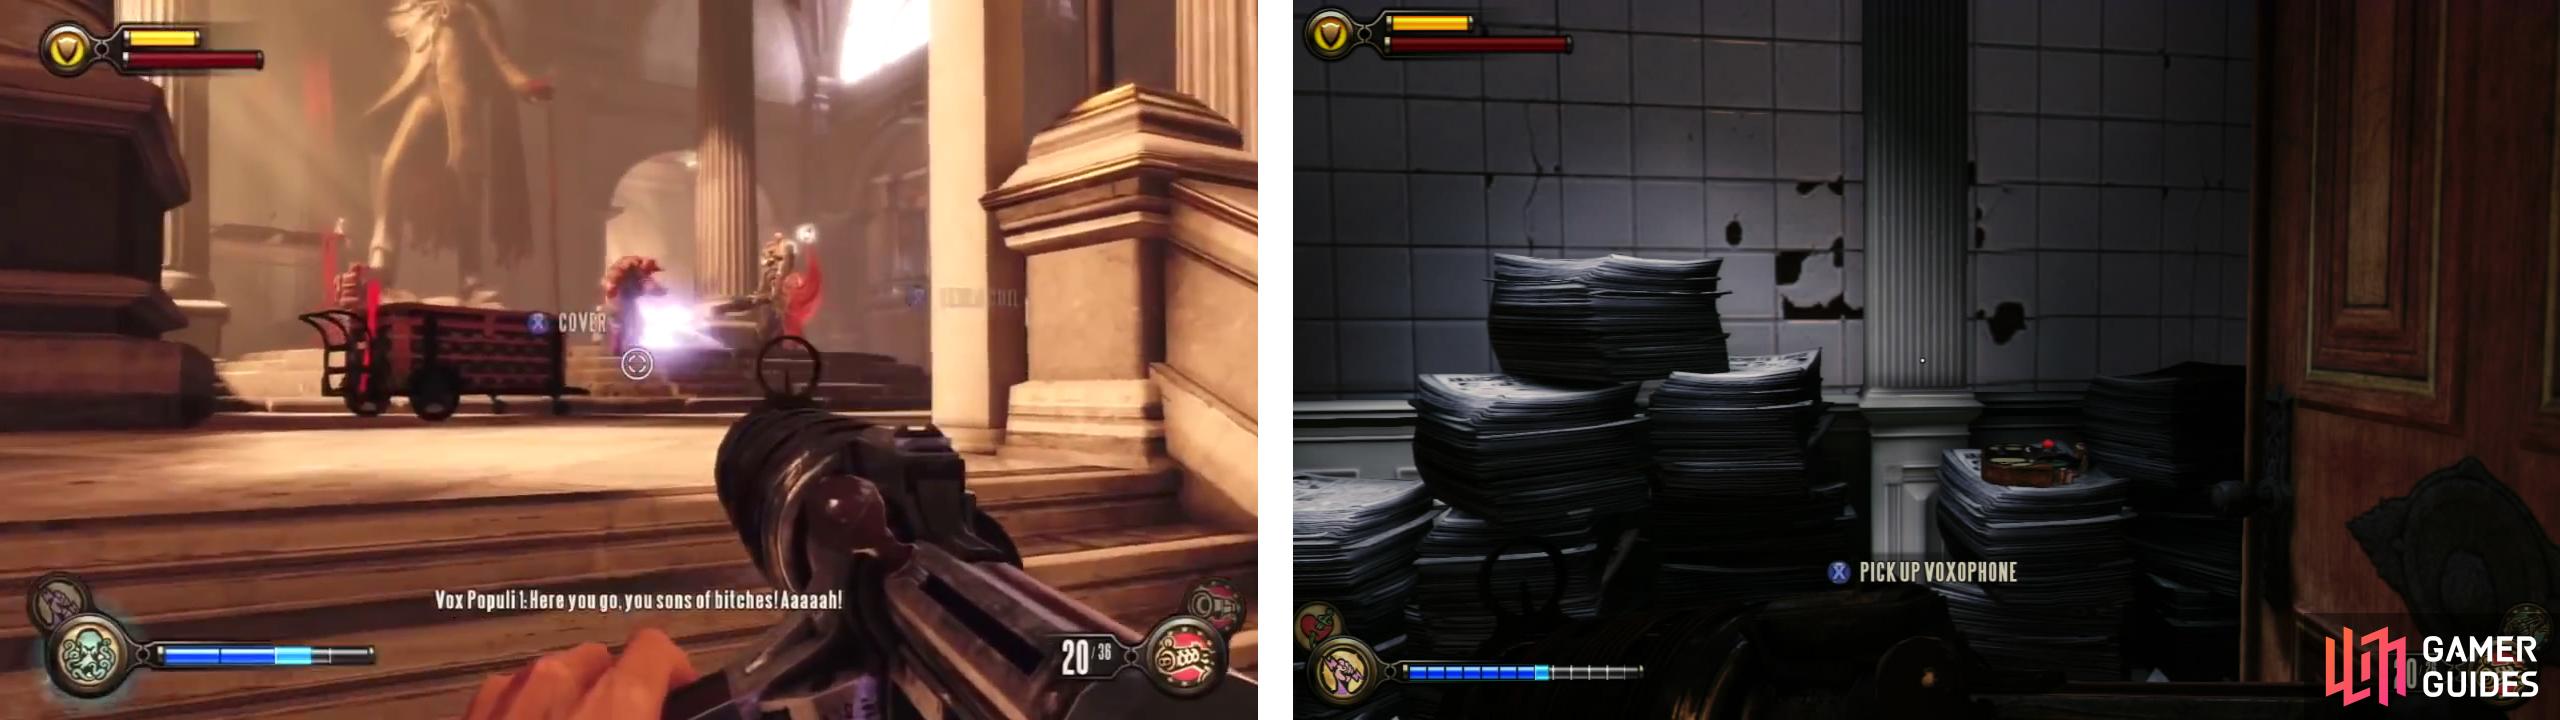
After clearing out the main room (left), look in the room to the right of the entry stairs for a Voxophone (right).
Loot the rest of the large room (there are plenty of bodies about!). When you are ready, climb the stairs at the back of the room and have Elizabeth unlock the gate here.
Immediately inside you will see a pair of tears.
| **Tears in this Location** |
|---|
| A piece of cover in the centre of the floor in front of you. A freight hook on the back wall of the room near the roof. |
Spawn the cover and hide behind it as you kill the sniper on the raised walkway above and his Vox soldier buddy that will jump down to the ground level to attack you. Afterwards you can use the freight hook at the back of the room to jump up to the walkway to find a Minuteman’s Armory vending machine if you require it.
Note that the turnstile at the end of this room takes us to the next area, but before we do that there is some looting and an optional task to do! Beneath the raised walkway, there is an open door to the left. At the back of this area is a locked door with a sign for ‘Founders Bookstore’, there is also a Veni! Vidi! Vigor! and a Dollar bill vending machine nearby.
Have Elizabeth unlock the door to the Founder’s Bookstore (requires 1 lock pick). As you enter look to the right. On a counter beside a teddy bear you will find a Voxophone [3/5] . Turn around and look on the central counter for a gift containing a new piece of Equippable Gear [2/2] . Now go down the stairs at the back of the store.
After entering the basement, you will hear some enemies saying “check the basement”. Four Vox soldiers will come down the stairs behind you. So finish them off before exploring the area. In the centre of the room you will find a Voxophone [4/5] . Grabbing this Voxophone will also give you an optional objective – Investigate the Bar.
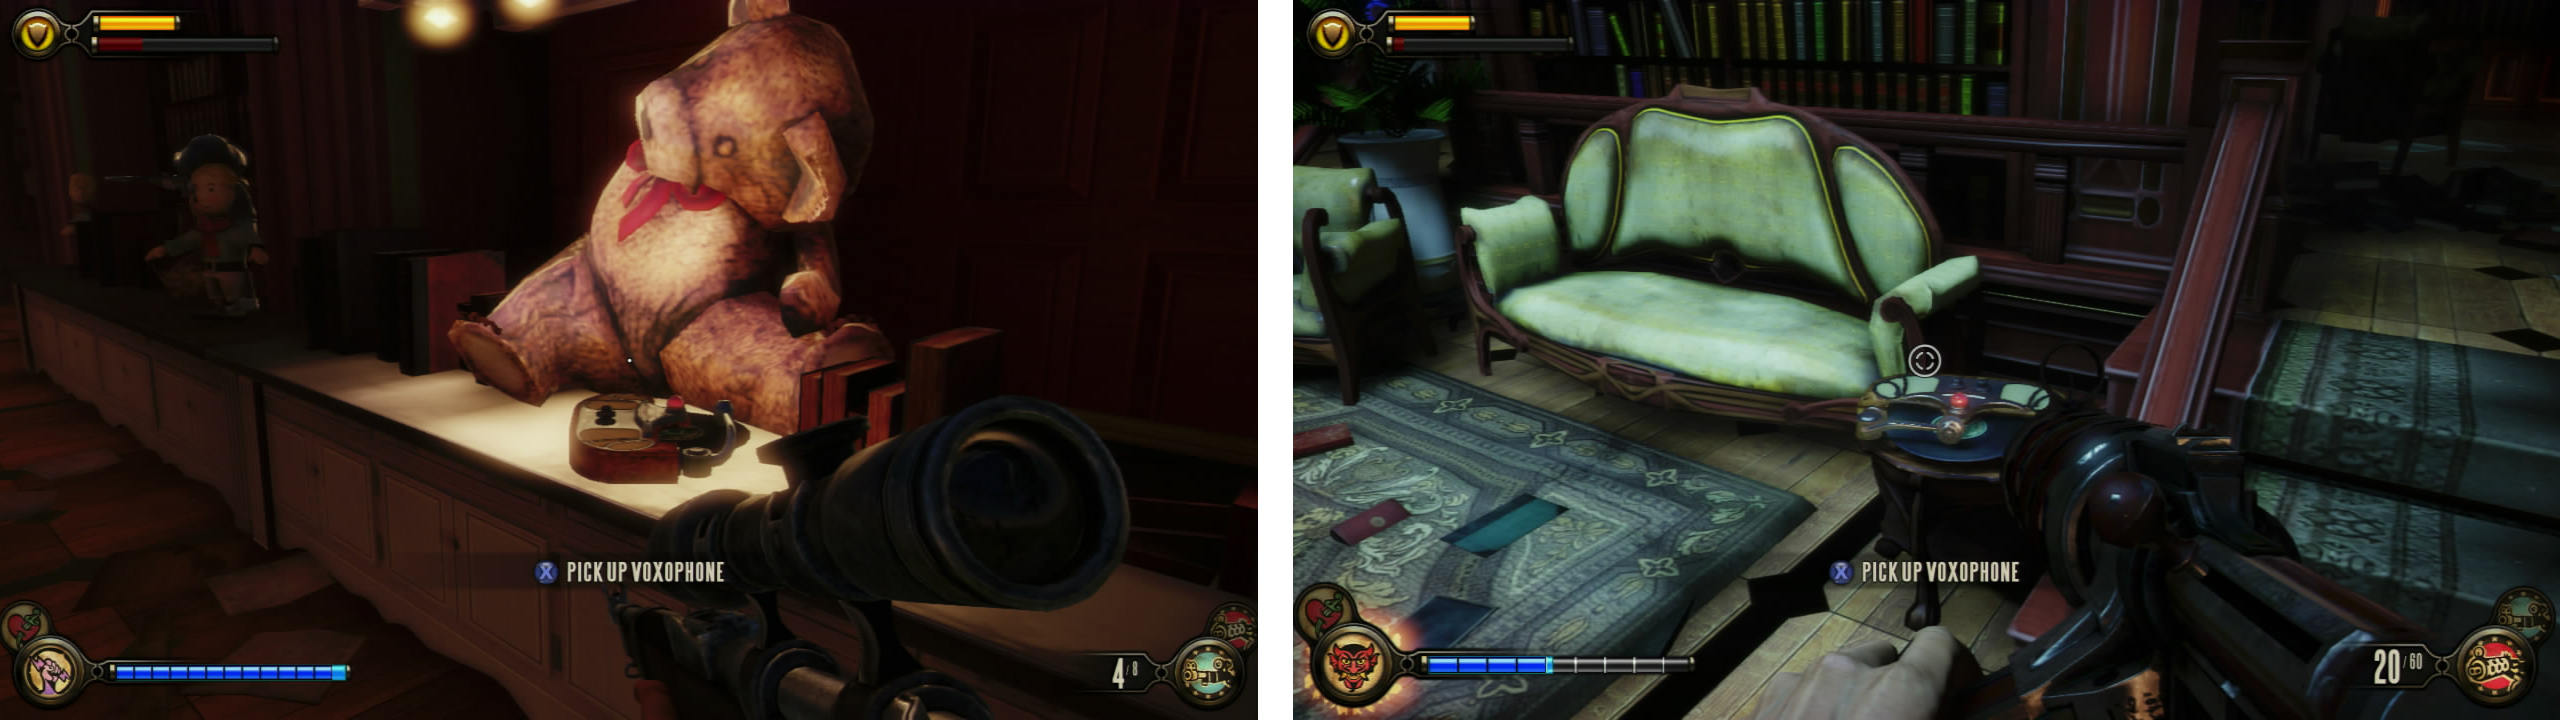
Inside the bookstore you’ll find a pair of Voxophones, one upstairs (left) and one downstairs (right).
Exit the book store and return to the previous room. There are four new Vox soldiers hanging out in here. Kill them all. Now let’s do the optional task. This one will net us our eighth and final vigor a little bit early and give us another Infusion Upgrade to boost those base stats.
| **Optional Mission: Investigate the Bar** |
|---|
| **Reward/s: 1 x Infusion Upgrade, 1 x Voxophone, New Vigor - Return to Sender** |
| Remember the Salty Oyster bar that we explored earlier? We need to work our way back there. As we go there will be a pair of Vox grenadiers on the way. Once inside the bar, look beneath the cash register on the bar for a button here. Hit this to open the nearby door. Inside you will find a new vigor – **Return to Sender** , a lock pick kit, an **Infusion Upgrade [2/2]** and a **Voxophone [5/5]** . |
Exit the bar and a group of 4 Vox soldiers will be waiting for you. Get Elizabeth to phase in the friendly auto-turret on the upper platform to help you out before focusing on killing the rest of the enemies. When they are dead, backtrack through the area until you reach the turnstile I mentioned earlier that will exit the area.
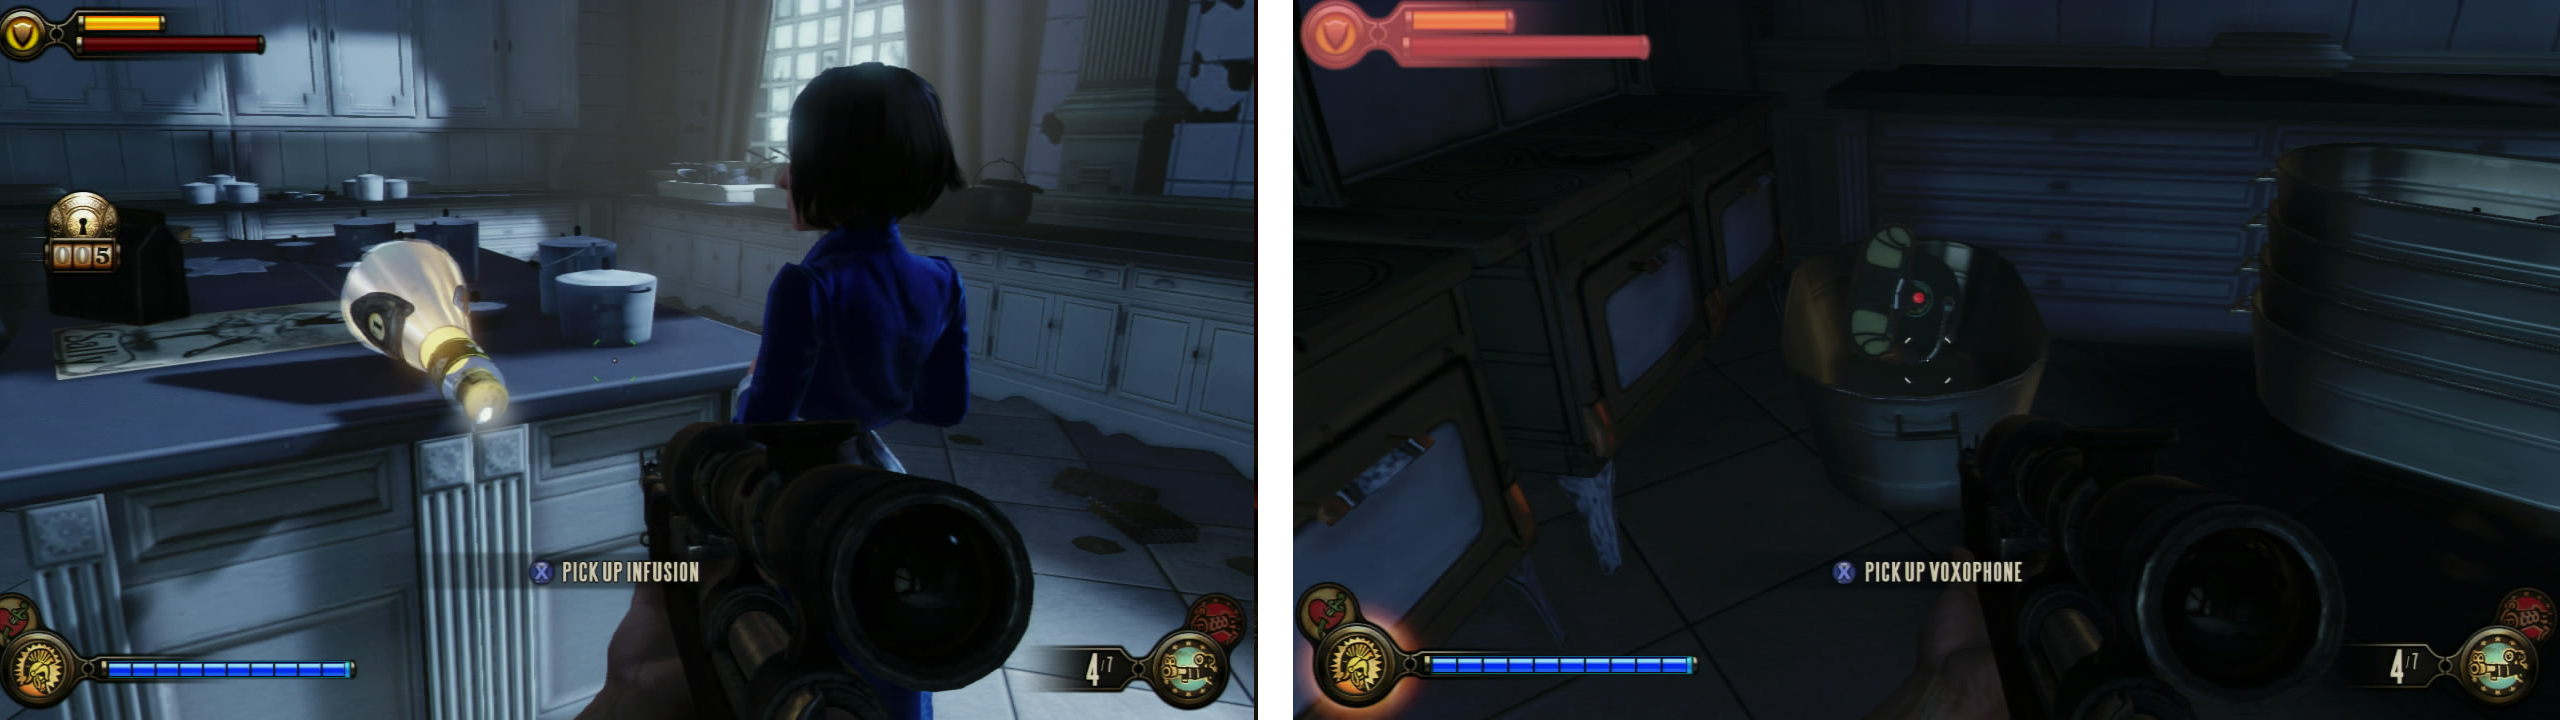
Inside the unlocked door you’ll find an Infusion Upgrade (left), a Voxophone (right) and a new vigor - Return to Sender.
When you are ready to progress, continue through the turnstile.
After going through, turn right and at the end of the room hit the button to call the elevator. After the conversation, run over to the counter furthest from the elevator and inspect the book on the counter for a scene. Once the scene is done, run over and talk to Elizabeth at the elevator call button. Enter the lift and hit the button to travel to the next area.

 Sign up
No Comments