
| Mission Details |
|---|
| **Rewards:** 12252 XP, 1542 dollars, Head Customization |
Jack wants you to find the vault before the others do, so head back to the moon by fast travelling to Triton Flats. Head to the waypoint to find the path is blocked, only for Jack to blow it open, leading the way to Vorago Solitude. Remember the Eternal enemies from the boss fight with Zarpedon? Good, because you will find them a lot more often from now until the end of the game.
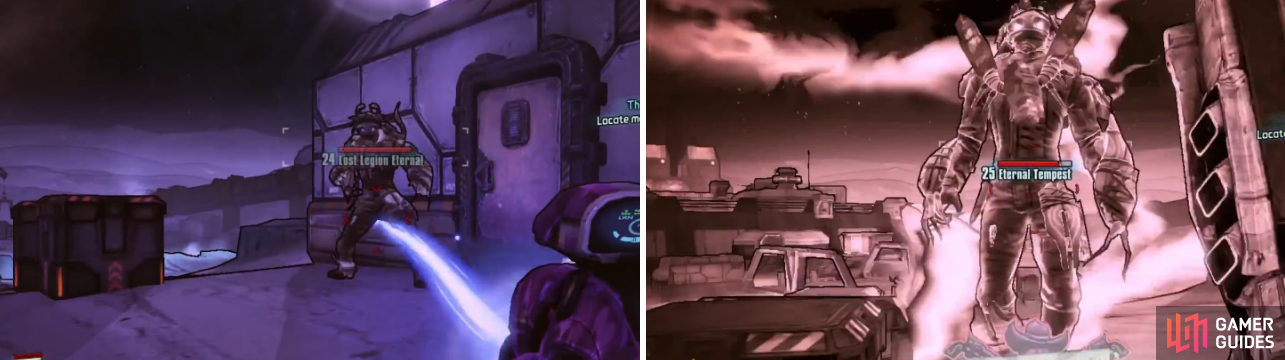
Eternals, as you already know, can ascend into one of five different forms, also recovering all their health in the process.
The excavation site is set at the waypoint and when you approach the bridge leading to it, Jack will send down some Loaders to help. Destroy the two turrets by the main gate, then head inside and start blasting away the enemies. When you get to the side opposite from the entrance, you’ll see a short scene introducing the Guardian enemies.
These enemies can be a pain and have decent shields, although once those are gone, then they will likely die very fast. Anyways, to continue, find the stairs near where the Guardian in the scene appear, which leads to a tunnel of sorts that goes to a new area called the Outfall Pumping Station. Here, kill the surrendering Lost Legion, then take the elevator down. Get ready for a boss.
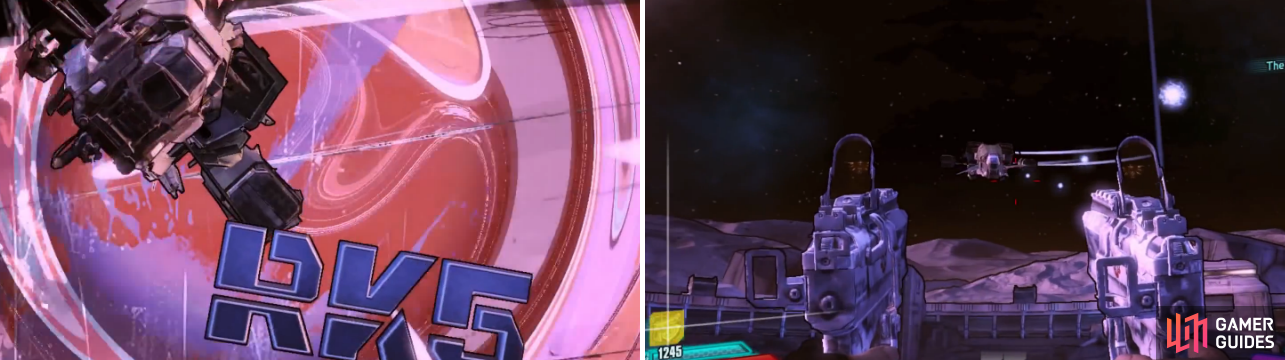
Boss: Raum-Kampfjet Mark V (RK5)
Yep, this is definitely a challenging boss battle, not only because of the actual boss, but also because you will have to contend with both Guardian and Lost Legion fodder. As always, though, don’t worry about the minions unless they are either swamping you or you are about to die and need a Second Wind.
Now, depending on your character, the boss can be hard to hit, since it flies around a lot and doesn’t sit still for too long. As for its attacks, it can fire little electric balls that can slightly home in on you, as well as missiles. It also has the ability to slam down onto the ground, which can hurt a lot. The most devastating attack is a bombing run, which is usually precluded by the boss saying something and there being marks on the ground.
RK5 can be one of the hardest bosses in the game, due to the fodder enemies and how far away it will fly away during the battle.
For this battle, you will definitely want to use cover of some kind, as being out in the open will likely get you killed very quickly. There’s a few places that you can use, such as the entryway and the middle tower (jump pad to get onto it), although it might be difficult to hit other enemies from atop the tower.
Another possible spot you can use is at the base of the building in the middle, on the side where there’s a Guardian spawn close by. Either way, the boss doesn’t have a shield, so you don’t have to worry about it regenerating. As for weapons, it seems that corrosive tends to deal a bit more damage than others and cryo is not that effective. If you get a clear shot on the cockpit, it is a weak point.
Tychos Ribs
Now that the RK-5 has been grounded, enter the big building and take the exit to Tycho’s Ribs. This place is constructed like a tower and you will undoubtedly notice what look like elevators. These rise up and hit a barrier, crushing and killing you in the process (well, one doesn’t have a barrier and it leads to a secret easter egg).
All of the elevators lead to a barrier that will kill you, except for you, which leads to an easter egg that’s related to a certain plumber.
You can’t just jump straight down to a lower level it seems, as it will be like jumping into a pit. As for enemies, you’ll be facing off against both Lost Legion (including Eternals) and Guardians in this place. Once you’ve cleared the initial load of enemies, start heading down via the ramp, dropping down the hole with the elevator platform.
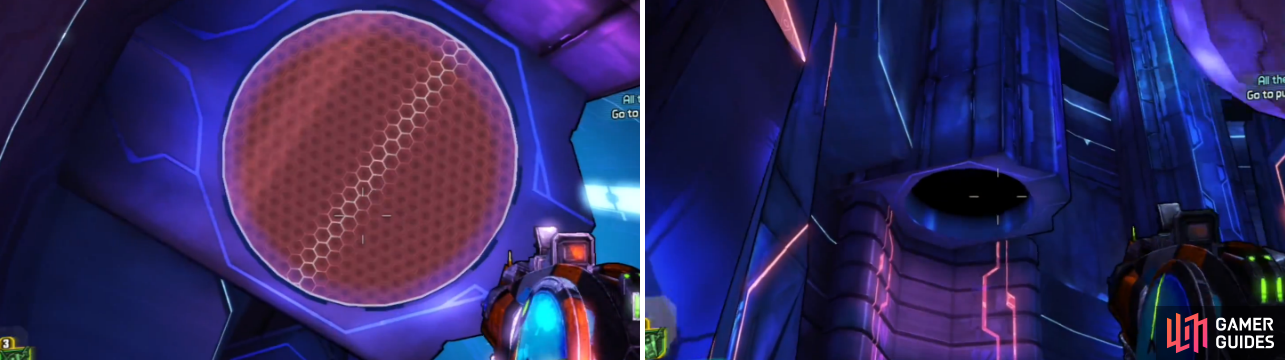
Keep going down until you reach the second side room named Particle Collection Chamber. Here, you’ll need to circle around to the other side, where you can continue your descent. One level lower and Jack will make mention of a shield, making sure to avoid the rocks here, as they will make short work of you.
Go past the elevator and into a long hallway, where you’ll find more enemies and you’ll eventually reach the shield and a large cannon. You can do one of two thing here, either stand in front of the shield and bait the Lost Legion to shoot it for you (and get a Challenge) or kill the cannoneer and man the cannon yourself. There’s one final hallway here between you and the exit to the last area of the game, Eleseer.
Eleseer
This is a pretty small place for being the final area of the storyline and it’s only packed with Guardians, including a new type called Ophas. These are quite annoying, as they can spit out little drone-like things called Puttis. They can do one of two things, as sometimes they will restore the shields of the Opha or they can create a turret.
There’s only one path you can go right now, which leads to one of the Opha enemies. If you kill it quickly before it brings out a Putti, then it won’t spawn a door with turrets that blocks your progress. Otherwise, destroy the turrets on the door and the path will be open. Go straight through the next opening and you’ll see a series of platforms that lead to another doorway.
This pathway will lead back outside, where you’ll meet the Opha Superior. While this isn’t a boss, the Opha Superior is dangerous, as it can spawn Guardians and Puttis. After you finish it off, clear the rest of the Guardians and destroy the three turrets on the door, opening it. Go through the middle ring until you can go inside once again.
Jump across the platforms and into the middle ring again, where you’ll see a ramp pop up, allowing you to get to the upper ring. There will be one last Opha guarding the final doorway, which leads to the vault. If you didn’t know, prepare for the final boss of the story!


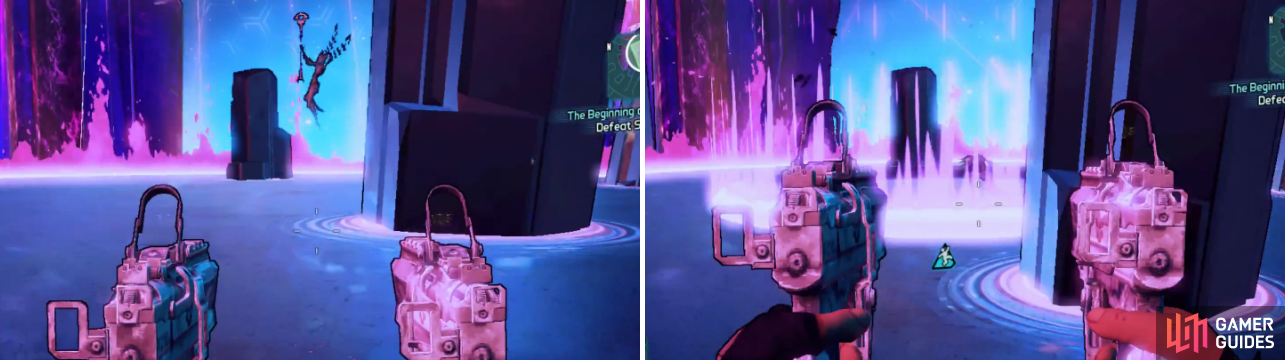
Boss: The Sentinel
As already mentioned, this is the final boss of the game and it’s definitely a long one. It has a few forms and will cycle through them once you bring down its shield, where it will teleport to the middle and do a shockwave to initiate the next form. Note that you want to avoid the shockwave, as it will hurt a lot or either outright kill you.
After depleting the shield of each form, the Sentinel will teleport to the middle and unleash a shockwave, which you might want to jump over to avoid major damage.
For the first form, the boss has a few attacks, such as attacking you with its staff if you’re close enough. It can also twirl the staff around, which can deflect your shots back at you, so you don’t want to fire when it does this. The boss will also shoot little electric balls at all, but you can avoid them as long as you keep moving.
The second form is fire-elemental and while it retains some of the same attacks, the Sentinel gains some new ones as well. Those little balls of energy from before are now fire and it can also float in the air, firing bigger fire balls your way. The third form is cryo-elemental and the only difference is a large beam it can fire when it floats in the air.
For the final form, it will have no shields and you can finally damage his health bar. The best thing to do in this entire battle is to strafe or run around the outer edge of the arena, but make sure you keep an eye on the boss. Also, don’t bother with the Guardians, as they’re Second Wind fodder as usual.
After the battle is over, feel free to go and pick up any loot that is dropped, but don’t let down your guard just yet, as something is stirring in the middle of the arena. Yep, it’s time for the true final boss.
Boss: The Empyrean Sentinel
This one is a lot bigger than the previous one, and it also has multiple forms, but only three. As usual, ignore the Guardians and only use them when you need to get a Second Wind. Also, the only way the boss can be damage is by hitting it in its active face (the one facing forward).
Once you deplete the shields, then the mask will fall off and most of the hits to the face will be critical. When you deplete the health all the way, the next form will begin, with full shield and health. As with the first battle, the second and third forms are elemental, with them being shock and corrosive, respectively.
As for its attacks, it can slap the ground and also slide its arm across the ground. When it raises its hand with the palms facing the ground, energy beams will be shot out and move back and forth. One final attack you’ll see is a black hole-type attack it creates to keep you close, then it will smack the ground.
For the second form, it will continue doing the above attacks, but it will also gain a few new ones. One is it will smack both hands on the ground and launch you high into the air, then create a ceiling that will damage you. The other new move is it will make piece of the ground float into the air, then it will make the ground electrified. Some pieces will be higher than the others, but all you need to do is get on one to avoid the attack.
The third form, which is corrosive, will have all of the above moves, as well as a single new one. It will wildly flail its hands, hitting the ground, then follow up by spitting acid onto the ground in front of it, creating a pool that will stick around for a little while. You do not want to be standing in this, as it will do severe damage.
Obviously, running around like the previous battle won’t work on this version of the boss, as its only weak point is the forward-facing face. That means unless you’re running from a specific attack, you will want to keep in front of the boss. A high damage weapon, like a rocket launcher, might be helpful whenever its shields are down and you can get critical hits on the actual face.

The Empyrean Sentinel can only be damaged by shooting the head that’s facing forward. After its shield is gone, the mask falls off and you can start depleting its health.
Yep, killing the Empyrean Sentinel means you have won. Once you’ve gone through and picked up any nice loot, interact with the vault symbol in the middle to initiate the final cutscene and then the credits. When the credits are done, exit via the way you came in and then visit Jack in his office to officially end the mission.
You will also unlock True Vault Hunter Mode (TVHM), which is a second playthrough with that character. Everything is pretty much the same, except you will get a few extra conversations thrown into the story, thanks to Tiny Tina. Otherwise, there’s nothing different besides enemies being more challenging, better loot and you being able to eventually level up to 50.


 Sign up
No Comments