
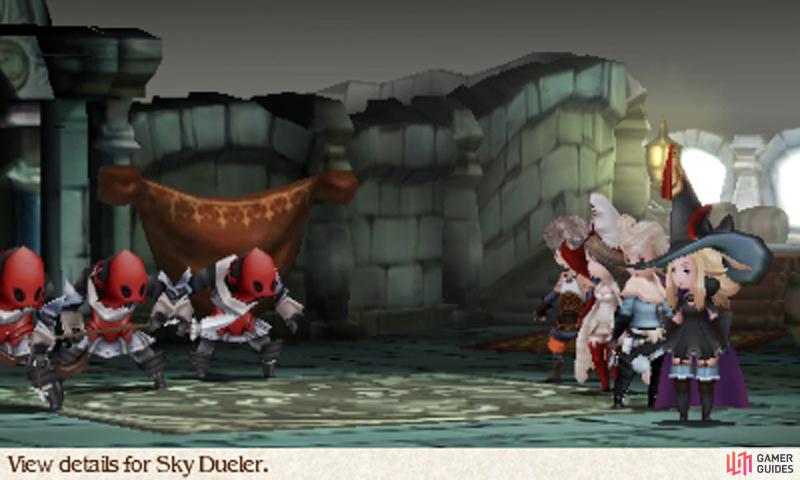
(1 of 2) If you’ve brought a Black Mage along, Thunder is good against the Sky Knights and Fire is good against their pet beasts.
If you’ve brought a Black Mage along, Thunder is good against the Sky Knights and Fire is good against their pet beasts. (left), (right)
To reach Lontano Villa you first have to cut through Centro Keep; just head north from the keep entrance and inspect the door at the end and Edea will do the rest. Through the door and you’ll be on the other side of Centro Keep.
From here, follow the winding path north and you’ll find Lontano Villa at the very end, up the mountains. Enter the villa and Edea will take you in as prisoners. However, as soon as you go inside the villa, the ruse is over and you’ll have to fight through the enemies inside. Well, so much for the clever approach.
Floors 1 and 2 (First Half)

(1 of 2)
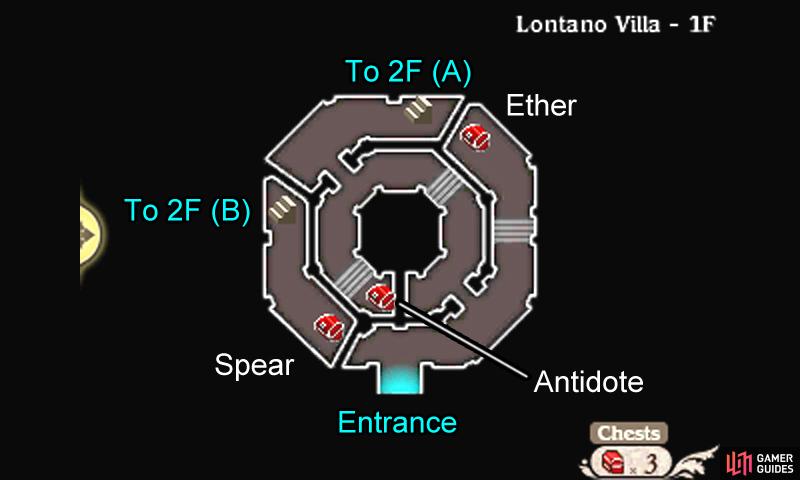
From the entrance follow the corridor all the way right to find a chest containing one Ether. Next, go back and head through the passageway a few paces right from the entrance. Follow this inner corridor all the way to find a chest with an Antidote inside.
Finally, go back a bit and take the passageway leading up to find a flight of stairs going up at the end. Shall we? Upstairs on the second floor, you can find a Potion inside a chest towards the east. To the far west you’ll find stairs leading back downstairs, where a Spear lies inside a chest.
To exit the second floor, make for the north-west corner, where there’s a open door leading outside the villa. Just before the door, head in the opposite direction to find a chest containing a generous 400 pg. Outside the villa, make your way right across the balcony to find a door leading inside on the opposite face.
Floors 2 and 3 (Second Half)

Back inside, you’ll be on the other side of the second floor; head up to find a chest containing a White Cape (null silence, so give it to your spell-casters) and stairs leading up. On the third floor you should see the orange exclamation mark, which means the boss battle isn’t far. Head up from the stairs to find a Phoenix Down inside the chest in the dead end.
To the far north you will find a suspicious blue locked chest–ignore it for now as it’ll be absolutely ages until you can open it. If you wish, you can make a note of this chest’s location, but we’ll tell you the locations of all the blue chests when the time is right.
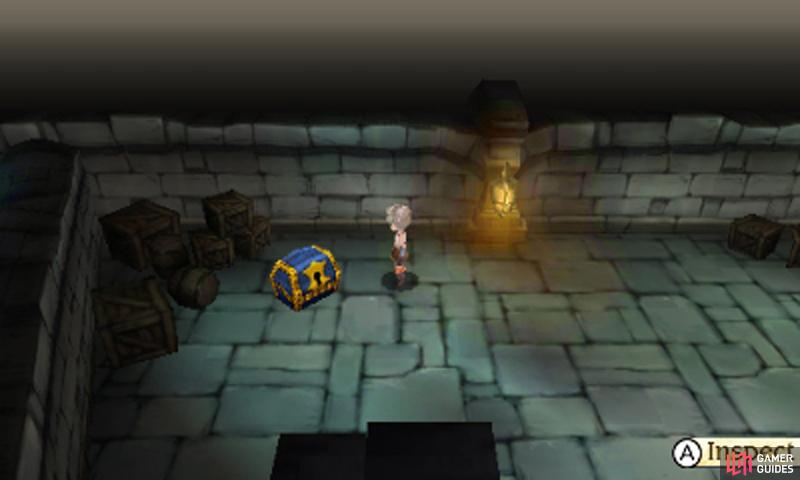
(1 of 2) “How do you open the blue chests?” we hear you ask. Sadly, you’ll have to wait until you’re two thirds through the game for your answer.
“How do you open the blue chests?” we hear you ask. Sadly, you’ll have to wait until you’re two thirds through the game for your answer. (left), (right)
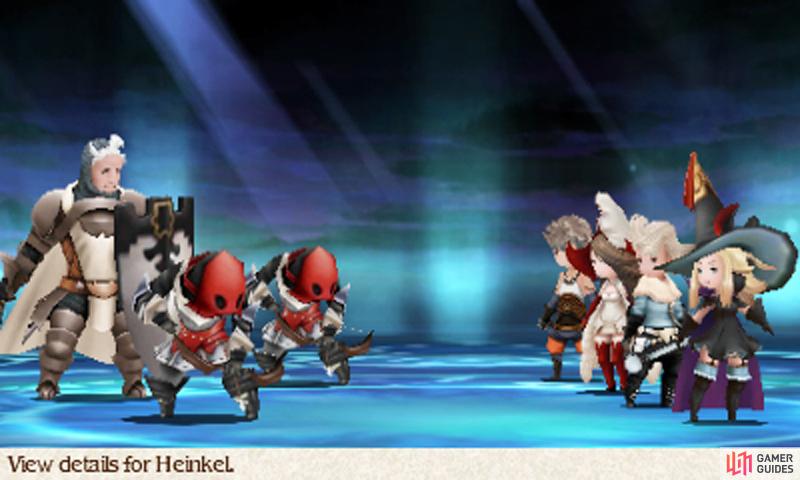
Once you get near the west side, you should spot Heinkel and the king across the wall, plus the ever-useful Adventurer before the passageway. Be sure to save your game before continuing past the Adventurer.
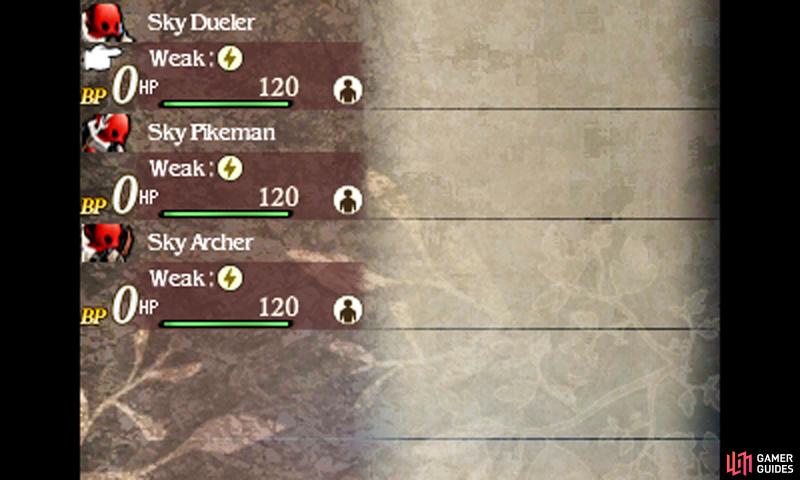
Approach Heinkel and his mob and he’ll chuck four sky knights your way. By this point, they shouldn’t be a threat; group-cast Thunder once or twice and have two strong physical units Brave four times to clean them up.
Once you’ve disposed of his minions, Heinkel will flee the abode–follow him through the open door to the left. Don’t forget to heal your party while you’re here! You’ll be outside the villa again; like before, go right across the balcony and you’ll stop before the Eternian airship that’s docked.
Heinkel will continue to flee, boarding the airship; Tiz and company stubbornly give chase and the airship takes off with everybody on board. Now you can’t escape, but neither can Heinkel, so it’s time to put him to the metal!
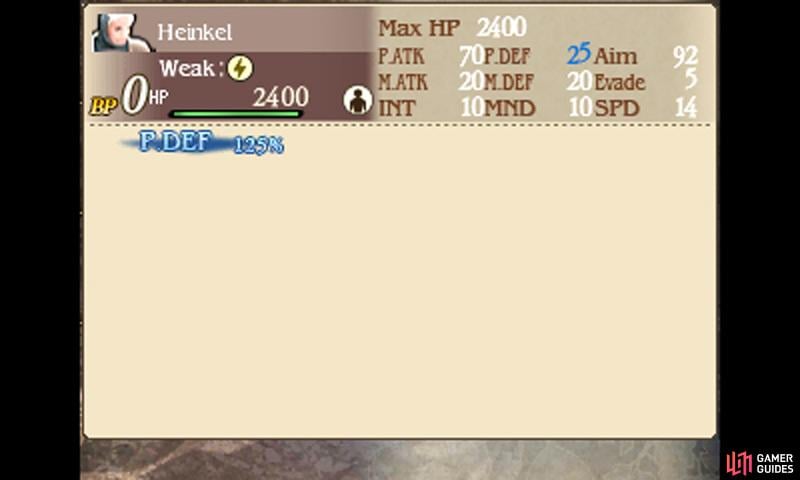
Boss: Argent Heinkel
(1 of 2)
| Level | HP | Weak to |
|---|---|---|
| 12 | 2400 | Lightning |
Heinkel will be accompanied by two sky knight minions. To begin with, group-cast Thunder twice or thrice to get rid of the sky knights–don’t bother single-targeting them, as Heinkel will use Ironclad and Protect Ally to take the hit for them.
Once the knights are down, Heinkel will have nowhere to hide, so you can confidently lay the punches on him. However watch your HP because he can do hefty damage. Also, his Shield Strike will bolster his defense, so you’ll need to rely on your heavy hitters or Thunder to do damage.
Once Heinkel reaches low HP, he’ll start using Stomp, which does mighty damage but drops his defenses. Next, he’ll Brave and use Stomp twice, but then he’ll become immobile for one turn. During this stage, Default to minimize the damage, then unleash all your fury on the turn he can’t move. If you keep your HP high before he begins using Stomp, the rest of the battle should be a cinch.
Our heroes’ victory is cut short by an impending crisis–the airship is descending fast and nobody can pilot it now that Heinkel’s gone. Thankfully the party manages to pull through and they bag the ultimate victory of the day: a proper Eternian airship!
Take To The Skies!
You’ll be taken to the lake to the south-west, where you fought Holly and Barras. Right now, you should escort the king back to the palace, otherwise there’ll be nobody to attend to the royal duties and we can’t be having that.
By the king’s blessing, you will be able to command the airship. Now you can take to the skies and begin your journey to awaken the four crystals! Before leaving Caldisla, you may want to purchase any items from the shops that you couldn’t afford earlier (such as magic scrolls). You can return to Caldisla whenever, but it just saves you time going to and fro.
Once you’re all packed and ready, return to the airship and take flight. Agnes will inform you of your next destination: Ancheim to the south-east. Head for the orange exclamation mark and you can’t get lost (unlike Agnes).
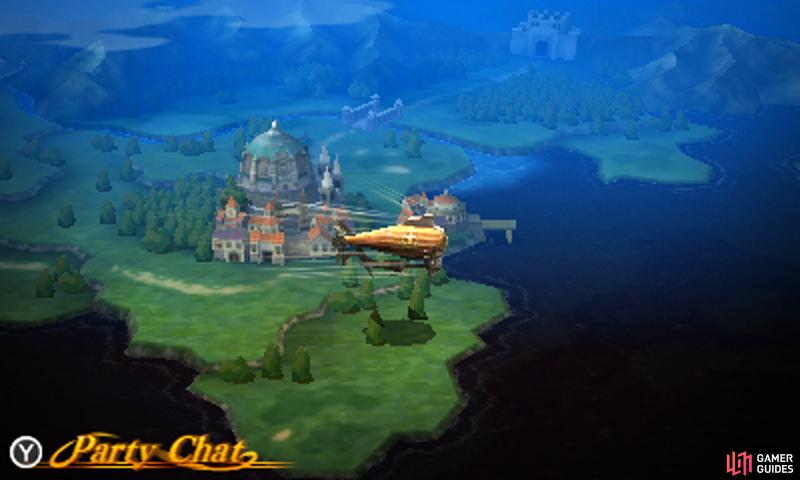
(1 of 2) While in the air, you’ll experience no enemy encounters. When traveling on water, however, don’t expect the same comfort.
While in the air, you’ll experience no enemy encounters. When traveling on water, however, don’t expect the same comfort. (left), (right)
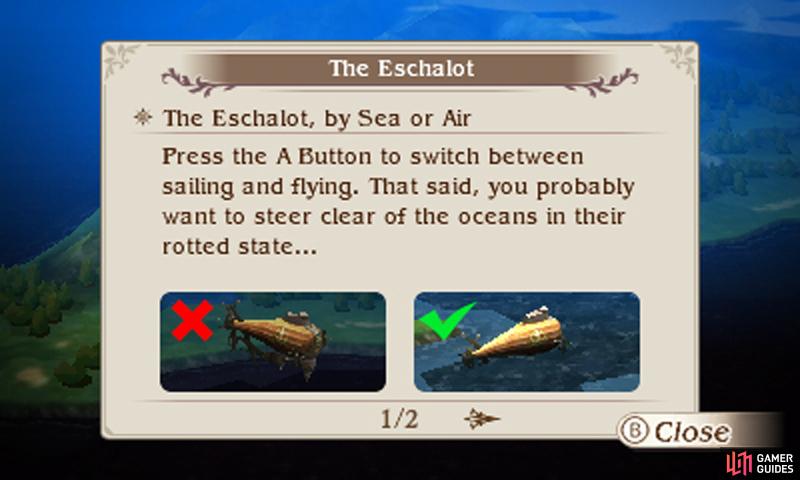
Wow, the world map sure opened up didn’t it? With the airship, you can now fly to all the lands in Luxendarc, but there’s a minor catch… Namely, you can’t land on the ground or the sea, nor Eternia to the north-west, surrounded by tall peaks. Which is 99% of the world map we’re afraid!
Guess we’ll just head for Ancheim then… Once you reach the exclamation mark, look for the wooden pier to the north of the southern continent and press A to land in the non-rotten sea, then navigate to the pier.

 Sign up
No Comments