
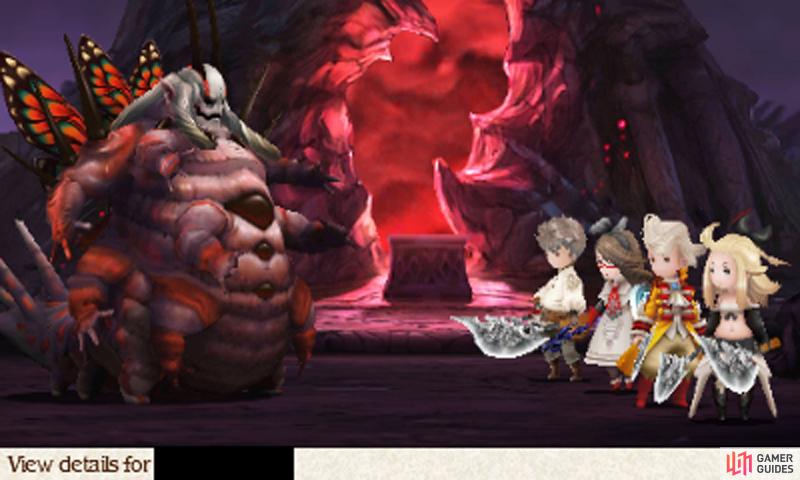
At the end of the Dark Aurora our heroes confront the vile malefactor who has caused much suffering to their world and countless others. Though they wish things didn’t have to come to this, their resolve in clear–this will be the battle that will end everything once and for all!
Boss: The Evil One (Larva)
(1 of 2)
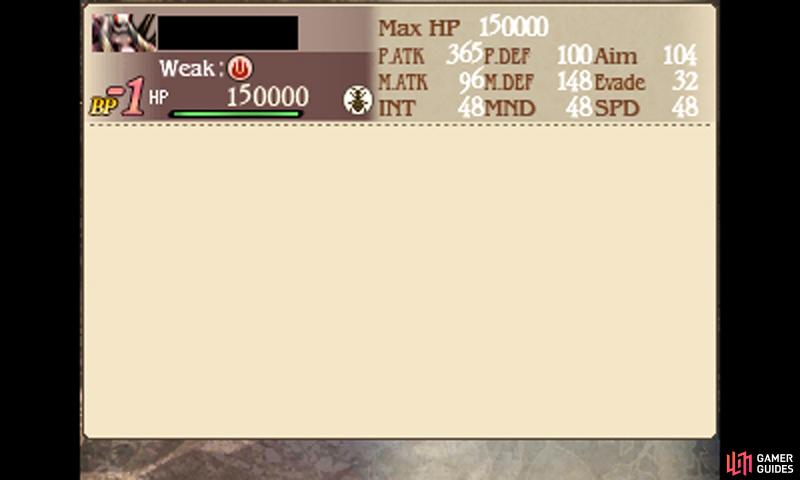
| Level | HP | Weak to |
|---|---|---|
| 48 | 150,000 | Fire, Bug |
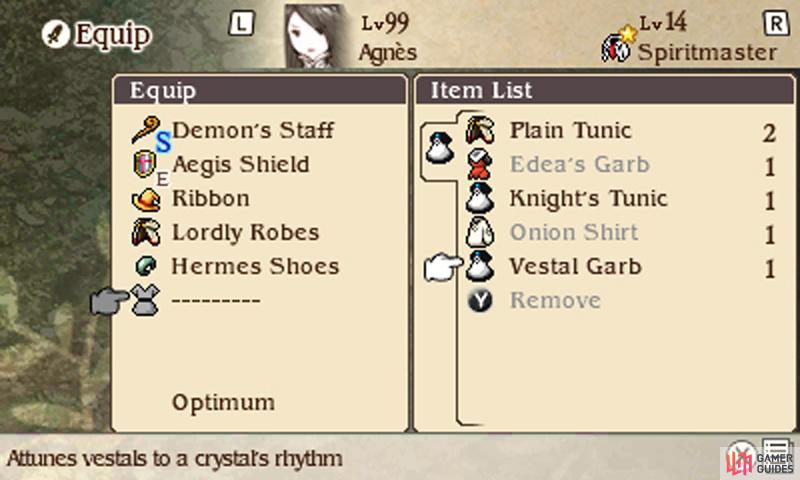
Before you begin, apply Stop Immunity and Charm immunity onto your characters (the Ribbon should go on your healer) or you could waste valuable turns. Also, bring along a high-level Spiritmaster for support. Despite its taunting, this arch-nemesis isn’t all that tough. The boss will use Tough Bind on your party for a chance of causing Stop.
The Evil One’s main course is Slaughter–which you know all too well–for massive damage to your party, plus Poison. With Stop immunity, you should have little problem keeping your HP high to survive an unexpected Slaughter; having Rampart erected or Utsusemi helps too.
If anybody has been poisoned, immediately cure them of their ailment, as the boss delights in using Poison Punisher to deal massive damage to those suffering from poison, much akin to the Arcanist’s Exterminate. Poison Immunity (Freelancer) could save your bacon.
For major damage, you can target the boss’s fire or bug weaknesses; also keep in mind its lower physical defense. After a while, the boss will put up Spike Guard–a menacing barrier akin to Chaugmar’s. However the difference is that you can still hurt the boss; although if you chuck a physical attack its way, it will counter with force.
A good tip is to use Kairai to focus the boss’s attacks onto a sturdy character using Know Thine Enemy (or Nothing Ventured if they can’t take a hit)–your character will counter with heavy damage and not eat a counter themselves. Don’t forget to heal your decoy afterwards!
Otherwise, after a few turns, the Evil One will use Release to drop its barrier; if you saved up BP, now is the time to unleash all your powerful attacks at once! Carry on whittling down the boss’s HP and once it reaches critical HP, it will call quits and end the battle.
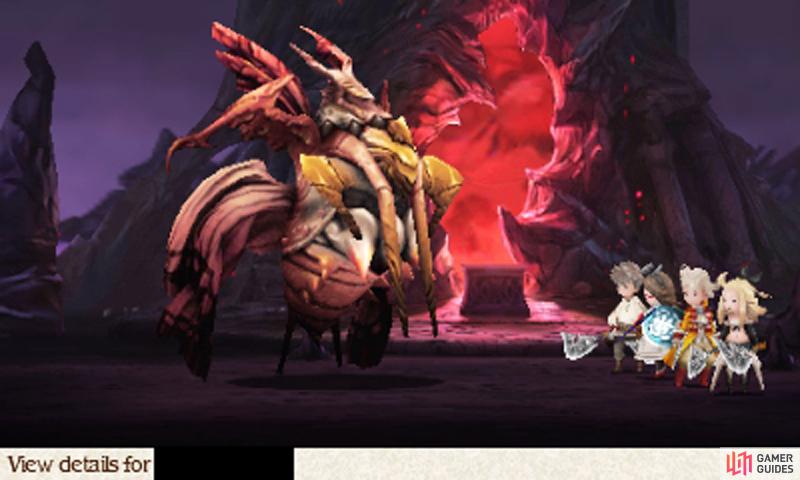
Having been pushed around by the warriors of light, our arch-enemy is none too pleased. Like any good final boss though, it has another card up its sleeve–a more powerful form! Well, here goes Round 2!
Boss: The Evil One (Pupa)
(1 of 2)
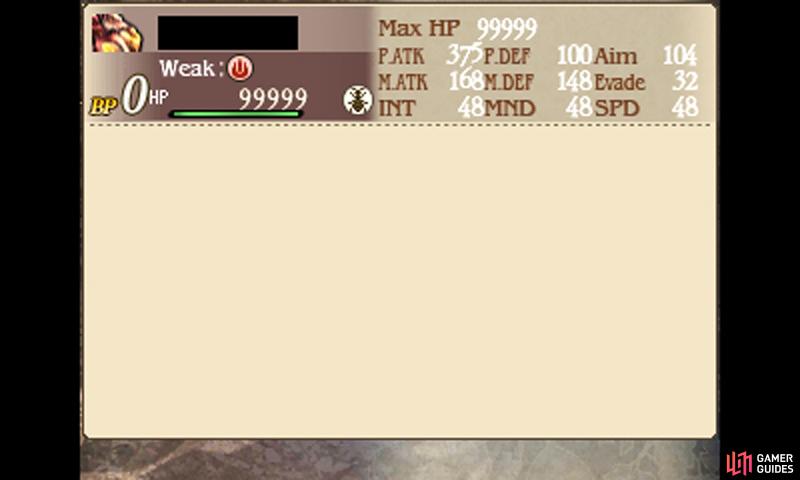
| Level | HP | Weak to |
|---|---|---|
| 48 | 99,999 | Fire, Bug |
Now this is a step up; the Evil One will stop using physical attacks and rain down potent magic spells, such as Blizzaga , Thundaga and its unique Flare, on your party instead. From the beginning, you may wish to use the Spiritmaster’s Adaptation, Greater Spirit Ward or Enigma to reduce the effectiveness of its magical onslaught.
Besides magic, it will use Irritate to cause Berserk to one character, causing them to attack mindlessly–not a problem if they’re an attacker to begin with, but a bother if they’re supposed to heal or provide backup. If necessary, use Esuna or a Remedy to tame your warrior’s ire.
The battle gets tough when the Evil One uses Acedia to make your party weak to the elements, even if they resisted, negated or absorbed the elements prior. As soon as you can, have your Spiritmaster reverse the effect with Greater Spirit Ward or the like, or have a White Mage group-cast Dispel (requires a Level 14 Black Mage) on your party.
If you don’t get rid of Acedia’s adverse effect, your party could be in danger of getting wiped out in a single one hit. Try to keep some reserve BP on your Spiritmaster or feed them BP with a Performer. You also don’t want your Spiritmaster afflicted by Charm or Berserk…
Otherwise, the Evil One has the same defenses and weaknesses as its first form, so just purposefully whack it with the same attacks.
When the boss’s HP falls to half again, it will start using Luxuria to cause Charm on your party; though, with our forewarning, your party will just shrug off its failed advances. Keep battering the boss and it will begin to panic and finally meet an untimely demise at your warrior’s hands.
What Next?
Though you’ve seen the ending, you haven’t witnessed the full story yet. Nor by far.
When you restart the game, you’ll be taken back to the point before you visited any of the crystals. From here, you can continue on your road to the True Ending. To unlock the True Ending, all you have to do is complete Chapter 8 normally (by awakening all four crystals).
(1 of 2)

 Sign up
No Comments