
Even in the demo, Ancheim was surrounded by a vicious sandstorm.
Back to Al-Khampis
After that close encounter with the Ba’al, make your way back to Al-Khampis to the distant south. To save time, you can disable encounters from the R button menu. Don’t bother returning to Gathelio to use the “telepork” service as the magical pig will be conveniently missing.
Just outside Al-Khampis, a cute little cutscene will play; afterwards, continue along your merry way. Inside Al-Khampis, Agnes will inform the party that the Skyhold has parked itself above the city of Ancheim. Leave Al-Khampis from its north exit to reach the desert.
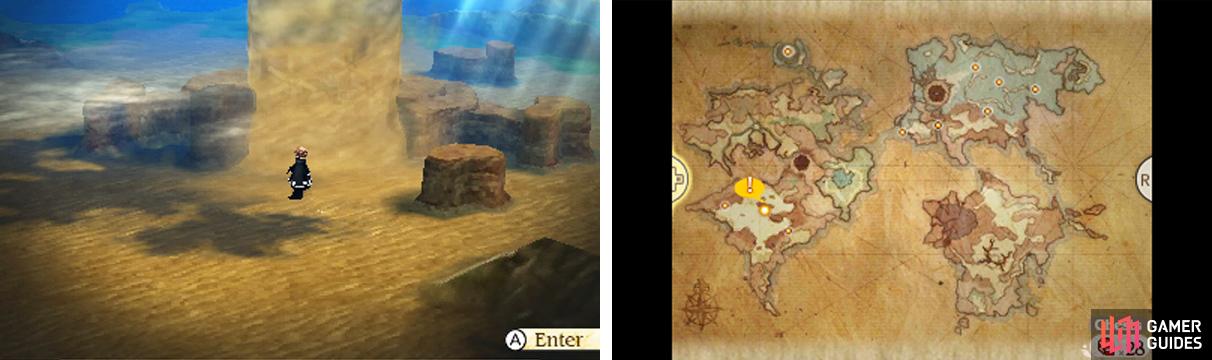
From here, head north-west, while following the mountain range to the north. As soon as the mountains give way, you should notice a gigantic sandstorm directly ahead. Normally, the city of Ancheim would be sitting right here, but something’s obviously not right…
In any case, approach the intimidating force of nature and attempt to enter it to trigger a cutscene. As it stands, there’s no way to enter Ancheim through the sandstorm, so you’ll need to return to Al-Khampis to seek a solution.
The Famous Professor
Back at Al-Khampis, speak to Pudgius who’s standing near the north exit. The group learns that Professor Norzen–possibly the only man who could stop the sandstorm–is currently at Al-Khampis. However the faculty staff stubbornly refuse to allow anyone through to his office.
To solve this problem, you’ll need to return to Al-Khampis during the night, after the staff have all left. Leave the school and rest in the inn if you need to. Once you’re ready, exit the town and patiently wait outside until nightfall. Once it’s night, head back into Al-Khampis.
Speak to the Adventurer to save your game, then proceed back to the spire to the far east of town. Inside, approach the east-most door that the lecturer was guarding during the day. With nobody to stop you right now, open the door and head on inside.
While your hands are free, head for the moonlit window behind the desk in the top-right corner to pilfer a bottle of Bacchus’s Wine . Finally, attract the attention of the familiar giant in the opposite corner, which will eventually culminate in an unexpected boss battle.
Professor Norzen
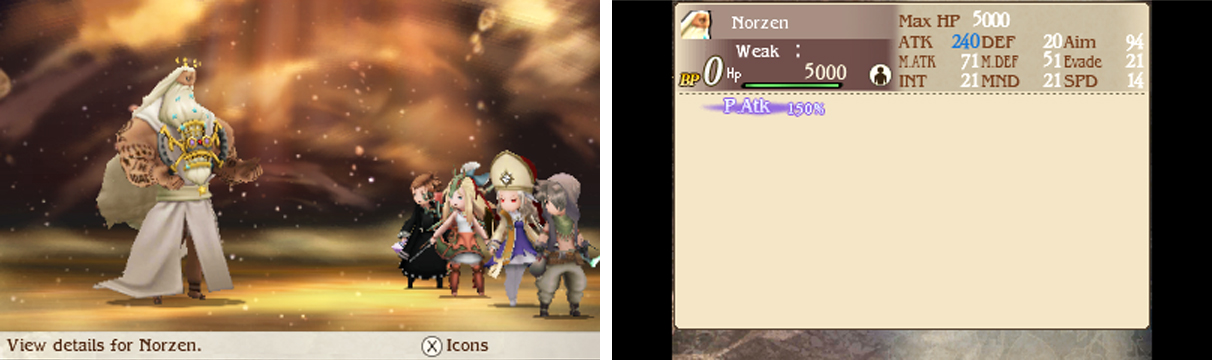
| Level | HP | Weakness |
|---|---|---|
| 21 | 5000 | Nothing |
You just fought a Ba’al not long ago, but don’t relax because Norzen is a celestial beast in his own right. The professor starts by using Physical Boost to increase his physical attack, making his punches hurt hard–and we’re talking one-hit KO hard.
Try to Default with your weaker characters to reduce the pain and build up BP; Damage Dispersion (Wizard Level 3) also helps by spreading out the damage. Your Fencer should enter Aurochs stance ASAP for the increased physical defence.
Afterwards, have your Fencer or highest HP character use healing items to patch up your party. Eventually, after Norzen has landed four punches, Physical Boost will wear off and Norzen will waste a turn recasting it. Use this opportunity to heal and counterattack.
Once Norzen’s HP drops below half, he will put up Magic Mirror, reflecting magical attacks (except Hammer and Mist). Which is mostly pointless since he has high magical defence anyway. Or he may cast Magical Boost to increase his magic attack.
After that, Default because Norzen will use Tornado Arrow to damage the party, inflicting greater damage the less characters standing. But doing so will render him immobile for one turn; while Norzen is stuck star-gazing, heal your party and unleash everything you have.
After the cutscene that follows, you’ll learn that a powerful artifact known as the Compass of Space and Time rests in the Harena Sea Caves. Leave the spire for another cutscene, then rest your wounds at the inn. From here, you can opt to progress the main story or tackle another sidequest .
As before, we recommend starting with the sidequest first so you can add another job asterisk to your growing collection and earn yourself some valuable experience and shiny loot.

 Sign up
No Comments