Immediately upon entering this area, walk forwards then hang a left for the first of two bonfires in this area. Like before, this is a pain packed palace of poison (try saying that fast with your mouth full) so make sure you’ve got either loads of throwing knives and/or lots of poison-removing consumables with you.
It’s also highly recommended that you have something fire-based to attack with (Pyromancy or fire arrows spring to mind) as they’ll make light work of some enemies before you even have to see them. Like with the last area; use overhead or horizontal slashes (if you’re a melee-fighter) or use throwing knives on the poison statues.
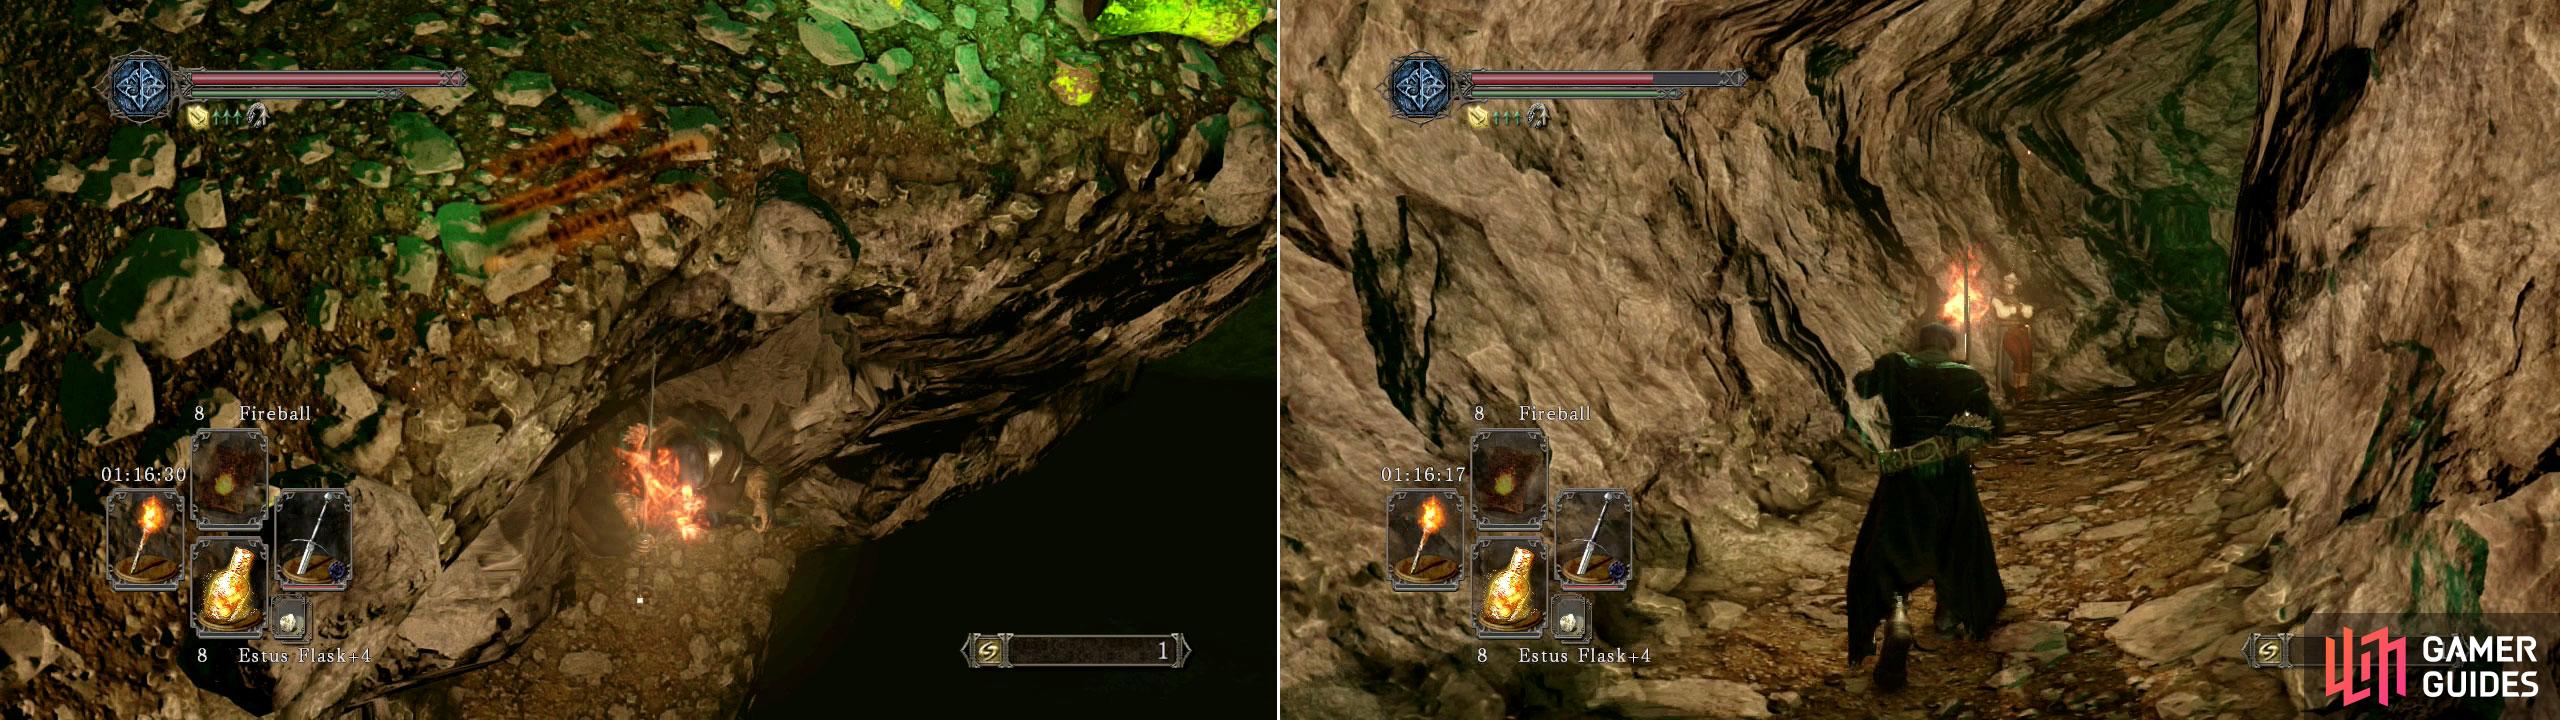
Note: If you’re working towards Lucatel’s storyline then you’ll need to light a torch at the bonfire and carry it to where we tell you to a bit further down.
Exit the bonfire (with or without a lit torch) and then systematically smash each of the poison statues until you see a curve in the ledge to your right (just before the black pools). Use your torch to look down and you should spot another ledge below you.
Drop down here and run up the tunnel where you’ll see Lucatel resting by the wall. Chat to her and exhaust all of her dialogue before smashing the poison statues in front of you.
Be careful as you drop down as a Razorback Nightcrawler will pop out if its cave and start moving around beside you. If you stay close to the entrance then you can get a good few hits in without it even being able to touch you just don’t go too far forwards as the poison statues here will mess you up).
Once the first one is dead; be wary of the next one that shows up just a bit further up. Deal with it like the one previous and then it’s time to bust out any of the fire-enabled items you’ve got (again, Pyromancy or Fire Arrows are perfect for here).
Aim for each of the black puddles on the ground up ahead and light them up one at a time. You’ll notice that the creatures hiding inside will all be burned up before you even get anywhere near them!
Optional: The Forgotten Key
Using another torch (such as a Flame Butterfly); you can look down the ledge here to your right (once the statues are destroyed) and you can, carefully, roll down the ledge here to a cave that holds two Elite Giants inside.
These bad boys don’t mess around and their super-huge clubs will hit like a tank; so you really need to be super cautious around them. If you’ve got arrows (preferably of the poison variety), then you can wear them down from afar.
If you’re going in for a full-on fisty-cuffs session then we highly recommend you dash past them into one of the cubby holes and then nip in and out from there to kill them one-at-a-time.
Once they’re dead you’ll be rewarded with a [Soul of a Giant] (DO NOT USE THIS SOUL!!!) and the [Forgotten Key] . You can now enter one of the caves and stand in the metal cage to be lifted safely back up to the upper level again.
Either way; you’ll want to dash along the right-hand ledge and you should see a small path branching off to the far right. This path leads to a hidden Bonfire and a summon sign for Lucatel (if you’re human). There’s also a [Pharros Lockstone] inside one of the vases just up ahead (in front of the tunnel’s exit).
Once you’re ready (with or without summoned help); it’s time to face the next great soul boss.
Boss Fight – The Rotten
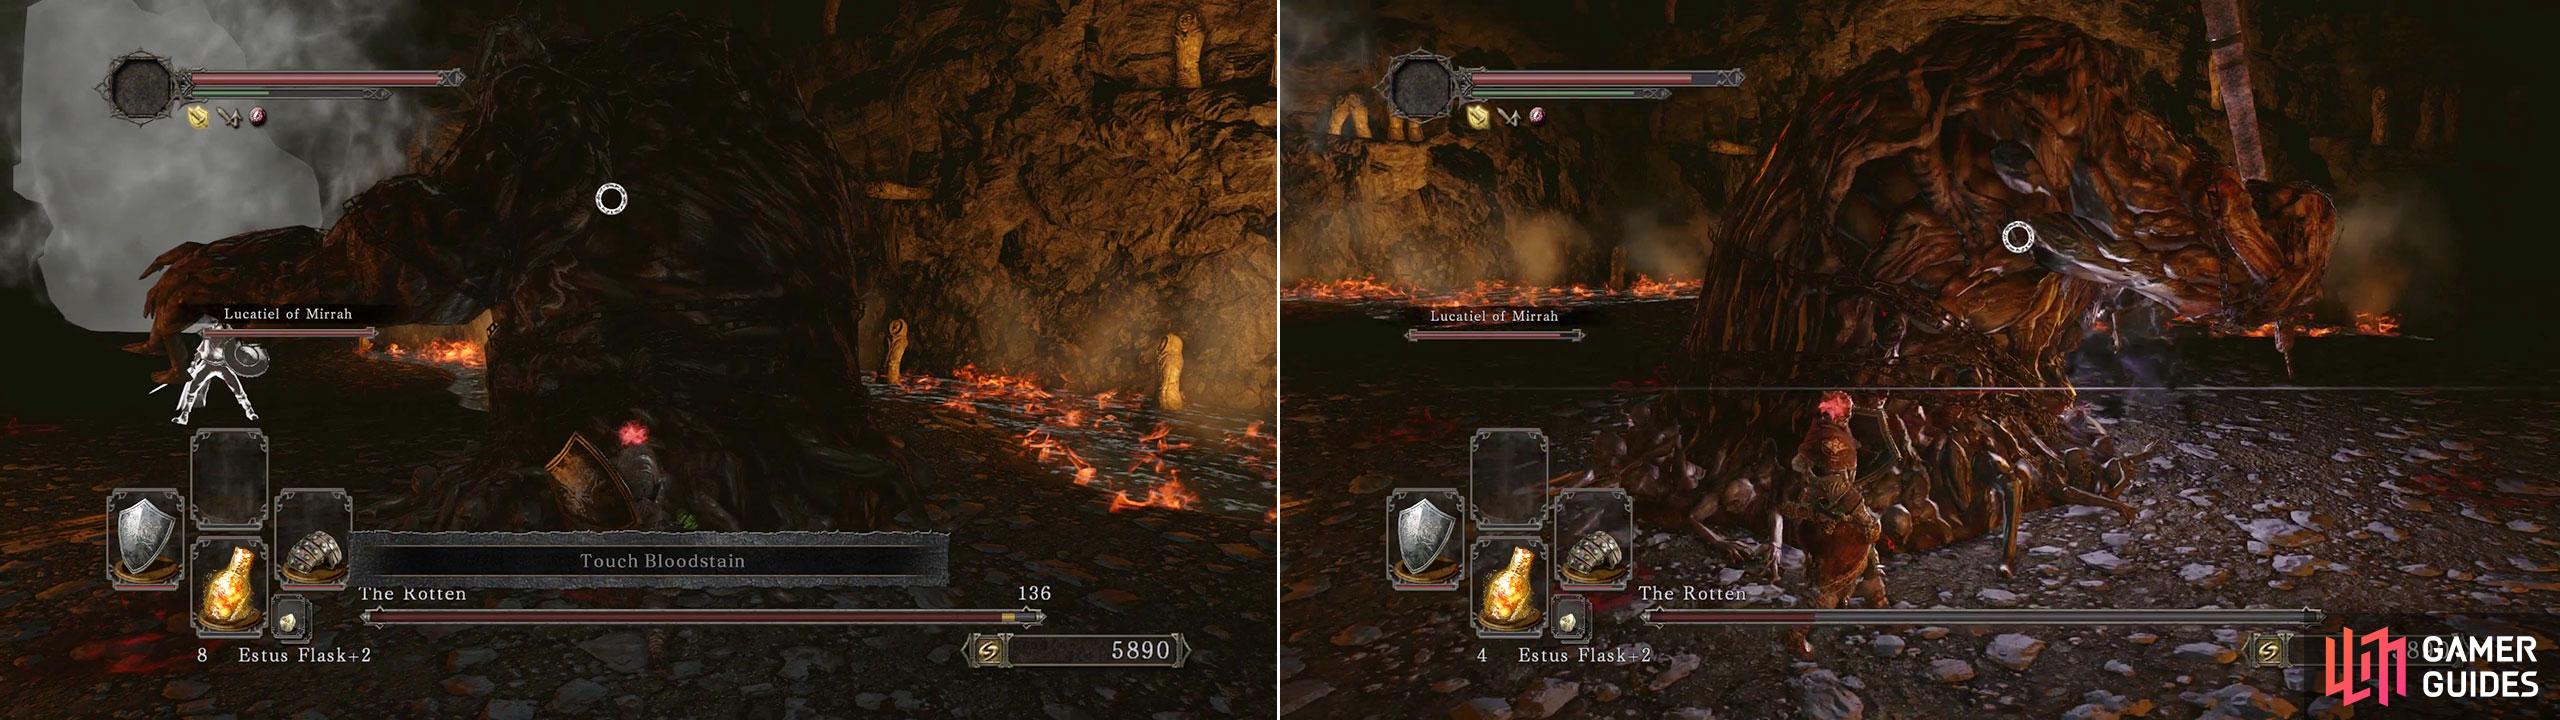
Remember to use the Red Eye Ring if you’re taking Lucatel in with you.
This hulking great mess slides around the ground and isn’t very fast. You can also target each of his arms separately to make him less dangerous. Destroying his arm that carries the meat cleaver will remove that as an attack option (for now) and the other arm will drop a corpse carrying a [Pharros Lockstone] .
- If you’re bringing Lucatel to the party with you then equip the Red Eye Ring to keep the boss’ attention on you.
- Ranged magic users will have an easier time; as you can roll backwards before counterattacking.
- Melee-builds will need to stay very close and be ready to roll underneath his attacks (and get behind him ideally). Just be wary that his meat clever can track you if you start rolling away too early.
- Watch out for the fire pits dotted around the room. They’ll obviously hurt you a fair bit if you accidentally roll/fall into one.
- He’ll begin to mix up his attacks after 50% of his health has gone; so try and stay at medium range if you’re a melee fighter and then go in for a quick attack (and back out just as quickly) once his attack cool down has started.
Once it’s dead you can either run back to the hidden bonfire you just came from or use a homeward bone if you’ve got a few to spare (and can’t be bothered with the poison statues laying on the path to the bonfire).

 Sign up
No Comments