After dropping down the ledge you’ll spot a pool of poison on your right; head through the tunnel here to the area’s first bonfire . It’s worth noting that resting at a bonfire will completely remove any poison effects that have stacked up.
Go back out to the main path and just up ahead is Lenigrast’s daughter Stone Trader Chloanne . Speak with her and she’ll sell you some of her wares. If you chat to her and exhaust all her dialogue she’ll up-sticks to Majula and will sit outside her father’s workshop. Now continue down the path and it’s time to start this area proper!
Gavlan Wheel? Gavlan Deal!
You’ll appear in an open area with the ground covered in poison-mist. Watch out for the skeleton that’ll form to your left and then you’ll want to focus your energy on killing the new enemy a Mounted Overseer that’s straight ahead.
Lock on and then step back a bit and hit it with ranged weapons (throwing knives are great) and stay up high as to avoid its dark energy blast attack. Once it’s dead; the only item being worth the risk is a [Titanite Chunk] located in the top-right corner.
![What is worth grabbing though is the [Fragrant Branch of Yore] in a room located just opposite the ramp that leads you into the poison mist.](/assets/guides/42/61707-1399590000.jpg)
What is worth grabbing though is the [Fragrant Branch of Yore] in a room located just opposite the ramp that leads you into the poison mist.
Watch out for the skeletons that appear, then grab the branch and if you’ve spoken to Gavlan at No Man’s Wharf ; then he’ll be in the cave to your left (along with a [Raw Stone] in the chest beside him).
To the Second Bonfire and Beyond
If you drop into the pit of poison mist near Gavlan , then you’ll find a metal chest holding a [Fire Seed + Divine Blessing] inside. Run through the archway and take a right up the ramp and then you’ll appear in a more open area with a couple of Mounted Overseers outside.
Run up the right-hand ramp, climb the ladder and kill the Undead up here. Pull the switch at the end and then you can simply wait for the door below to open before dropping down and running through. Look for the alcove on your right where you’ll find the next Bonfire .
Your left path and the right path choices.
Travel back out and take a look to your right. You’ll be in a wide open area; meaning quite a few path choices to take. We’ll break them down for you so you can decide what path is worth the risk for you:
- Left Path: Leads to a narrow bath that splits off into two sections.
- Left Path (Right Branch): The right-hand room is an ambush of four of those double-sickle carrying freak shows (not easy as you can’t go back the way you came). You’re best using an area-of-effect spell (such as Firestorm) or running up and dropping down from the upper levels to beat them. However it’s packed with consumables including a Blue Crystal Lizard and [Fragrant Branch of Yore] in the tunnel leading back out.
- Left Path (Straight Ahead): There’s a Mounted Overseer waiting in ambush behind the wooden boards ahead; so be careful when you get close. However, if you can trick it into smashing the boards where it was standing there’s an [Old Knight Pike + Old Knight Greatshield + Soul of a Lost Undead + Small Smooth and Silky Stone + Radiant Lifegem] waiting for your troubles.
- Left Path (and Left Again): There’s a drop to a metal chest that holds a [Poison Stone + 3 x Rotten Pine Resins] . You can either Homeward Bone it out of there or drop into the mist and run to the ladder at the end of the tunnel.
- Holes in the Ground: Ignore these completely as they lead to nothing of any significance.
- Right Path: Another open area but with two Mounted Overseers in the poison mist. Magic characters (and naughty PvP’ers) can find the spell [Chameleon + a Soul of a Brave Warrior] in the far-right corner (near the narrow walkway on the right).
Welcome to the Sun Bros
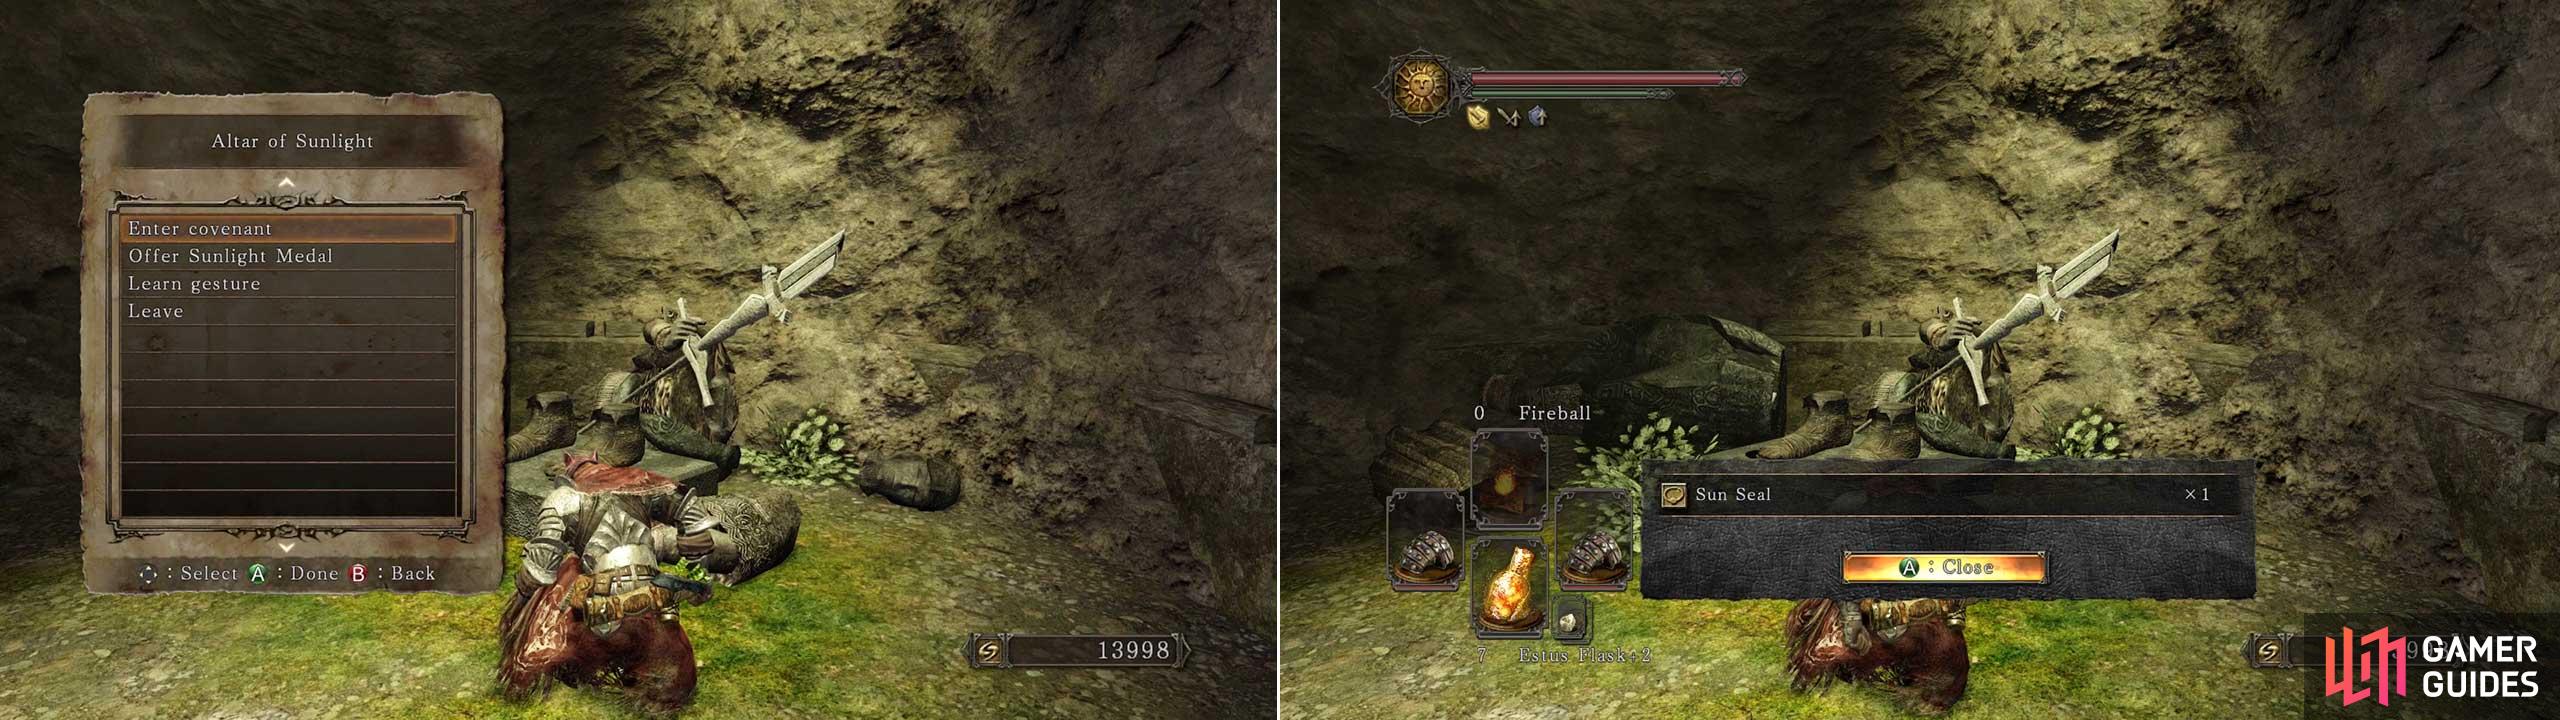
Praising the Sun; ‘Sun Bro’ style.
If you feel like being grossly incandescent and want to ‘Praise the Sun’; then this is the perfect co-op covenant for you. If you approach it and then choose not to join it you can still earn the achievement/trophy for finding it (so it’s all good either way).
Now head back to where you fought the Undead Steelworker and take a left and use your ranged attacks to destroy the pots packed with poison liquid and hiding enemies (throwing Knives once again come into their own here). Once the path ahead is safe, you can proceed forwards onto Earthen Peak .

 Sign up
No Comments