Welcome to the home of the next primal soul. Iron Keep is a fire-packed area that’s got quite a few tough enemies and a very challenging optional boss (it’s usually more challenging than the primal boss - but we’ll show you how to make them both pretty easy - with the right tactics of course).
Immediately upon entering the Keep, run left and down the stairs to find your first Bonfire . Head back up to the bridge and then be careful when approaching the door up ahead as there are two Alonne Knights who are super quick and pretty deadly for regular enemies. Parry or backstab them for the quickest kills.
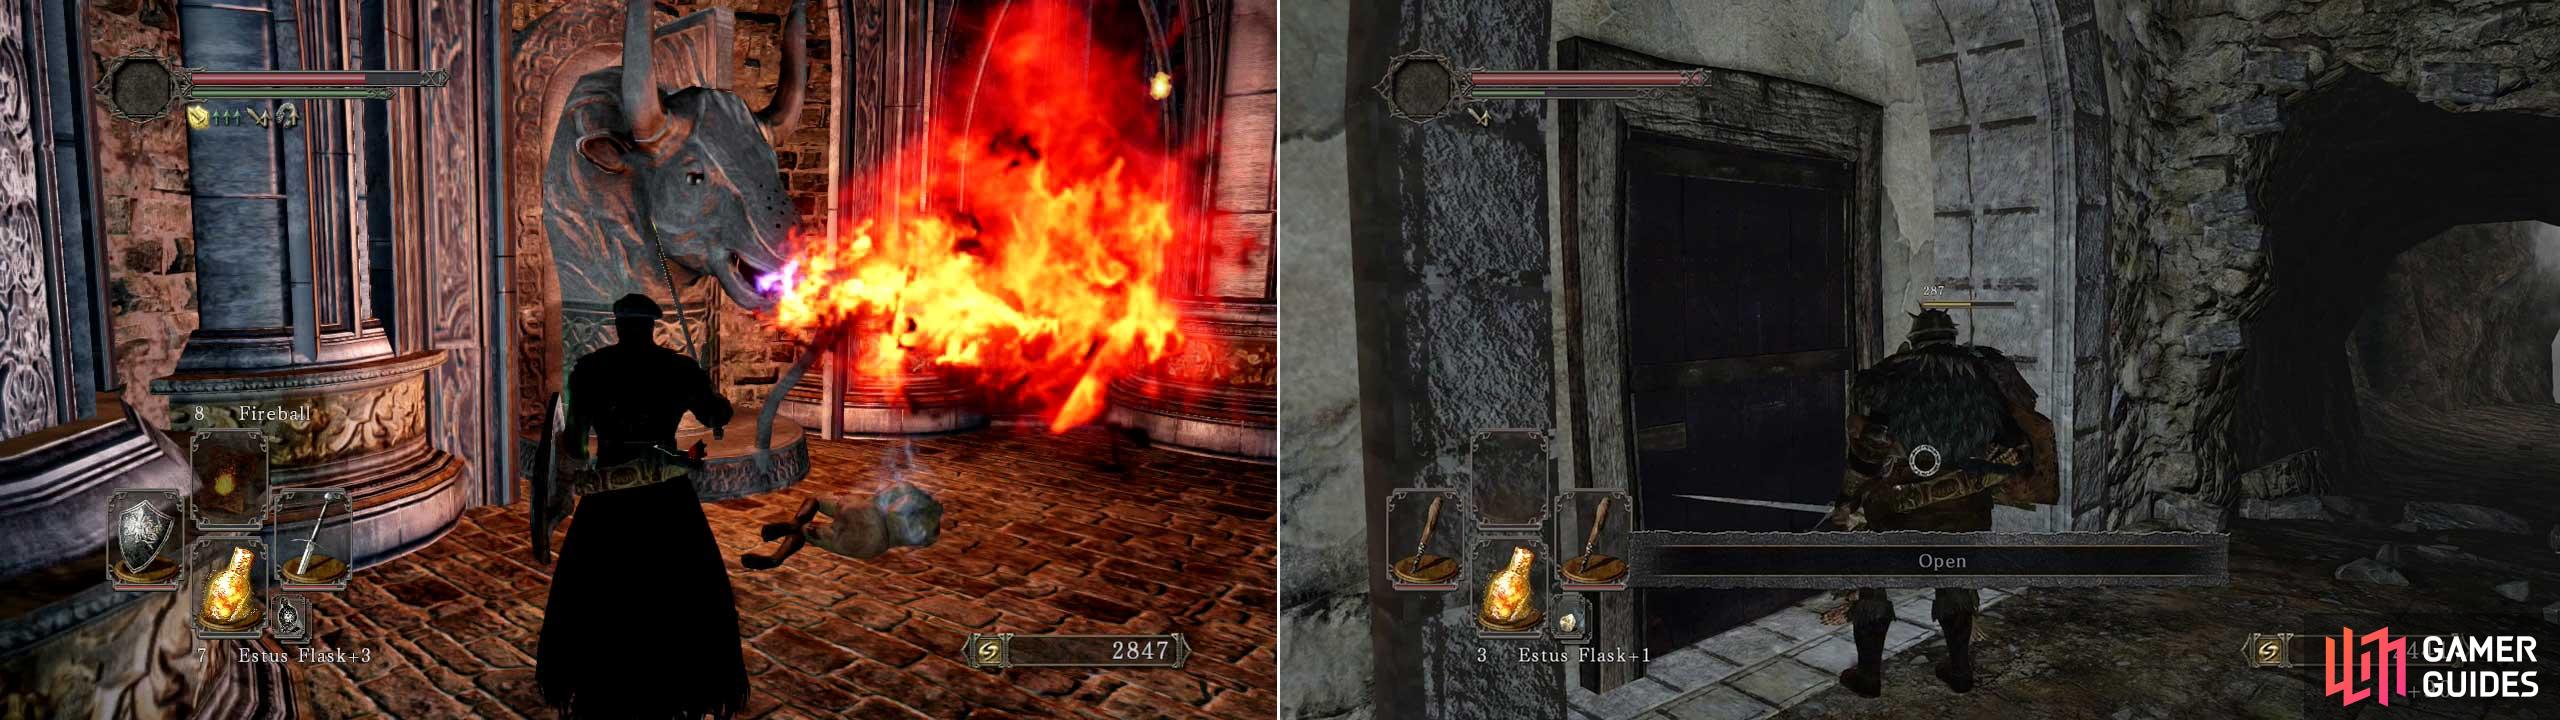
Push open the doors and another two knights will be inside. Kill them one at a time and then you can grab the [Iron Key] from the fire breathing statue if you edge close to it and use fire-resistive magic/buffs.
Note: The Iron Key opens up the locked door in the Forest of Fallen Giants that’s located just before the Last Giant boss fight.
There’s a different pathway to your right on the lower floor that leads to a new merchant known as Magerold of Lanafir . This guys sells a few cool items, can infuse spells with either spice-types to reduce the INT or FTH levels needed to use them by one. Finally; if you’ve got a Petrified Egg then you can give it to him to join his Dragon covenant.
Run back, up the stairs to the next Alonne Knight and at the top open a fake wall to the right. Now open the wall opposite the Ballistae and you can use this to start taking out the Knights in the room opposite (don’t forget to grab the [20 x Fire Arrows] here before leaving.
Main Courtyard
There are multiple regular Knights (and new Captain versions) that will draw an electrified-sword if you get too close (or will use a really powerful Greatbow with Greatarrows when you’re at a distance).
We strongly recommend that you lure the first couple of knights back to the opening door by getting close enough so they can see you and start coming for you. Going back to the start will mean the archer (just on your right and normally out-of-sight) can’t hit you with his bow.
Alternatively you can kill this archer first with ranged attacks and then it’ll make the first half of this room less troublesome.
The middle area has a lever for dropping one side of the bridge on the lower part but watch out for the knight hidden from view down here. Also; do NOT open the door yet!!! You’ll get toasted if you don’t turn off the furnace first!
Run up the bridge, kill the knight and if you wish to turn off the furnace to your left then drop off to the door and rotate the lock to turn the fire off inside.
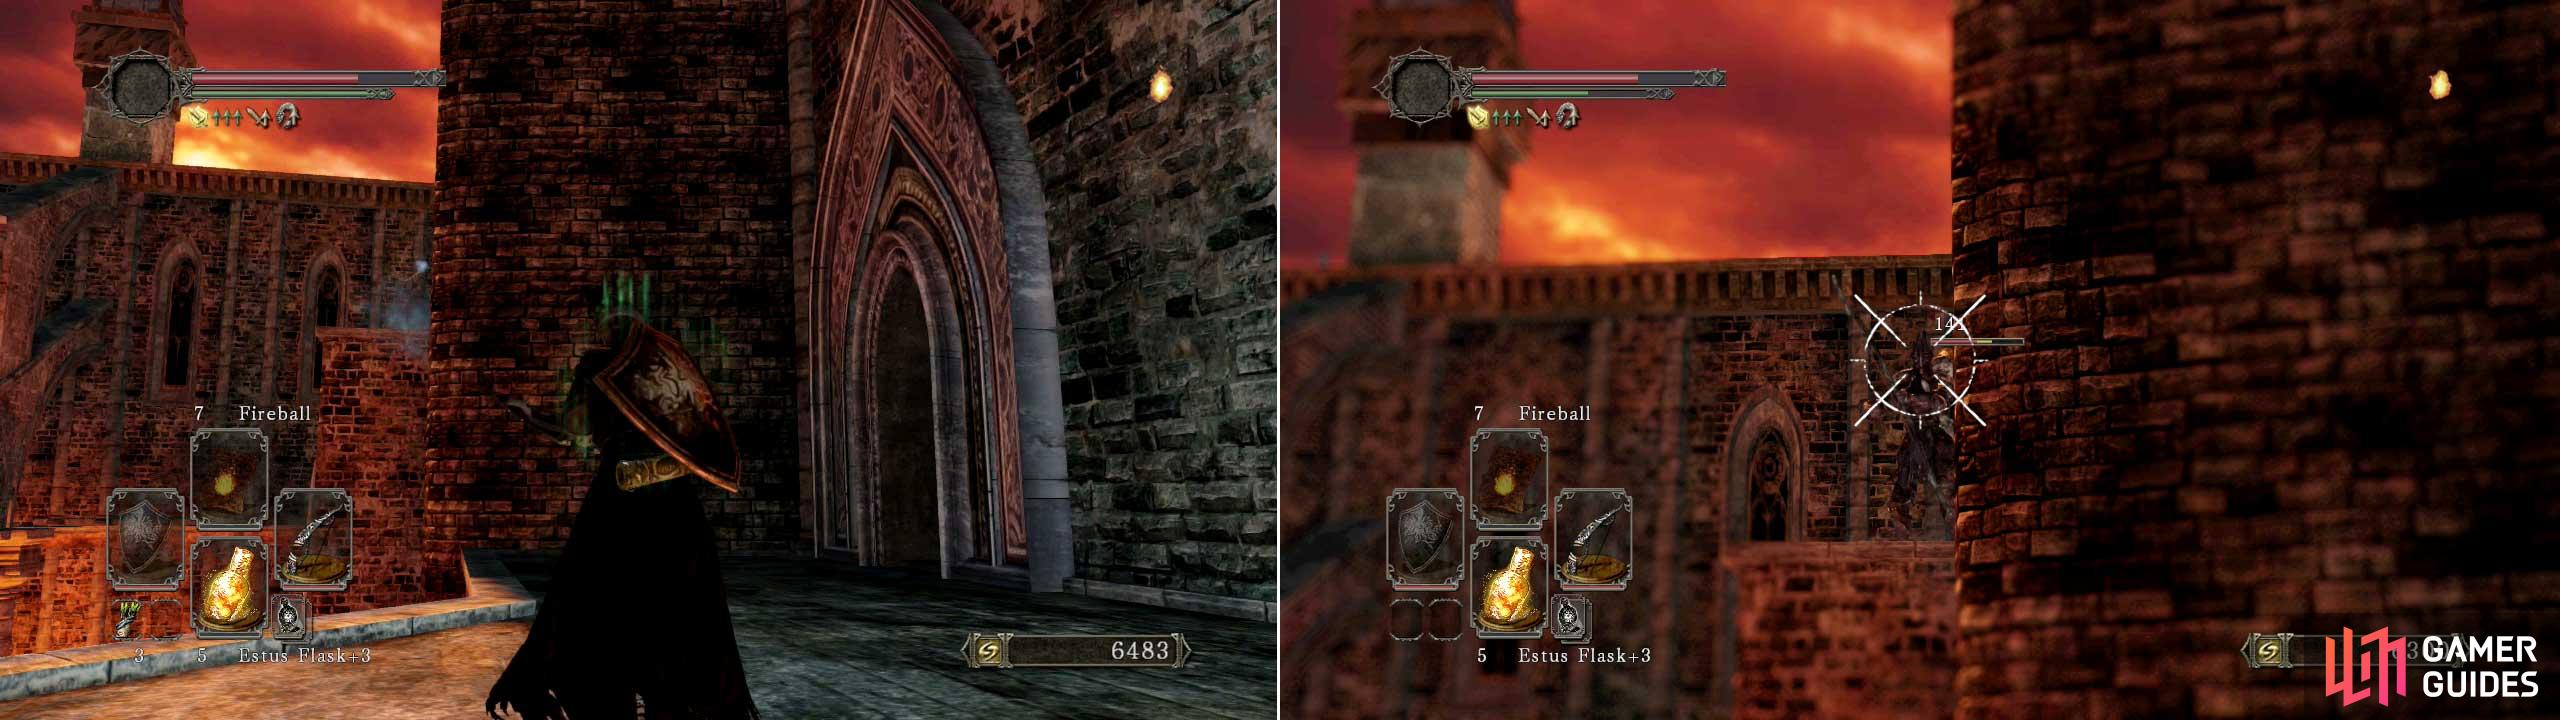
Watch out for the Alonne Captain that’s standing beside the fog gate and don’t enter the fog gate yet (as it leads to a difficult and optional boss fight). Instead, head inside the furnace and grab the [2 x Large Titanite Shards + Petrified Dragon Bone] .
Go back outside and get onto the platform with the fog gate. Run back and jump the gap. At the end you’ll find a chest with a [Zweihander] inside.
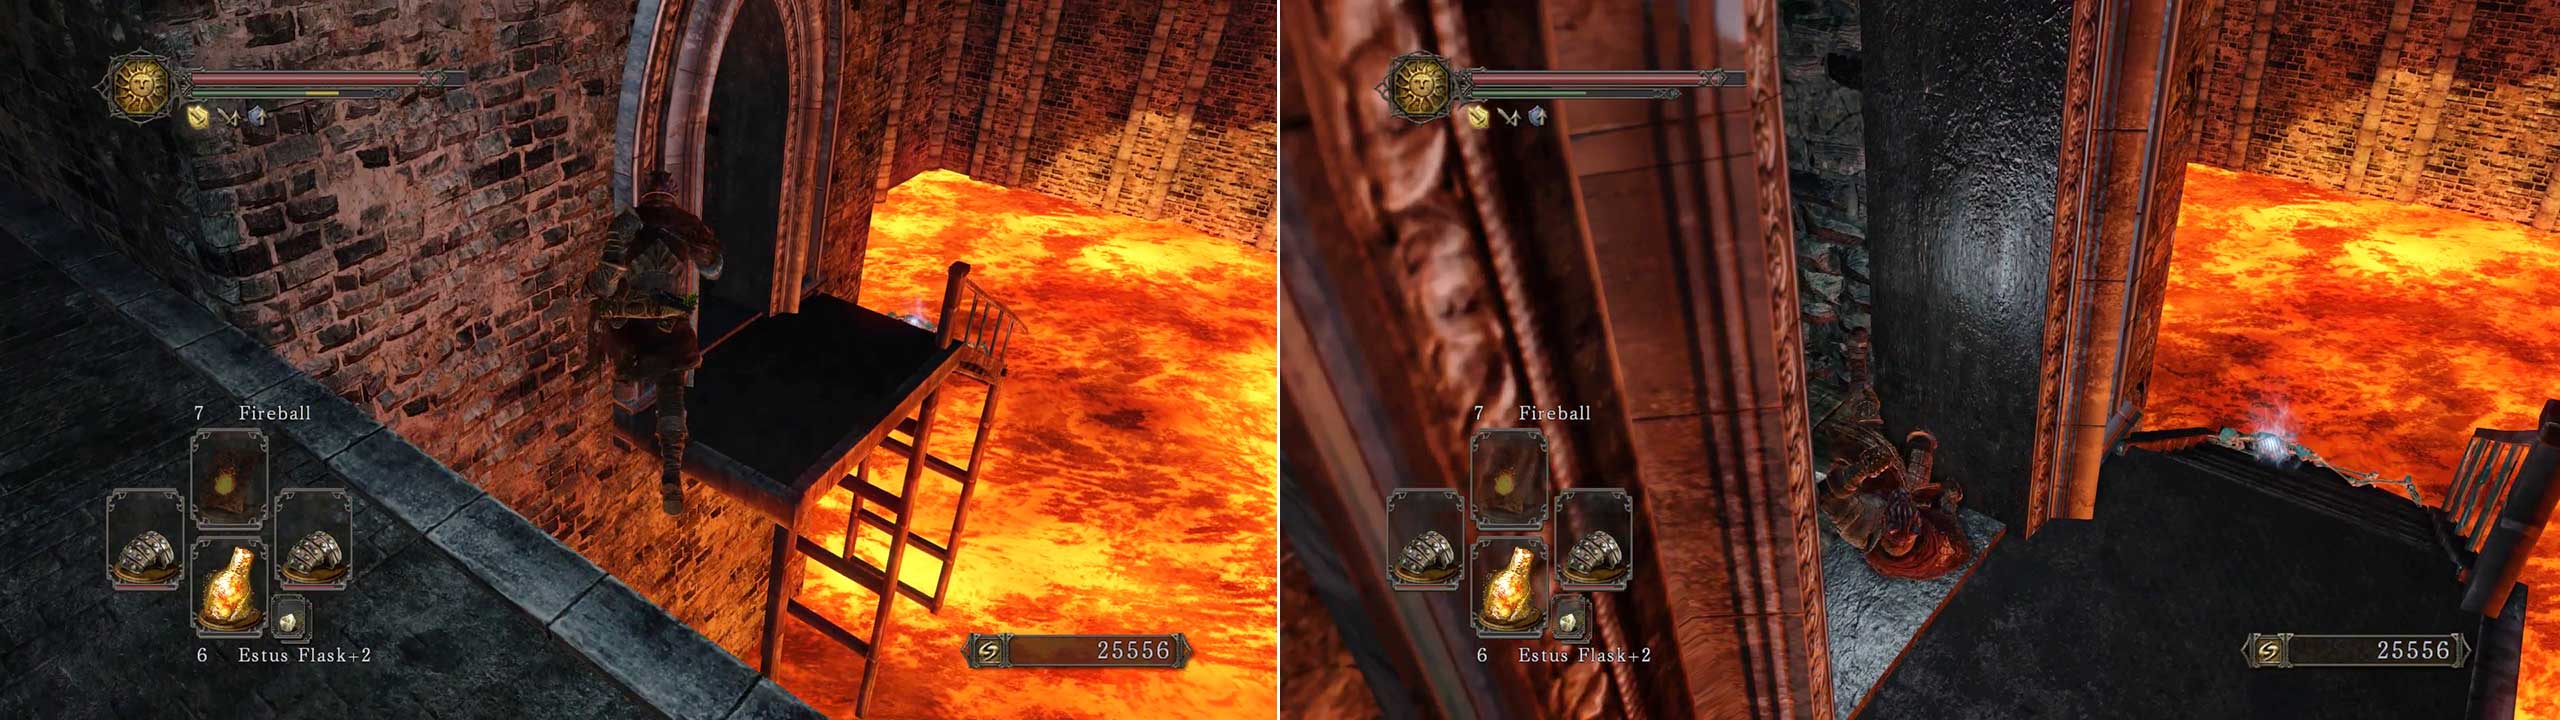
Now go back a bit and look for a metal walkway with an item on it. Aim your jump so you go for the door and you should stop before falling in to the lava.
Pick up the [Dull Ember] (take this to Blacksmith McDuff in Lost Bastille and he will now offer his full services to you) and then head upstairs. Kill the knight up here and then if you plan on fighting the nearby boss then using a Pharros Lockstone in the lock up here will fill the ground with water.
This seems pointless but it’ll help to minimize the damage you’ll take from said boss. Finally, if you’re feeling brave, then there’s a [Phoenix Parma] located on the lowest floor (on the fiery platform) and the corpse on the pillar near the bridge is holding [Large Soul of a Nameless Soldier + 1 x Red Leech Troches] .
Optional Boss Fight - Smelter Demon
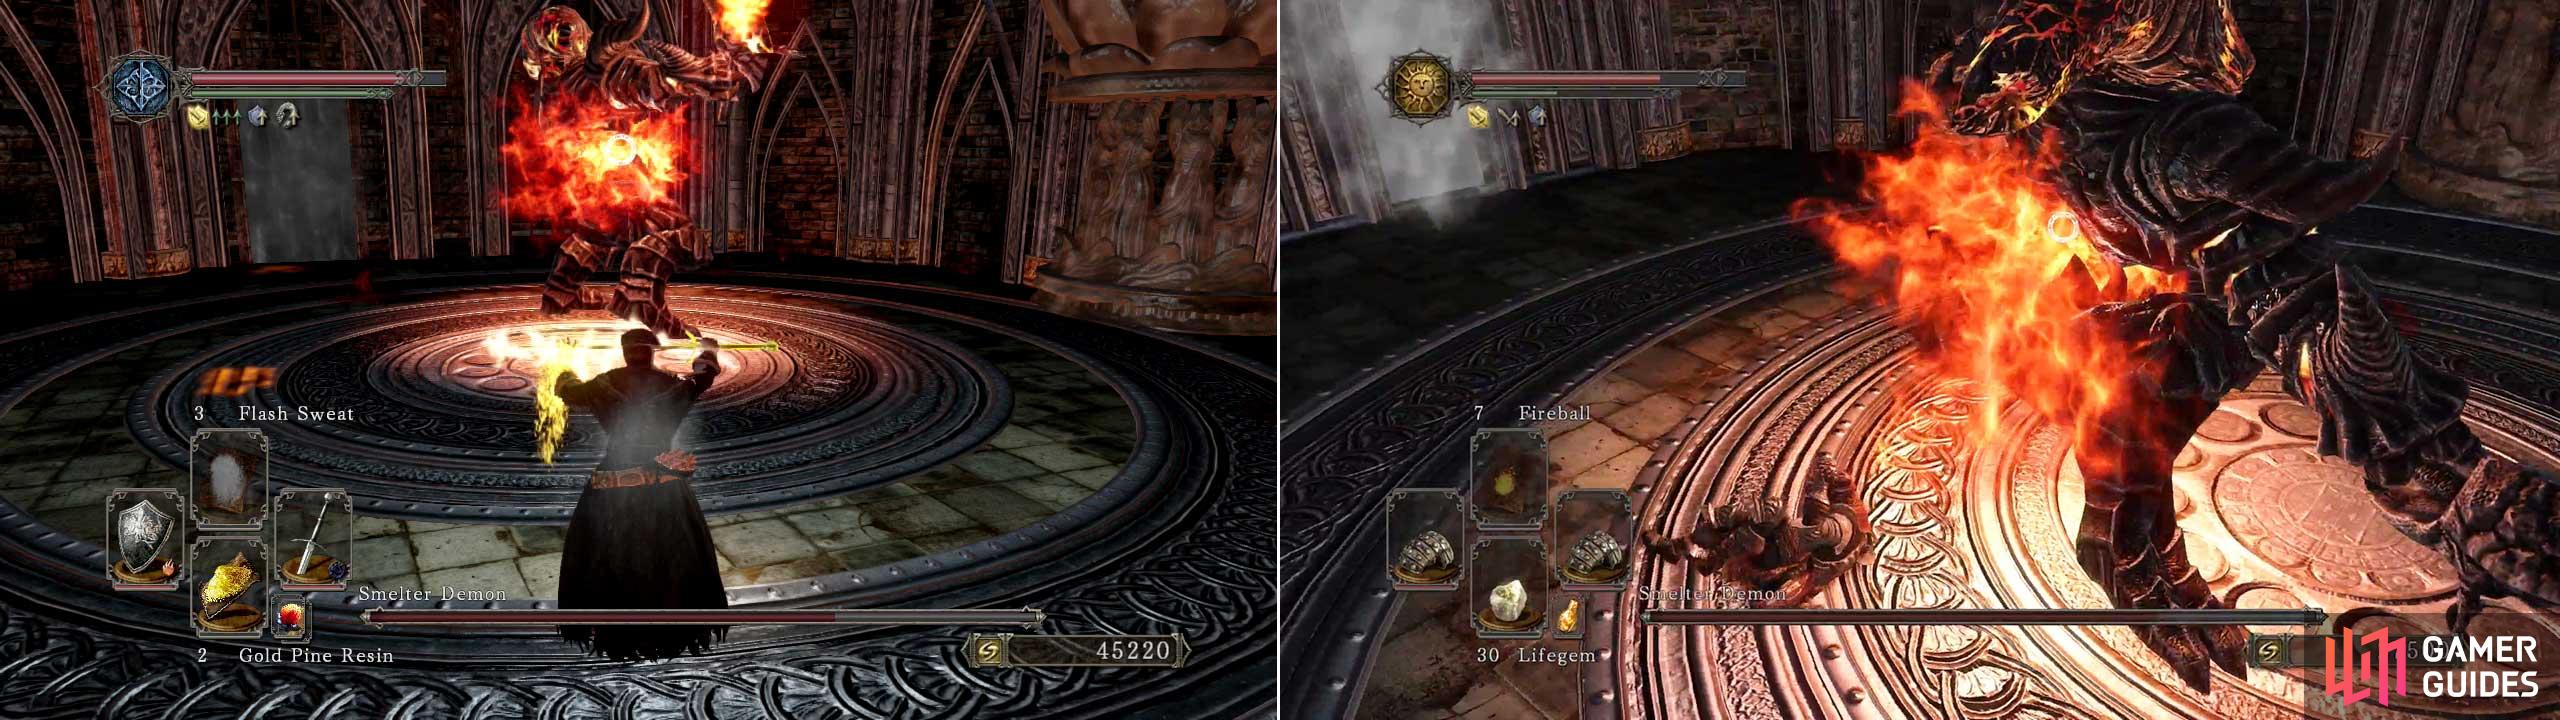
Use Gold Pine Resin to buff your attacks and remember to roll under its sword arm (it’s right arm).
Many players dread this fight as he causes constant fire-damage, just for getting close to him, in his last two phases. However, there are a few things you can do in preparation to make it much easier for yourself.
- Bring some Gold Pine Resin to the fight, but only use it when you see the boss plunging his sword into his stomach. The lightening damage will be a great boost during these phases.
- A Pyromancy spell such as Flash Sweat is great, as too are Orange Burrs .
- However, simply stocking up on super cheap Lifegems is as good; as you can crush them to combat the life lost when standing near the boss.
- Roll under the boss’ right arm (so to your left on-screen) as this will take you right under pretty much all of its attacks.
- As of patch 1.04 (or PC base version); Lucatel can tank most of this fight with little hassle, so don’t be afraid to bring her in for some support.
- When you see the boss jumping into the air, immediately roll backwards twice to ensure you’re not caught in the blast wave he might use after plunging his sword into the ground.
- But as long as you keep crushing Lifegems at the right times (after the boss’ attacks) and using lightening buffs; then you’ll find this fight nowhere near as hard.
Once the boss is dead, head upstairs, open the chest behind you at the top for a [Porcine Shield + 5 x Flame Butterflies] . You’ve also unlocked access to a new Bonfire and you can unlock the door ahead for a shortcut.
If you’re looking to pick up the remaining loot in this area (by killing all enemies and checking out all floors); then you can get: [Life Ring +1 + Twinkling Titanite] , [Old Radiant Lifegem + Green Blossom] and finally a [Soul of a Proud Knight + Repair Powder] .
Through the doorway you’ll find two Ironclad Soldiers who will mess up your day if you’re not careful. Lure the first one out to the wider platform and take it out with calculated baiting tactics.
You’ll now need to jump over the gap in the platform where you spotted the two enemies and watch out for the second Ironclad Soldier who might pop back around the corner.
Once you make it into the main room, immediately pull the lever here to drop any enemies in the middle platform into the lava below! Easy kills!
From here, there’s a door on your left with a Pharros Lock on the wall. Use a Lockstone here to open up a passageway and climb the ladder to a hidden Bonfire and a [Thunder Quartz Ring + 1] in a metal chest behind you.
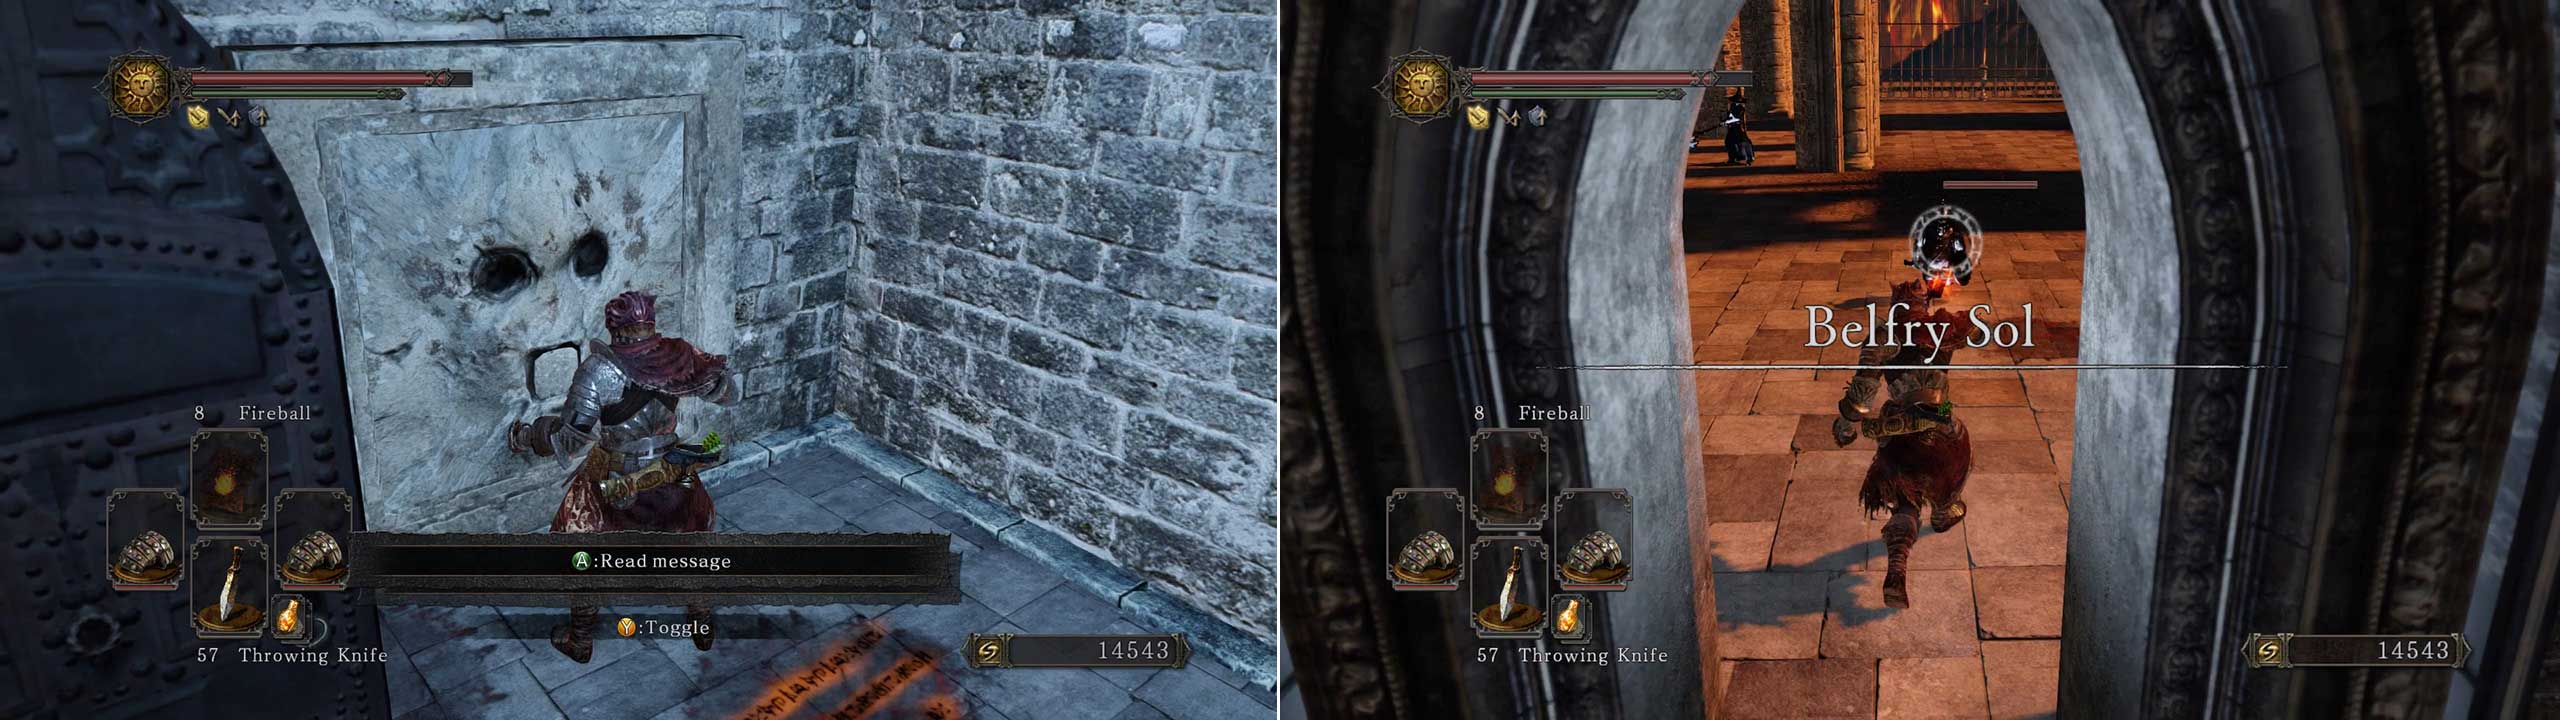
The next ladder leads to the hidden and optional PvP area known as Belfry Sol (which we cover in detail in the next section).
The left-hand side of this main lava room holds a path to an Alonne Captain and he’s guarding: [Large Soul of a Proud Knight + Radiant Lifegem] . If you want to run on to the fire platforms in the lava then there’s a [Fire Seed] and then the spell [Chaos Storm] in the chest.
It’s worth getting up onto the middle platform and then taking the ladder up to the floor above (in between the two Alonne Knights ).
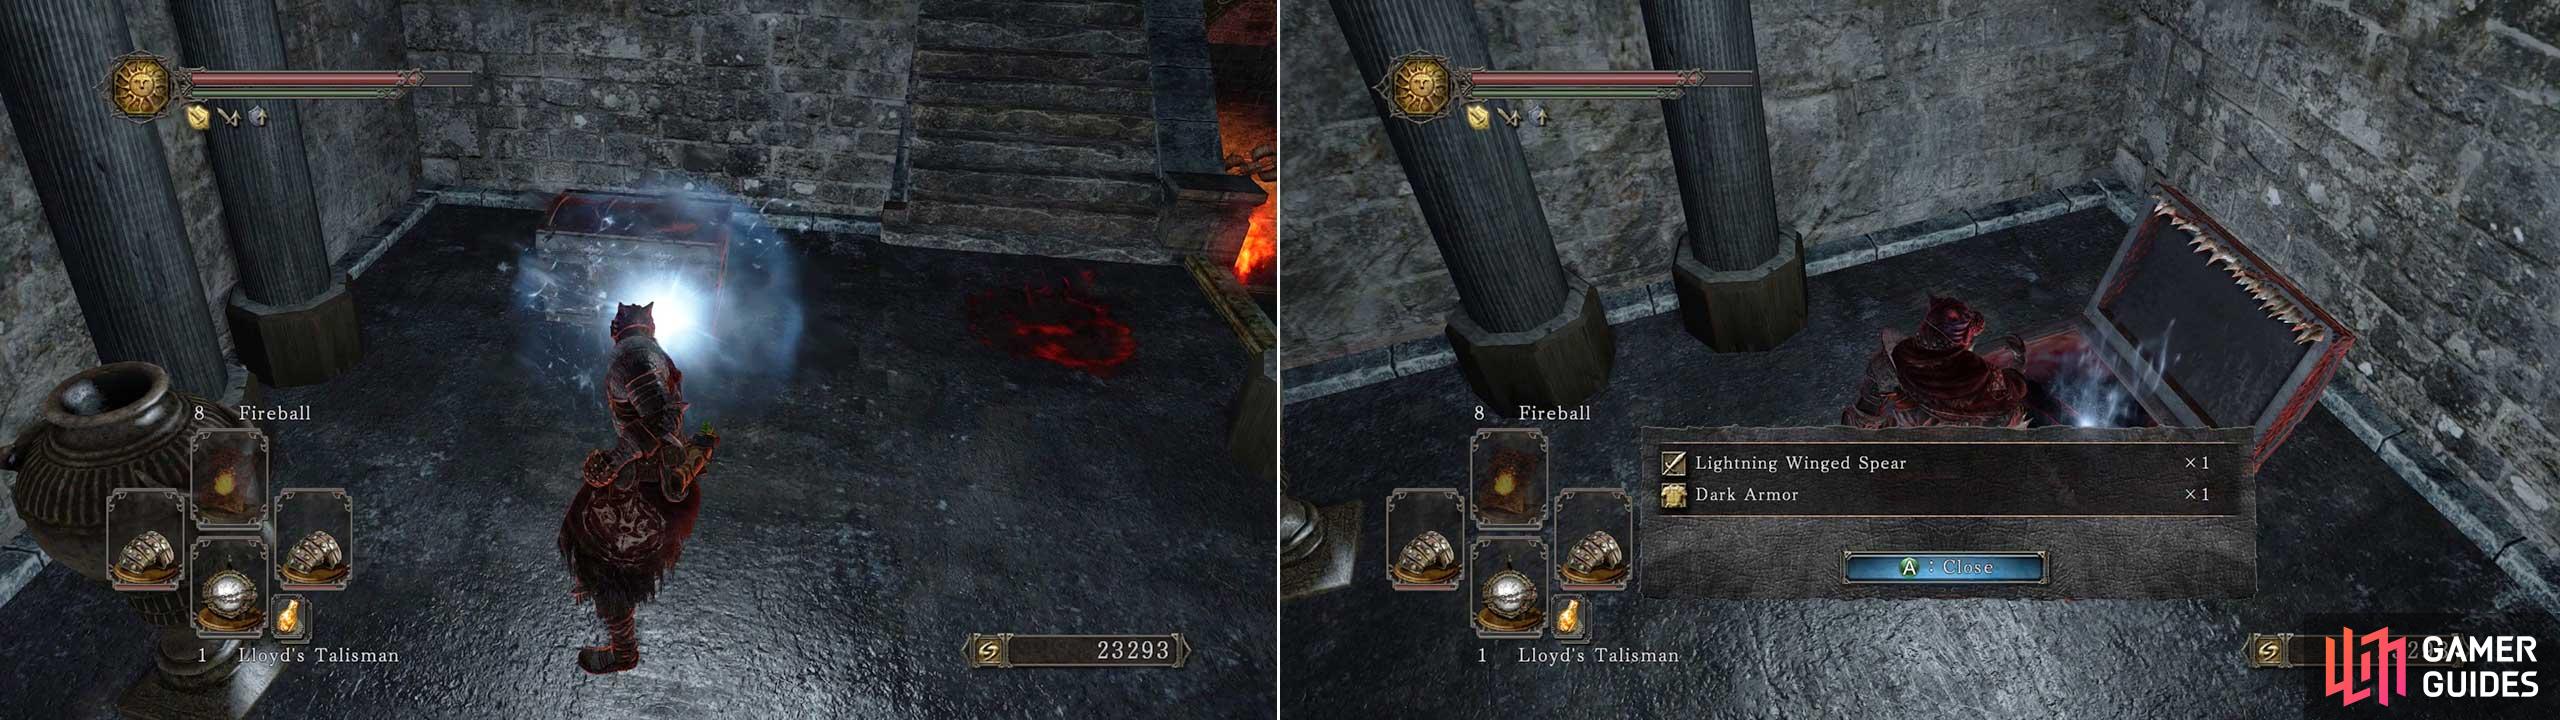
Once you’re up here you’ll see a metal chest. WARNING! This metal chest is in fact a MIMIC and this is the first time you’ll likely have seen a metal chest mimic!
So use a Lloyd’s Talisman to put it to sleep and grab the Dark Armor + Winged Spear (Lightening)] from inside.
Go up the stairs, grab the [10 x Destructive Greatarrows] from the chest then head up the ladder to the next floor
Alternate Pathway
Ignore the Pharros Lock up here (it’s a trap one) and instead ready some ranged weapons and head up the stairs.
Up here are two bow-firing Alonne Captains straight ahead and there’s a third one out of view of your right as well. Pick them off from range and only then head outside. Grab the Black Knight Greataxe] a [Simpleton’s Spice] and the [Cracked Red Eye Orb + Torch] from the platform in the middle.
Be careful and slow as you drop down each of the platforms until you’re inside the room below. Pick off the knight on a platform below before he sees you and then very slowly drop down onto the round fire cauldron with the skeleton in it.
Grab the super-handy [Covetous Gold Serpent Ring +1] and then jump across to the curved walkway below.
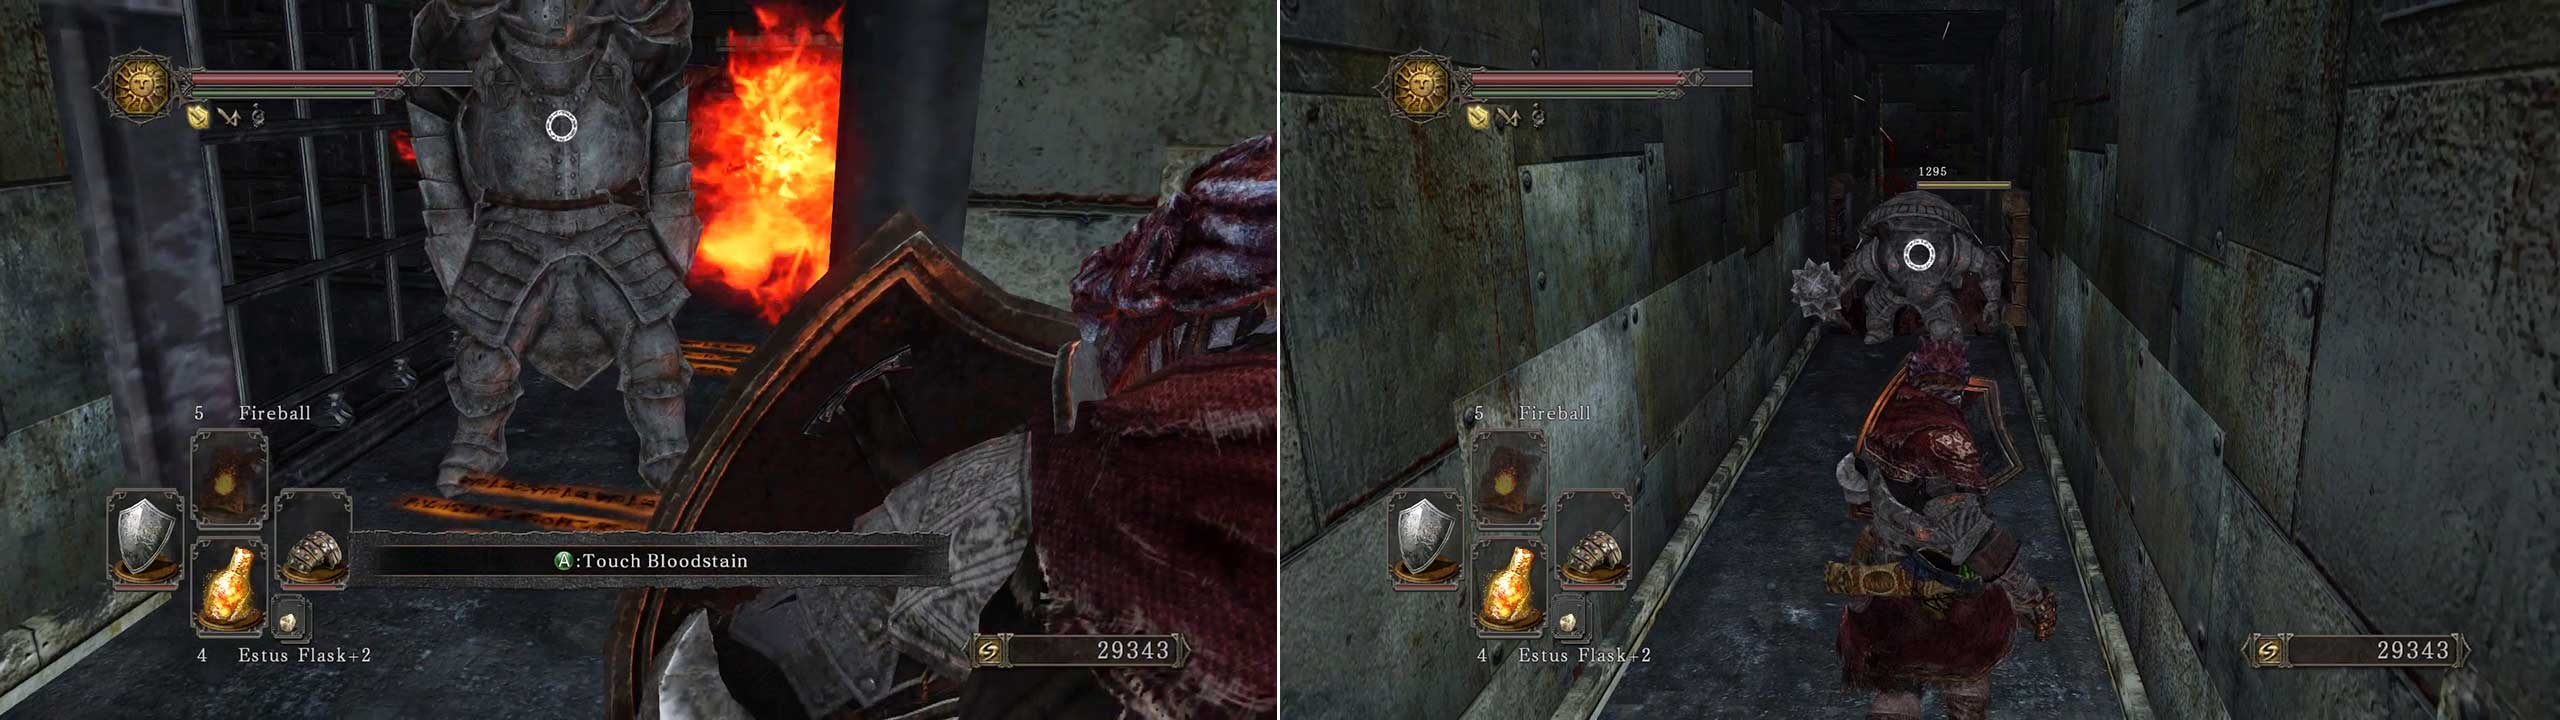
Run down and be careful as you turn the next corner as there’s an Ironclad Soldier in a very tight corridor. Hit him with ranged attacks and then draw him out as there’s no room to move past him in the corridor.
Once it’s dead, pull the lever and then run to the next corner and stop ! Let the next Ironclad Soldier see and run back to the switch you pulled.
Grab the super-handy [Covetous Gold Serpent Ring +1] and then jump across to the curved walkway below.
Run down and be careful as you turn the next corner as there’s an Ironclad Soldier in a very tight corridor. Hit him with ranged attacks and then draw him out as there’s no room to move past him in the corridor.
Once it’s dead, pull the lever and then run to the next corner and stop ! Let the next Ironclad Soldier see and run back to the switch you pulled.
If you’ve timed it right then the guillotine will come down on the enemy’s head killing it in one hit! If not, it’ll be trapped so finish it off in safety with ranged attacks.
Fire Room
Slowly run past the fire-breathing statues on the left side and look closely for a ladder going up near the spiked wall on your left. Climb both ladders and then rest at the secret bonfire! There’s also a lever above you that will switch off all of the flames too! Bonus!
Go back down the ladders, safely grab the [Shortbow (Lightening)] and deal with the final Ironclad Soldier blocking your path. Now run outside to the fog gate that is the primal boss!
Boss Fight - Old Iron King
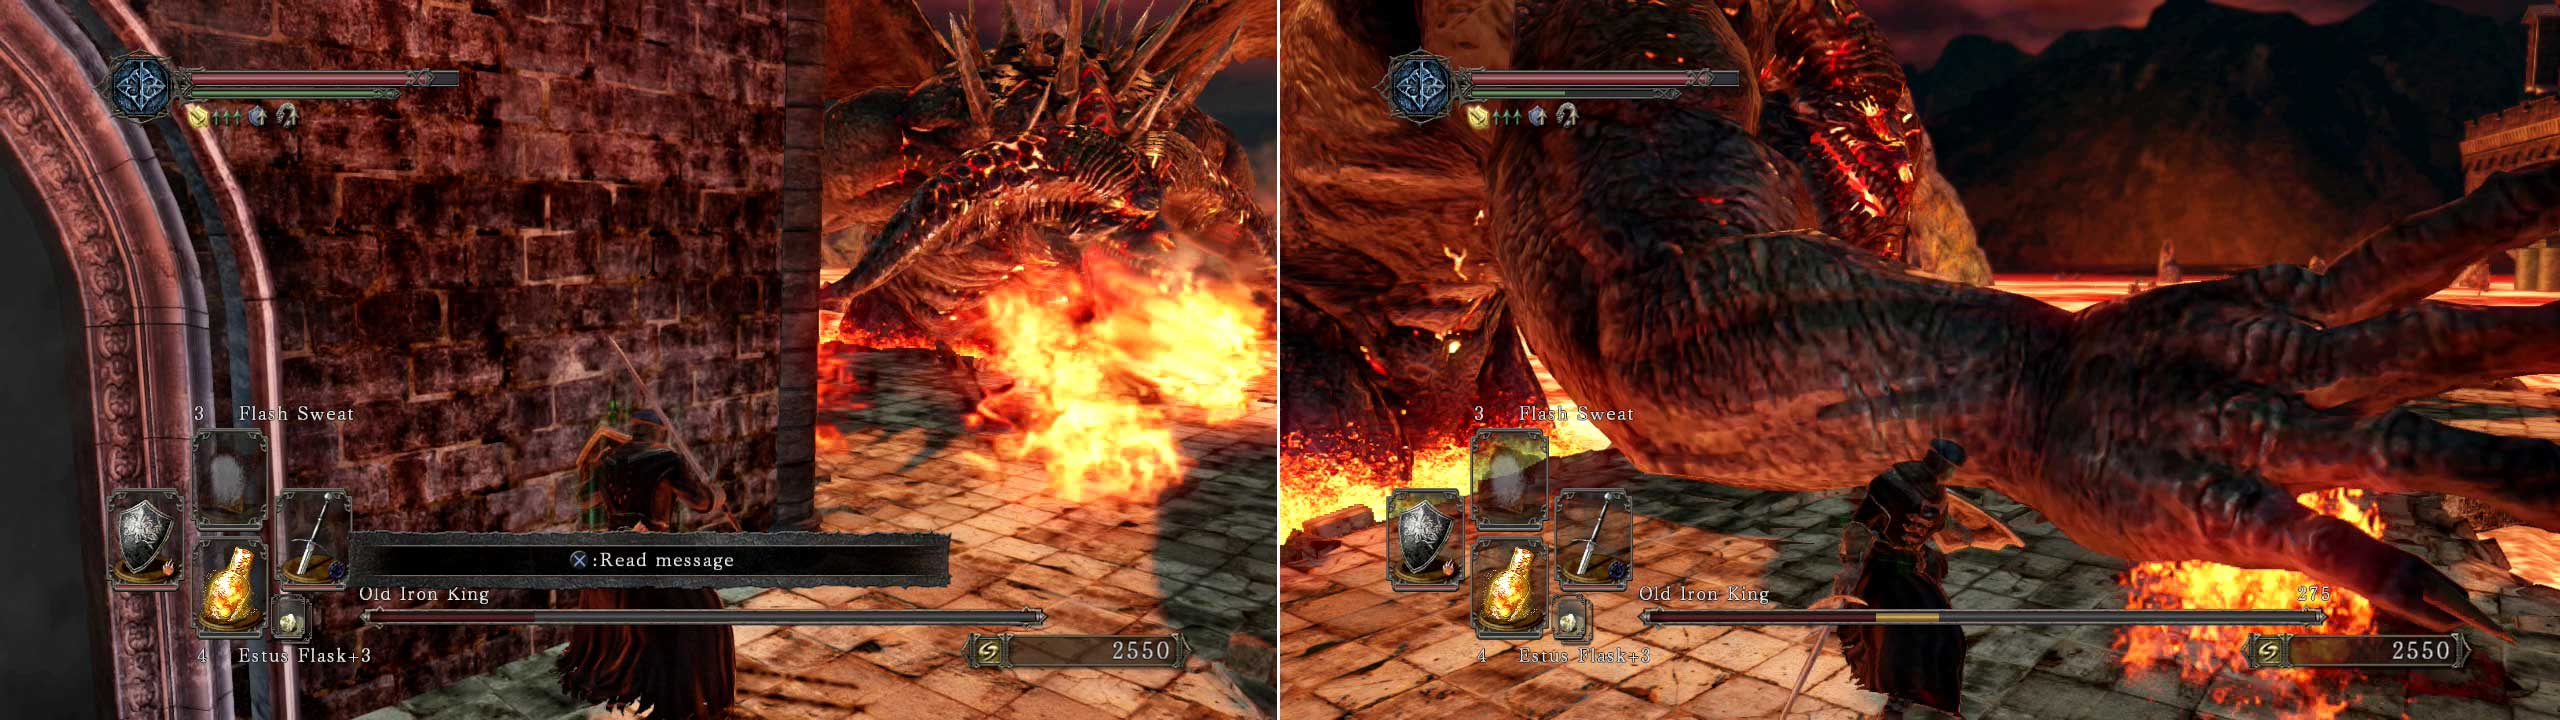
Use the side path for temporary cover only and use the long cool down times from his hand moves to deal good damage.
This boss is weak to magic so being any Aromatic Ooze or Dark Pine Resin to the party and it’ll help out massively here. Once you’re inside the arena then you need to get a lay of the land as there’s very little room to manoeuvre and there’s also a fire pit right near the entrance door that you can fall into (naturally killing you).
- Use the pathway around the corner to get some brief respite from most of the boss’ attacks. However, his Fire Palm move will hit you here if you stay here too long.
- Not only that, staying here will cause the boss to move around to this side of the lava and it’ll really make the fight much harder!
- So your best bet is to nip around the corner for regular attacks and then immediately come back out to deal your damage.
- DO NOT lock-on to this boss! It’ll get you killed all the time. It’s much easier to unlock and manually move your camera mid-fight as you attack his hands.
- You can roll through his arm sweep and then run back past his fist slam. This has a massive cool down period; giving you a good few seconds to get 3 or so hits in.
- His double-fist attack also has a huge cool down window, so run out and hit his hands.
- Magic users can lock on to the boss and use their ranged attacks from the corner platform (just be sure to come out every so often).
Once you’ve got this primal soul, head inside and grab the [Sublime Bone Dust] from the metal chest before lighting the primal fire and warping back to Majula .

 Sign up
No Comments