The upper area is essentially a campsite and there’s a few new enemies you need to contend with. The Undead Peasant’s usually carry an dark-magic infused weapon that’ll deal quite a lot of damage if you’re hit square-on by one. Thankfully they don’t have much health.
Watch out for the rancid pigs as well; they have a nasty habit of lunging at you when you least expect it. There’s a Bonfire in the middle tent (just past the small wall) and items wise you can find: [3 x Soul of a Nameless Soldier] , and a [Large Soul of a Proud Knight] (by the Undead Peasent near the wall on the left) , [15 x Lacerating Arrows] (up on the wooden platform) and a [Titanite Shard] and [3 x Holy Water Urns] by the well at the back.
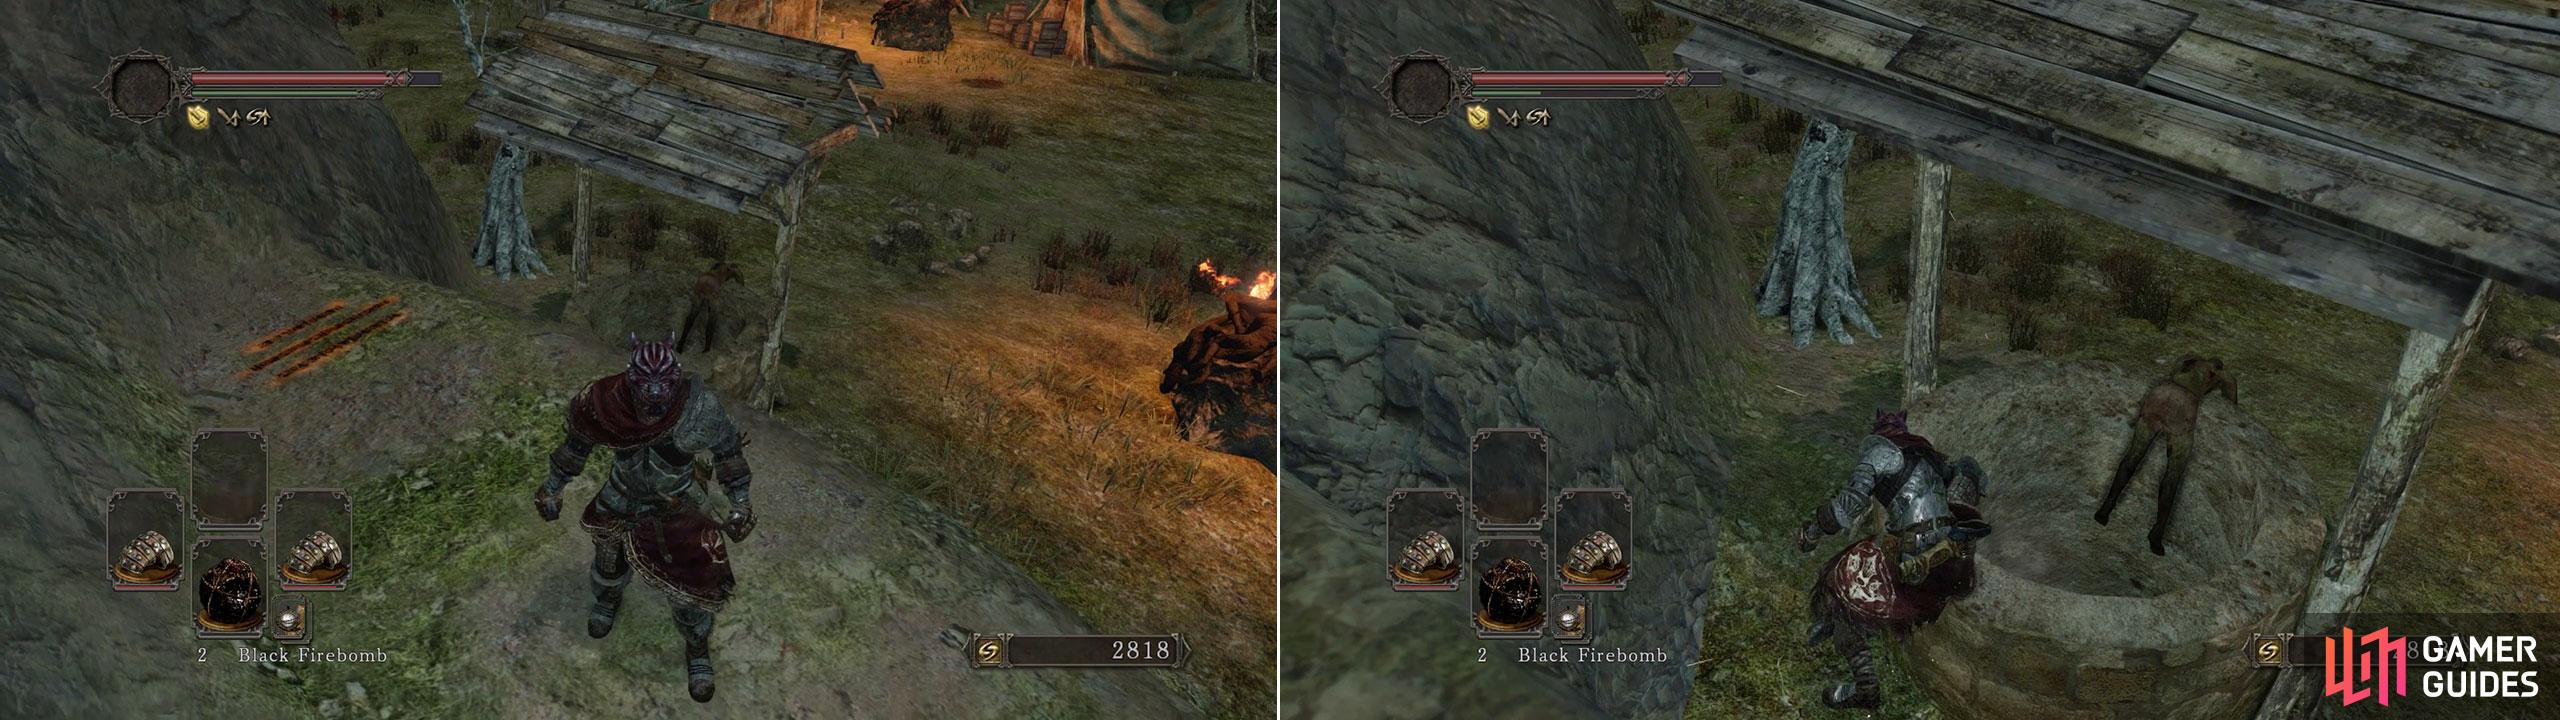
You can land in the well without destrying the wooden roof first; but it’s much more difficult to land in.
Speaking of the well, if you jump at it from the hill nearby and destroy the roof; you’ll fall down and up the ladder a bit further on will be a chest holding [5 x Human Effigies] . Finally; in the tent closest to this chest you can find Benhart’s summon sign if you’re human.
Down the Hill
Your next goal is to make it down the hill on the right. Watch out for the sneaky boulders ready to crush you up on the right. Dash past the first one and then climb the ladder to reach the second boulder. Kill the Undead Peasant up here and then head back down again.
There’s a number of Peasants just a bit further down the path; so lure them up and if you’re quick enough you can drop the remaining boulder on their evil heads!
Continue down the hill and around the corner you’ll see three more enemies and a corpse holding a [Large Titanite Shard] on the right. Draw the enemies out one-at-a-time using Throwing Knives (or similar) and finish them off separately.
Arachnophobia
Push open the heavy doors with the spiders on them (it’s a not-so-subtle hint about what to expect inside). Continue downwards and when you see the wooden chest in an open room your spidey-senses should be tingling.
Opening the chest will trigger about 10 spiders to descend upon you (obviously not good). It’s only got [10 x Heavy Bolts] inside anyways; so leaving it alone will mean the spiders here do too. Push open the door and then straight ahead, at the wall, press A/X/PC Key to reveal a hidden wall!
![Upstairs you’ll find a corpse holding an ever-helpful [Estus Flask Shard]. Nice! Now prep yourself for another (mini) Boss fight!](/assets/guides/42/61624-1399503600.jpg)
Upstairs you’ll find a corpse holding an ever-helpful [Estus Flask Shard]. Nice! Now prep yourself for another (mini) Boss fight!
Mini Boss Fight - Prowling Magus and Congregation
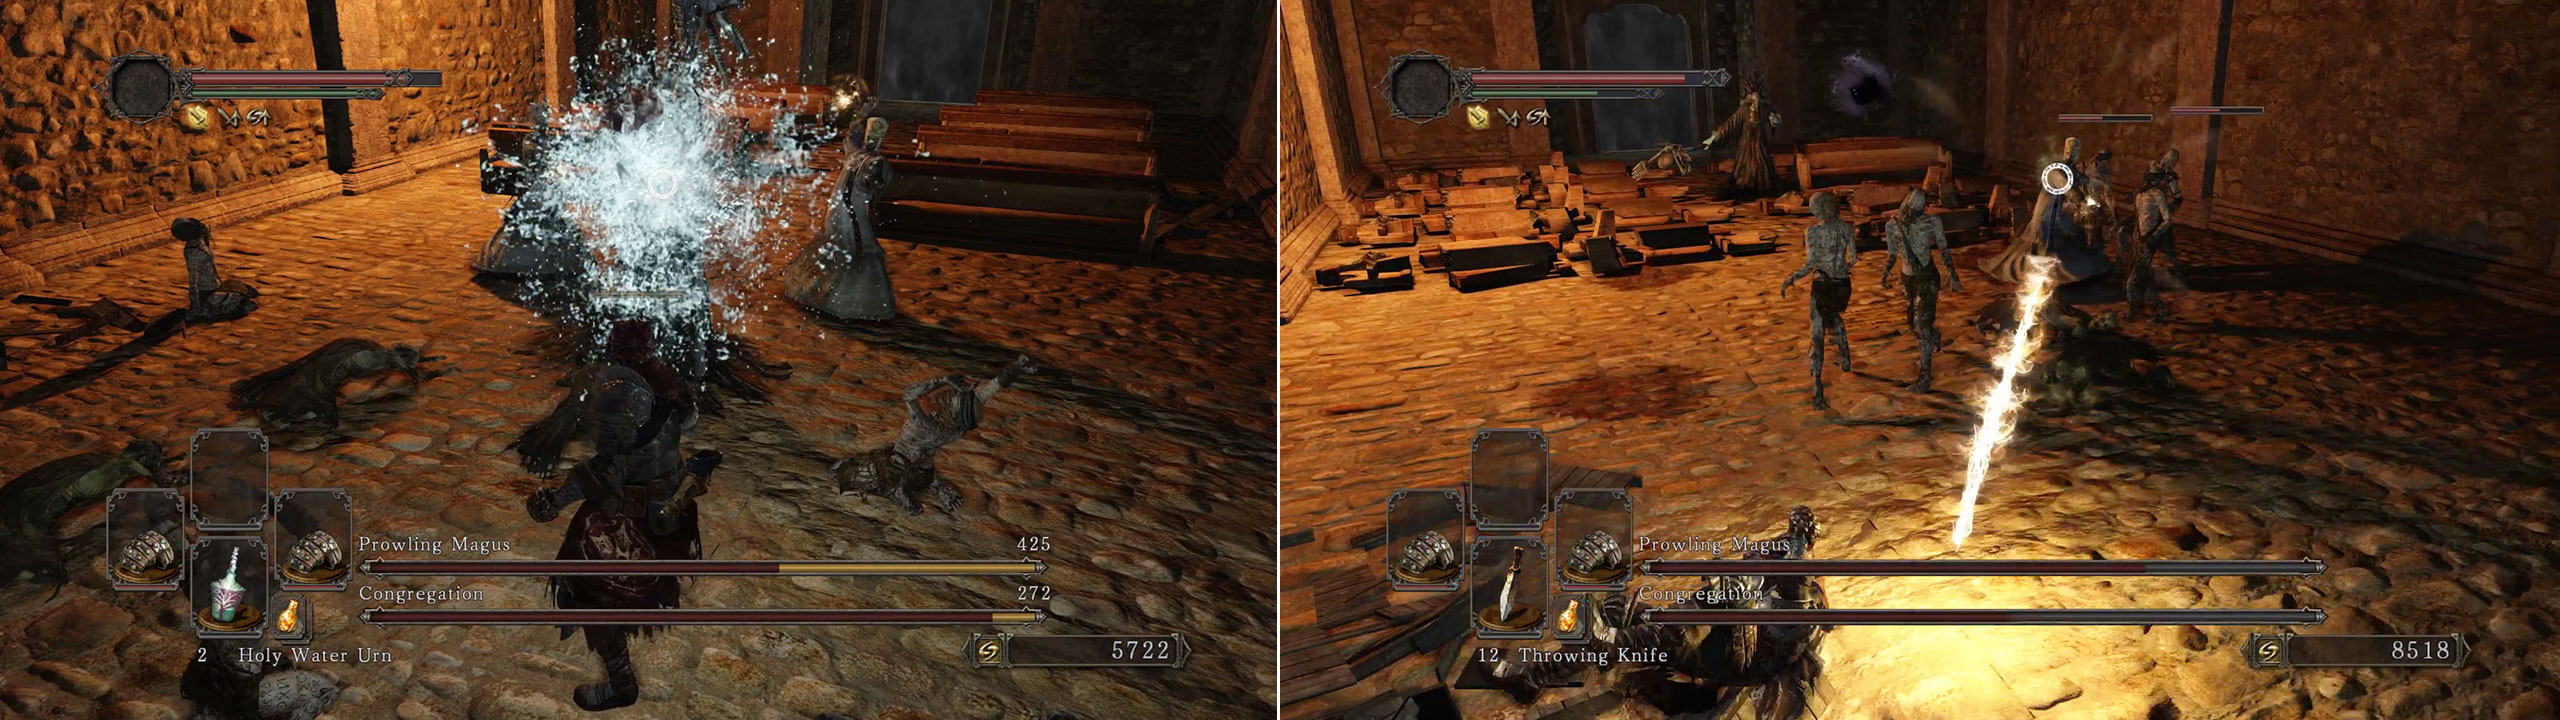
The ass-kicking Holy Water Urns and our lighting-dodging skills in action.
Upon entering the room you’ll notice a bunch of Undead Hollows, the main guy Prowling Magus (black robes) and the two Dark Clerics . Everyone in this room needs to be killed before the fight is considered complete.
- If you’ve got Holy Water Urns then launch a couple from a distance and then run past the wooden seats to the back of the room.
- The three main enemies will stay around the middle, with Magus throwing Dark Energy balls at you and the Clerics throwing Lightening Spears your way.
- If you need to get up close then we recommend circling the outside of the room and get a couple of hits in on any enemies in your way before moving on swiftly.
- Don’t get too close to Magus as he has a dark energy burst attack that can hit you from a surprising distance away (but it’s got a longish cool down period - leaving him open to attack).
- The Clerics have less health than Magus so try and take them out quickly as it’ll mean less projectiles for you to dodge!
- Don’t forget to kill the crawling hollows to finish the fight.
Once it’s over, head outside and then immediately turn left and then left again. You should see in alcove with a ladder going up. At the top is a new NPC called Cromwell the Pardoner who will make your sin from killing any NPCs go away - for a fee of course (you naughty person you). He’ll also sell miracles and more.
You can also loot the corpses around you for a [Bonfire Ascetic] , [3 x Fading Souls] , a [Cleric’s Small Shield] and a [Skeptic’s Spice] . Go back down and then take a right where you’ll find a new Bonfire on your immediate left (at the top of the stairs).
Deeper into the Cove
If you take the regular route down, then grab the [Soul of a Proud Knight] from underneath the stairs and then roll into the pots in the next room for [2 x Wilted Dusk Herbs] .
Use the zip-line to slide across to the enemies opposite and finish them both off quickly. On your left is a room (where the shortcut we mentioned above leads you) and if you’ve spoken to both Pate and Creighton at all previous locations then they’ll be locked in battle in this room.
If you’ve got Pate’s armor already; then it’s worth stepping in and killing Pate . Creighton will give you [His Armor Set] and the [Tseldora Key] that will allow you to unlock a room in a nearby area for [10 x Rusted Coins] (EXPLOSIVE trap chest - so run away!) and the [Engraved Gauntlets] (most hits become critical attacks).
Before smashing the bookshelf; look for the [3 x Charcoal Pine Resins] hiding away in the corner. Once you head outside, kill the Parasitized Undead (basically a spider-like hollow) and if you’re super quick enough you can kill the Blue Crystal Lizard to your right.
Drop down onto the sand below and you’ll likely have a few enemies pop up; so be ready to take them all out. If you’ve got the Tseldora Key the door up near the archway will open up (allowing you access to your rewards).
Be very careful when approaching the archway though as a Sand Basilisk and a Dark Spirit will try and make your day unpleasent.
Once you’ve defeated it; carefully walk down the wooden walkway and then target the two Parasitized Undeads standing above the locked door. Ranged attacks will force them down so be ready to backpedal to the wider area behind you.
Towards the Boss
Open the double doors and then look up and surprise the spider ambush with your own pre-emptive strikes (arrows or magic spells work well). A few more spiders will turn up though once you step inside; so be prepared.
Pulling the right-hand lever will open a door leading to [3 x Homeward Bones] , whilst the left lever reveals a Parasitized Undead and a ladder up and out of here (hint: take it). The other door can’t be opened until the main boss here is beaten (so do remember to come back as it has some nice rewards inside).
At the top you’ll want to drop down and now where in a cobweb-packed tall room. Should you wish to methodically kill all the spiders, run down the spider webs and grab all the items here you’ll find: [1 x Torch] , [5 x Corrosive Urns] , a [Twilight Herb] , a [Simpleton’s Spice] , a [Radiant Lifegem] and - if you’re human - an NPC summon sign for Ashen Knight Boyd (it’s behind a pillar).
There are plenty of spiders though, so if you want the quickest way to the boss then simply run to the first set of webs, and look down the left-hand wall. You can systematically drop down from each one (to the one below) and then run down from the middle level to the lower one. Now make a mad dash for the boss fog gate.
Boss Fight - The Dukes Dear Freja
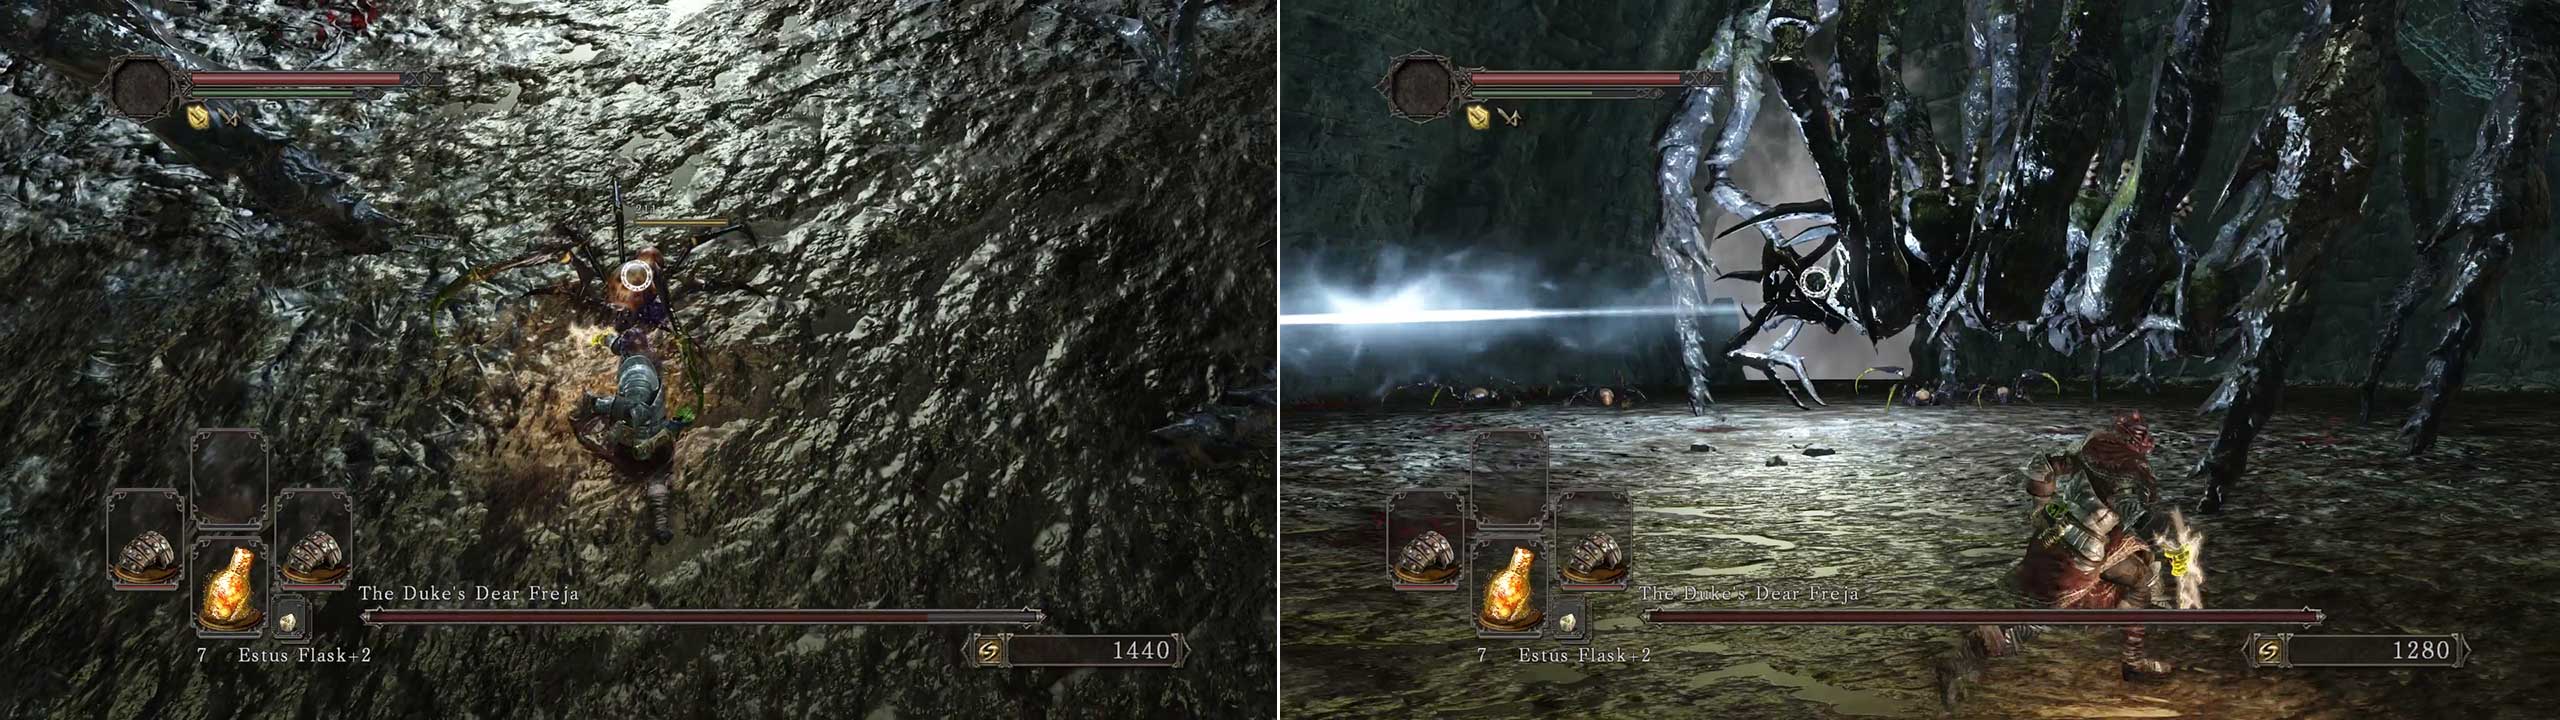
Buff your weapon with Lightening (or use lightening-based attacks) to deal additional bonus damage to the spiders and the boss.
Don’t like spiders? Well tough! Because you’re going up against a Dragon Eating spider now! (Don’t believe us? Look carefully up at the ceiling of the boss room and tell us what you see…)
The main initial threats are the annoying mini-army of spiders running around the boss itself; so you want to make sure you’re picking them off safely (whilst constantly circling the boss).
- The boss has two heads to it; one on either side of its body.
- You should aim to run to the opposite face when the other one is attacking (this is best done when the boss is using her stupidly long and powerful lazer beam of death).
- Be careful when the boss leaps around the room as it has a habit of softening the ground beside her and this will really slow your movement speed right down (making it super hard to dodge her leg stomps).
- Eventually, additional smaller spiders will join the party again; so be sure to re-focus your efforts on killing these annoying pests.
- Don’t get greedy when hitting one face as it’ll swipe at you and knock you flat on your back.
- Once you see the boss trigger her white lazer beam (it’ll light up half the room); dash to the other face and get some easy hits in.
- As long as you keep circling at all times, you should find this fight less frustrating.


Run into the adjoining tunnel in the boss room and stab Duke Tseldora in the back for his gear. Now be very careful when approaching the Primal Bonfire as Vendal’s disembodied head is roaming around here looking for a fight.
He hits hard and fast, so be sure to either used ranged attacks, large-poise shields or roll under its sword (risky). Once it’s dead you’ll get the rest of [Vendral’s Set] and you just have to light this bonfire and return to Majula.

 Sign up
No Comments