After stepping off of the elevator, look to the right of the stairs for a corpse holding a [Radiant Lifegem] . Now look around the left side of the stairs for a Bonfire hidden underneath the steps.
Kill the Hollow with the torch and then you can either nip between the pillars to kill the Hollows and the Leydia Witches (there’s three of them, two on the right and one on the left). Alternatively you can use ranged attacks (such as a bow) and pick the Witches off first (just be careful of their powerful dark magic attacks).
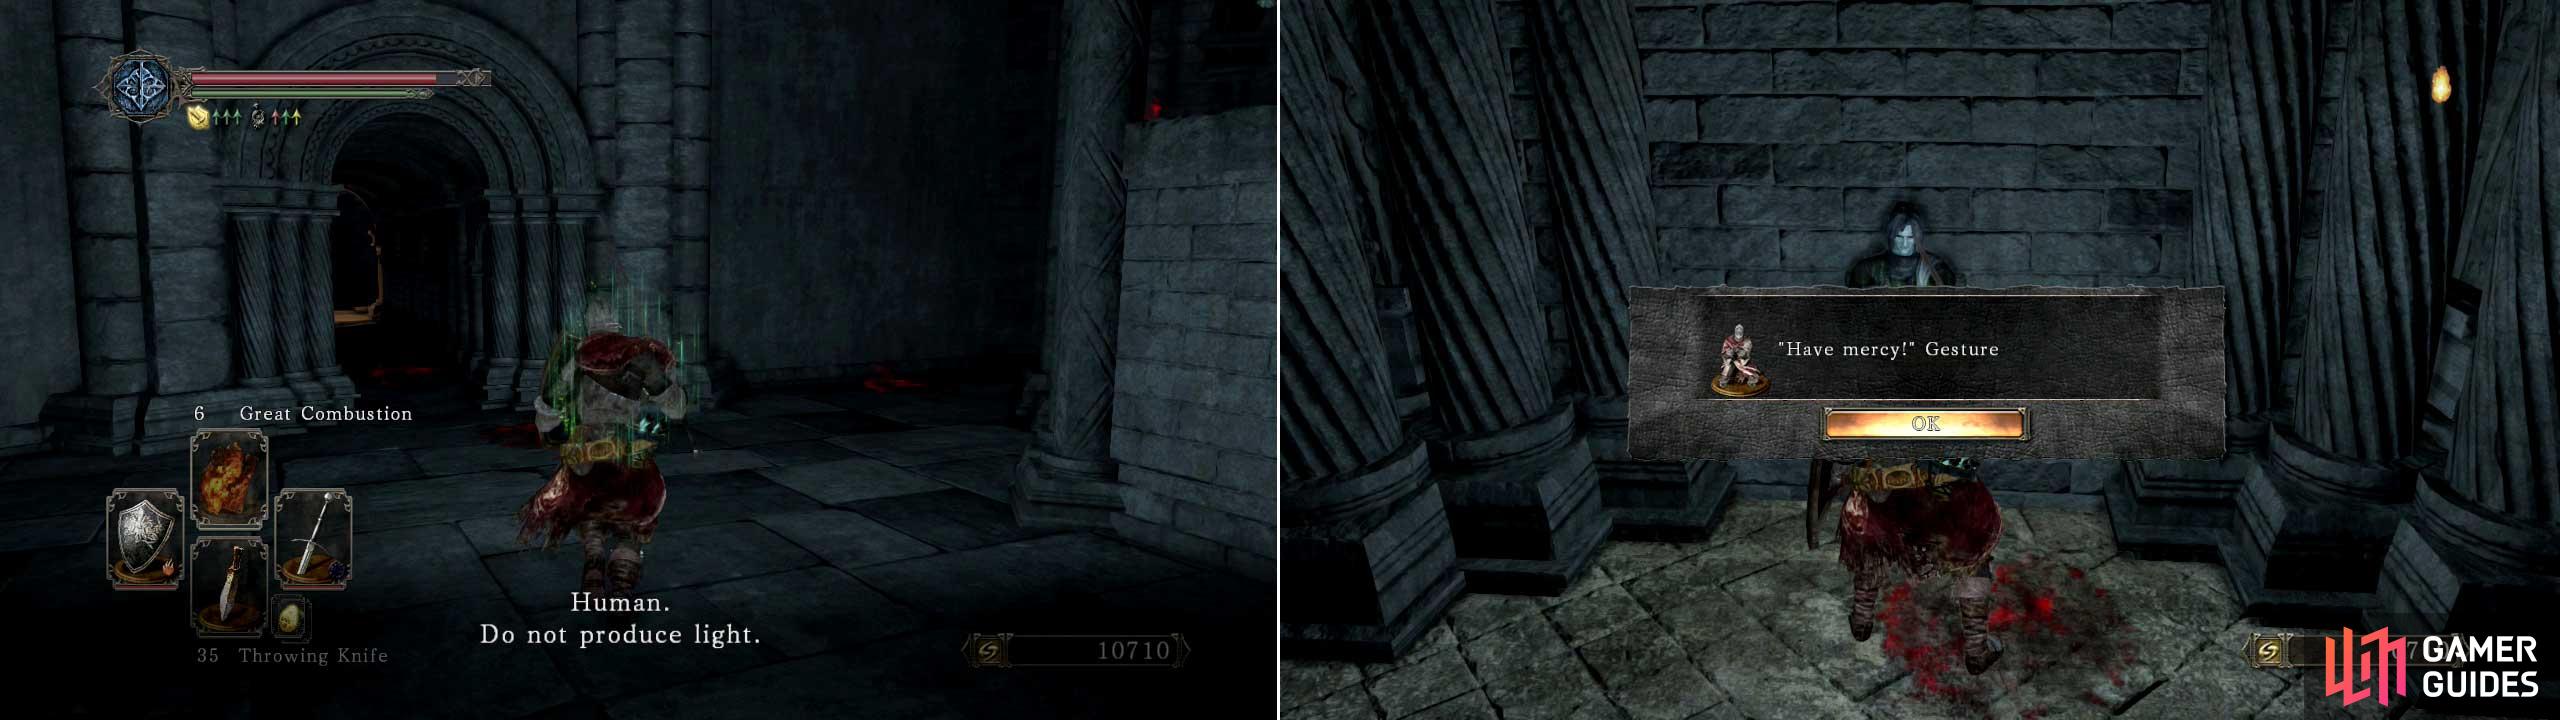
Warning! Before entering the next area DO NOT use any torches or light-emitting spells as you’ll have three enemies and a normally helpful NPC after you!
Instead, walk up the stairs on the right and then chat to Grave Warden Agdayne who will sell you Humanity (up to 12 of them), rings and more. He’ll also provide his assistance via a summon sign for the upcoming boss too (if you haven’t annoyed him).
Grab the [Large Soul of a Nameless Soldier] before leaving and then be wary as you enter the next room.
There’s two Royal Guard’s up on the ledge so be careful when taking them on (they usually use a very predictable three strike combo though). From the entrance steps you can look down for a hidden pathway below.
Drop down, kill the two Hollows here and grab the [Simpleton’s Spice + Soul of a Great Hero] and then head up the ladder for another Hollow and a chest containing [Crushed Eye Orb + Fire Seed] .
To the Bonfire
Cross the ledge and DON’T enter the fog gate. Instead, look down off the ledge to the left for a hidden platform. Drop down and enter the doorway for a chest holding a [Soul Vessel] . At the top of this ladder is a [Soul of a Hero] and a ladder leading to the next Bonfire !
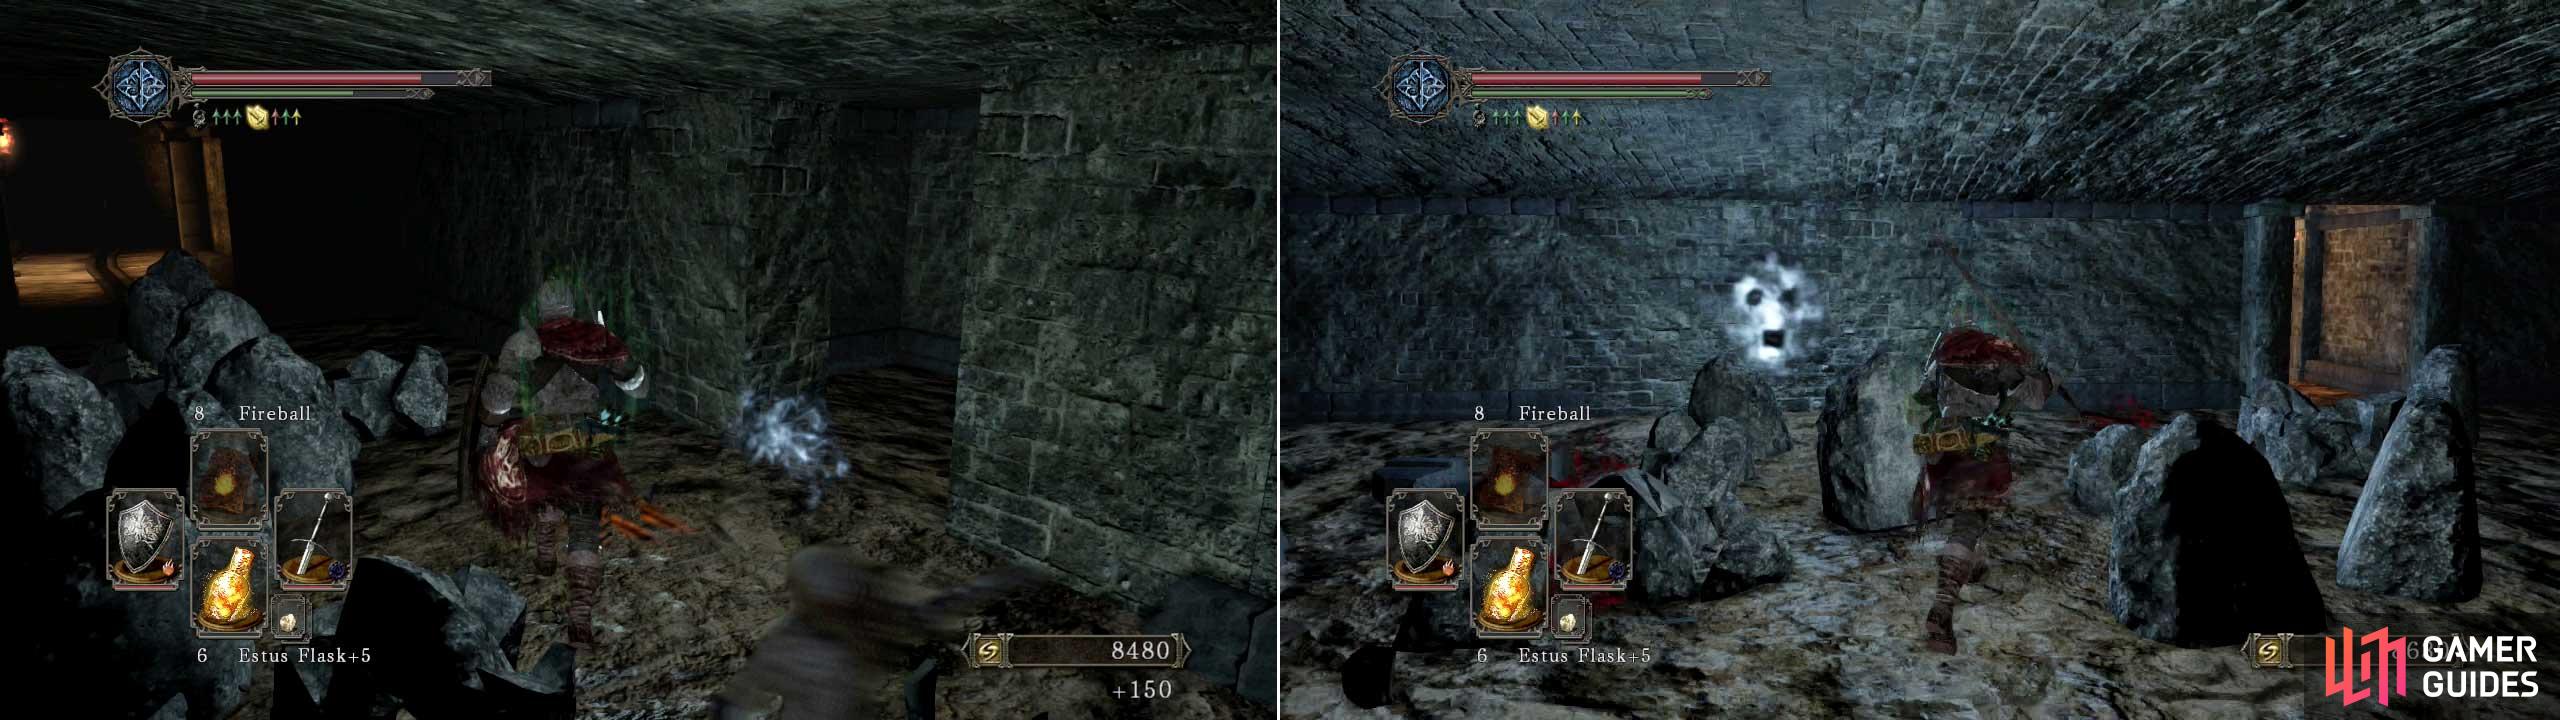
In this area you can destroy the rocks with regular attacks; but watch out for the numerous Hollows that appear from the ground as you work your way around this room.
You’ll encounter a new and relentless enemy in the form of Leydia Pyromancers . These guys come out from the large stone statues dotted around the room and the only way to stop them from respawning is to destroy the stone statues.
You need to be wary of their really powerful spells so if you’re a melee character then be aggressive and try and attack them as you’re hitting the statue to save time. Ranged characters can pick them off from a safer distance.
In the right-hand side of this room (just up from the fog gate) you should find a corpse with a [Titanite Chunk + Petrified Dragon Bone] and then a ladder to the left. Climb this and kill the Witch before opening the chest for a [Dried Fingers + Bonfire Ascetic + Twinkling Titanite] .
Drop down into the room on your left, grab the [Bracing Knuckle +2] from the corne, then the [Soul of a Lost Undead] near the stairs and then head up the steps into the square room. There’s an illusionary wall to your right, be careful of the Wall Warriors who’ll attack you from the wall as you enter. The chest here holds an [Avelyn + 15 x Heavy Bolts] .
Back outside grab the [Divine Blessing + Soul of a Hero] and then be careful as you approach the next corridor as you’ll trigger a Dark Spirit battle. The Usurper isn’t too difficult, but his fast knife attacks can catch you off guard if you’re careless.
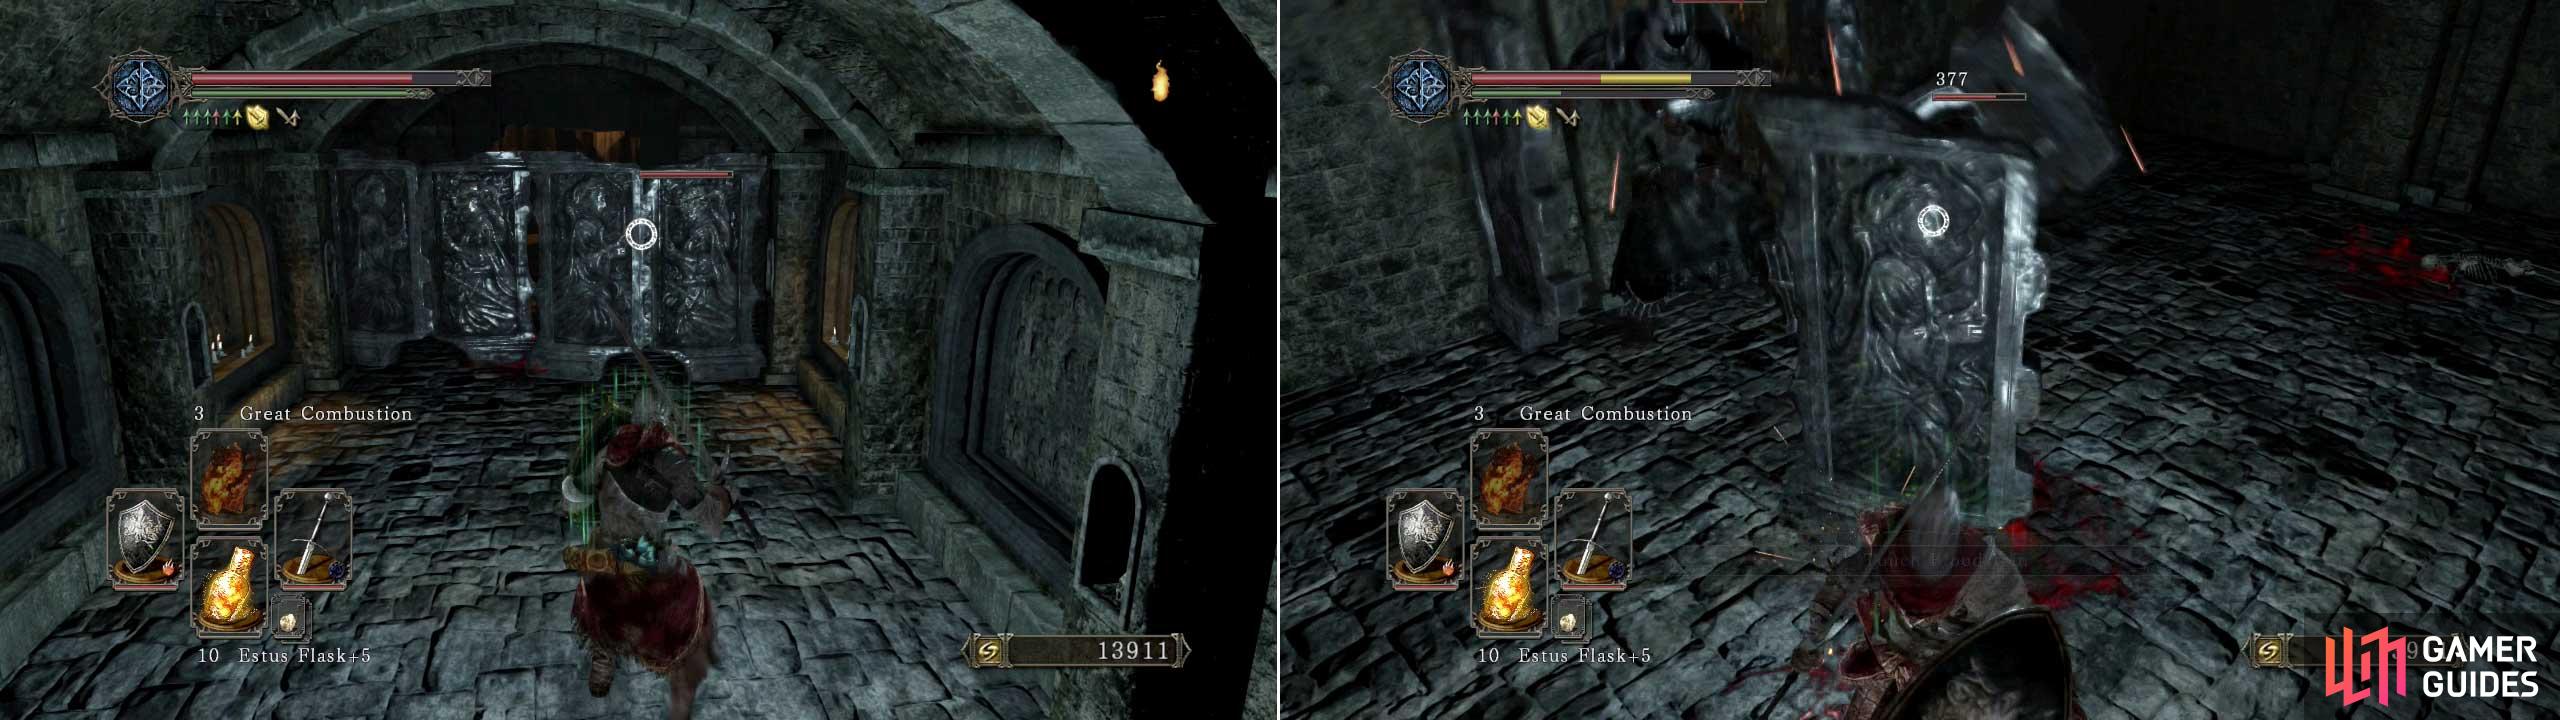
Further down the corridor you’ll reach a blockade. This is in fact two Imperious Knights who are one-handing two massive shields.
You can do one of two things here:
- Attack them enough to get them to come after you. You need to be careful of their surprisingly long reach with those shields (leading into a four-hit combo if any hits connect).
- Hit them a couple of times to get them to move and then simply run past them and drop down into the hole ahead.
The Bell! The Bell!
You need to be pretty quick in this room if you want to survive and take the copious amounts of loot tucked away here. There’s five Pyromancers in here as well as loads of rocks in your way and Hollow’s coming straight for you.
You can make your life easier by running left initially and looking for the curved corridor (as this is the exit to the room). From here you can bait the Pyromancers with more freedom to retreat and heal if needed.
Be wary of the two bells here though as each ring will summon more enemies to appear. There’s one bell opposite the room’s exit and another in a dead-end to the right of the exit.
Once you’ve cleared the room of all Pyromancers then you can loot the corpses for [Large Soul of a Proud Knight + Dragon Charm] , [Mace of the Insolent + Soul of a Hero], [Radiant Lifegem + Homeward Bone].
Before leaving, if you open the illusionary wall (middle of the wall to the left of the exit corridor) you’ll reveal a Pharros Lock.
Use a Pharros Lockstone here to reveal a hidden wall at the back of the room. Enter this for a chest holding the awesome [Great Lightening Spear Spell + Olenford’s Staff] .
To the Boss
Head through the curved exit path and hang a left to see a switch. Hit it to flip out a new ledge that leads back to the previous Bonfire .
With that shortcut now done, come back into the main room and open the chest (just past the entrance to the long corridor) and open it for a [Magic Stone + Darknight Stone] .
There’s a total of seven Royal Guards in here and they usually come in pairs (bar one of them). So bait the two into approaching you but do your best to break them up by circling the pillars or use any area-of-effect spells you might have.
Don’t forget that their common three hit combo is easy to dodge and their cooldown window from it is pretty big (making backstabs a cinch).
The two at the top of the stairs will only budge if you get to the top of the steps, so get half-way up and either use a spell or poke one and lure it away for a one-on-one battle. Before entering the fog gate you can summon Grave Warden Adayne from the left-hand pillar just before the stairs.
Boss Fight - Velstadt The Royal Aegis
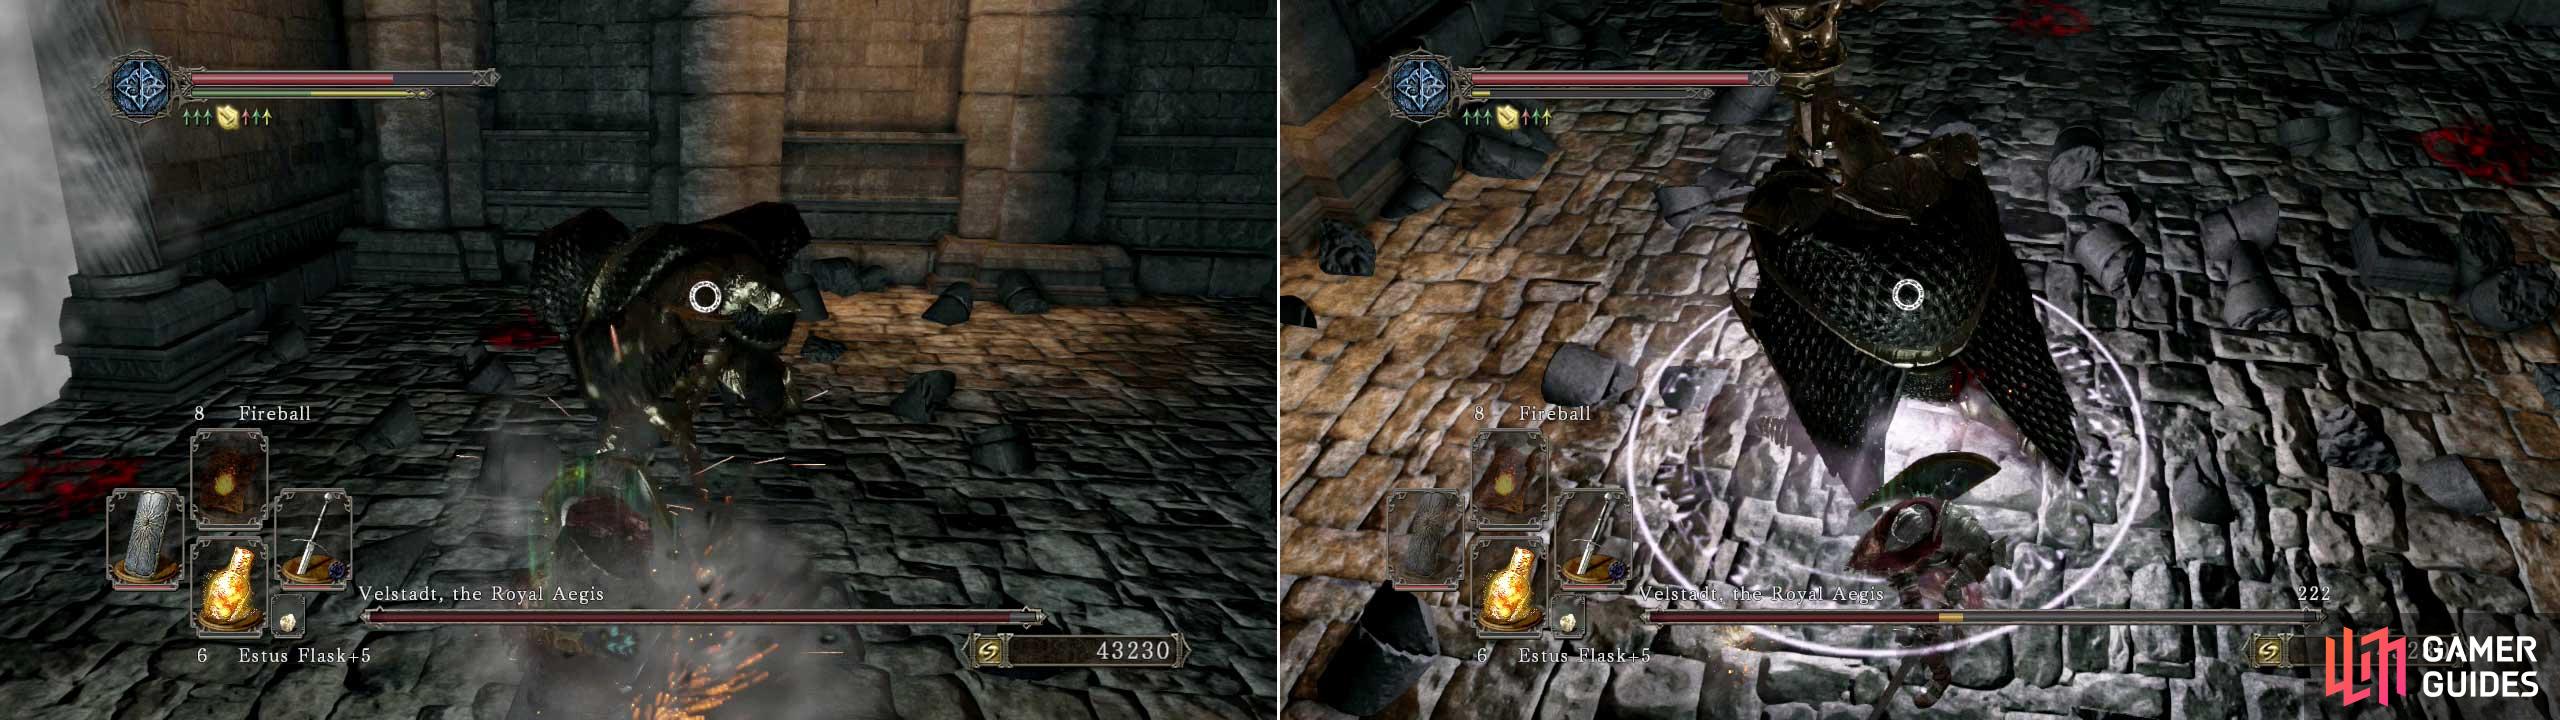
This guy can prove to be a ‘Royal pain’ (see what we did there?) but with the right approach can be made more bearable.
A melee player’s best defense is to roll behind the boss but you’d be wise to have a fairly good ADP level by now (28+) to ensure you can dodge his additional attacks if he decides to go for a combo.
- You can use a 100% physical defense shield to block his hammer swings.
- If you’ve got nerves of steel then you can also parry his horizontal and vertical swings (but not his hammer thrust).
- If you keep your distance and bait him into kneeling down for his Underworld Beacon move (where he waves his hammer around); you can run in and get a good few easy hits in.
- Be sure to either get behind him before he fires off his wide dark magic attack or roll through the magic (blocking it won’t work).
Once the boss is dead it’s time to head down the stairs.
Optional Boss Fight - King Vendrick
The only real way to beat this boss (who will pretty much one-shot almost everyone btw), is to collect a minimum of four Souls of Giants .
There are five in total to find and all five will drop his defense down to normal. However, having four will mean your weapon only deals half damage .
Souls of a Giant Locations
- Kill the two giants in the Black Gulch by dropping off the ledge (near where you come out from after speaking to Lucatel ).
- Three can be found in the various Memories of the Ancients .
- And finally, by killing the optional Ancient Dragon boss at the end of Dragon Shrine ( very difficult).
King Vendrick Strategies
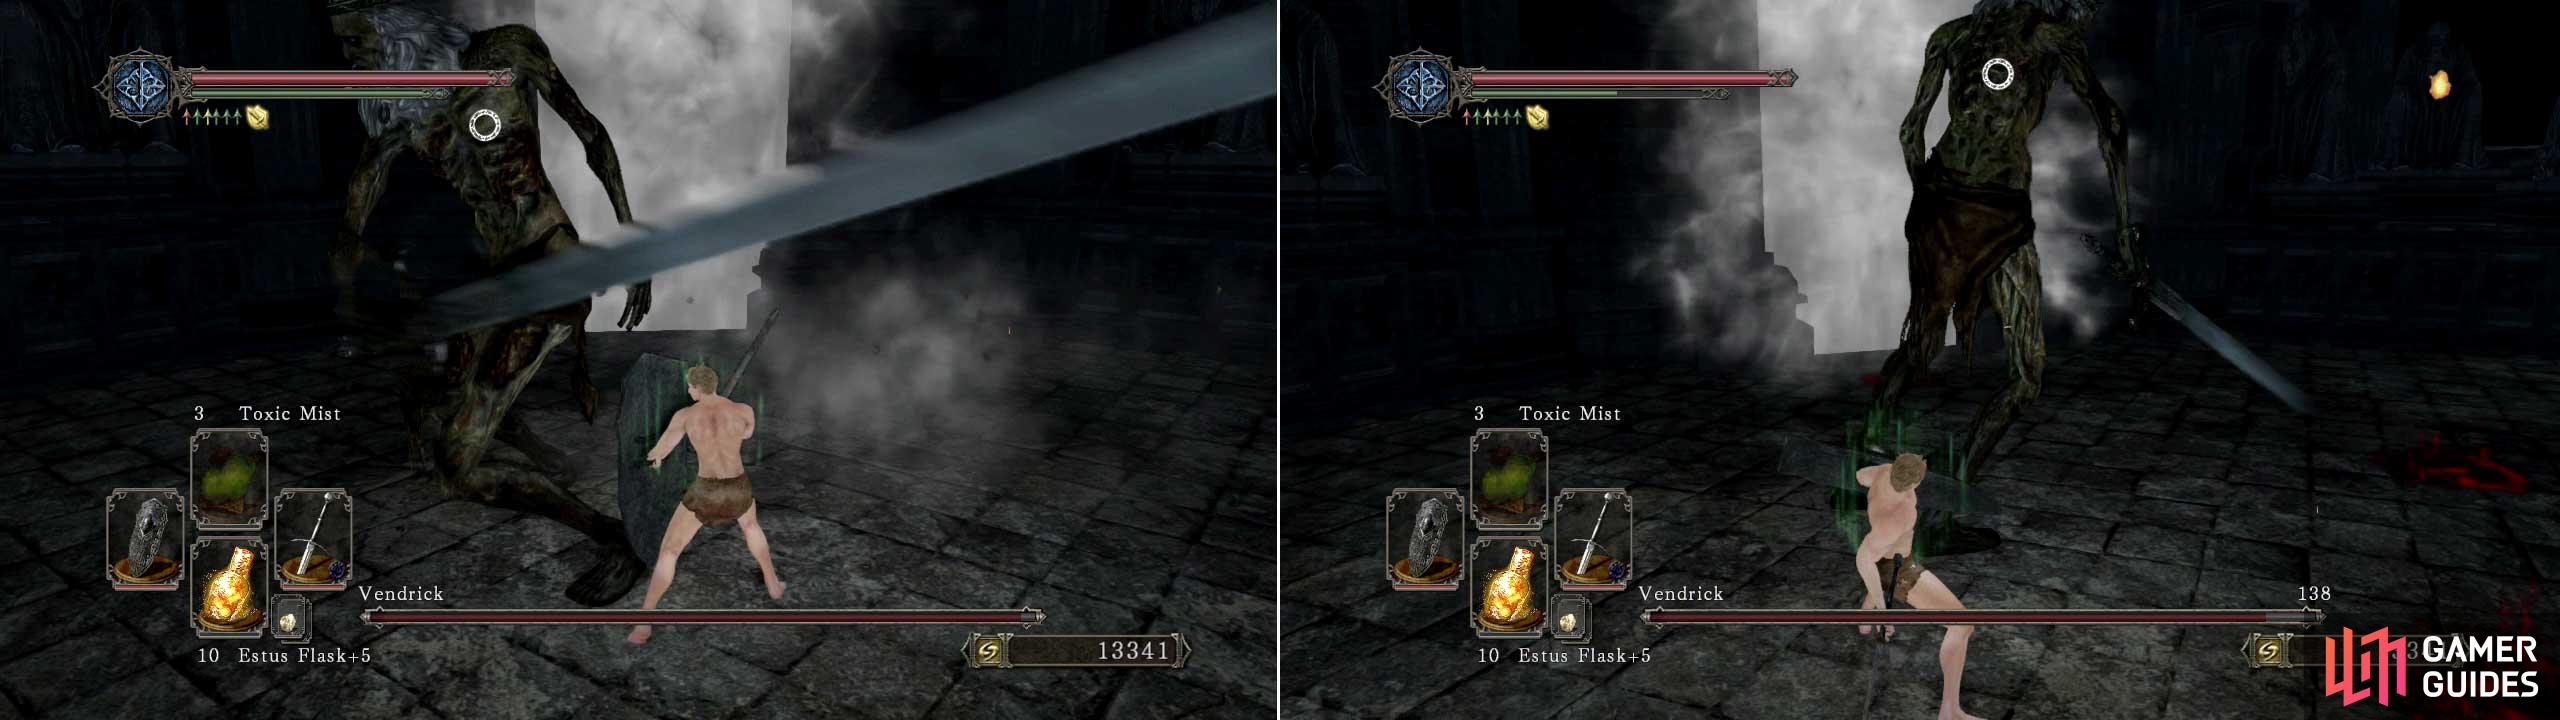
Using a massive Greatshield with loads of poise can prevent a one-hit kill; but you’ll suffer a massive loss in stamina with none left to dodge with if he attacks a second time.
Pretty much all of his attacks will now miss you and you now only need to worry about him reaching a corner of the room. If this happens stand in the middle of the room and dodge is charge attack and resume hugging his left foot and attacking when the opportunity arises.
It won’t be a fast fight (not unless you’ve got all five Giant Souls), so it might be wise to bring in some repair powder in case your main weapon runs out of durability near the end.

 Sign up
No Comments