At the bottom of the path are Lycanthrope Hunters, weak enemies that aren’t much of a threat if you catch them off guard. Focus on dodging their attacks by rolling past them and then strike them before they have a chance to recover.
There are more enemies at the bottom of the area, so pull them one at a time to limit the danger and then follow the water to the right to find a Titanite Shard .
Kill the hunters and then make your way around the corner for a Titanite Shard.
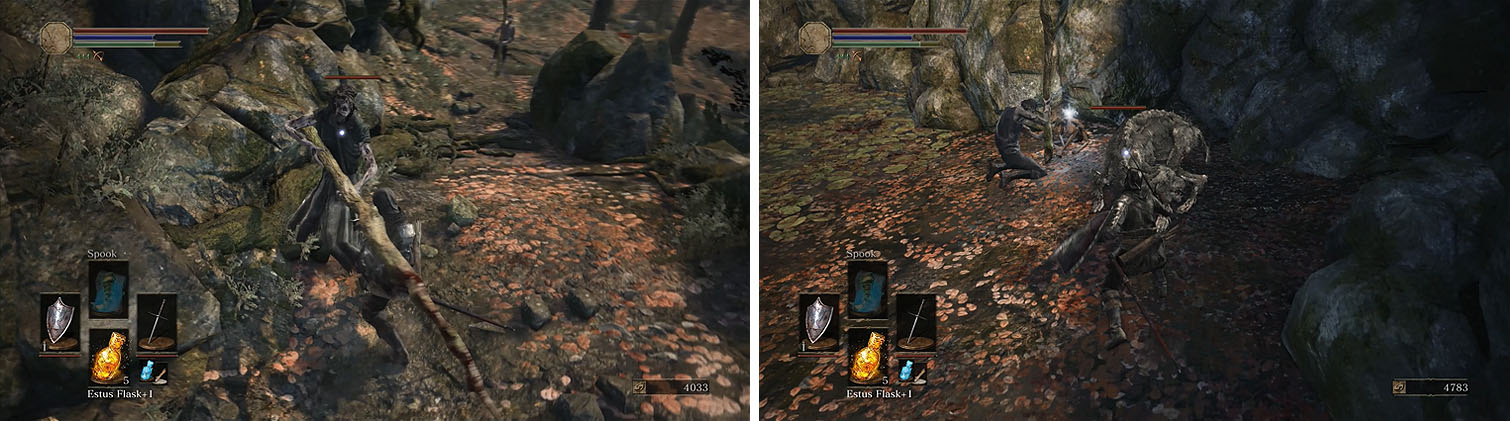
Return to the top of the hill and look for a plateau that you can drop to, followed by another with a Soul of an Unknown Traveler , and then drop to the ground. Straight ahead are three Poisonhorn Bugs that are of little threat, but watch out for the Lycanthrope behind them.
After dealing with the mushroom looking bugs, walk forward and spot the cross that looks like it is laying sideways on the ground, which is actually attached to the back of the Lycanthrope. Start the fight with a heavy attack by sneaking up, but don’t be afraid to back up after a few strikes to prepare for a counter attack.
Lycanthropes are fast and wild, swinging their lanky arms or jumping at you to strike, but a well timed roll will easily dodge them and allow you to strike.
Return to the entrance and hop down the ledges to encounter a Lycanthrope.
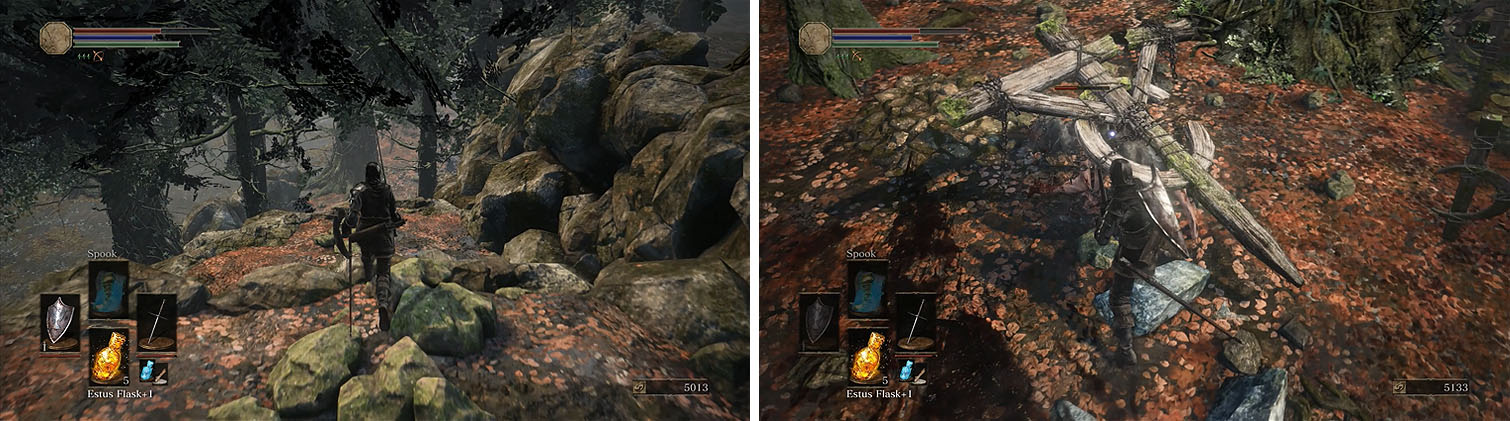
Deal with two more Poisonhorn Bugs and then pass around the left of the trees, walking slowly, to find another Lycanthrope. Once again you have the advantage and can start the fight with an advantage, but don’t push yourself into a situation where you leave yourself vulnerable.
Afterwards, kill off the remaining Poisonhorn Bugs and enter the nearby doorway.
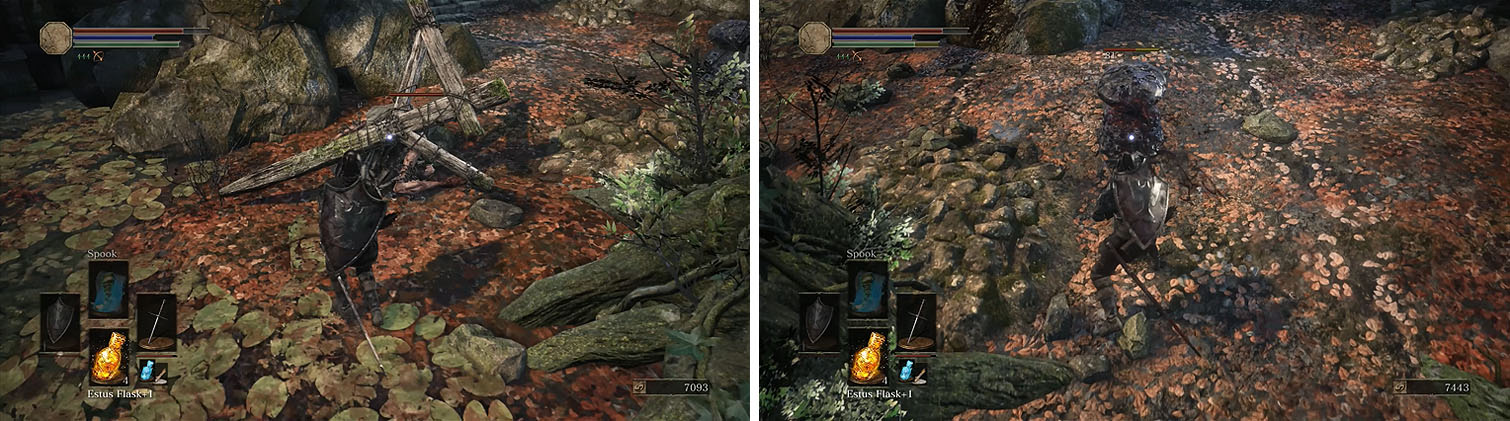
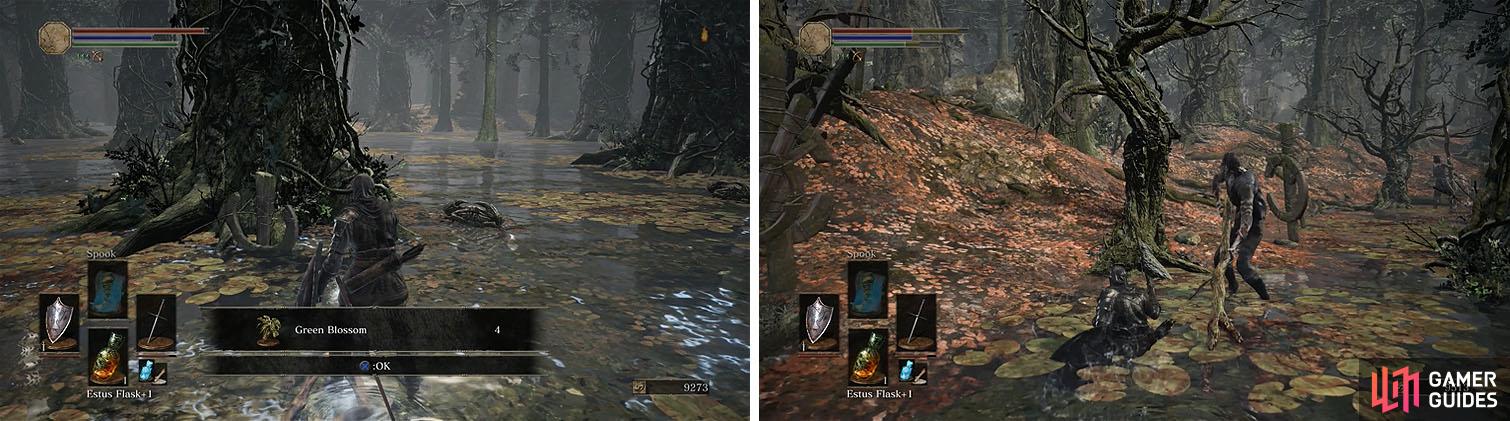
Circle behind the tree to sneak up on the Lycanthrope (left) and then kill off the reminaing enemies (right).
There is a Black Knight ahead, but ignore it by taking the path to the right to find the Sellsword Armor Set . You can drop and backstab the Black Knight if you are careful, but don’t stand close for too long. Black Knights are similar to the Lothric Knights you fought before in fighting style, but they are much deadlier and will kill you without much hesitation.
In this particular fight you can run away to where you originally dropped down to lose the Black Knight and wait for it to reset and backstab it again or fight it straight out by baiting it to attack before you go in for a combo.
When you’re done dealing with the Black Knight collect the Sellsword Twinblades and Farron Coal and then exit the building.
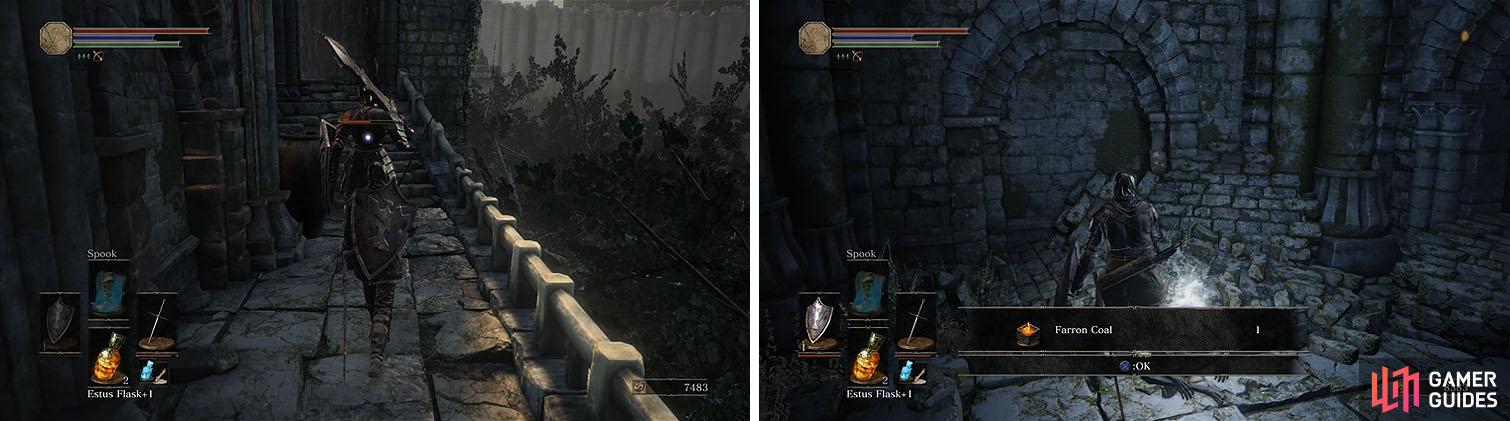
Defeat the Black Knight and then collect the Farron Coal at the dead end.
Hug the wall as you enter the water and walk toward the gap between the tree and wall, which creates a choke point that the Giant Crabs can’t pass through.
The nearby crab will start to run toward you and get stuck, allowing you to kill it with ranged damage to obtain a Great Swamp Ring . Try and stay close enough that you keep its attention because if it starts to walk away it may end up walking around the tree and attacking you face to face, which is pretty deadly.
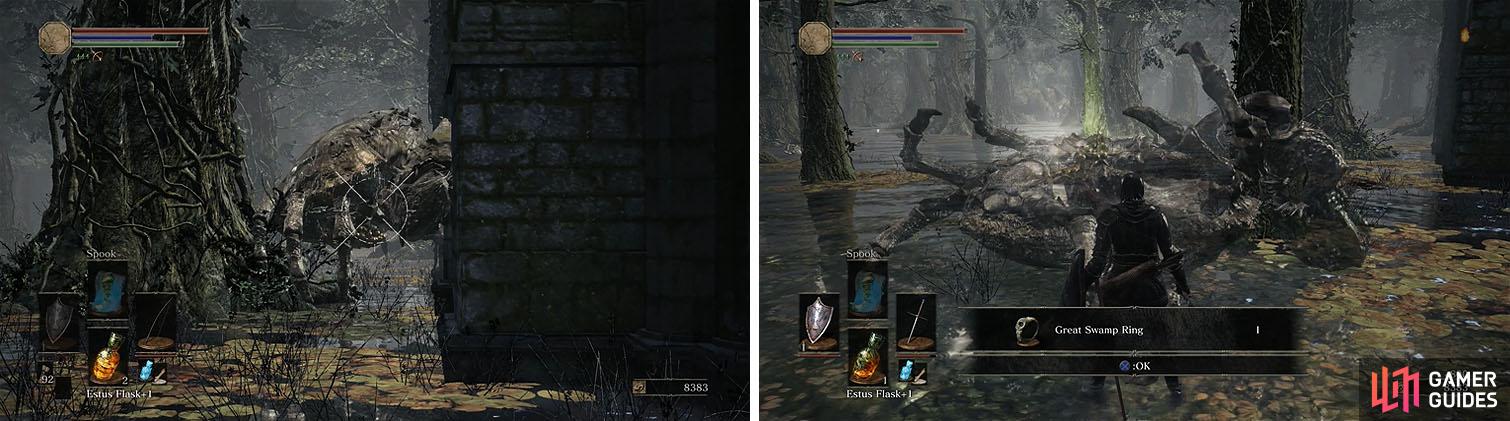
Use the choke point to defeat the Giant Crab for the Great Swamp Ring.
With that one crab dead you can collect the Great Swamp Pyromancy Tome and Conjurator Armor Set by the tree and Green Blossom x4 in the water.
Head back toward entrance with the Lycanthrope Hunters and you’ll encounter more near the edge of the water, on the other side of the path you came down earlier. You can now Grass Crest Shield nearby, but be careful of another Giant Crab.
Check the water for multiple items before you return to land near more enemies.
Pass along the wall to a Titanite Shard hidden in the corner near some Poisonhorn Bugs and then follow the wall to an even larger group of Poisonhorn Bugs protecting another Titanite Shard .
The woods have more Lycanthrope Hunters scattered throughout, so move slowly and deal with them one on one as you search for the Twin Dragon Greatshield . If you get lost at any point, find the edge of the water and follow that to encounter a Starved Hound, near a Fading Soul , and then circle around the hill to a bonfire.
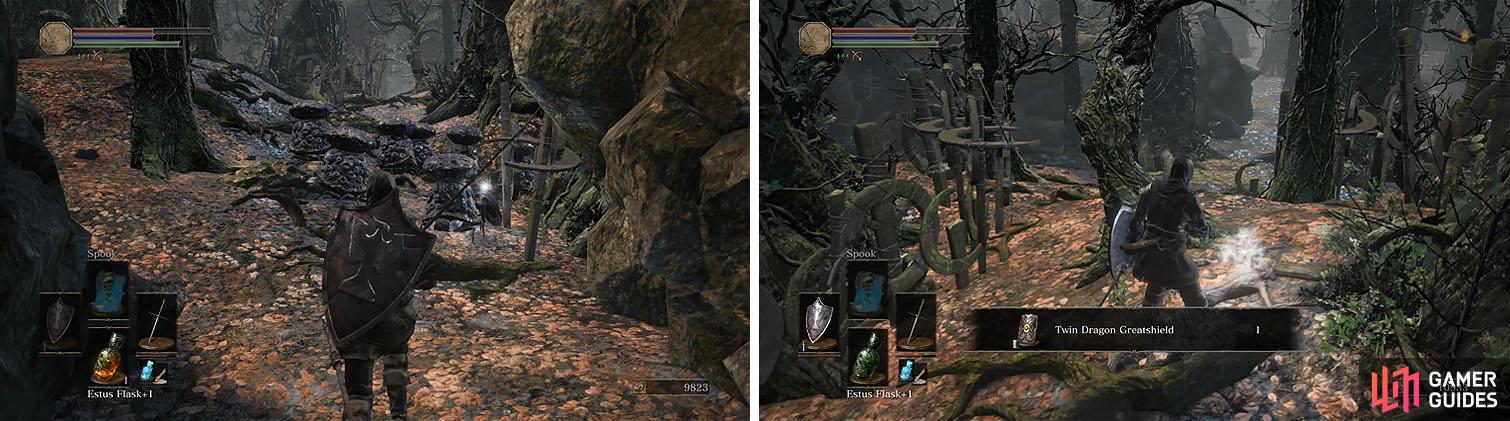
Fight your way through the woods, making sure to find the greatshield.
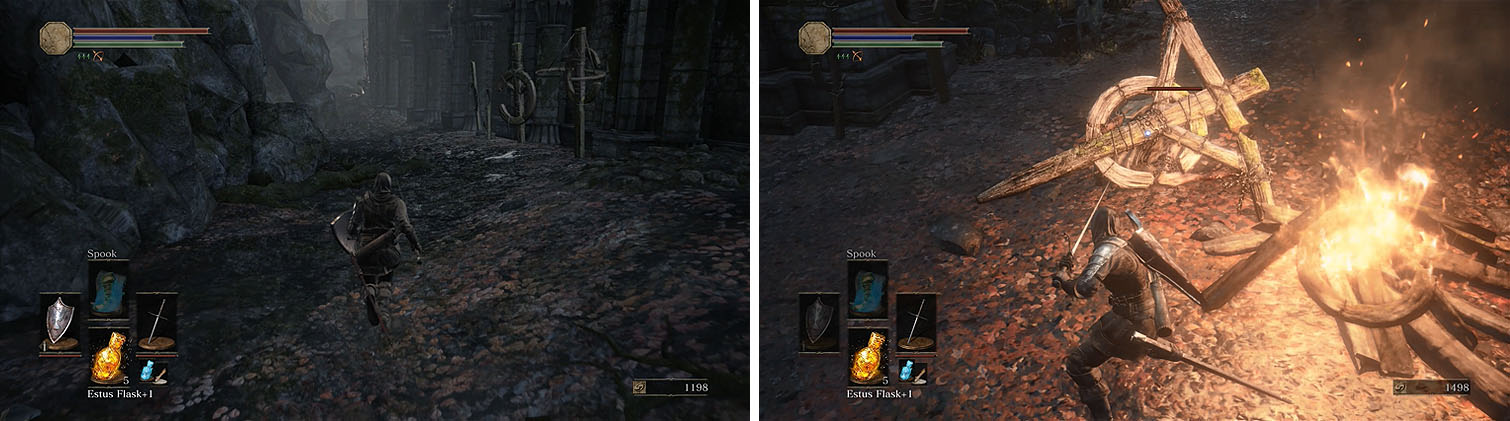
Head toward the building and follow the small path on the left side to find some Lycanthrope Hunters and then hop down to grab the Estus Shard below.
As you walk toward the fire you’ll find two Lycanthropes, but luckily they are far enough apart and facing away from each other that you can deal with them individually. Grab the Ember by the fire and the Soul of an Unknown Traveler as you leave and then hop into the water for Green Blossom x2 .
Take the path to the left of the building, encountering some more Lycanthropes.
Search for the doorway on the side of the building with a Lycanthrope inside and then pick up the Sorcerer Armor Set and Sage Ring .
Exit and take the stairs to enter the building to encounter a Sage’s Prentice. These enemies are not very different than many of the other basic humanoid enemies you’ve encountered, but they do have a variety of weapons. Upstairs you’ll find another Sage’s Prentice and a Sage’s Devout, who uses sorcery magic to blast you at a distance while you deal with the other enemies.
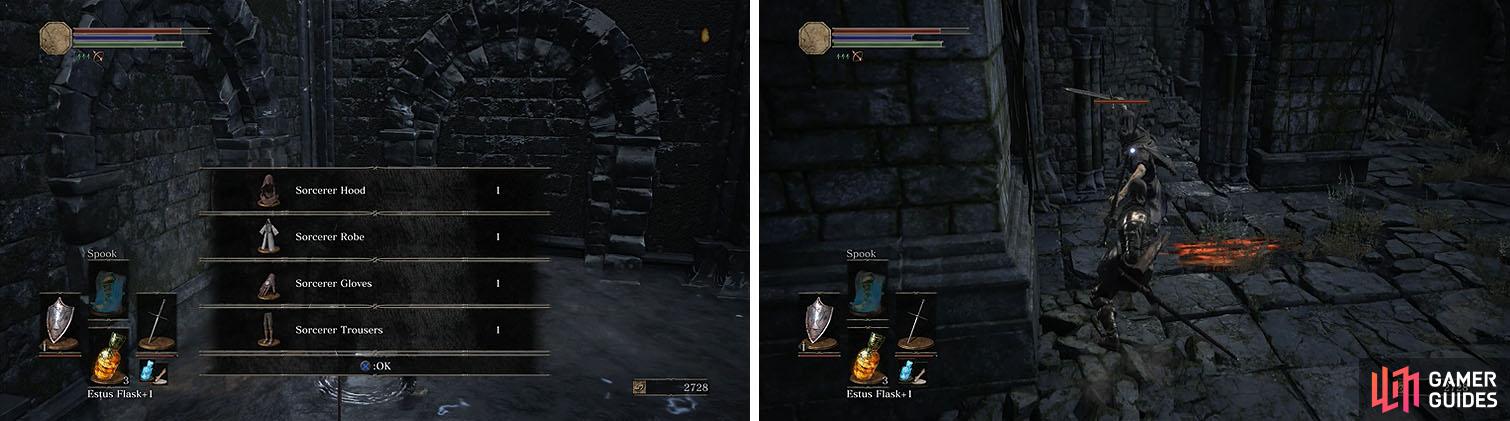
Check under the ruins for the Sage’s armor and ring and then enter the ruins.
Head through the crack in the wall on the stairs to find the Golden Falcon Shield and then drop to the ground to grab the Large Soul of an Unknown Traveler nearby.
The Fallen Knight Armor Set is on the edge of the water across from the stairs, but don’t get too close to the stairs until you’re ready for a fight with an unkindled.
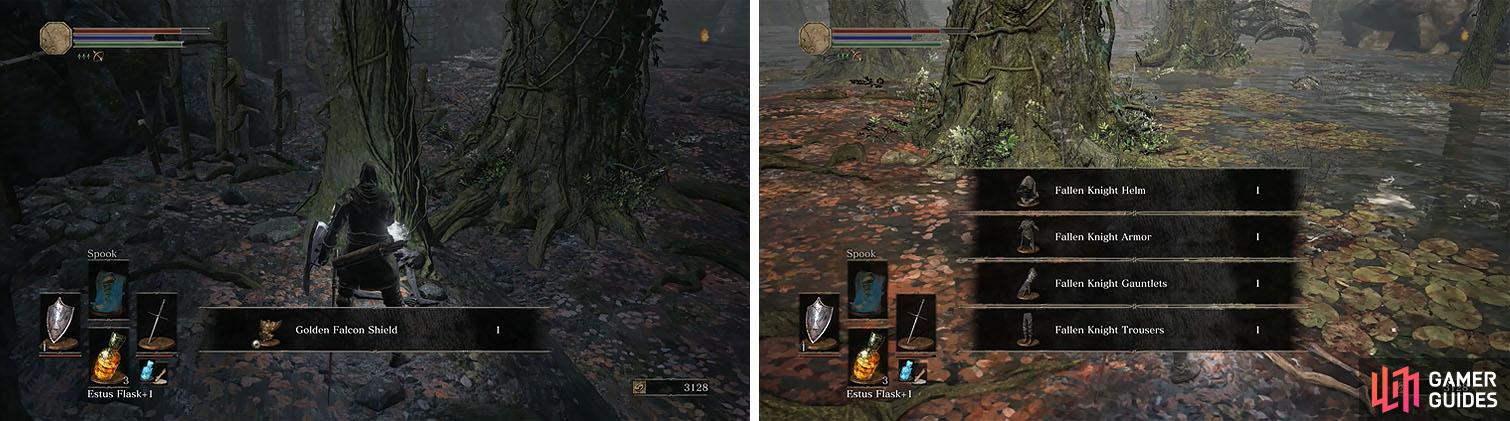
Grab the shield on the ledge and the Fallen Knight Armor by the water.
There are actually two unkindled on the stairs: one is carrying a Great Club while the one is further back and has a Exile Greatsword .
The club carrying foe uses heavy attacks that are well telegraphed and at about half health he’ll kneel to use a healing spell, leaving himself open to a long combo that can easily interrupt his spell and finish the battle quickly.
On the other hand, the greatsword carrying unkindled uses fast sweeping attacks with almost no recovery time and this makes it difficult to get in a good combo. Watch out for his spinning attack of sweeping strikes that can hit you on the back end if you go in for an attacks, making it even more difficult.
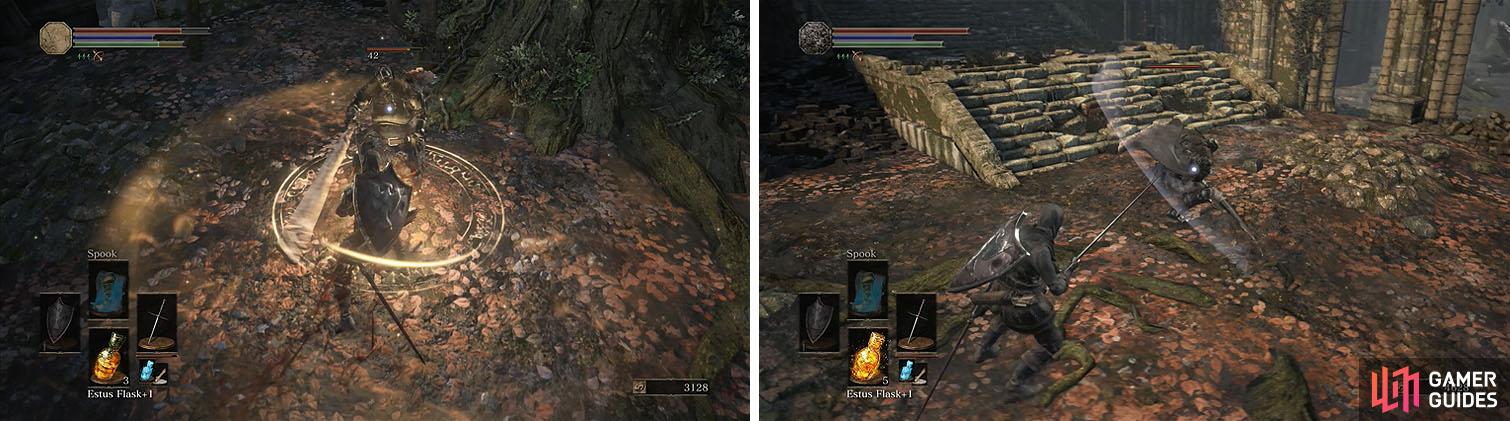
Rush the Great Club user to prevent him from healing (left) and watch out for the combos of the second (right).
Collect the Homeward Bone x2 and take the ladder down to the Farron Keep bonfire.
Return to the stairs again to enter the building and enter the opposite hall to encounter a Crystal Lizard with a Crystal Gem . Defeat the spear wielding enemy and turn left to enter the adjacent building with some more more enemies.
Focus on the Sage’s Devout on the upper level first before you deal with the remaining enemies. There are more enemies downstairs, including a lantern carrying one that will call the others to arms, and then collect the Heretic’s Staff .
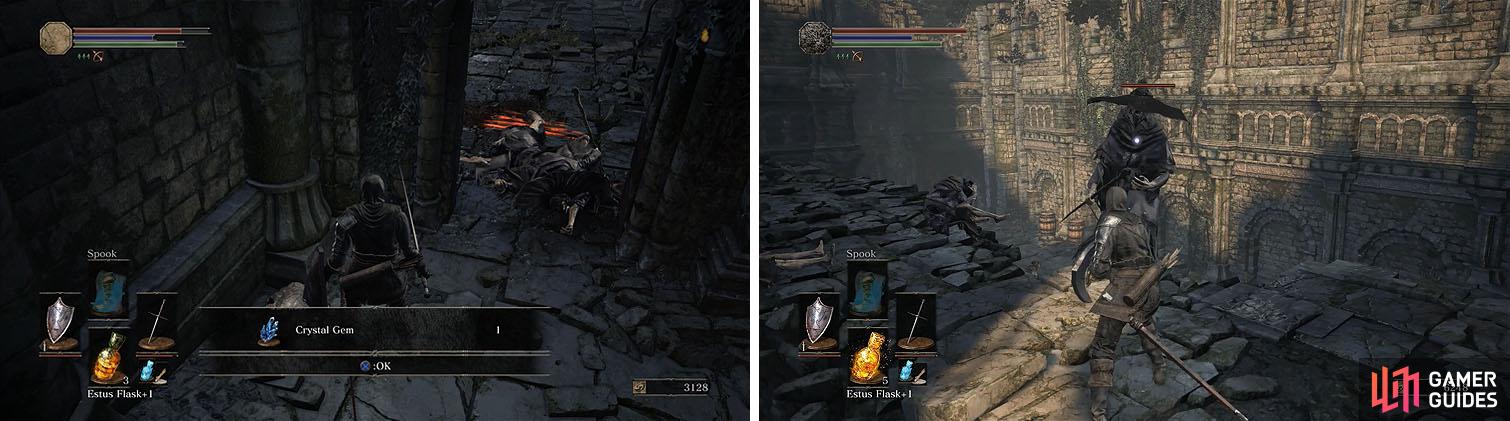
Kill the Crystal Lizard and then turn left at the split to encounter more enemies.
Backtrack to the split and take another left to reach the upper level and recruit Orbeck of Vinheim by promising to find him new sorcery magic.
Look down below to spot a number of enemies and then head to the other side of the upper level to find some broken stairs with Blue Bug Pellet x2 . Drop down and watch out for the huge gap in the floor and then use the pillars to break line of sight from the caster as you deal with the melee targets.
You can now exit the back of the room and continue to encounter the boss.

Orbeck will join Firelink Shrine if you have 10 INT and promise him scrolls (left). Downstairs, defeat the Devouts before dropping to the floor (right).

 Sign up
No Comments