Exit Vordt’s boss arena toward the broken road and raise the flag when indicated to teleport to the Undead Settlement. Check the opposite side of the rampart for a Large Soul of a Deserted Corpse and then head down the stairs toward the main gates.
When the gate begins to rise you’ll want to back off, as multiple Starved Hounds will enter the area and begin to kill the praying Hollow Soldiers. Lure each of the hounds individually or pull them with your bow and then head down toward the gate, but turn around and head down the road.
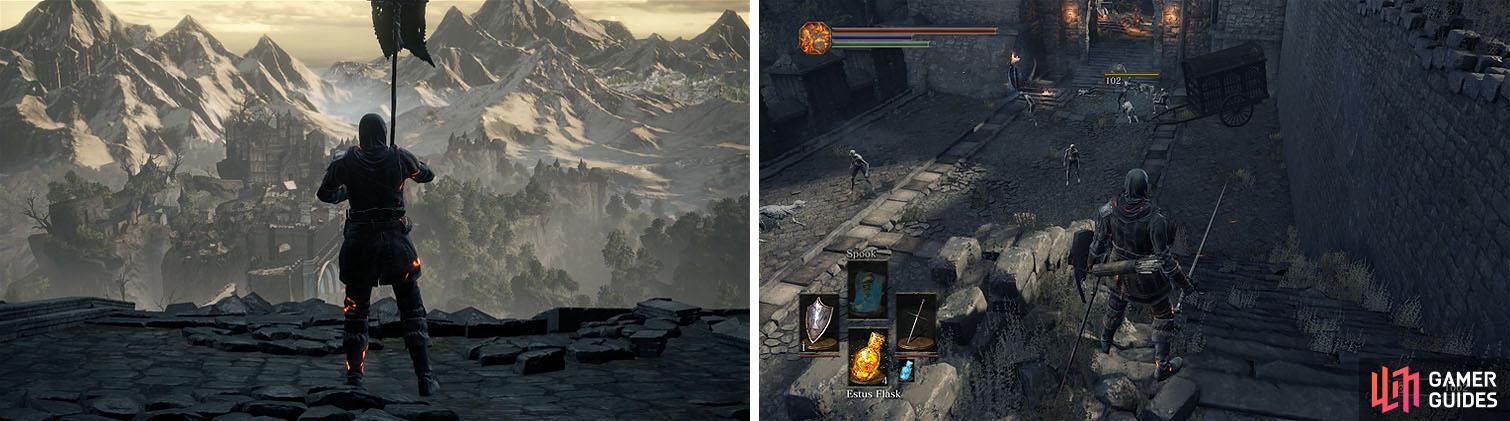
After reaching the settlement you’ll encounter a number of Starved Hounds.
There are two more Starved Hounds hiding behind the overturned carriage, guarding Alluring Skull x2 , and at the far end is a large ground of pilgrims.
One of the pilgrims on the right wall is Yoel of Londor , an important NPC that needs to be recruited in order to achieve one of the four endings to Dark Souls 3, so accept his service before you return to the gate. You can now use the nearby lever to raise the gate, defeat the Peasant Hollow, and then light the bonfire beyond it.

Head away from the gate to find more Starved Hounds and Yoel of Londor.
Defeat the two Peasant Hollows near the building entrance and then knock down the corpse with a Small Leather Shield . Head down the stairs and walk toward the Charcoal Pine Bundle x2 , quickly turning around to deal with the Hollow Slave that drops from the rafters above.
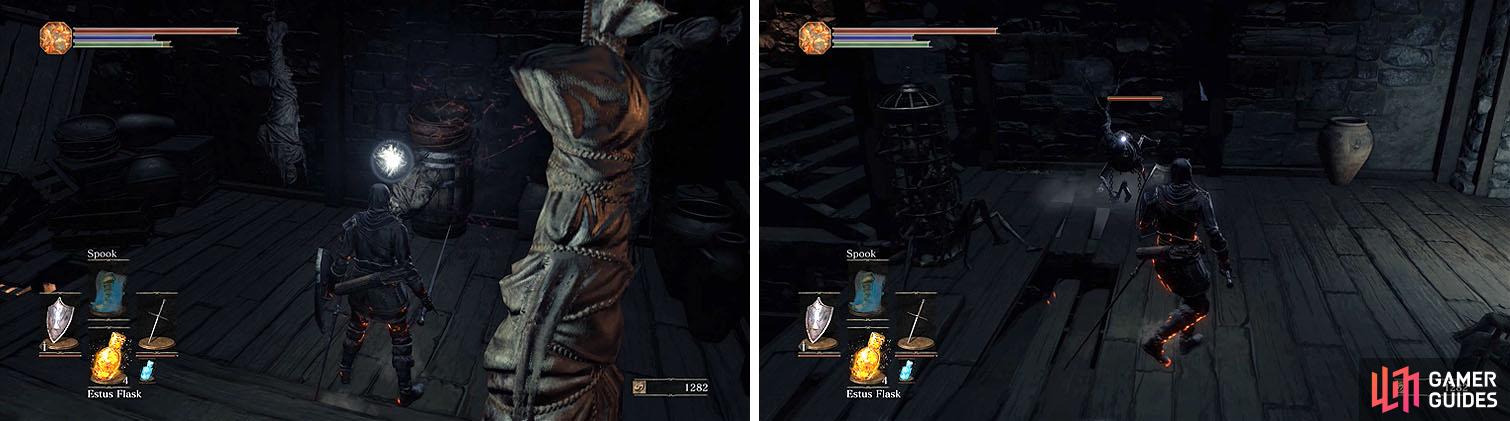
Enter the building and knock down the corpse with a treasure (left) and then head down the stairs and watch your back (right).
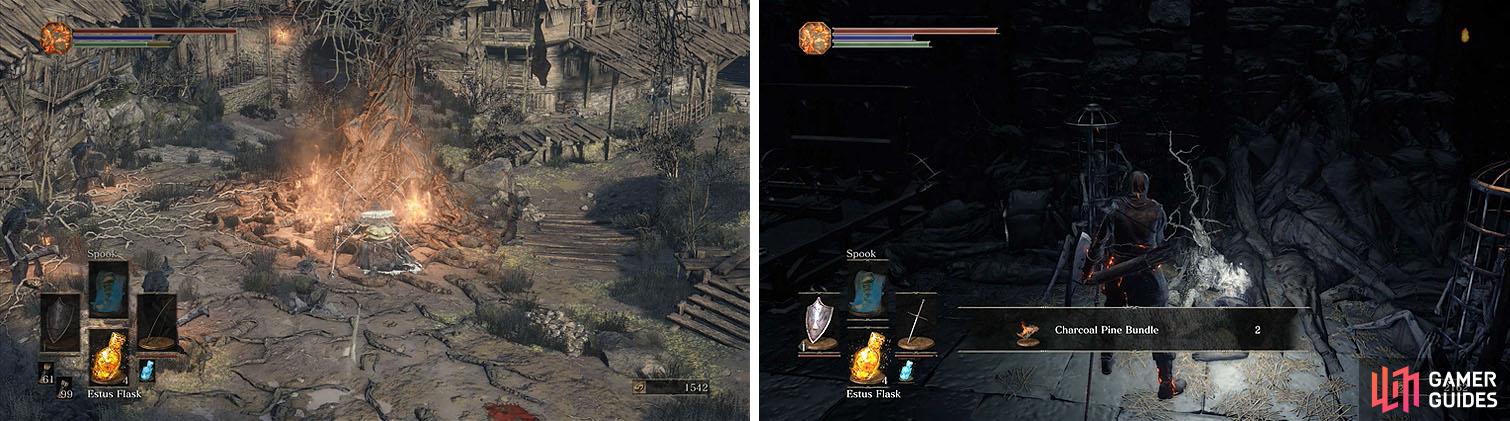
Head outside to defeat a Peasant Hollow guarding some Repair Powder x2 and then knock down the corpse hanging from the roof. Check out the courtyard below to spot the trouble ahead and then use your bow to deal with the large enemy, a Cathedral Evangelist, kneeling before the burning tree.
Head back inside and look across the rafters to spot another Hollow Slave, shooting it with your bow to draw it over, and then clear out the two on the bottom floor. You can now grab the Charcoal Pine Bundle x2 in the corner before exiting outside.
You can avoid a battle with the Cathedral Evangelist by using ranged attacks from the balcony (left). Downstairs, collect the items before heading outside (right).
Grab Loretta’s Bone off the corpse you dropped from the building and then carefully deal with the peasants. Check the area for a Soul of an Unknown Traveler , Estus Shard , and Ember and then head down the steps to find some more peasants.
The hall on the right side of the building has two Hollow Slaves inside, which will ambush you later if you don’t kill them now, and then collect the Titanite Shard before entering the building.
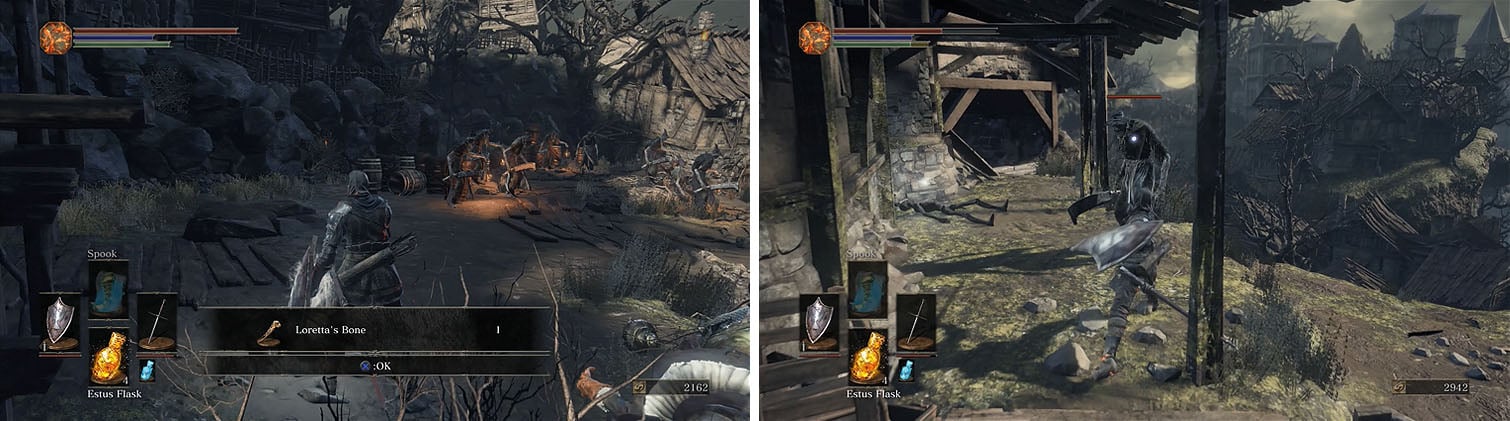
Make sure to grab the Loretta Bone, which you can give to Greirat in Firelink, and then clear out the Hollow Peasants.
As you approach the Charcoal Pine Resin x2 use the lock-on feature to spot a Cage Spider masquerading as an environment piece and then knock down the corpse with a Large Soul of a Deserted Corpse above the stairs.
Back upstairs, find a hole in the floor that leads to the Warrior of Sunlight covenant and an Estus Soup and then unlock the door. Pass down the hall, dealing with the Cage Spiders, and then defeat the red-eyed Hollow Peasant at the end.
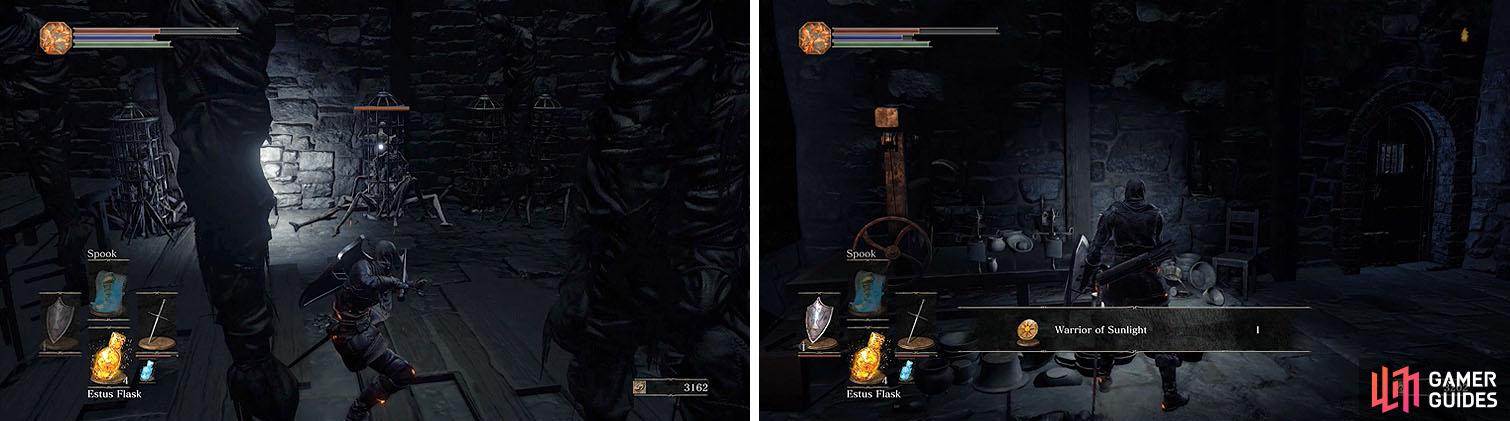
Watch out for the Cage Spider upstairs and grab the covenant item dwnstairs.


Hug the right side of the building and roll through the gap between the two building to find a Soul of an Unknown Traveler .
As you head down the road you’ll need to deal with some Peasant Hollows while avoiding the ranged magic of the Cathedral Evangelist in the background, but be wary as you approach the boarded archway at the bottom of the hill
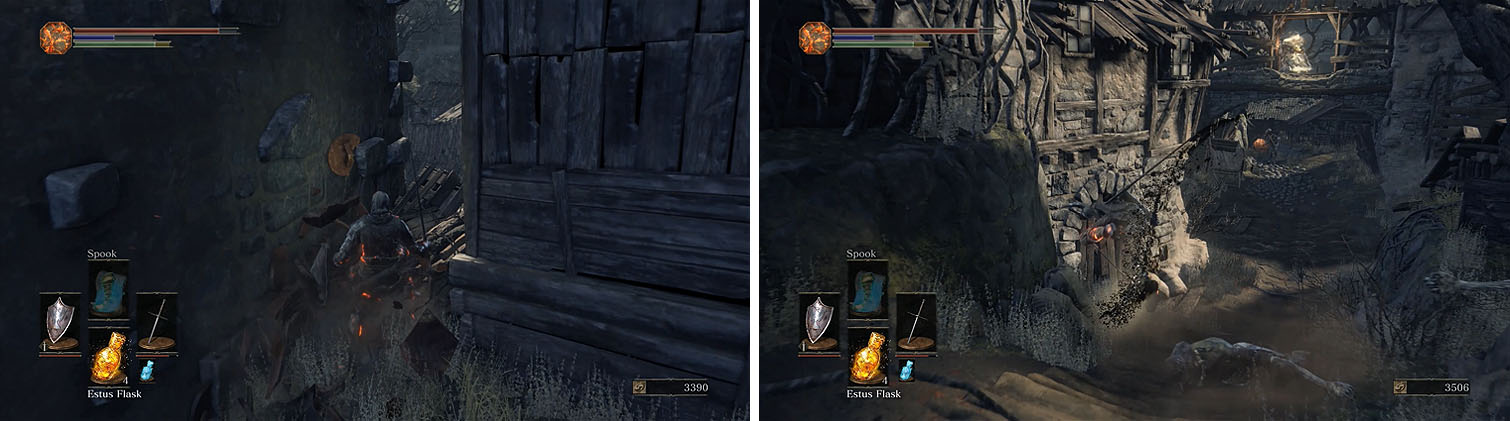
Check between the buildings for an item and then avoid the Evangelist’s magic.
Defeat the peasant that breaks through the archway and then enter the building, dealing with the Hollow Slave that drops from above, and then grab the Whip .
Hide from the Evangelist by standing under the ledge, dealing with the Peasant Hollow carrying a large hammer, and then check the side path near the cliff edge to find a Titanite Shard .
The Evangelist is a pain to fight on the small ledge above due to its sweeping attacks, so defeat it from the ground with your bow and then head under the ledge and up the ladder on the left to find another Titanite Shard .
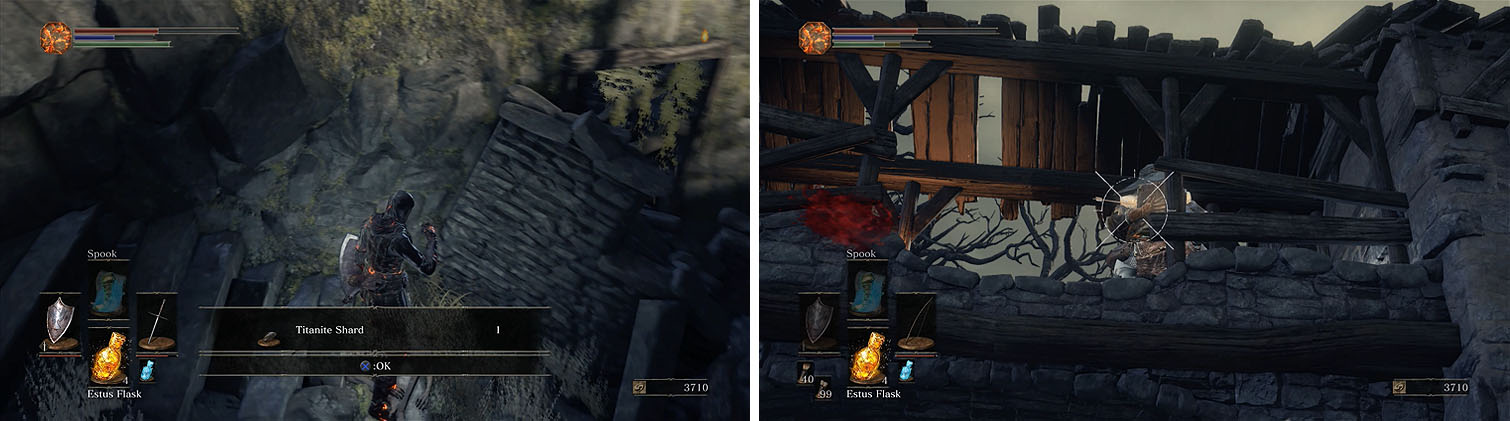
Don’t miss the item hidden to the right before attacking the Evangelist.
The rooftop across from the ladder leads to an area overlooking a bonfire, an item, and a Crystal Lizard. Drop down and deal with the Crystal Lizard first ( Sharp Gem ) and then circle back through the building to the same rooftop. This time you can jump to the Rusted Coin x2 and then activate the Dilapidated Bridge bonfire.
If you are embered you’ll encounter the Mad Spirit Holy Knight Hodrick at the bonfire, but don’t go out seeking this NPC. Instead, pull Hodrick back toward the bonfire to avoid dealing with him near other enemies and prepare for a battle.
Hodrick is a decent fighter that switches between his shield and two-handing his weapon for maximum damage, so lure him into attacking before you unleash a combo. If you succeed in defeating Hodrick you’ll obtain a Vertebra Shackle , which is for a covenant you current have not encountered.
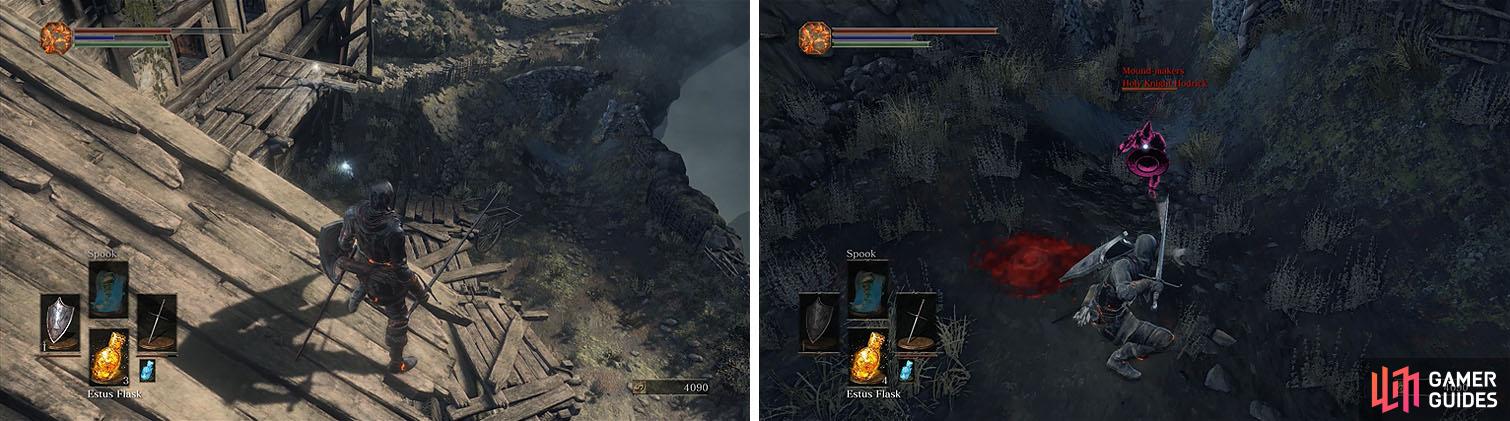
The Dilapidated Bridge area has a bunch of items and the Dark Spirit Hodrick.
Make sure to rest at the bonfire before moving on toward the large Hollow Manservant with a large machete and proceed with caution.
These hulking enemies have wooden planks on their backs that protect them from being backstabbed and they are hard to stagger, so don’t get greedy with your attacks. Lure them into attacking and watch their attack patterns to pick up where you have the opening to perform a long combo and then go in for the kill.
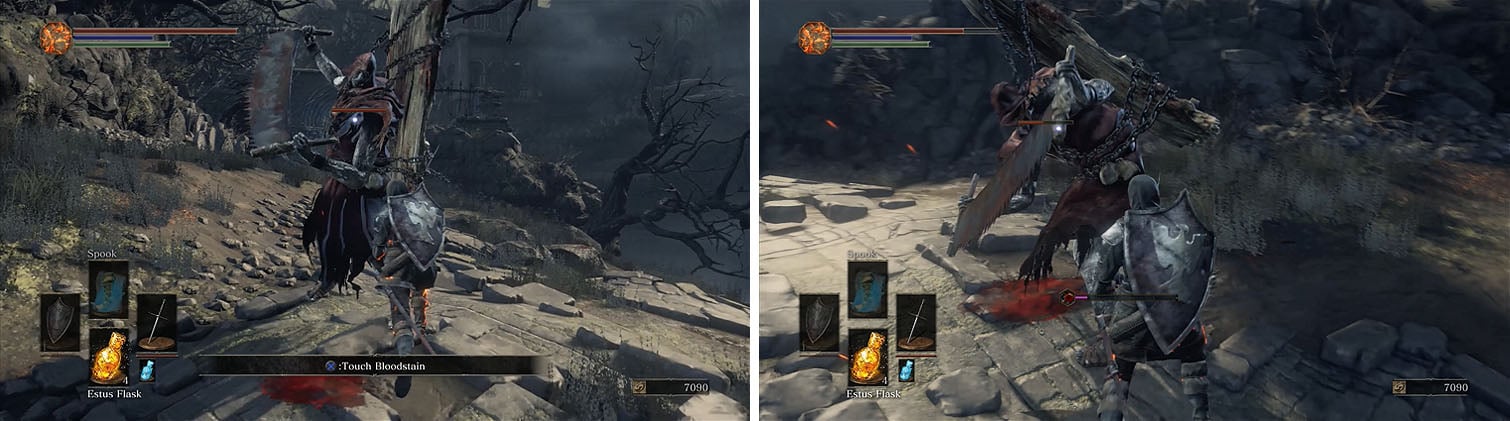
Bait the manservants to attack and roll around them, striking them from behind.
As you progress into a graveyard ahead you’ll notice large arrows sticking into the ground with some corpses impaled. Be wary as you move forward and listen carefully to the sound of incoming arrows.
The first will always strike the group of Peasant Hollows straight ahead, as a warning, and then they will begin to follow you. Don’t bother fighting the peasant and lure them into the arrows, but make sure to time your rolls to avoid damage to yourself.
Grabbing the items in this area can be dangerous due to having to stand still when you pick them up and the Undead Bone Shard on the small island to the right is even harder, due to the fact that a single arrow impact can fling you off the ledge.
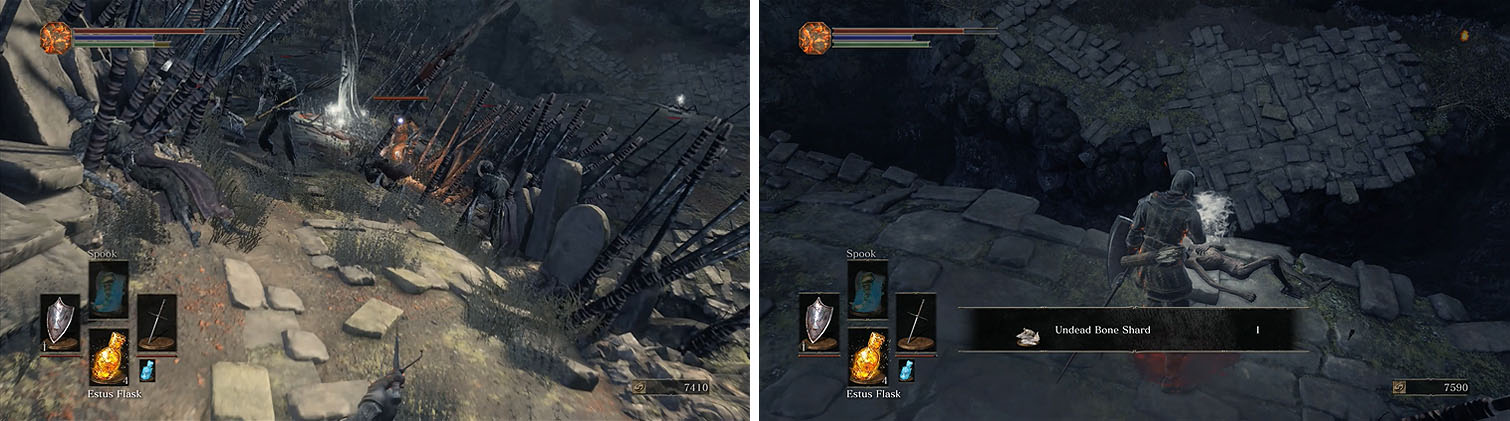
Avoid the arrows by moving constantly and make sure you’re clear before you pick up the Undead Bone Shard.
Carefully grab the Fading Soul , Ember , Large Soul of a Deserted Corpse , Young White Branch x3 , and Reinforced Club and then head to the back of the graveyard.
A Hollow Slave will ambush you when you try to grab the Blue Wooden Shield and Cleric’s Armor Set , but the item you want is the Mortician’s Ashes .

 Sign up
No Comments