Scalding Gallow
From Samael’s prison, head back down the ramp at the bottom you will be introduced to the shadow flight geysers via a quick scene. These things will help to propel you upward and onward for longer periods of time. Ignore the area you were just shown for the time being and follow the street here to the right and around the corner.
Continue to the north until you find a small building on the right hand side of the road. Enter to find a Vulgrim Location . Open the Blue Soul Chest here and climb the demonic growth nearby for a chest containing a Wrath Shard (like the life stone shards, you will need to find 4 of these to create a new wrath bar).
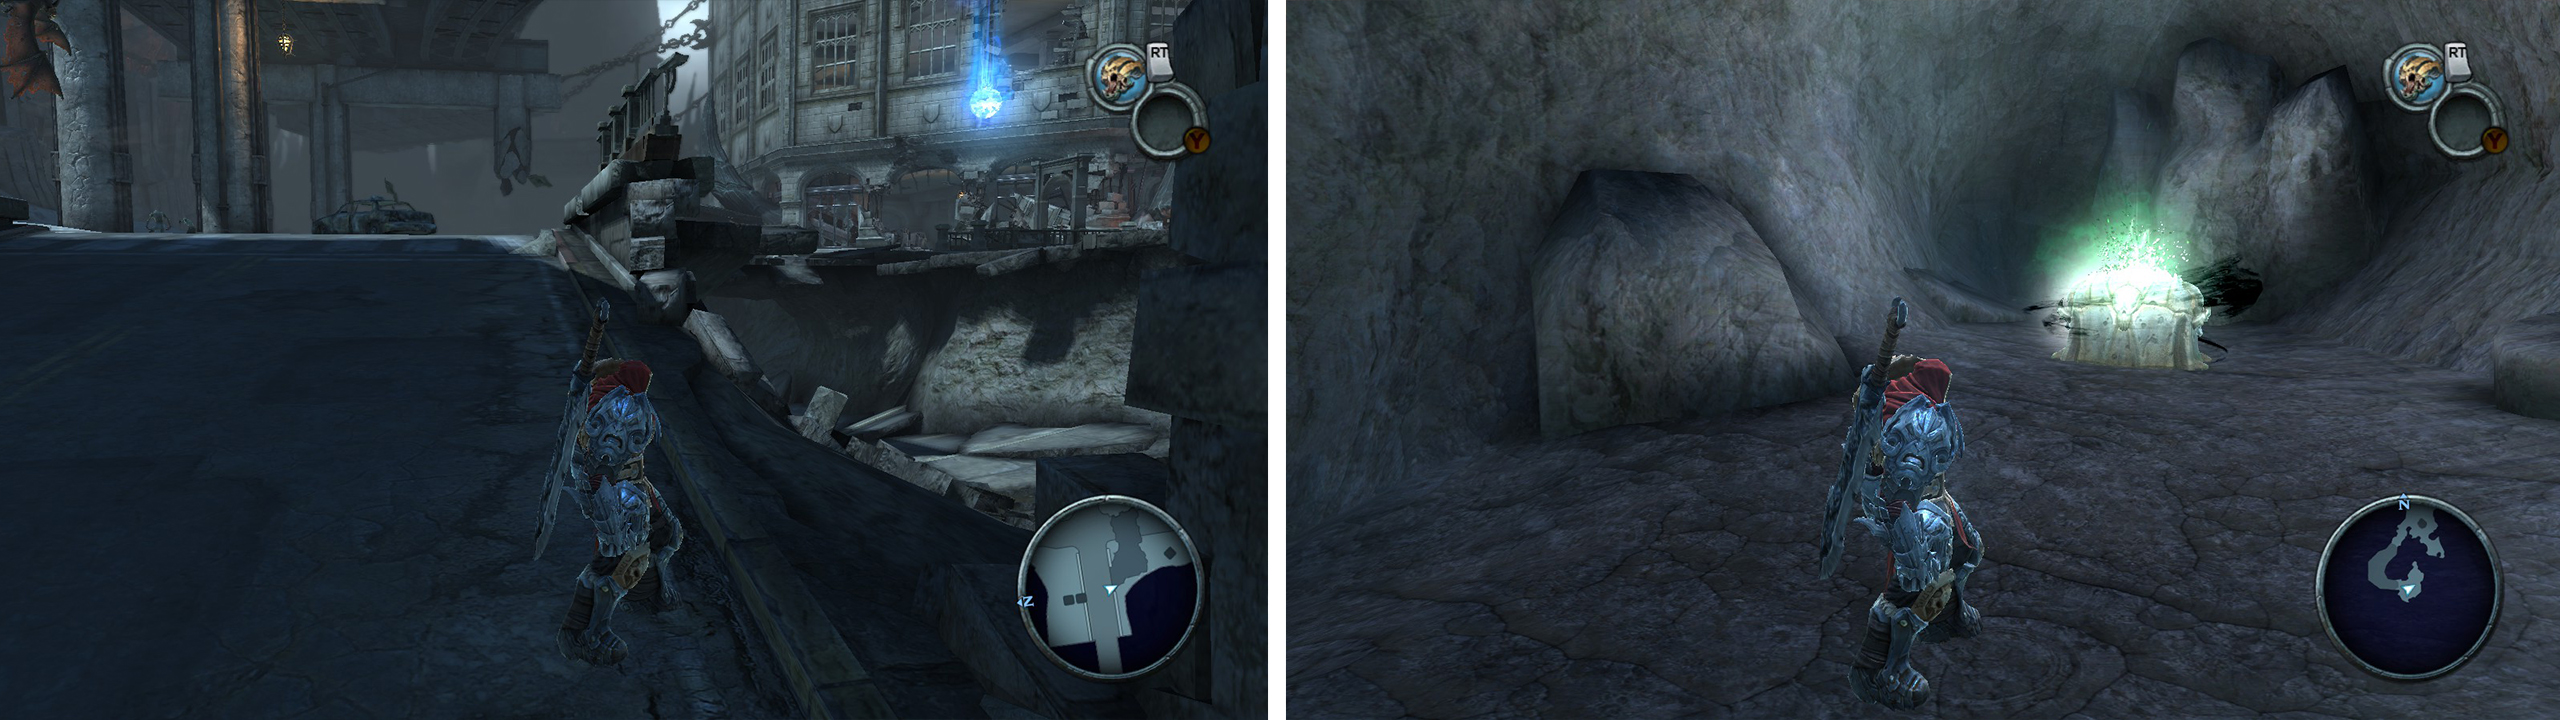
From the Vulgrim Location (Left) find the ruined wall and use shadowflight to glide down to the hidden path below (right).
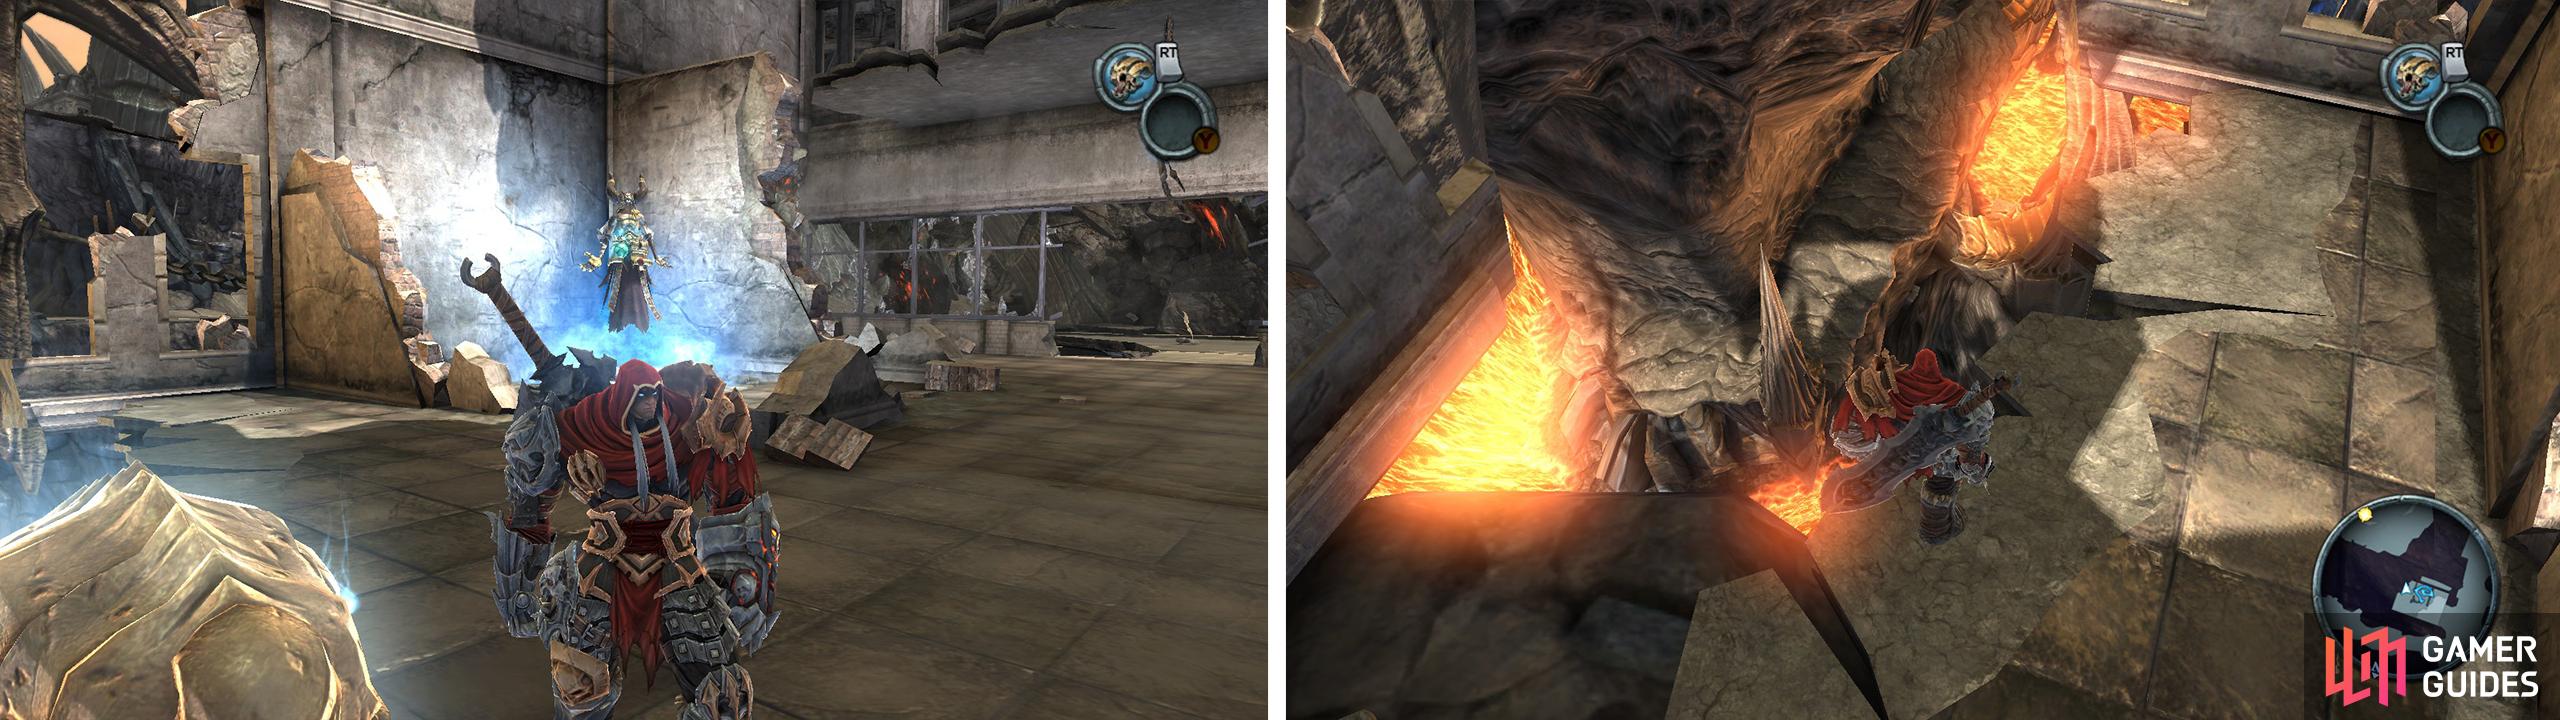
Drop back down to the ground floor and to the right of the Blue Soul Chest you will find a section of the wall is missing. Straight ahead is Samael’s Prison and if you look down into the pit below you can make out a small, hidden pathway running below it. Use your newly acquired Shadow flight ability to glide down here.
Follow the trail to the end to find another piece of the Abyssal Armour Set [2/10] . Find the shadow flight geyser nearby to return to the road.
At the bottom of the ramp to Samael’s prison head left across the gap and kill the Fire Golem and Zombies here. Again float across the next gap and into the crystal-littered tunnel. Enter the door on the left at the far end.
Cruise down the ramp and before using the shadow flight geyser, look in the lava to the right for a Blue Soul Chest . Collect it and then return and fly up to the next area. Use the demon growth to traverse the pit. Drop down to the other platform and float across the gap.
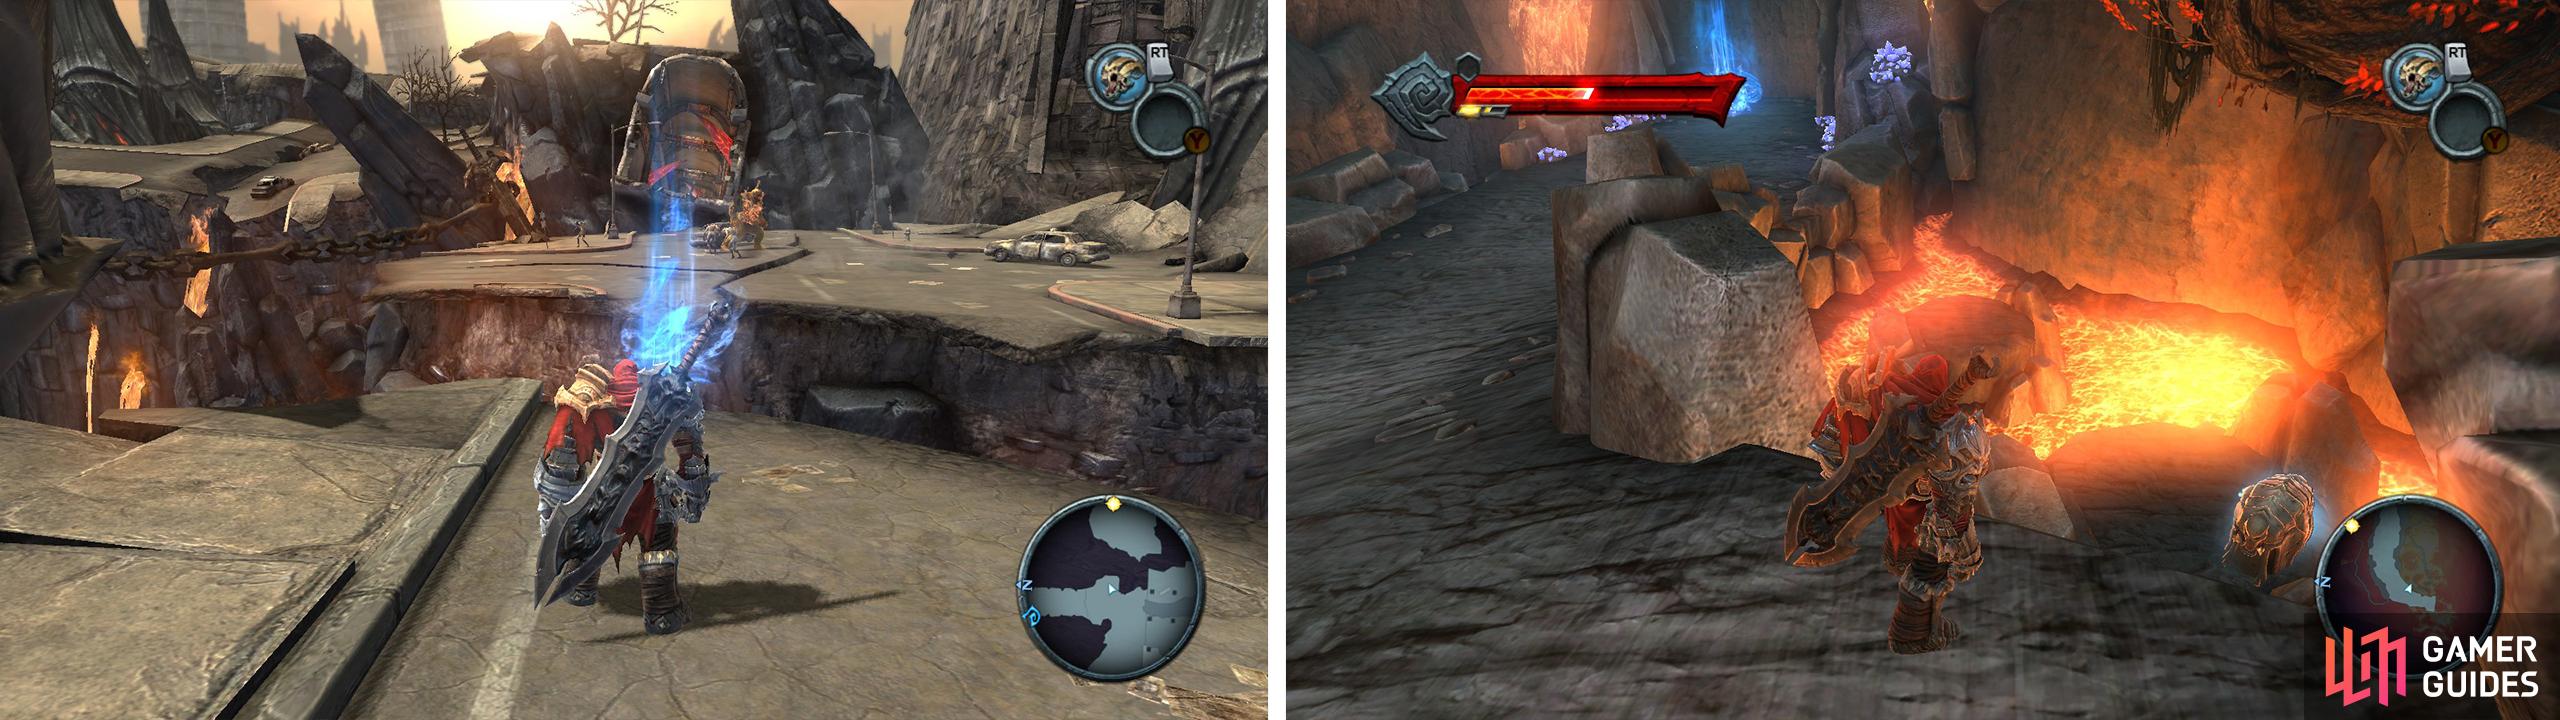
Use shadowflight to cross the gaps here (right). Once in the cave, look down to the right for a Blue Soul Chest (right).
Use the shadow flight geysers to cross the next lava pit, then use the handholds to climb the wall at the end of the next passage. Exit the area into the Choking Grounds.
The Choking Grounds
From the tunnel exit head straight forward to the small building in front to activate another Vulgrim Location . Look for a small set of stairs leading down just to the north Vulgrim and head inside to find Artefact: Soldier.
To the south of the Vulgrim Location, you will also find three large tombs. You can pull the central tomb back towards the Vulgrim Location to reveal a hidden staircase. Inside you’ll find a few baddies to fight and an Artefact: Soldier . Out the gate by the three large tombs, you can also find a small set of stairs leading down to a Blue Soul Chest .
It should also be noted that if you destroy all the gravestones in the fenced area around Vulgrim it will spawn a chest on the small raised area on the very left of the map containing a Life Stone Shard .
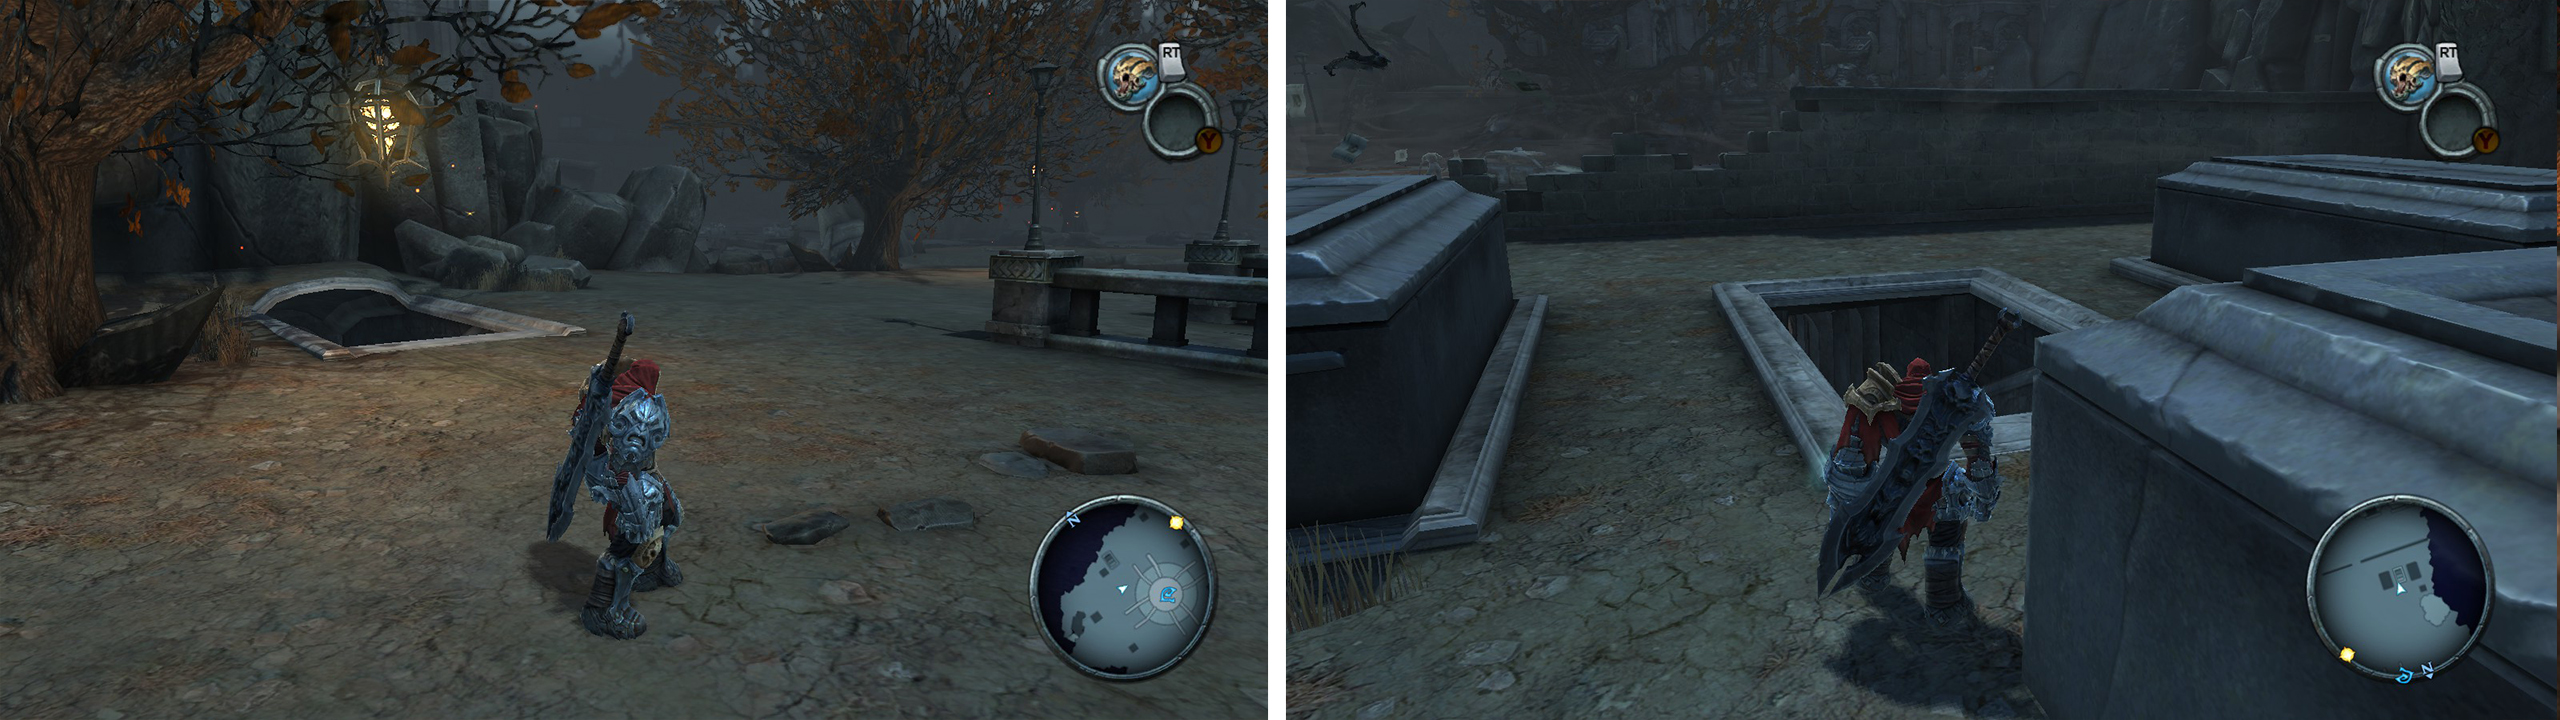
In the tombs to the north (left) and south (right) of Vulgrim you’ll find Artefacts.
Make your way to the very north western section of the map to find a Gatekeeper. Enter the door just to the left of his location to find some Zombies and Skeletal warriors guarding a Blue Soul Chest . Use the Shadow Flight Geyser in here to reach a higher level. Kill the Fire Golem and the Zombies here before looting the chest for a Wrath Shard . Note the red crystals (we’ll be back for these later) and return back to the street.
Move up to the Gatekeeper and use the Earthcaller nearby to initiate a quick chat. He’ll send you into the shadow realm. In the shadow realm you are able to see things that would otherwise be invisible. In this case, these are limited to pads that can be seen from a distance as pillars of orange light reaching into the sky.
There are four of these and each one contains a shadow arena challenge. When you reach each one, step on the platform and hit the action button to be teleported inside. You will need to complete the challenge specified as you enter within the timeframe. Once the challenge has been completed, you will be able to destroy the demonic seal to unlock the exit. Upon exiting, each of the arenas has both a Green Soul Chest and Yellow Soul Chest to replenish your lost health/wrath.
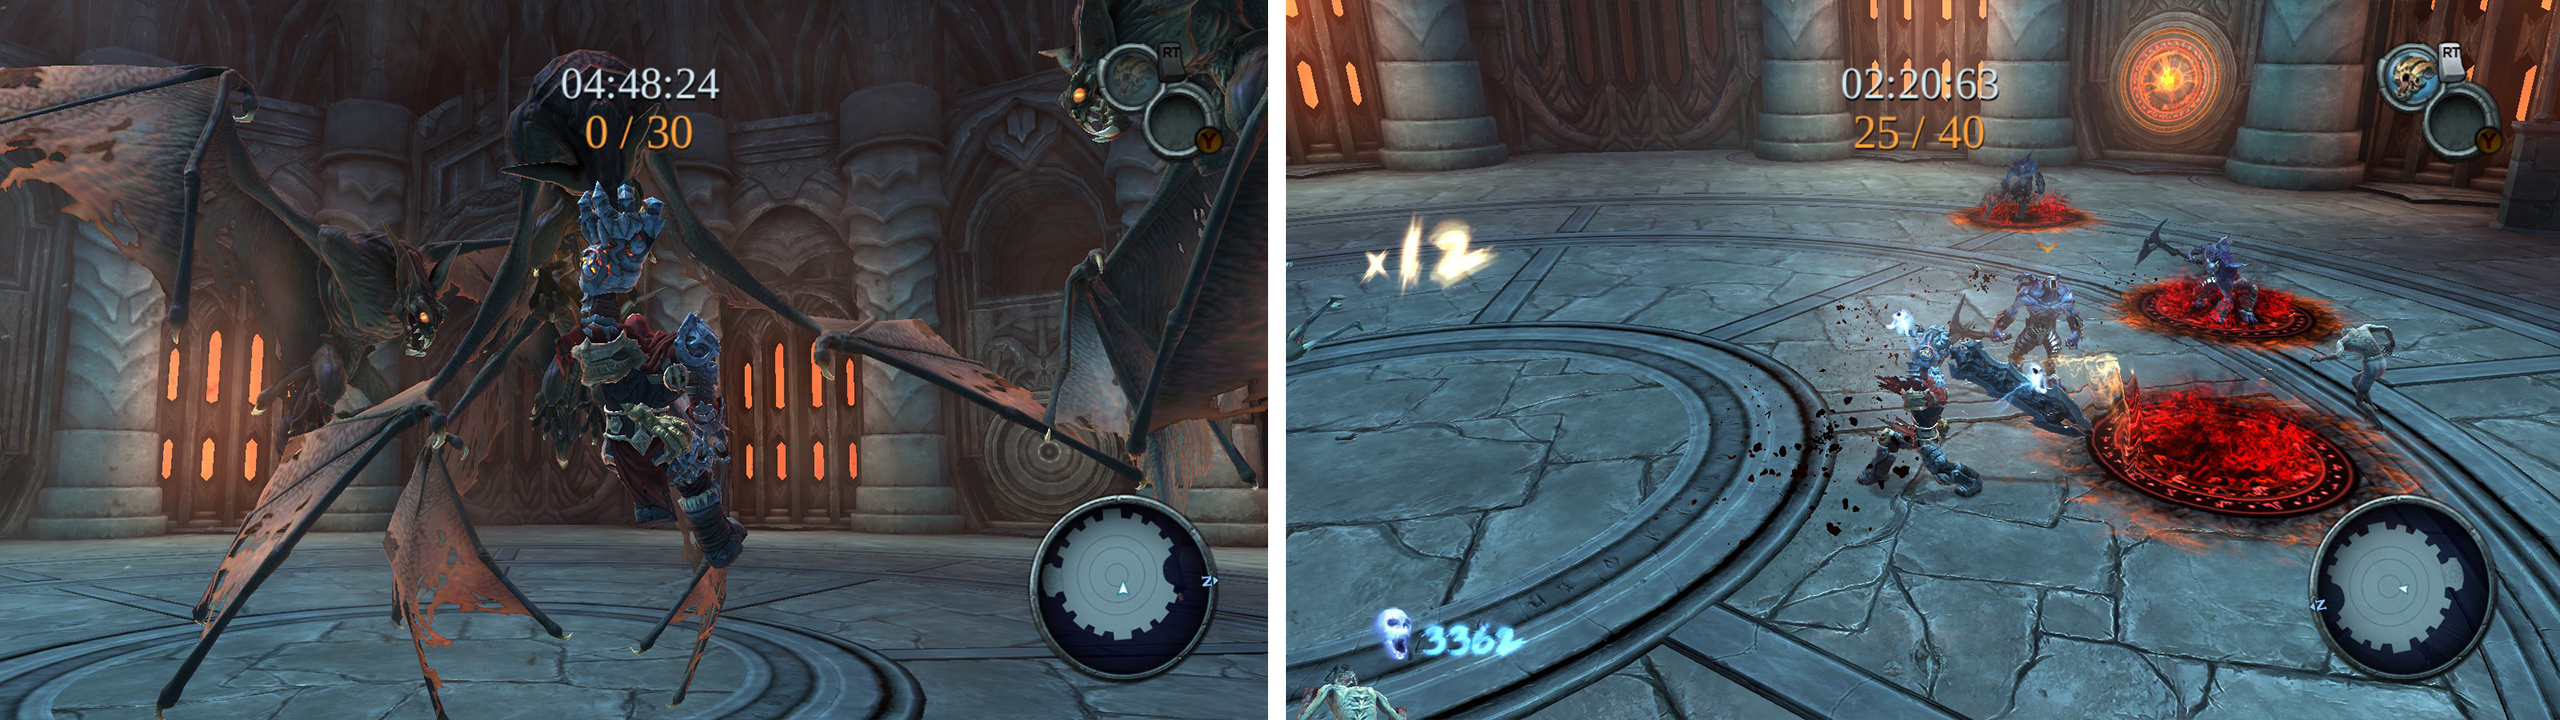
Shadow Challenge Arena 1
Challenge: Defeat 5 enemies using aerial combos.
Strategy: If you go straight for the launch and melee approach you may take 2 to 3 launches to kill these enemies. Instead, you should hack at the enemies on the ground a few times before holding in the melee button to launch them into the air and perform an aerial combo on them to finish them off.
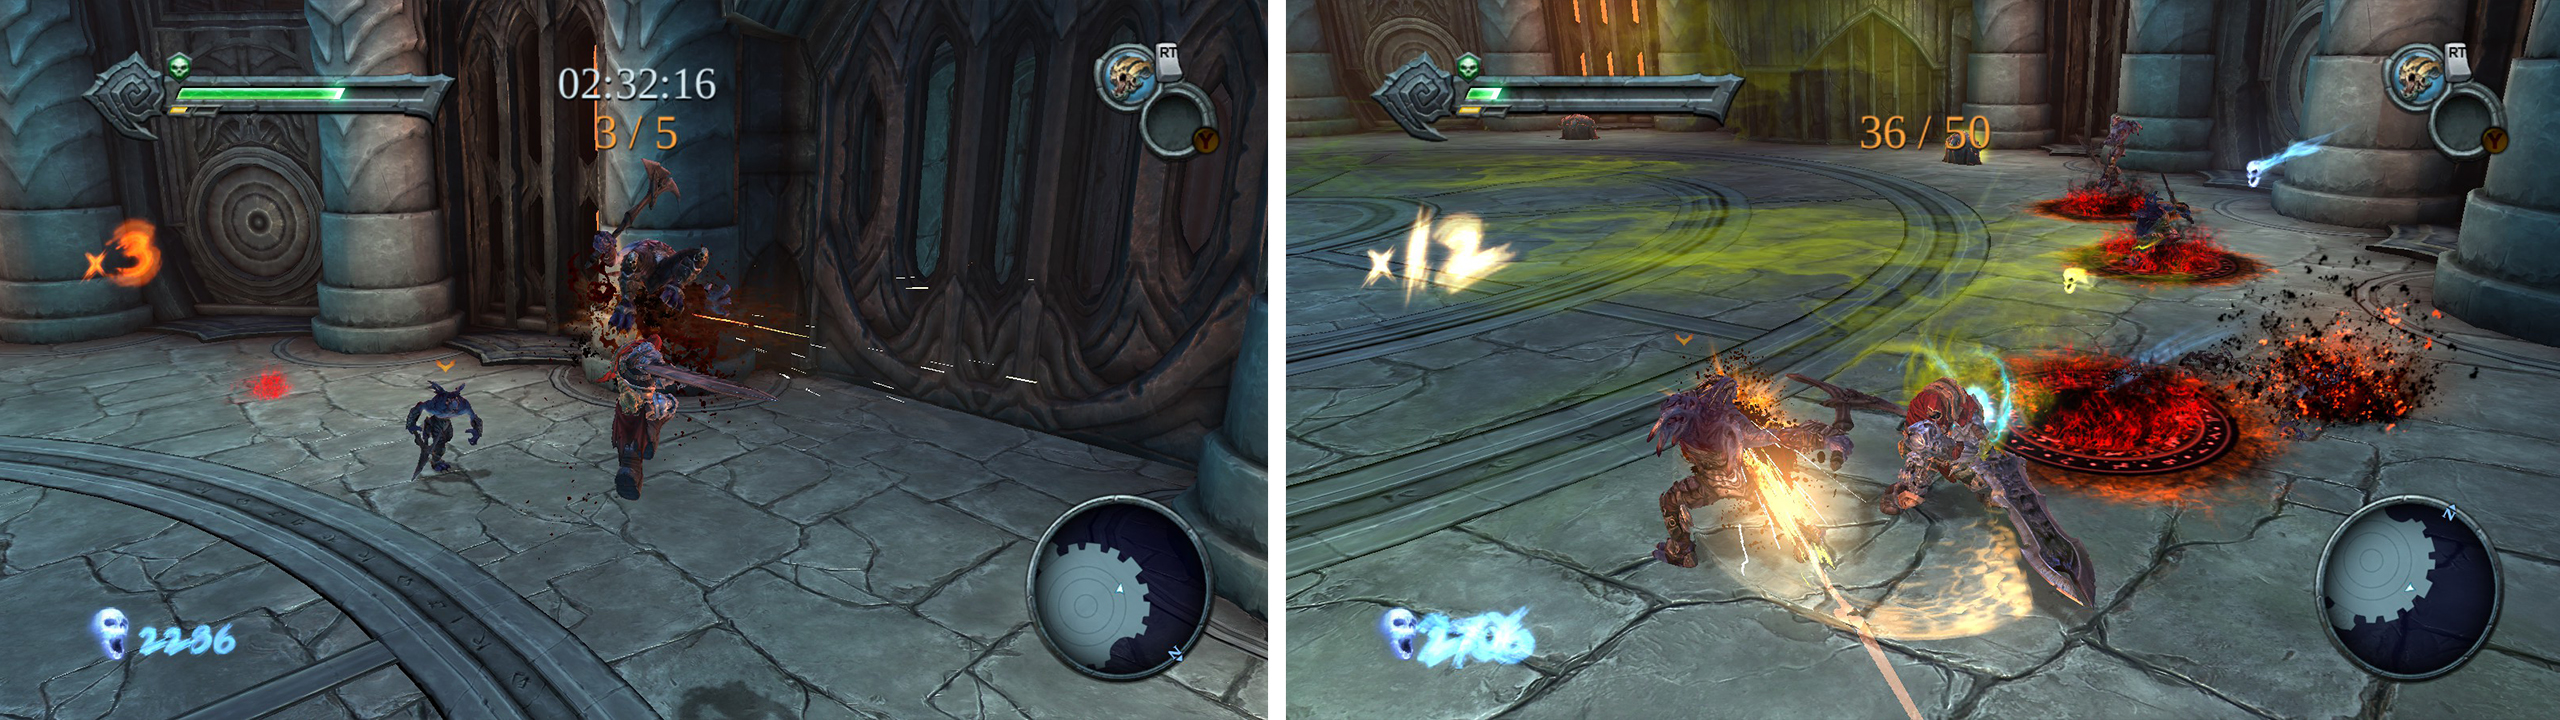
Make sure to launch and juggl enemies during the first challenge (left). Kill enemies as quickly as possible in the second challenge to prevent damage over time killing you (right).
Shadow Challenge Arena 2
Challenge: Kill 50 enemies before your health is depleted.
Strategy: This challenge sees the arena fill with a poisonous green gas which will slowly reduce War’s health. The thing to remember here is to continue to fight as per usual, do not stress about the depleting health bar as there are several green chests around the room you can use to replenish your health supply.
You will be attacked by a large swarm of Zombies, which will eventually make way for a few Minions, a group or two of Demonic Soldiers and eventually a Blue Dragon. Simply kill them all as they arrive and you should be able to knock this one over with plenty of time to spare.
Shadow Challenge Arena 3
Challenge: Kill 30 enemies using instant kill attacks within the time limit
Strategy: You need to use the action button to kill the enemies in the area, kills gained through standard attacks will not count towards your tally. You will face off against Duskwings, Demonic Soldiers and even a Blue Dragon or two.
If you can chain together 5 duskwing finisher kills in Challenge 3 you’ll earn an achievement/trophy (left). You’ll face an array of enemies during Challenge 4 (right).


Shadow Challenge Arena 4
Challenge: Defeat 40 enemies.
Strategy: Simple, just kill 40 enemies to complete the challenge, during said fight you will encounter Demonic Soldiers, Zombies and Fire Golems. There is no real strategy here, rather you should just do your best to kill everything as fast as possible.
The Choking Grounds
For completing the four challenges you will earn the reward: Block Counter (a passive ability that lets war counter enemy attacks if timed correctly). Return to the Gatekeeper and use the Earthcaller to wake him up. He will let you through and give you a new Enhancement – Ravager (more damage from environmental attacks).
Enter the now unblocked tunnel and mosey on through the door on the right.
Follow the passageway around, vaulting up to the next level when required and at the end of the path drop down into the highway tunnel below. Turn left and grab the Blue Soul Chest. Here you can use the cars in the vicinity to take out the sleeping Duskwings on the ceiling and walls. Use the shadow geysers to cross the gap and enter the door on the right.
As you walk into this room, the doors will be sealed, so you will need to eliminate all the enemies before progressing further. Once you are free to do so, exit into the Broken Stair.
The Broken Stair
Exit the tunnel and head through the hole in the wall near the top of the ramp on the right and follow the passage to the end to find an Artefact: Soldier . Return and climb to the top of the ramp. Kill the enemies and then head across the makeshift bridge to the right.
Cruise straight on down the small set of stairs in front of you and look around this area for a new Vulgrim Location , a Blue Soul Chest and a pool of water with an underwater tunnel leading to a chest containing a Life Stone Shard . Return outside.
Upon entering the Broken Stair go through the destroyed wall (left) to find an Artefact. The water in Vulgrim’s location has a tunnel leading to a Life Stone Shard (right).
Enter the large building on the south western side of the area. Ascend the steps to the second floor and kill the Demonic Soldiers and Minions. Look to the right of the hole in the wall to find a Blue Soul Chest .
Jump through the hole in the wall and use the nearby shadow flight geysers to reach the remnants of a raised highway. Make your way to the top of the hill here and defend yourself against a group of Duskwings and a few zombies. Face the opposite direction from where we need to go to spot a chest containing a Life Stone Shard .
Turn around and make your way across the various segments of highway until you see a short scene. A big demon with scythe like arms is going to join you shortly and as he moves to your location he will throw a few cars your way that you will need to dodge. When he arrives, get ready for a fight!
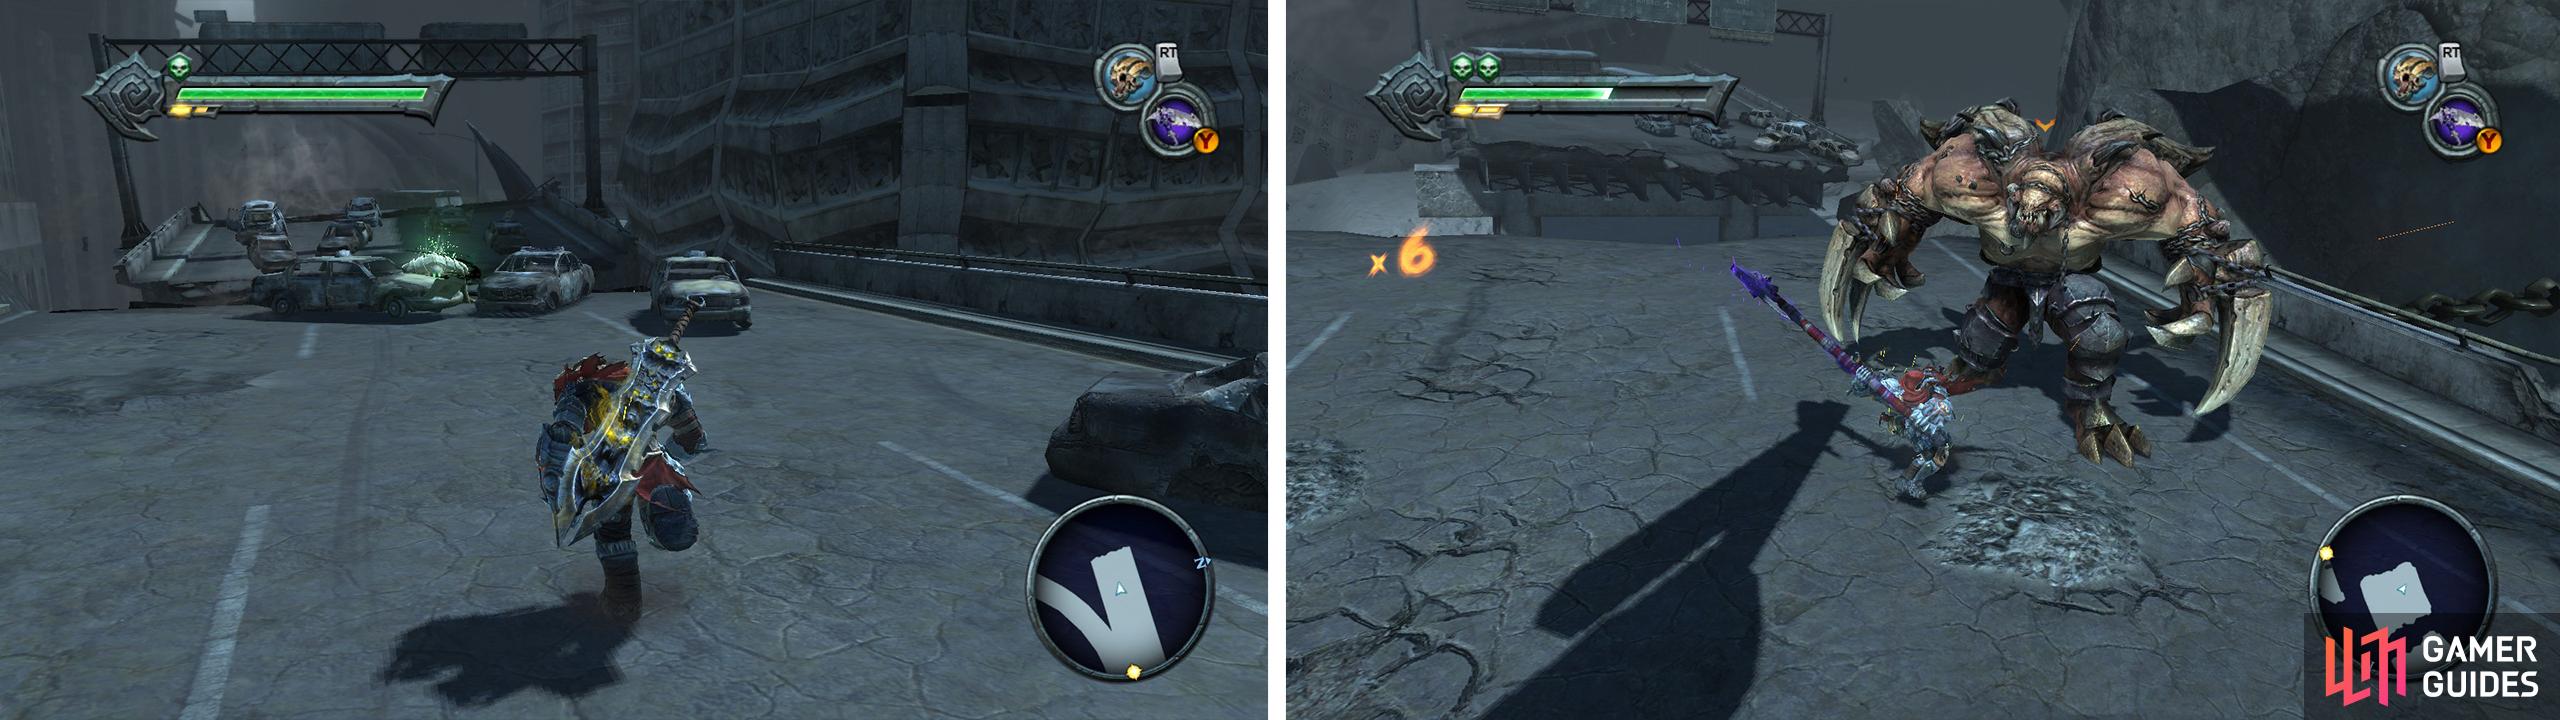
When you reach the overpass, grab the Life Stone Shard from the dead end to the left (right). Continue across the segments of highway until you meet the Scythe Demon (right).
The Scythe Demons perform a single and two part melee attack and a small overhead smash. The Scythe-like arms give this enemy a slightly wider area of effect to its attacks than any enemy we’ve fought thus far and if they connect, they can deal significant amounts of damage. As with all enemies these attacks can be avoided with a little timing and a finger on the dash button.
When the Scythe Demon is dead, a Shadow Flight geyser will re-appear to the left, so hop and glide across to the rooftop and then into the building opposite. Here you will encounter your first locked blue door. We need to find a key!
Head down the stairs nearby and out on the balcony to find a Blue Soul Chest , continue down the second set of stairs. Kill all the Demonic Soldiers at the bottom and then open the chest they were guarding to find the Beholder’s Key . Return to the blue barrier and use the action button to open the door. Head up the stairs to watch a scene.
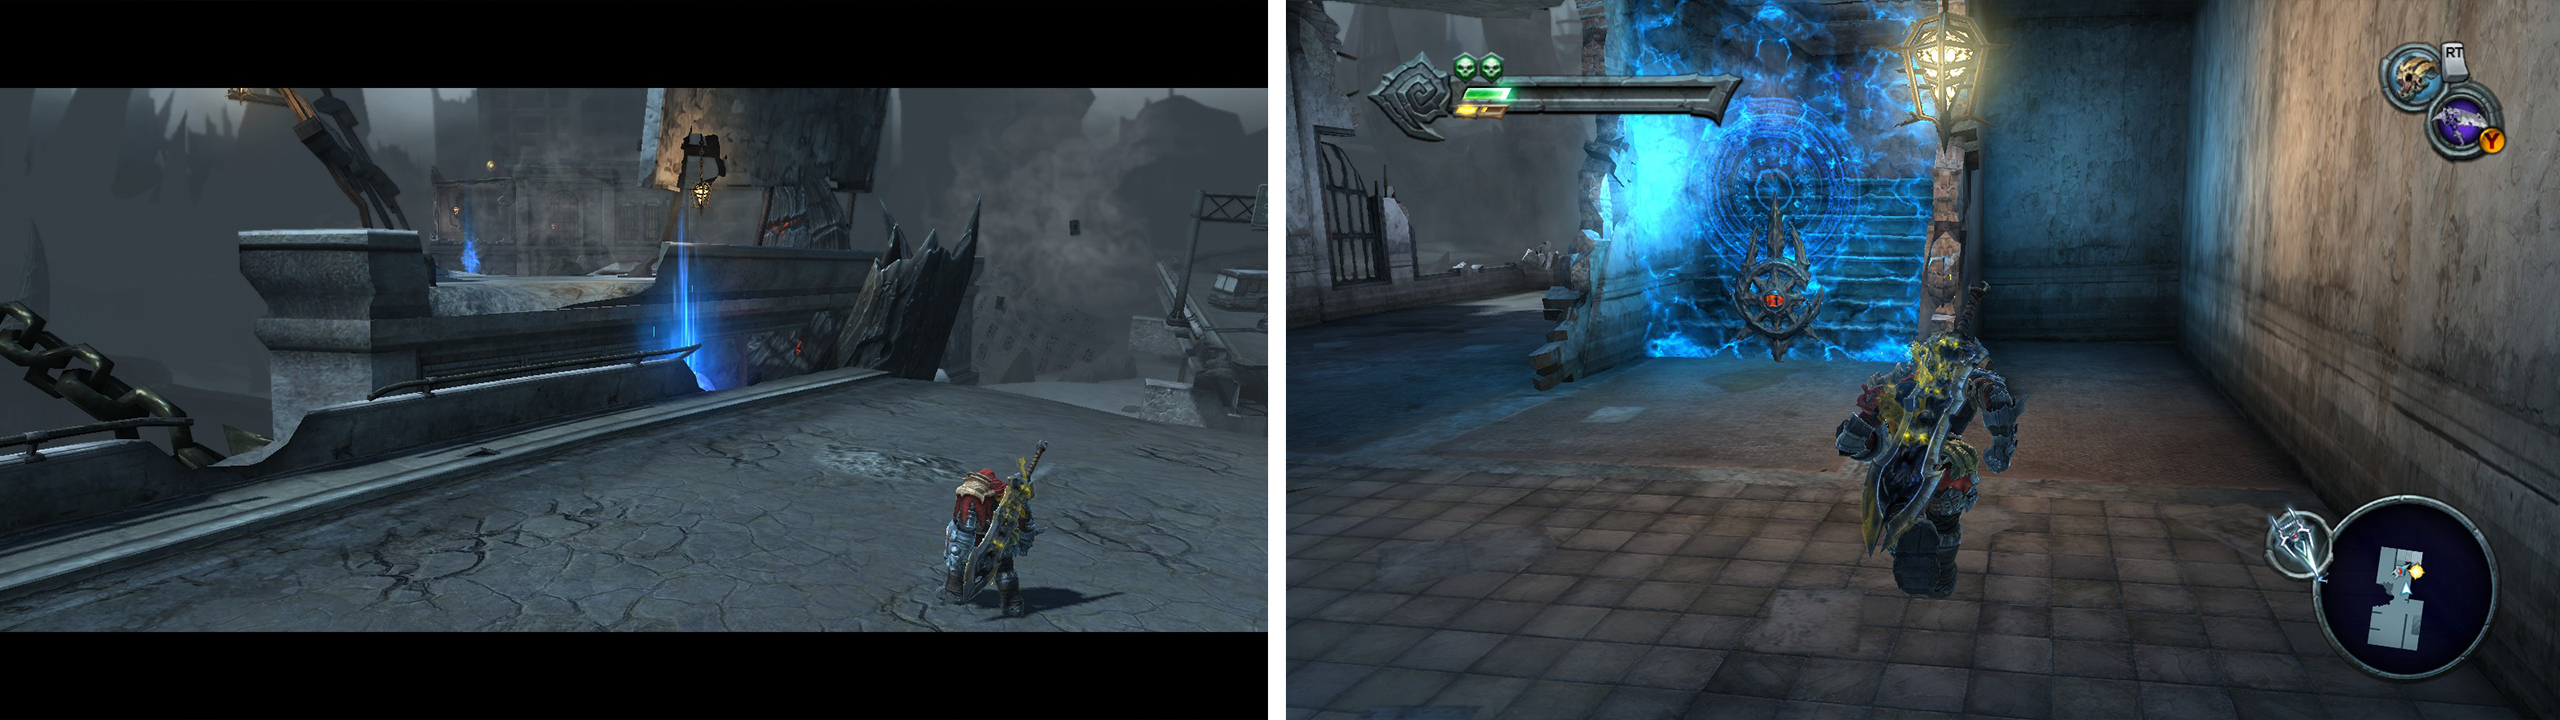
Cross the shadowflight geysers to the building off to the left (right) to find a locked door (right).
This next section sees War riding a hijacked Angelic Beast through swarms of angels, demons and just about everything else. There is no real strategy here, just use the right trigger to shoot and the left trigger to lock on, you are able to manoeuvre the beast slightly to avoid incoming attacks, but it is still on a set course so you will have to go where it wants.
From around the mid-way point to the end of the flight, you’ll see large swarms of smaller enemies, do your best to lock on and shoot as many of these as possible to boost your score.
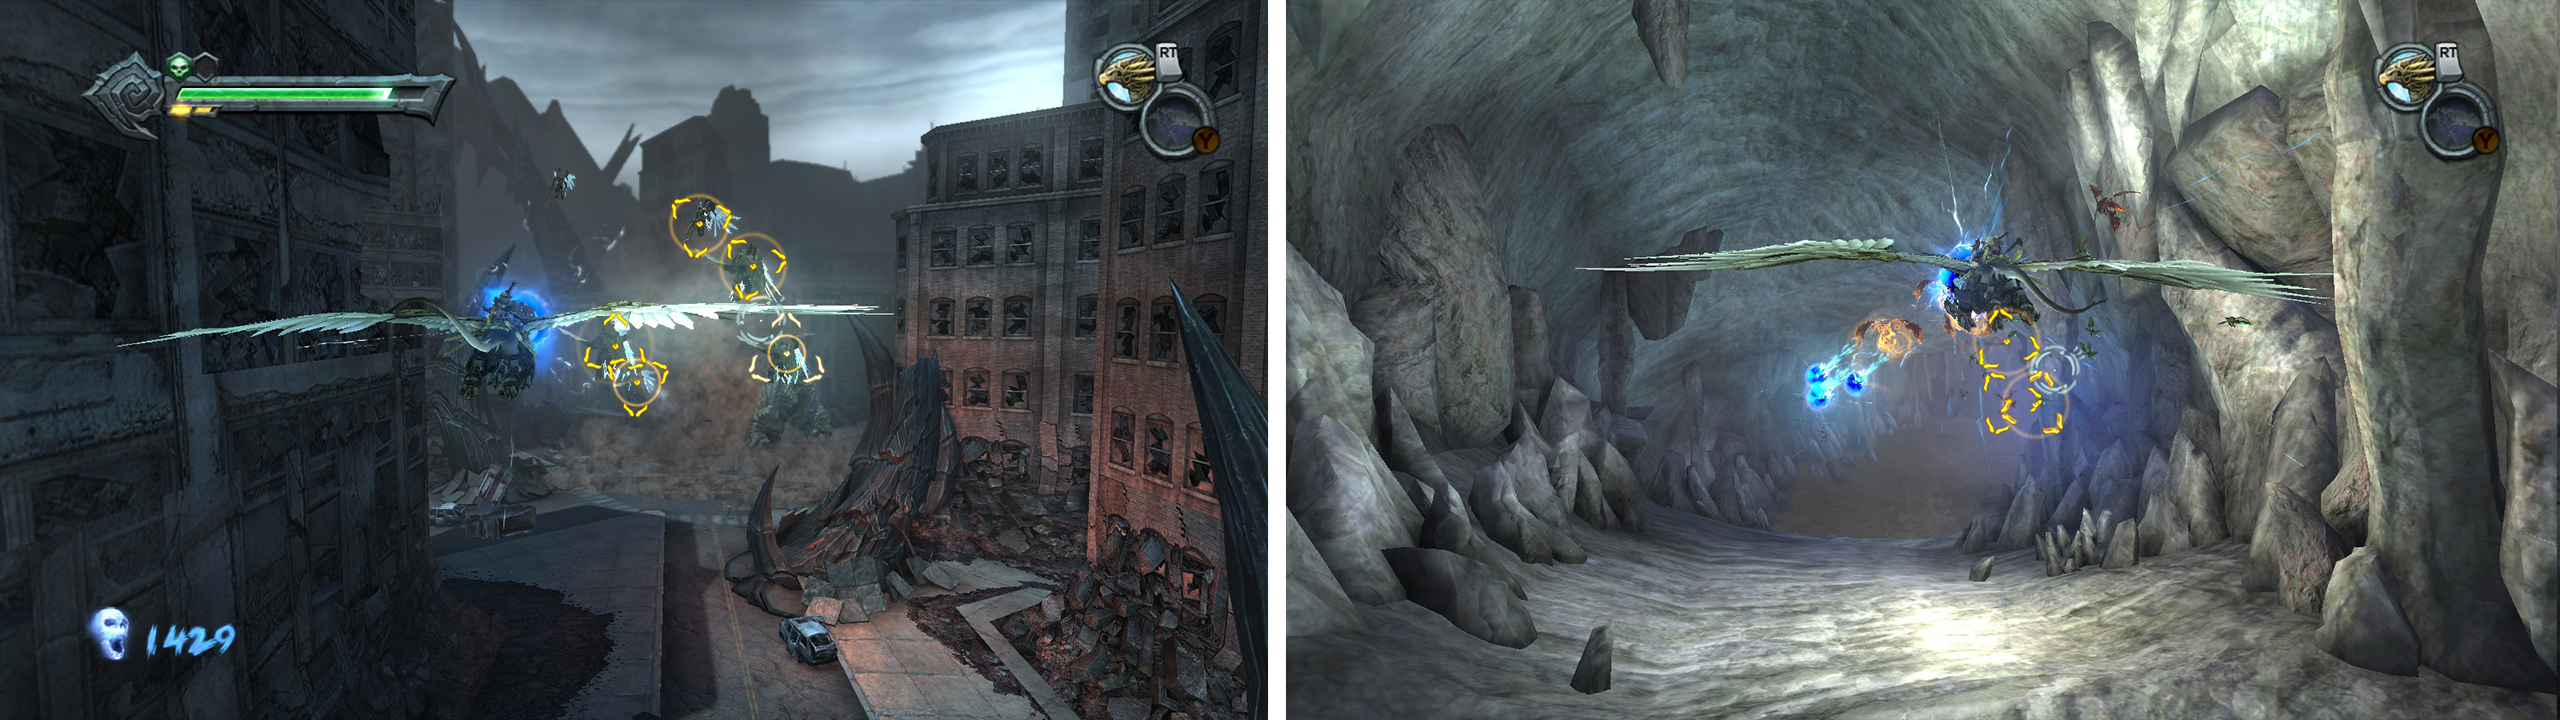
Lock on multiple targets at once to rack up kills (left). You should do your best to target the swarms of small enemies (right).
Unfortunately, there is no counter to tell you how many enemies you have actually killed and you will not receive the achievement/trophy until you land at the end of the section. After a quick scene you will find yourself at the Twilight Cathedral.


 Sign up
No Comments