Ember Caves
Make your way to the Ember Caves where the Fallen are located. The hideout is to your left so you’ll need to use the platforms to get up there. Defeat the Fallen that block your way; there shouldn’t be any higher level Fallen among their ranks. Enter the cave at the back to reach Winter’s Lair.
Winters Lair
There are a few Fallen as you navigate the entrance of the cavern. Be sure to clear them out because you’ll have to face the Kell’s Guard ahead. Two of them use Shock Blades and the third uses an Assault Rifle. Use Grenades or Super Abilities to take out the melee attackers as they deal the quickest damage and can end your run here; a Hand Cannon or Shotgun works well in this situation. With the Kell’s Guard defeated, head through the rest of the cave and to the Cinders.
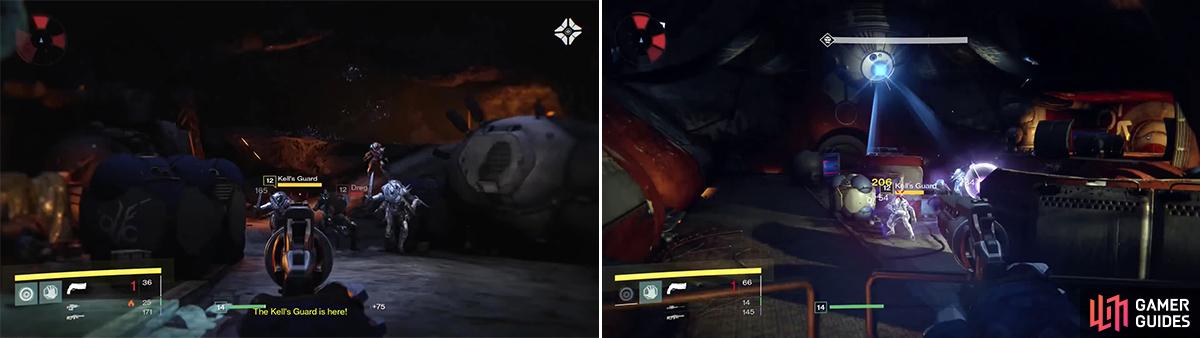
The Kell’s Guard will rush you as you enter here (left). They are strong so keep moving. They appear later on also so make sure to dispatch them quickly.
The Cinders
Your objective is to get on the Ketch Ship . You’ll have an advantage of being up high so use a Sniper Rifle or Scout Rifle to pick off some of the weaker Fallen. There will be a Servitor and Captain in the bottom area, but there are more than ample structures to use as cover while you take them out. Reaching the ship is only half the battle however, as close-quarters combat will initiate and the Dreg, Vandals, and a Captain meet you at the entrance. It’s best to take out the Captain first then rush the other two.
Inside you’ll have to navigate a few halls that shouldn’t be too occupied. At the end of the hall, open the door and be ready to fight more Kell’s Guard. A Servitor joins them so take it down first. Try not to waste a Super Ability or Grenade at this point if you don’t have to. Ahead is a door that leads to your objective, Draksis .
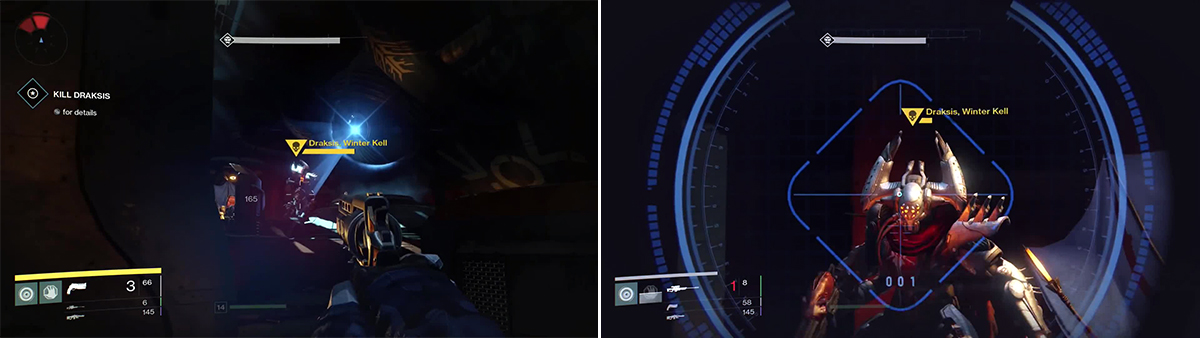
Draksis can teleport around. Often he will teleport right in front of you and shoot you in the face. Luckily, he is vulnerable to a good shot in the face.
Draksis
This is an Ultra Fallen Captain with a lot of vitality. Because of his high health, Draksis doesn’t have a shield but that doesn’t make it any easier. A few Kell’s Guard assist him as well as Vandals and Dregs. Use the walls on the bottom level for cover so you can defeat the lesser Fallen. Use Heavy Weapons and your Super Abilities as normal with these foes; regular shots should be aimed at his head for maximum Precision Damage. With Draksis defeated, take the Strange Trinket back to the Cryptarch at the Tower.

 Sign up
No Comments