
| Important Items in this Area |
|---|
| Triangle Code #34 |
| eBook: Santeau - Rise of a Corpo-Nation |
| Triangle Code #35 |
| Triangle Code #33 |
Pick Your Poison… Or Bombs?
Leave this room and head back south-east, then go through the doorway you bypassed earlier to find Miller in a bad state. He’ll play the tough guy martyr and tell you about the danger the delegates face, after which you’ll receive an unwelcome call that presents you with a complication. After the conversation you’ll have to make a choice - go after Marchenko, or save the delegates. Both are timed, and if you take to long to complete either task… well bad things happen, so you’ll want to abuse powers like Glass-Shield Cloaking and items like Biocells and Multi-Tools, if you have them.
| Objective | Reward |
|---|---|
| For reaching Miller | XP 1950 |
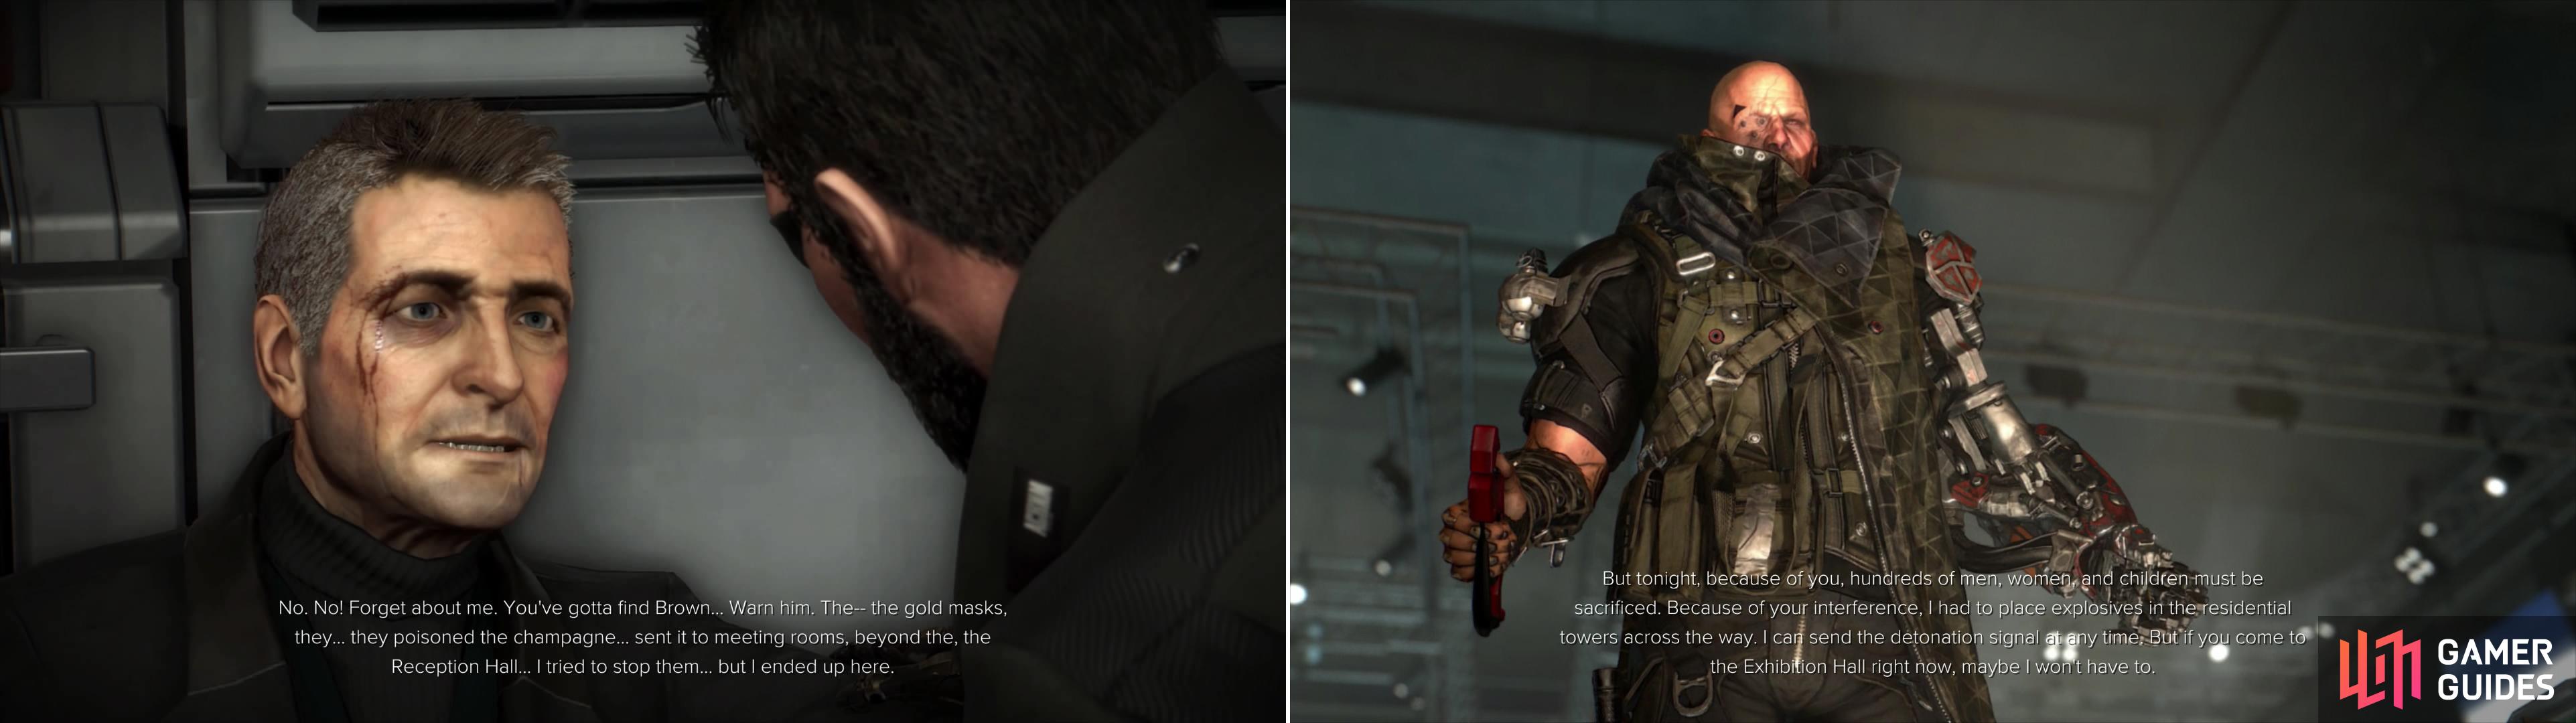
You have two threats you must neutralize; save the delegates (left) or stop Marchenko from detonating bombs and killing civilians (right).
If you’ve been following this guide, you would have completed “M11: Confronting the Bomb-Maker”, reloaded, then completed “M12: The Heist” , after which you would have played the game normally. In other words, “M12: The Heist” is your canon playthrough, meaning you should have obtained the “Orchid Neutralizing Agent” from the VersaLife vault. If so, talk to Miller before you run off and do anything heroic and choose the option “Administer antidote”. This will earn you the trophy/achievement “He’s [Not] Dead, Jim”.

As for the decision you have to make, if you’re going for trophies/achievements, the way to go is to save the delegates. Don’t worry - you should fully intend to do both, but start out with the delegates. This will allow you to get the final eBook… and you probably didn’t go through all that trouble to get the previous seventy-four just to miss the last one, right? There are plenty of ways to go about the next few areas, but a fairly specific path will be laid out for you to follow, with a few diversions laid out as necessary. You may end up saving and loading a few times to get all the trophies/collectibles. Again, some of them contradict or unnecessarily complicate each other.
Saving the Delegates
Choose to save the delegates and head out the door to the south-east, go up some stairs, through some double door and round a corner to the south. Ahead of you are two guards engaged in conversation, and you don’t have time to wait for them to shut up. Sneak up to the edge of their vision cones and use Glass-Shield Cloaking to sneak past them and get behind a wall to the east. Continue south along this wall and when it ends… you have a choice to make.
There’s a collectible that’s a bit out of the way that you can go get, if you wish. If you want to bypass it, cloak again and turn south-west, head past a turret and into a vent behind the turret, along the north-western wall. On the other hand, if you want to get the collectible continue south instead and go up some stairs. When you reach the top of the stairs turn north and you’ll find a room marked “Meeting Room C110”. You’ll have to hack a Keypad (Security Rating: ) to get in, but if you want to do this in a timely manner, you might as well just use a Multi-Tool. Once inside immediately turn right and search atop some drawers to find “Triangle Code #34”. Grab it and head to the north-western corner of the room to find a vent, use Glass-Shield Cloaking and climb inside to drop down at the beginning of the room where the two guards were talking. Just turn around and sneak your way south behind a wall, then south-west past the turret and into the vent.

Collectible or not, head through the duct behind the turret to reach a conference room. Head through this conference room and exit out a door to the west, then continue west to find another door (Security Rating: 1). Hide behind the furniture nearby and use a Multi-Tool to open the door, then crawl under a desk to find a vent. Enter it and use the duct to reach another conference room, where you’ll surface under another desk.
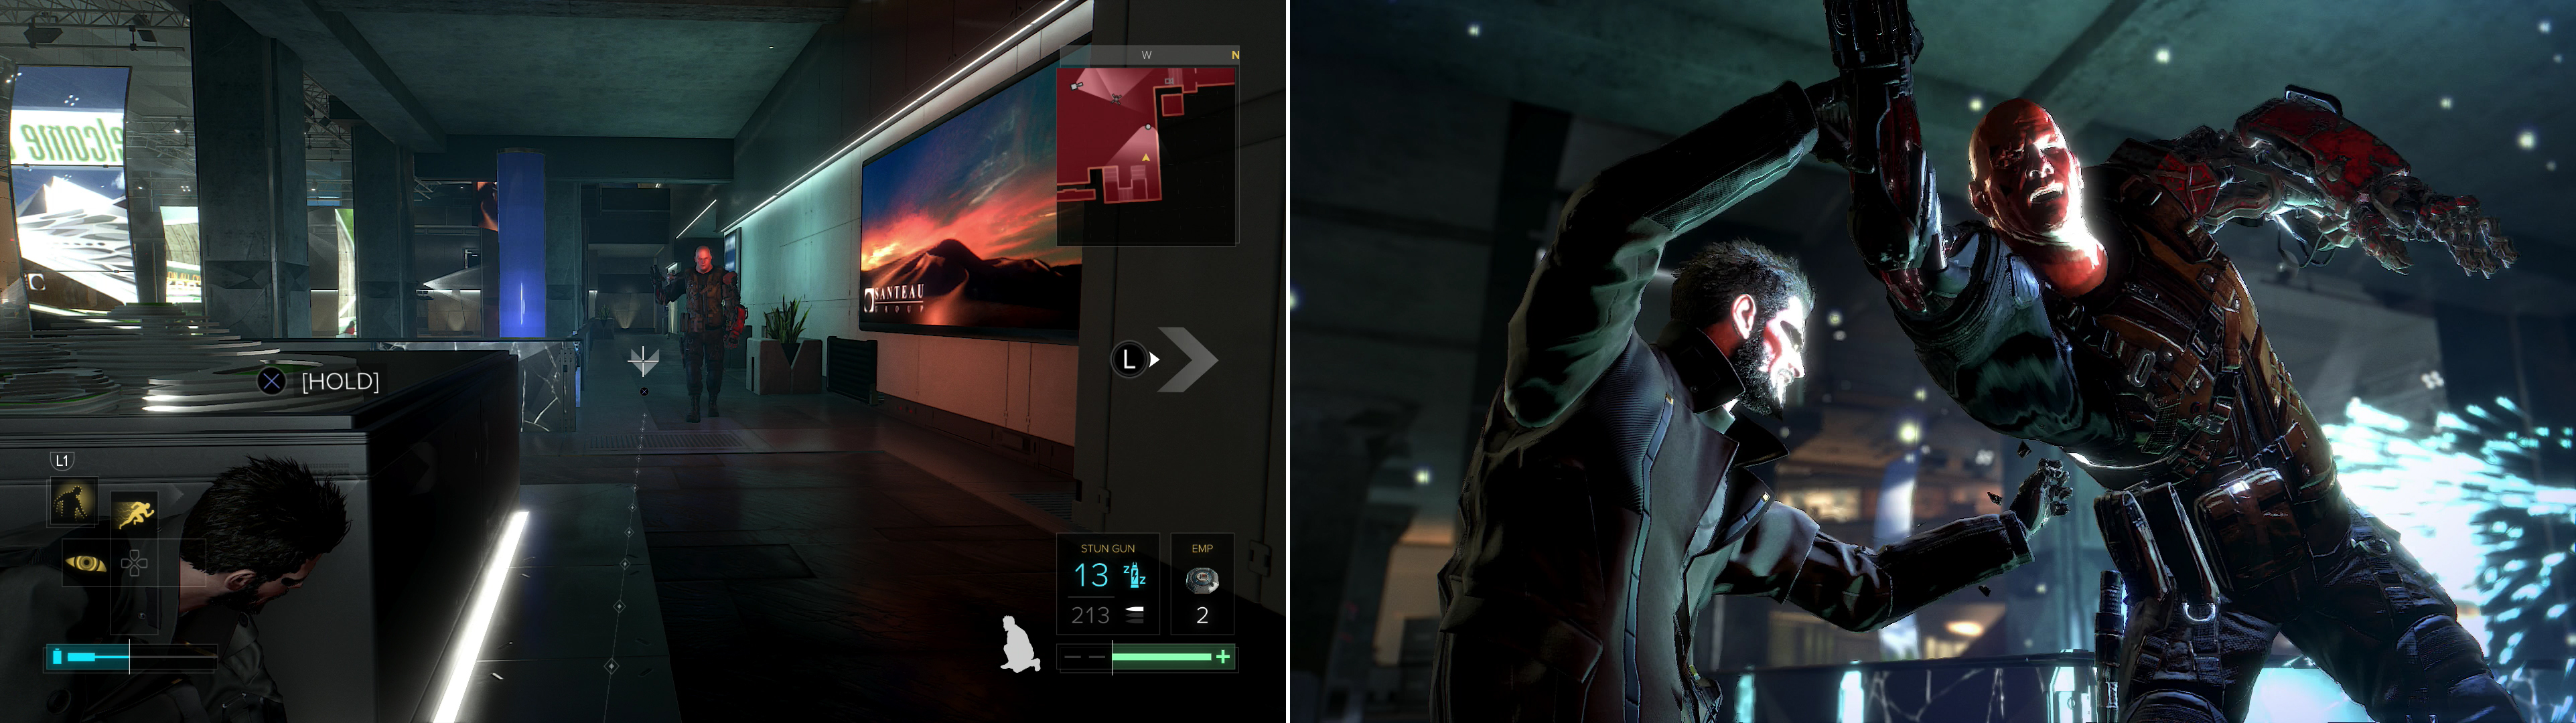
Head to the south-western corner of the room and go out a door, then immediately use Glass-Shield Cloaking to sneak across the enemy occupied room to the north-west. Use a Biocell if you need to - you just need to bypass this room as quickly and painlessly as possible, and if you followed this guide’s advice and boosted the Glass-Shield Cloaking “Energy Use” upgrades and the “Sarif Series 8 Energy Converter” and brought a few Biocells with you, you should do fine. Enter a doorway in the north-western corner of this area (use the Keycard Reader next to the door to open it) then head on through and turn east through another door to reach an elevator shaft. Jump down the elevator shaft to land on the elevator, then drop down a hole in the roof and take the elevator up to the VIP Room.
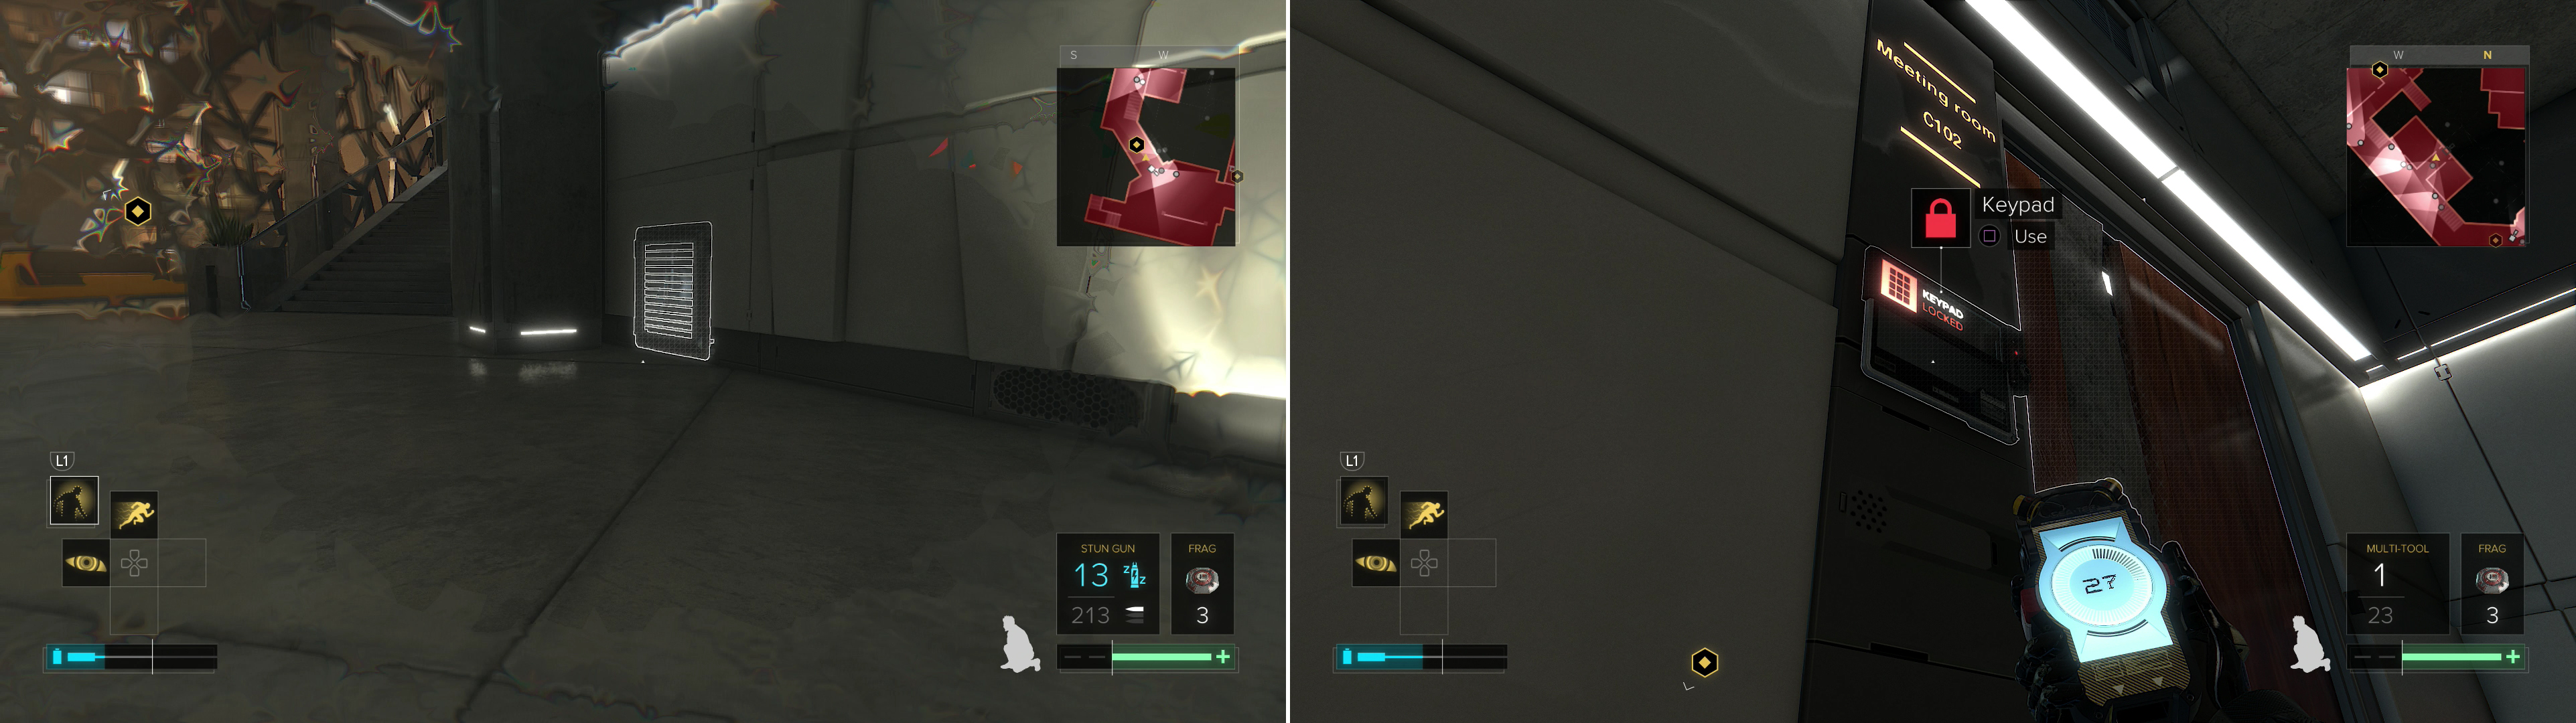
If you saved up Biocells and invested in Glass-Shield Cloaking you can quickly and invisibly bypass Marchenko’s guards (left). Using Multi-Tools will keep you out of sight and save time (right).
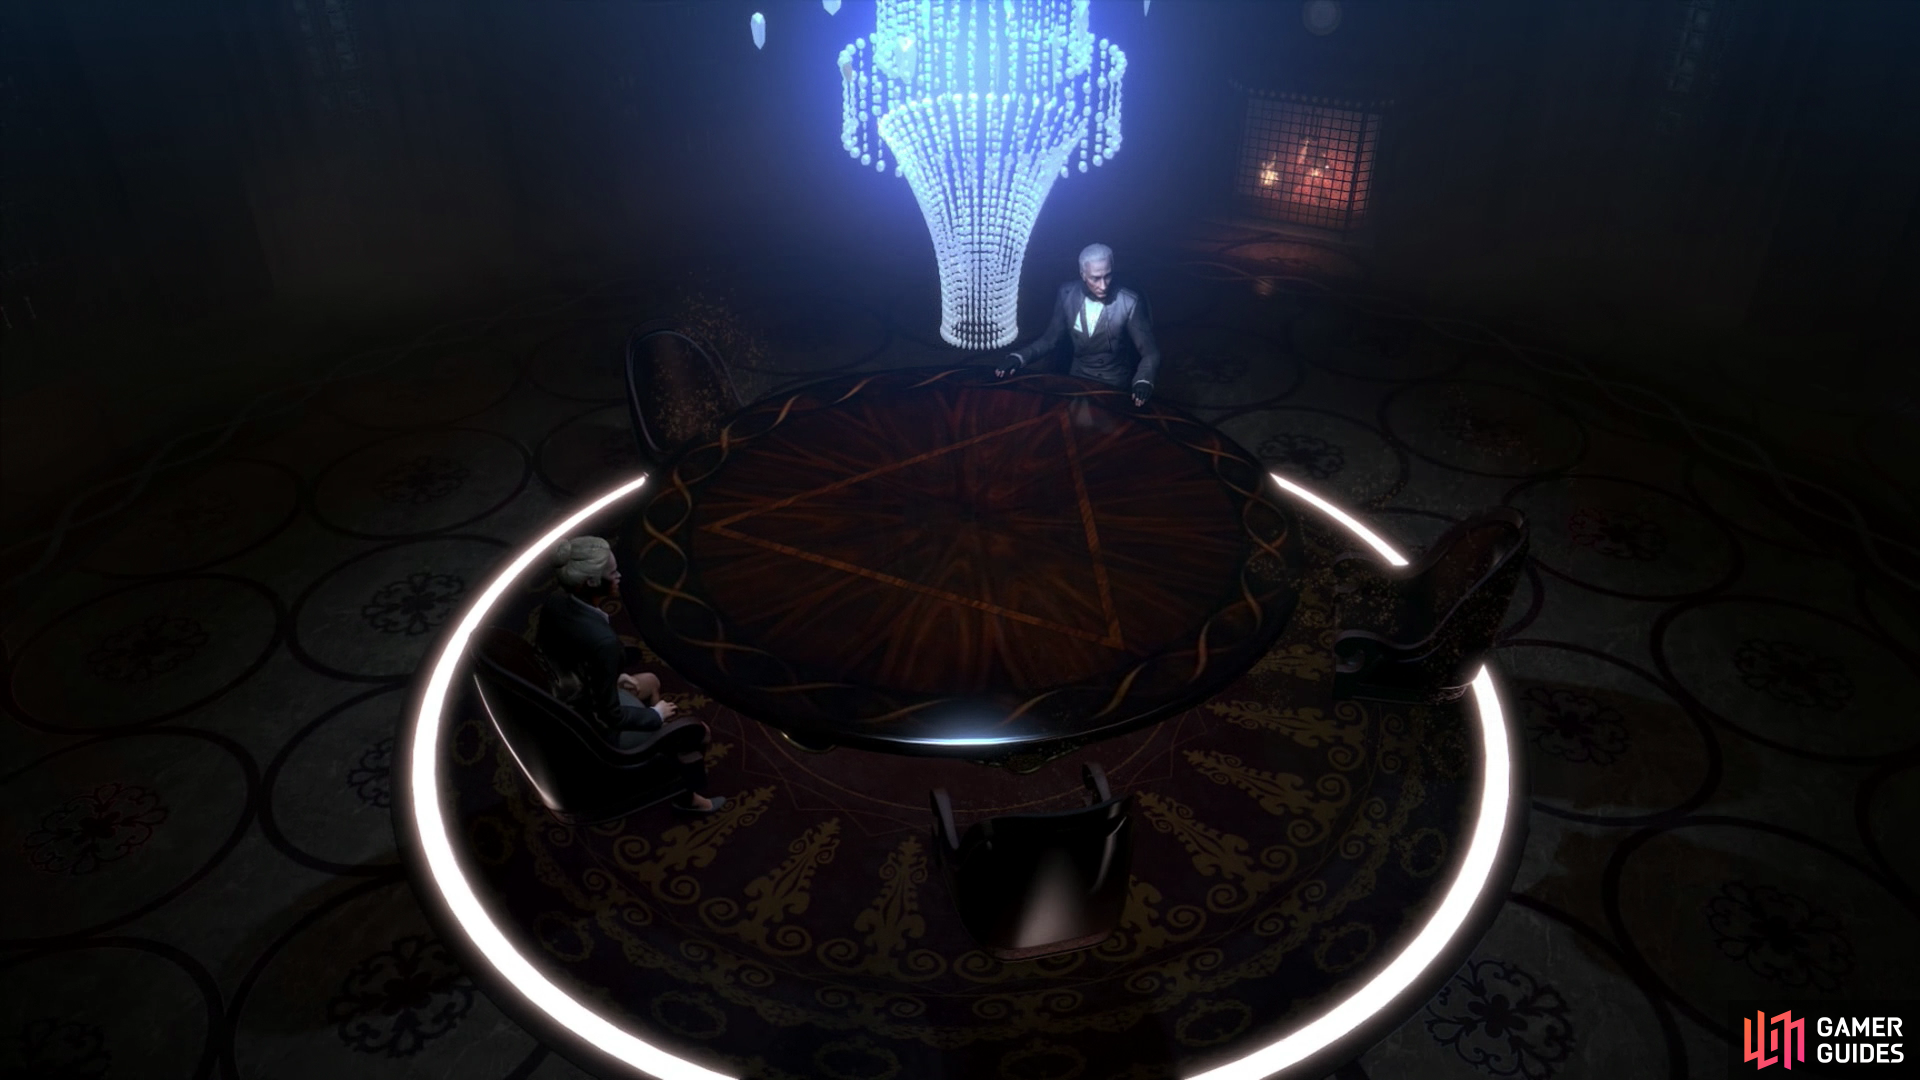
When the elevator stops follow the linear hallway beyond to reach the Executive Lounge of the Apex Center. Hack the Keypad (CODE: 2202) (Security Rating: 1) and enter the room to save the delegates. Afterwards search a round black table to find the eBook “Santeau - Rise of a Corpo-Nation” , then consider grabbing “Triangle Code #35” from off a cart along the eastern end of the room.
| Objective | Reward |
|---|---|
| For saving the delegates | XP 3150 |

Stopping Marchenko
Now it’s time to head back after Marchenko, and you’re going to need to backtrack to the elevator, take it back down to the Meeting Rooms, then make your way back through there. You can easily use the same route you took to get in here; just don’t get seen exiting the elevator and use Glass-Shield Cloaking to sneak your way south into “Meeting Room C103”, crawl into the duct under the desk and exit out under another desk, make your way east into another meeting room, through another duct, then use Glass-Shield Cloaking again to bypass a turret and two guards as you sneak your way back north into the catering room where you met up with Miller.
Don’t bother sneaking from this point on, it’s safe to sprint. From the catering room head back through the north-western door and return down the hallway to the north-west, returning to the now-evacuated reception hall. Go through some double doors to the west and turn south, then head east down a hallway until you find the doors to the Exhibition Hall to the south.
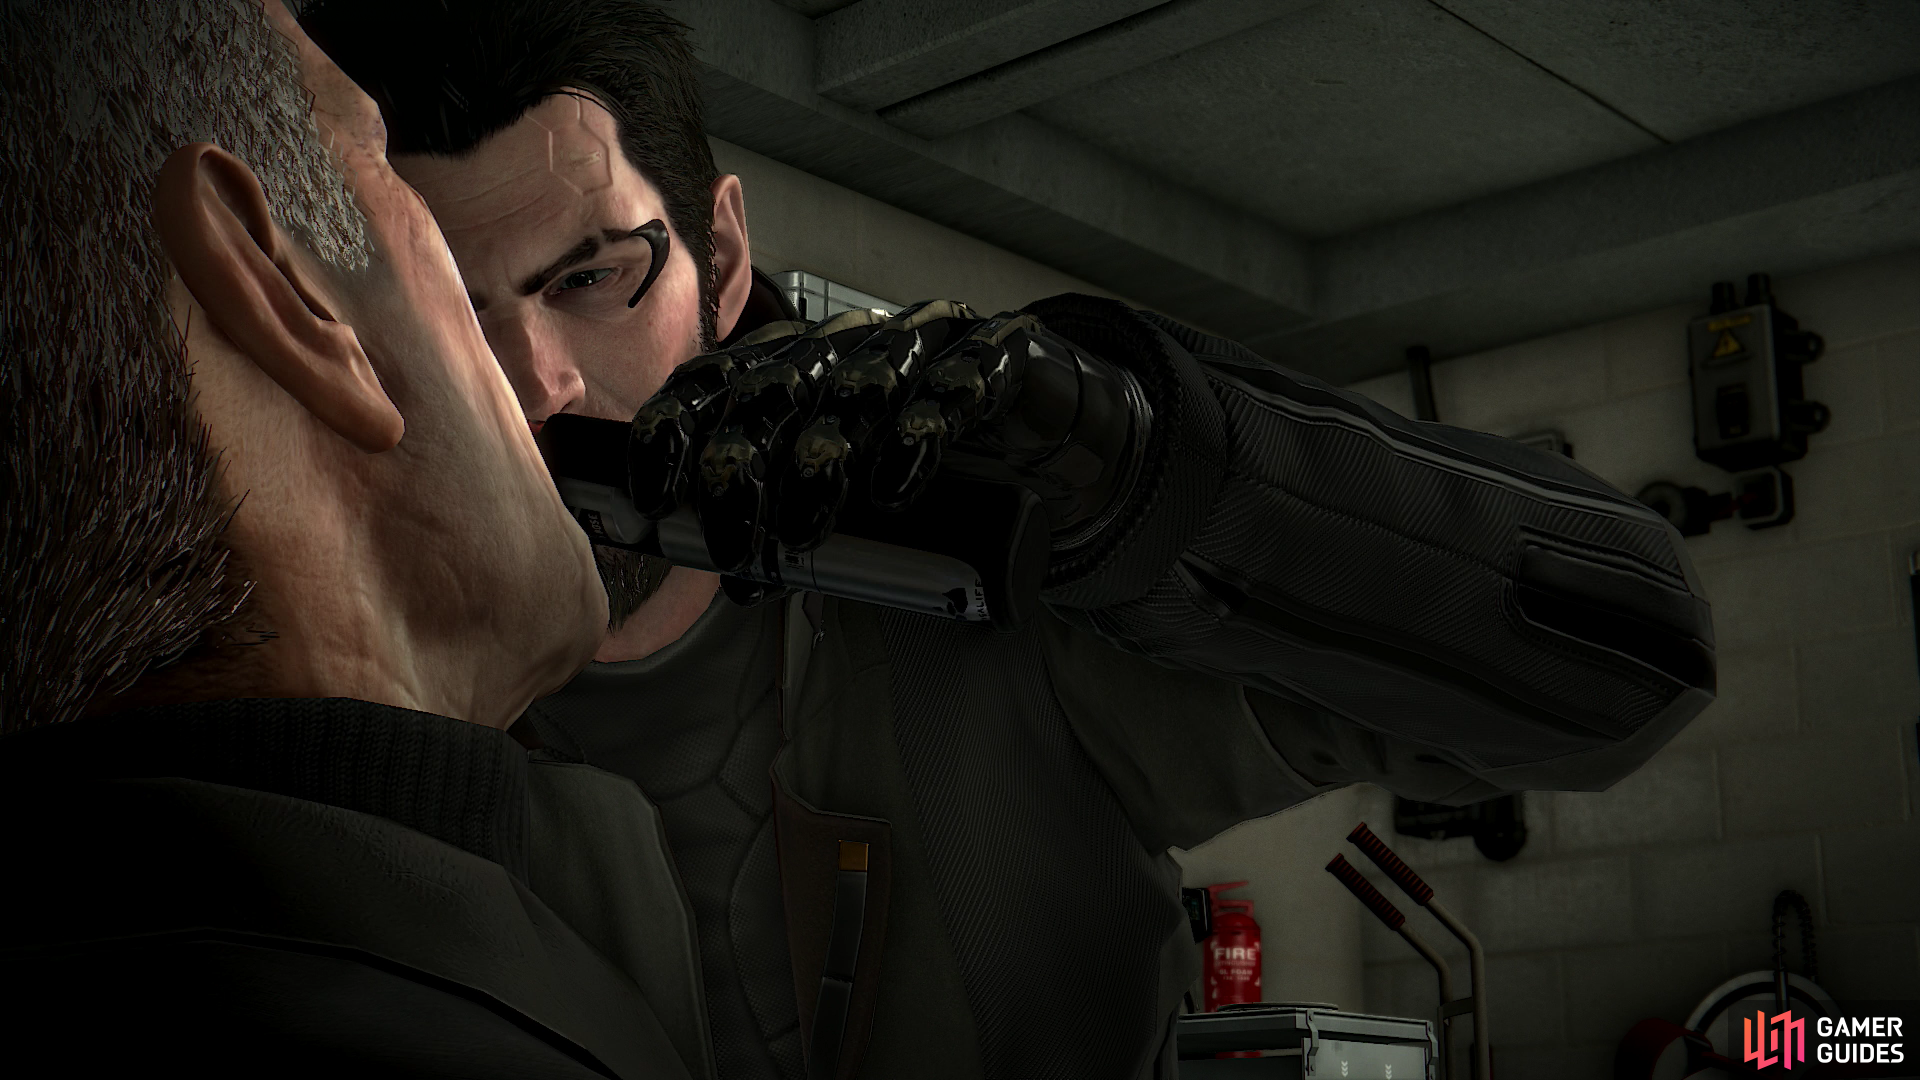
When you’re ready go through the doors and enter the exhibition hall, where you’ll be confronted by Marchenko. Eventually you’ll get a chance to respond, and if you completed “M11: Confronting the Bomb-Maker” you’ll have the “Bomb Jammer” device, a gift from Allison for showing her the light. If you use it, you’ll neutralize Marchenko’s detonator, after which a fight will ensue. On the other hand, if you got “Marchenko’s Kill Switch” from either the G.A.R.M. Facility or from under the desk near the catering room, you can just use that to kill him. This voids the trophy/achievement “Pacifist” but will give you “Laputan Machine” as a consolation prize. There is, of course, nothing stopping you from using “Marchenko’s Kill Switch” to get the latter trophy, then reloading and going for the former.

If you have Marchenko’s Kill Switch, you can try to reason him down (left), but ultimately Marchenko forces you hand (right).

Laputan Machine
You used Marcheko's Kill Switch to defeat him, proving that some things can cut deeper than steel.

15
If you don’t have “Marchenko’s Kill Switch”, you used the “Bomb Jammer” or you want that delicious “Pacifist” trophy/achievement, this will end up in a fight. Marchenko comes armed with some nasty built-in weapons, can take a ton of punishment, and has some security drones and a Turret to aid him. Fortunately, you need not bother with most of these threats, as there’s a fairly easy way to defeat him. From where you start sneak east along the railing, and where the railing turns south put an EMP Mine on the last, eastern-most section of glass railing. Continue to sneak east and hide along the north-eastern end of a city diagram. Stay in cover and look out towards your EMP Mine to the west. Marchenko should - after shooting off a few blind shots with his arm-cannon - come up the walkway towards you and trigger your EMP Mine. Immediately vault off cover and sprint towards him and perform a takedown. Yep, it’s just that easy.
| Objective | Reward |
|---|---|
| For defeating Marchenko | XP 3150 |
Plant an EMP Mine and wait for Marchenko to walk into it (left) then quickly dash forward and take him out (right).
If you must have that last collectible, however, you can go get that, although it will complicate things a bit. From where the fight starts after the cutscene sneak east and go up some stairs, using Glass-Shield Cloaking to bypass some Frag Lasers. At the top of the stairs turn south to find three Heavy Metal Crates blocking a door. Move them and head inside the room beyond, where you’ll find “Triangle Code #33” on a desk in the south-western corner of the room, near a security computer (Security Rating: 5). You can use this terminal to shut off some cameras and sic some Sentry Bots on Marchenko, but their assistance leaves much to be desired. If you go this route you’ll need to improvise your way to victory - a sneaky EMP Mine or EMP Grenade followed up by a takedown is still possible, just a little less guaranteed.
You can also turn north from where you started the fight to find some vents, which you can use to hide in and take pot-shots at Marchenko with your Tranquilizer Rifle. Enter these ducts and make your way up to east to reach the most elevated, eastern-most vent. Marchenko will occasionally walk into the line of sight from this vent, all you need to do is aim south-west and get one good headshot on him to stagger him, then wait for him to partially recover and shoot again. If you shoot too soon, he’ll keep staggering back, making subsequent shots harder. After the first, scoped shot, it’s probably easier and faster to keep shooting him without your scope, preferably with a laser sight to help out. If he happens to be facing you (or otherwise detects you) while you’re shooting him he’ll activate his shielding ability, and although he’ll get staggered, he’ll be invulnerable to subsequent shots, so staying hidden while doing this is imperative. It’ll take quite a few headshots to put him down, but it can be done. All in all, though, your best shot at “Pacifist”/“Foxiest” is with the EMP Mine along the railing.


Spokes in Two Wheels
You managed to stop both the bombing & the Orchid poisoning. You're a living legend!

30

Pacifist
You completed Deus Ex: Mankind Divided without killing a single soul. Bosses are people, too.

90

Whew. And that should do it for Deus Ex: Mankind Divided. If you followed the advice of presented in this guide and kept hard saves at various locations throughout the game you can reload from those points and try again from there if something didn’t work out correctly. Using the Marchenko’s Kill Switch obviously voids “Pacifist”, but if you already got it, who cares? It might, at least, eliminate any complications from the last battle from affecting “Foxiest of the Hounds”.
Watch an ending cutscene, then Eliza will run down a summary of your exploits over Picus. Watch the credits roll and you’ll also get the trophy/achievement “The Supreme Enlightened”. There’s still more to do, however, namely New Game +. If either “Pacifist” or “Foxiest” didn’t unlock, you can always run through the game again with your old character. You’ll keep all your Praxis and whatever was in your inventory at the end of the game (although you won’t keep what’s in your stash or any collectible progress), making the second playthrough much easier. Also, you won’t have to go out of your way hunting collectibles if you got all the eBooks, Breach Software and Triangle Codes the first time around. Ideally, of course, that’s not the case, but a lot can go wrong, and the “Foxiest of the Hounds” trophy/achievement seems particularly fickle. Ideally, if you completed the game without getting the alarm tutorial in your in-game guide you should be on track for “Foxiest of the Hounds”, but this is not fool-proof. Having said tutorial is a clear sign that you are NOT getting “Foxiest of the Hounds”, however.

If you did not end up getting “Pacifist” and/or “Foxiest of the Hounds”, know that playing through New Game + with a powerful character and being willing to spam Biocells to get through any potential problem spots will make your second run go much quicker (we were able to complete such a run in under five hours), and it’s great preparation for the ultimate challenge in Deus Ex: Mankind Divided - playing the game in the highest difficulty and earning the “I Never Asked For This” trophy/achievement.

 Sign up
No Comments