Find Merrill in her room and talk to her about the mirror, then agree to help her get the item she needs to fix it. Head to Sundermount and loot the chest as you enter the Dalish Camp for a Dalish Tattoo Ink . Speak with Keeper Marethari then check out Master Ilen’s Shop.
Master Ilen’s Shop
| Item | Price |
|---|---|
| Quills of the Heretic | 4g 06s 90c |
| Alunduris | 3g 58s 18c |
| Fel’Harel’s Tooth | 6g 37s 50c |
| Tome of Technique | 21g 93s 25c |
| Design: Rune of Nature | 26s 63c |
| Halla Carving | 5g 00s 00c |
| Rune of Nature | 50s 40c |
| Carved Ironwood Buttons | 2g 28s 25c |
Take the western path north to an elfroot then enter the Varterral Hunting Ground. Go left from the entrance to a pile of bones holding a Polished Whitewood Amulet . Head back and go north to fight some spiders then loot Hunter Radha for Radha’s Amulet . Follow the path north until you go southwest to find Hunter Harshal’s body that holds Harshal’s Amulet . Backtrack and head west to an Oricalcum then go north a little bit for some glitterdust .
Check the alcove west for a chest - standard holding a Rivaini Seer’s Band then get back on track downstairs to some rubble . To the east you will find Hunter Chandan holding Chandan’s Amulet . Go west to view a scene then chase after Pol. The Varterral appears here so prepare for a boss fight.
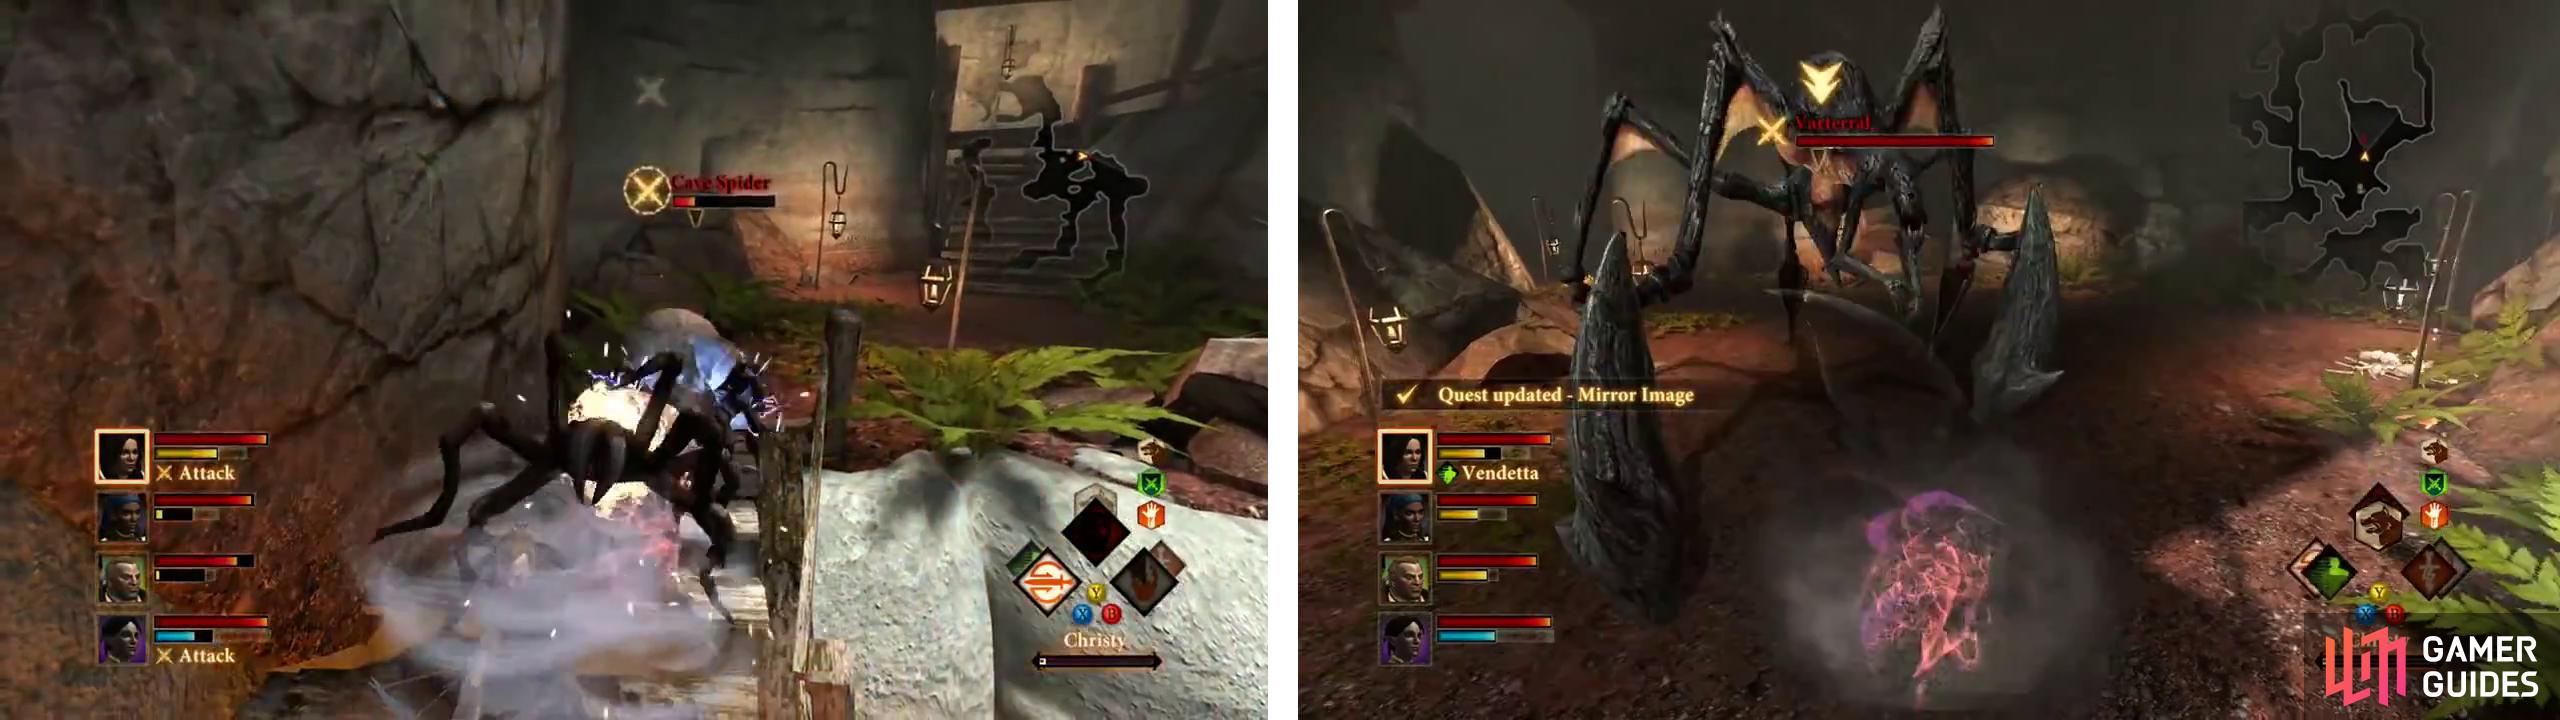
Clear out the cave and you will come across the varterral.
Boss: Varterral
| Drops |
|---|
| Borderfall |
| Varterral’s Heart |
| Resistances | . |
|---|---|
| Cold | Normal |
| Electric | Very Weak |
| Fire | Normal |
| Nature | Immune |
| Spirit | Normal |
| Abilities | Immunities |
|---|---|
| Split | Enslavement |
| Scream | Knockdown |
| Stomp | Immobilize |
| Leap | Paralyze |
| Ground Pound |
The Varterral is a large and ancient guardian of Arlathan. It’s varying attacks are lethal and fast, but the large health that it has makes a swift fight nigh impossible. The Spit attack deals corrosive poison for damage over time and the Ground Pound is an AoE knockback. Focus on keeping the Varterral at a distance with a tank and keeping buffs applied to the party. An Arcane Mage is incredibly helpful with a lightning based staff and elemental weapons. Likewise, a Primal Mage will inflict some serious damage on his own.


After the battle loot the bones and pile of treasure for Honeycut . On your way out you can grab a deep mushroom that you missed due to the scene. Just before you get out a Frost Horror will strike, be sure to take it out quickly. Loot the bodies for Hubris then make your way back to the Keeper. By turning this quest in you also complete ‘Honoring the Fallen’ in one fell swoop.
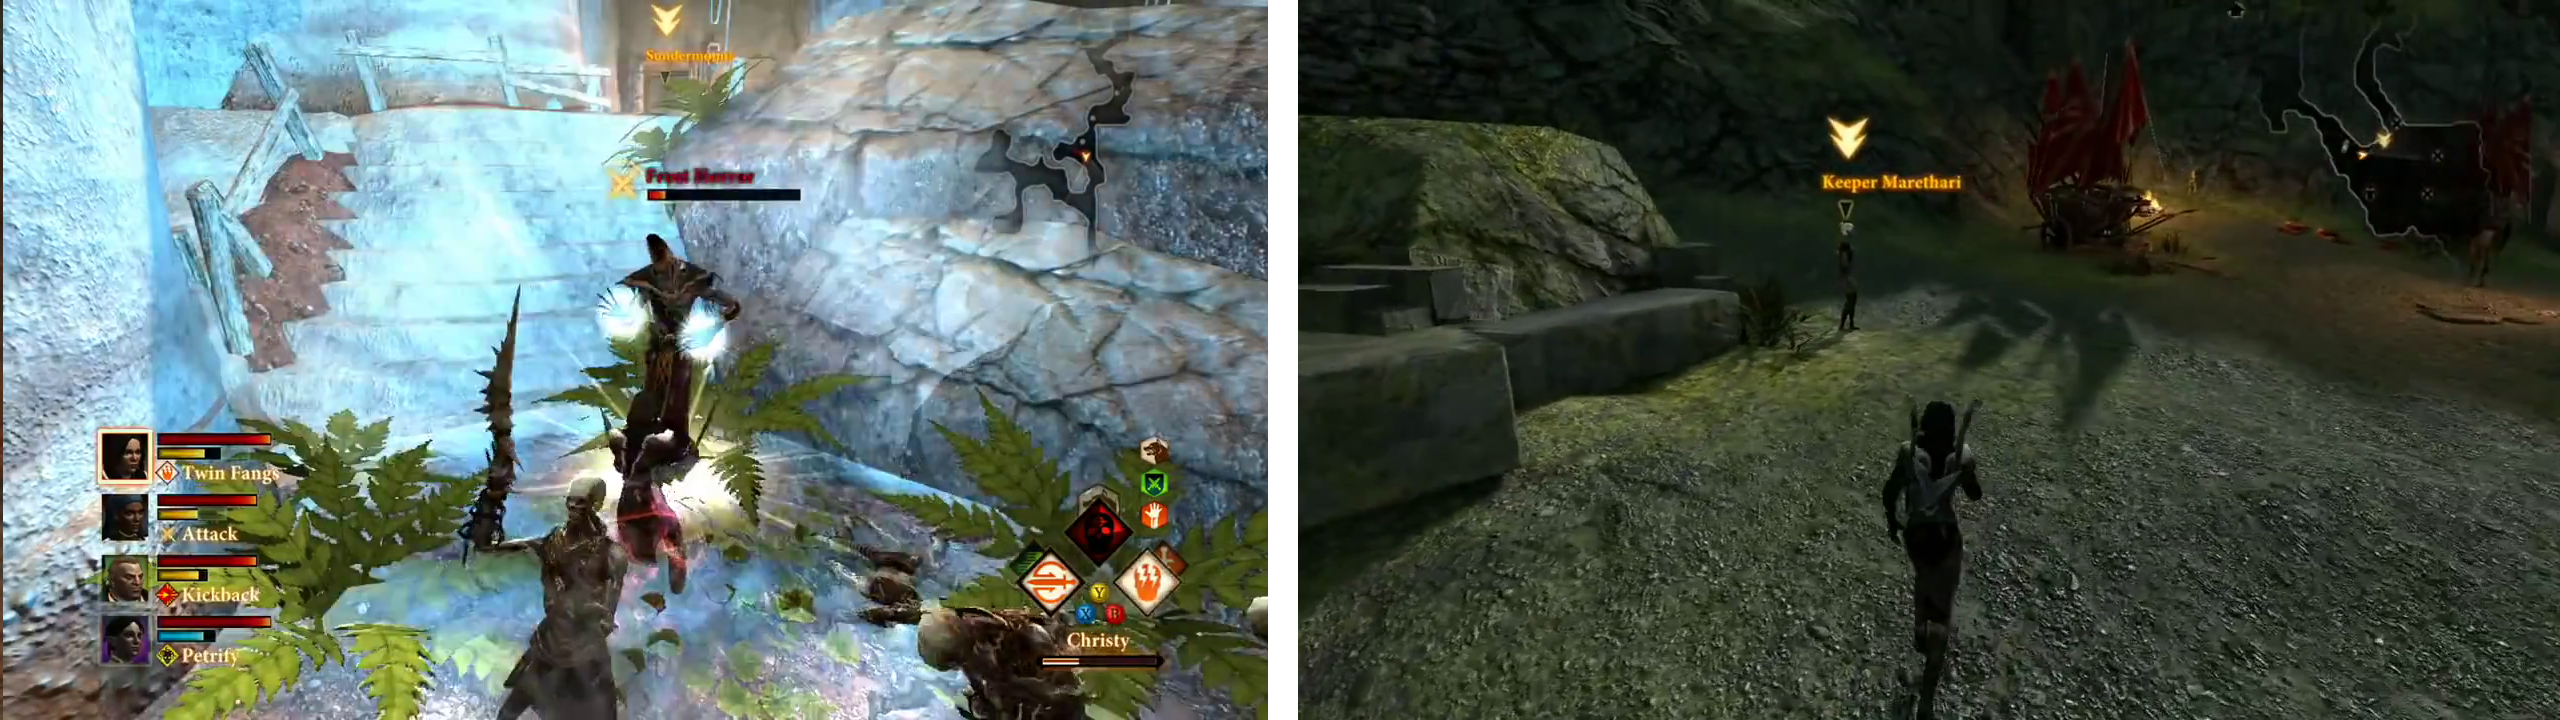
Fight your way back to the entrance (left). Return to the Keeper to hand in the quest (right).
Before leaving Sundermount you might want to explore the rest of it. No quests involve you going down the other path which is strewn with good loot. Head north up the eastern of two paths to find some glitterdust . Defeat the enemies on your way up the path and enter the Sundermount Passage. As you enter a Monstrous Spider will come down to impede your progress. Defeat the spider and check the alcove to the west to find some silverite . Make your way east to the larger room, at the north end is Orichalcum and at the south end is more Orichalcum along with a sack with a Ream-Rot Knife .
Enter the Mountain Graveyard and go north to a pile of bones to find the Recipe: Mighty Offense Potion . To the south where you met Flemeth is a group of enemies to include a Crazed Loner and Shadow Assassin. Loot the bodies for The Eyes of Azure Jamos then go east to find Embrium in the corner. As you move higher you will start to fight Dragonling. Move further along to spot the end of the path and a pile of bones with the Dalish Lantern , Surfacer Stone Armor, Belt of the Brigand , and Silver-Threaded Dalish Embroidery inside.
Unfortunately, you must face a Mature Dragon at this point.
Boss: Mature Dragon
| Drops |
|---|
| N/A |
| Resistances | . |
|---|---|
| Cold | Very Weak |
| Electric | Normal |
| Fire | Immune |
| Nature | Normal |
| Spirit | Normal |
| Abilities | Immunities |
|---|---|
| Fire Spit | Slow |
| Fire Breath | Knockdown |
| Wing Buffet | Immobilize |
| Roar | Paralyze |
| Tail Swipe | Knockback |
This battle will be initiate as soon as you enter the area. For the part you want to have no more than two melee for this fight and at least one healer. Have your tank initiate while you move the rest of the group in to more formidable positions. The ranged should be as far back as possible and any melee should be attacking from the side, never the front or the direct back as to avoid taking damage from Fire Breath and Tail Swipes. The Roar ability will stun an unusually large area, be sure to keep Taunt ready for such occurrences. If things start to go wrong you can always kite the Dragon around the area while the ranged do damage. Heal when necessary and keep focused on avoiding damage to make short work of your first dragon.
Back from Sundermount
Return to Merrill’s place after the previous quest and speak with her. You will gain and complete this quest all in one. This is a great chance to flirt with Merrill if you are trying to romance her.

 Sign up
No Comments