
Windworn Valley
Run, run, run, through the Northface Forest, past Windbluff Tower, Hillfigure Knoll, and the Abandoned Campsite areas, staying on the road. When the road splits in the north - the northern route heading to the Blighted Manse and the Healing Spring - take the eastern path to reach Windworn Valley, a tiny map area not even worth it’s own area. Ahead of you you’ll spot a hill with a cage on top… you remember the place, it was discussed earlier, but in case you forgot: Snow Harpies, crappy junk loot, blah, blah, blah. Kill whatever Snow Harpies fly around, as they’ll only pester you later if you don’t.
Bid the road farewell and walk along the eastern side the cage-bearing hill here, heading north-east. Strong winds will impede your movement as you progress… walk when you can’t run, but running is what make headway. When you run out of north-east, turn south-east, then south as you push your way through the pass. Once the wind is gone admire the view to the south-west, as you can still see Windbluff Tower and Gran Soren in the distance.
Turn east and, when you can, head up a ramp to the north. Atop the ramp you’ll find some Warrior Remains, and more to the south-east. Beyond both of the lie an apple tree. You’re probably going to need some healing during this mission, so don’t neglect to grab some fruit if you don’t have any. If you turn west you’ll find a tree surrounded by plants, if you continue north-east you’ll walk into a dead-end which terminates near another apple tree. On a rock at the end of this northern reach you’ll find a Wakestone Shard, making it worth exploring. There are no foes here during the day, but at night you’ll have to contend with Skeleton Knights and Skeleton Mages.
| Warrior Remains | Warrior Remains |
|---|---|
| Fine Over-Knee Boots | Guardian’s Hood |
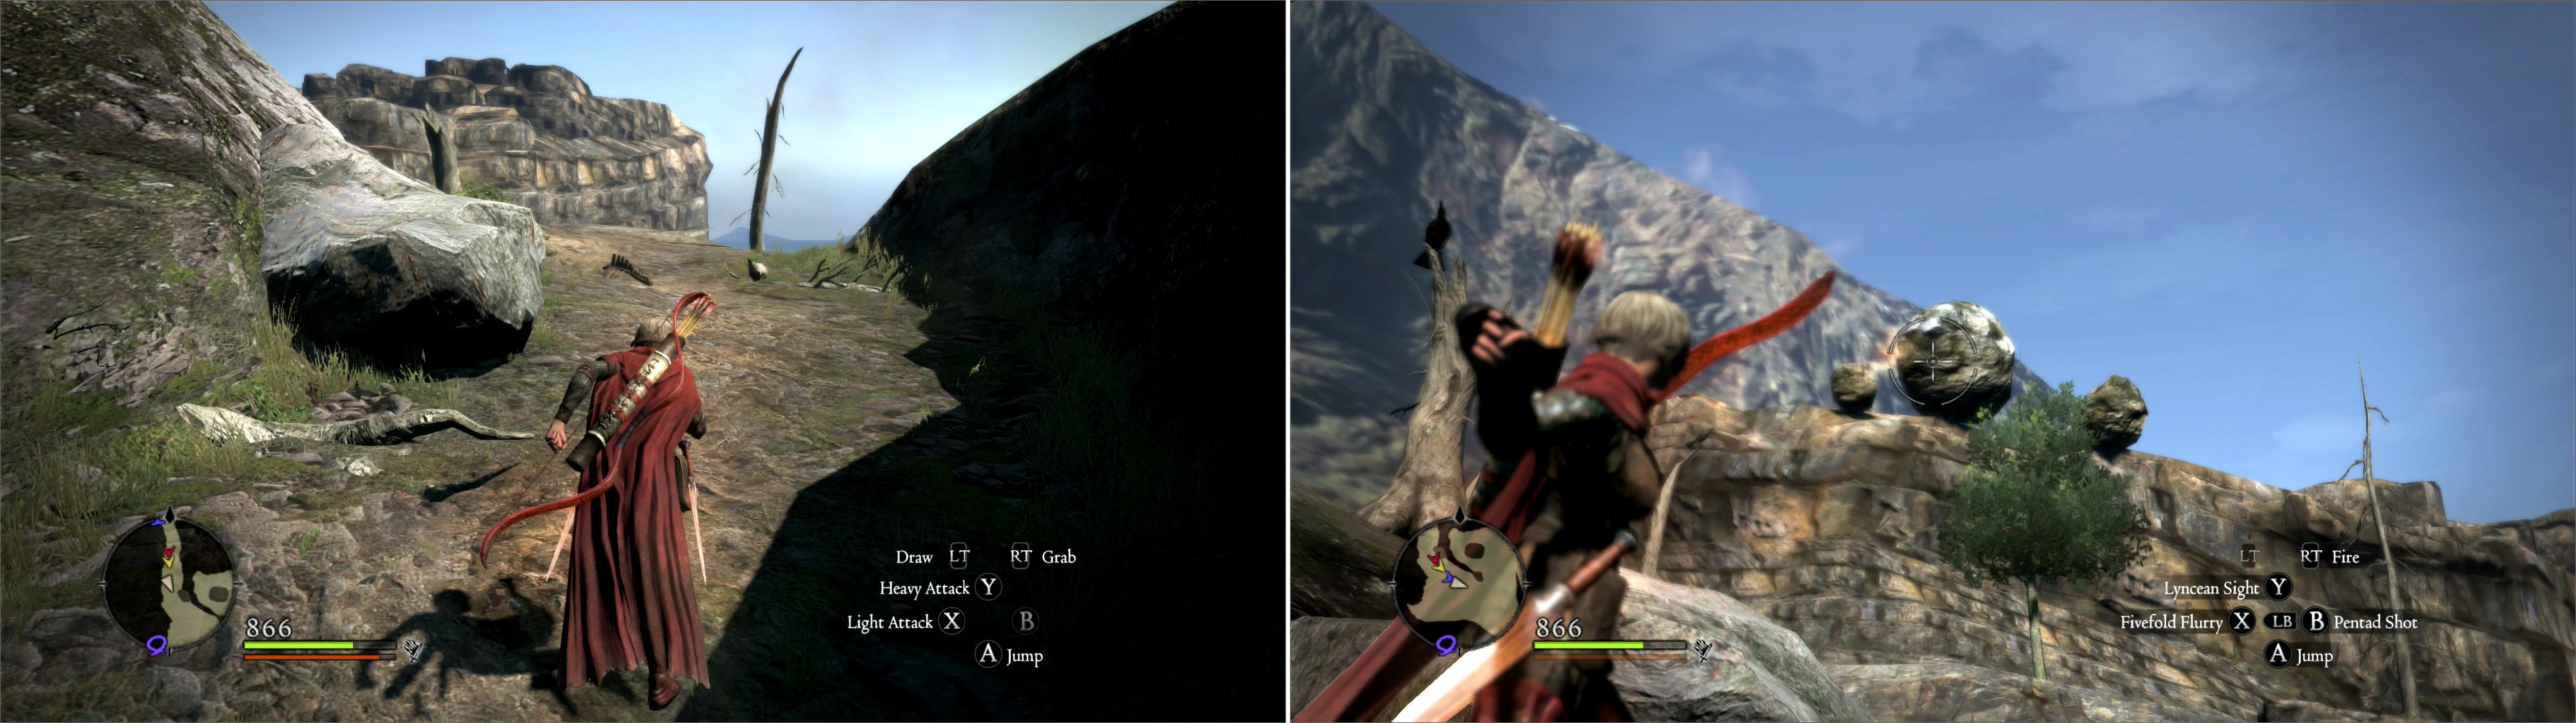
Brave the wind-swept passes that connect Northface Forest to Pastona Cavern (left), then dislodge some boulders poised to fall (right).
Into Pastona Cavern
Backtrack to the top of the ramp and turn south-east until you find a narrow pass to the east. Continue on to reach Pastona Cavern. Your trip east is brief, the cavern opens up and turns south, and on an elevated ledge lurk some of the strongest Bandits in the game-you’ll not find human foes more dangerous than the Bandits in Pastona Cavern. They’ve got plenty of versatility, including a rare Magick Archer, but their Rangers are the most dangerous. Even if you’re approaching level 100, these Bandits can do wretched damage, so fight smart, and when that fails, be ready to retreat and heal, as necessary. If you’re a ranged class, playing peek-a-boo using cover to regenerate Stamina and Pawns to draw attention is probably your best bet. Once they’re dead, search the ledge they operated off of to find a room dug into the rock to the south. Inside is a square chest which hints at the quality loot that lies in store for you during this journey. Head back out onto the ledge and spot another room cut into the stone to the east-on the opposite side of the cavern. A good running jump might suffice here, but a Double Vault or Levitation will make this-and other jumps coming up-much easier. In here you won’t find much to loot save a pile of literature but… well, at least it was mentioned.
| Square Chest |
|---|
| Font of Fire |
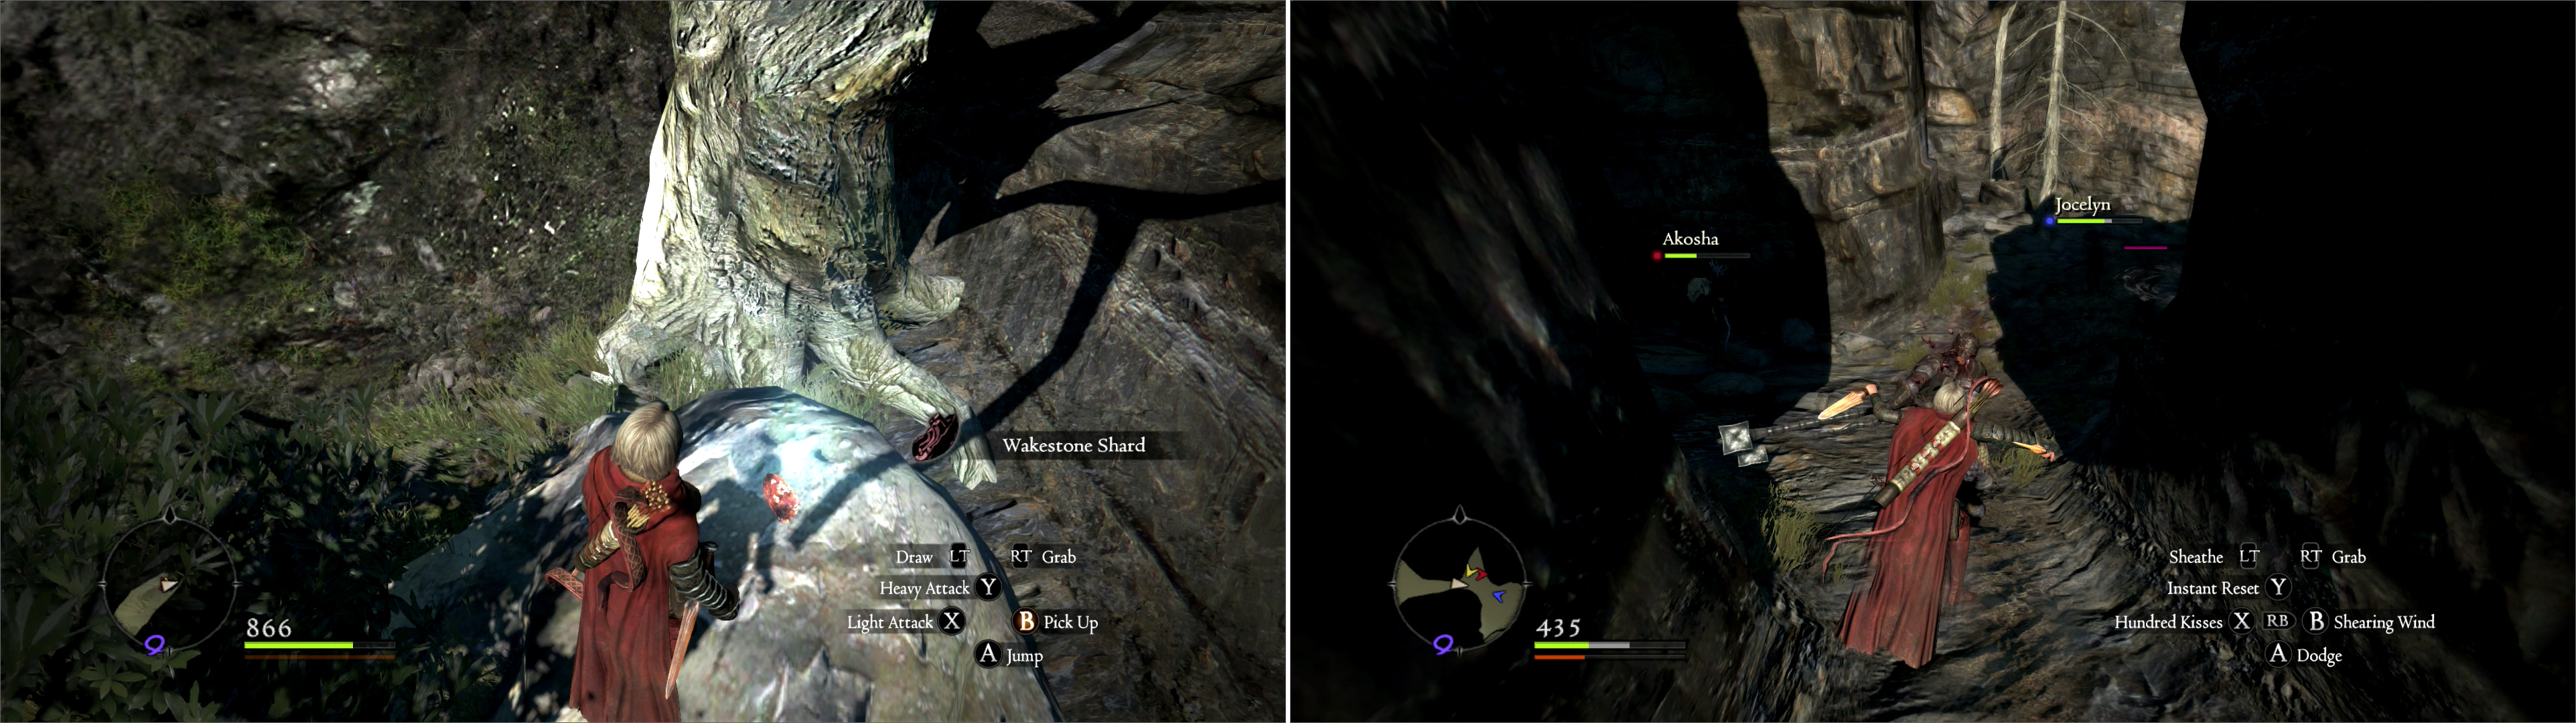
Search a cubby to find a Wakestone Shard on a rock (left) then challenge the powerful Bandits occupying Pastona Cavern (right).
Head back down to the lower part of the cavern and continue south, but do so quickly; two asswipe archers lurk on ledges above you, and will take great delight in raining death down upon you. Sprint into one room cut into the northern wall to score a square chest, and then run into a second further down the cavern to the south-east. Exterminate whatever Bandits come to you here, safe from archer fire. When you’re confident you’ve killed the groundies off, head up some stairs to the north-west. Ascend three flights of stairs, loot a square chest, and carefully peek out the door to the south-west and spot the archers to the west. If you have ranged attacks of your own, killing them shouldn’t be any trouble. If you’re a Mage or Sorcerer, you’re at a distance disadvantage, and if you’re a pure melee class… well, life sucks sometimes. Kill them if you can, endure them if you can’t.
| Square Chest | Square Chest |
|---|---|
| Seeker Tights | Assassin’s Mask |
| Iron Headgear |
It should be noted that you can jump onto the platforms of the Bandit archers-first west to reach the platform on the northern end of the cavern, then from there to the southern one, and ultimate you can jump west again to reach a lower ledge to reach another chamber cut into the cliffs… but there’s no real point in doing so, as there’s nothing of interest within. From the long, narrow ledge east of the Bandit archer platforms (the one just outside of the room in which you found the last square chest) turn south-east to notice another chamber cut into the rock. The way to reach it is to sprint to the end of the ledge and make a jump at the last second… a difficult jump that becomes trivial with Double Vault or Levitate. In the chamber beyond you’ll find three chests-one ornate chest in the center, two square chests on either side.
| Square Chest | Ornate Chest |
|---|---|
| Barbed Nails | Fiery Talon |
| Knight’s Mantle | Meniscus |
| Red Leather Armor |
Make a running jump to reach an elevated cave (left) wherein you’ll find several loot-worthy chest (right).
Bandits Den
Loot and leave, jumping into the sloped corner between the ledge you jumped from and the room you jumped to to slide safely down to the cavern floor again. Continue down the pass to the south, then turn south-east when you must. Ahead of you the cavern will open up extensively. To the north sits another chamber cut into the stone, containing another Square Chest, and outside of this chamber you’ll find some Warrior Remains. On your map, you are just south of the ‘Bandit’s Den’ marker.
| Square Chest | Warrior Remains |
|---|---|
| Barbed Nails | Iron Shield |
| Ring of Purpure |
Look into the open part of the cavern lying before you to the south-east. Any fool can see the dormant Golem sitting just in front of us. Beyond it is a rock formation where two Snow Harpies roost. To the south-west of the Golem and Snow Harpies are some elevated ridges which you can use to bypass the Golem. On the highest ledges to the south-west rest two ballistae, standing proud and useless on this high ground. Standing by the ballistae you can look across the cavern to the north to spot a Bandit camp on the elevated ground there. To reach that lofty Bandit camp in the distance, kill or bypass the Golem (keeping a safe distance away) and work your way to the eastern reaches of this area. Turn north and you’ll see a doorway cut into the rock, beyond which lie some stairs, which lead to the Bandit’s Den. The Bandits here aren’t any weaker than the ones elsewhere in Pastona Cavern… but killing them is a good bit less lucrative. The only loot to be found here is an Airtight Flask, a Flask of Water hidden atop some rocks, and a junky rounded chest in a tent. Finally, to finish this open area up, search the cliffs to the east to find an elevated chamber cut into them. Fortunately, there are narrow ledges that can be scaled to reach this room, in which sits a rounded chest. On the cavern floor itself, all you’ll find are some Warrior Remains south of the Snow Harpy rocks.
| Warrior Remains | Rounded Chest |
|---|---|
| Cutlass | Caldbolg |
Exit this open area by heading south. You’ll move briefly through a narrow pass before the cavern opens up again. Here you must contend with Skeleton Knights and Skeleton Warriors if it’s night… or Giant Spiders during the day. Of the two, the Giant Spiders are less threatening, but also more annoying. At least the undead give you experience. If you scale some stones along the northern cliffs you can find some loot-worthy Warrior Remains. If you head south-west, all you’ll reach is a cliff… albeit with a nice view. Nice views aren’t loot, though, and this isn’t Journey, so head south-east under a large natural arch. while under the arch, search the northern wall to find yet another chamber cut into the cliff-face… although these chambers run a bit deeper than the ones you explored earlier…
| Warrior Remains |
|---|
| Fine Magick Buckler |
Smugglers Pass
Despite the name, fear not-there are no smugglers down here… not any living ones, at least. Head down some stairs to the south-east, ignore a room to the south-east and turn the corner to find some stairs to the south-west. Follow the stairs down until you reach the bottom, a long south-east/south-west running hall with rooms on each side. Sword-and-shield armed Skeleton Knights prowl these rooms, and their tendency to block and the narrow confines work together to make them somewhat annoying here. There are usually one or two Skeleton Knights in each room, some of which are locked, others are open. Skeleton Keys will make locked doors not so locked. In most of the rooms are chests… chests with pretty good loot in them. You need three Skeleton Keys to open all the locked doors here, and they’ll be kind enough to stay unlocked the rest of the game, so it’s good sense to bring them… you know, just in case you come this way again? One thing that is worth mentioning is the north-eastern most chamber, as it has another chamber beyond it to the east. The square chest in the western room before it contains junk, but the ornate chest in the eastern room contains goodies. Also, there’s a Wakestone Shard in the south-eastern corner of this room, so, extra goodies. with any luck you’ll leave the Smuggler’s Pass much more weighed-down with loot than you entered.
| Ornate Chest | Square Chest | Square Chest | Orante Chest |
|---|---|---|---|
| Bardiche Daggers | Guardian’s Hood | Fine Magick Buckler | Black Matter |
| Lion-Lord’s Helm | Scorched Pelta | Caladbolg | |
| Scarred Sentinel | Thunder Kite Shield | Malignance |
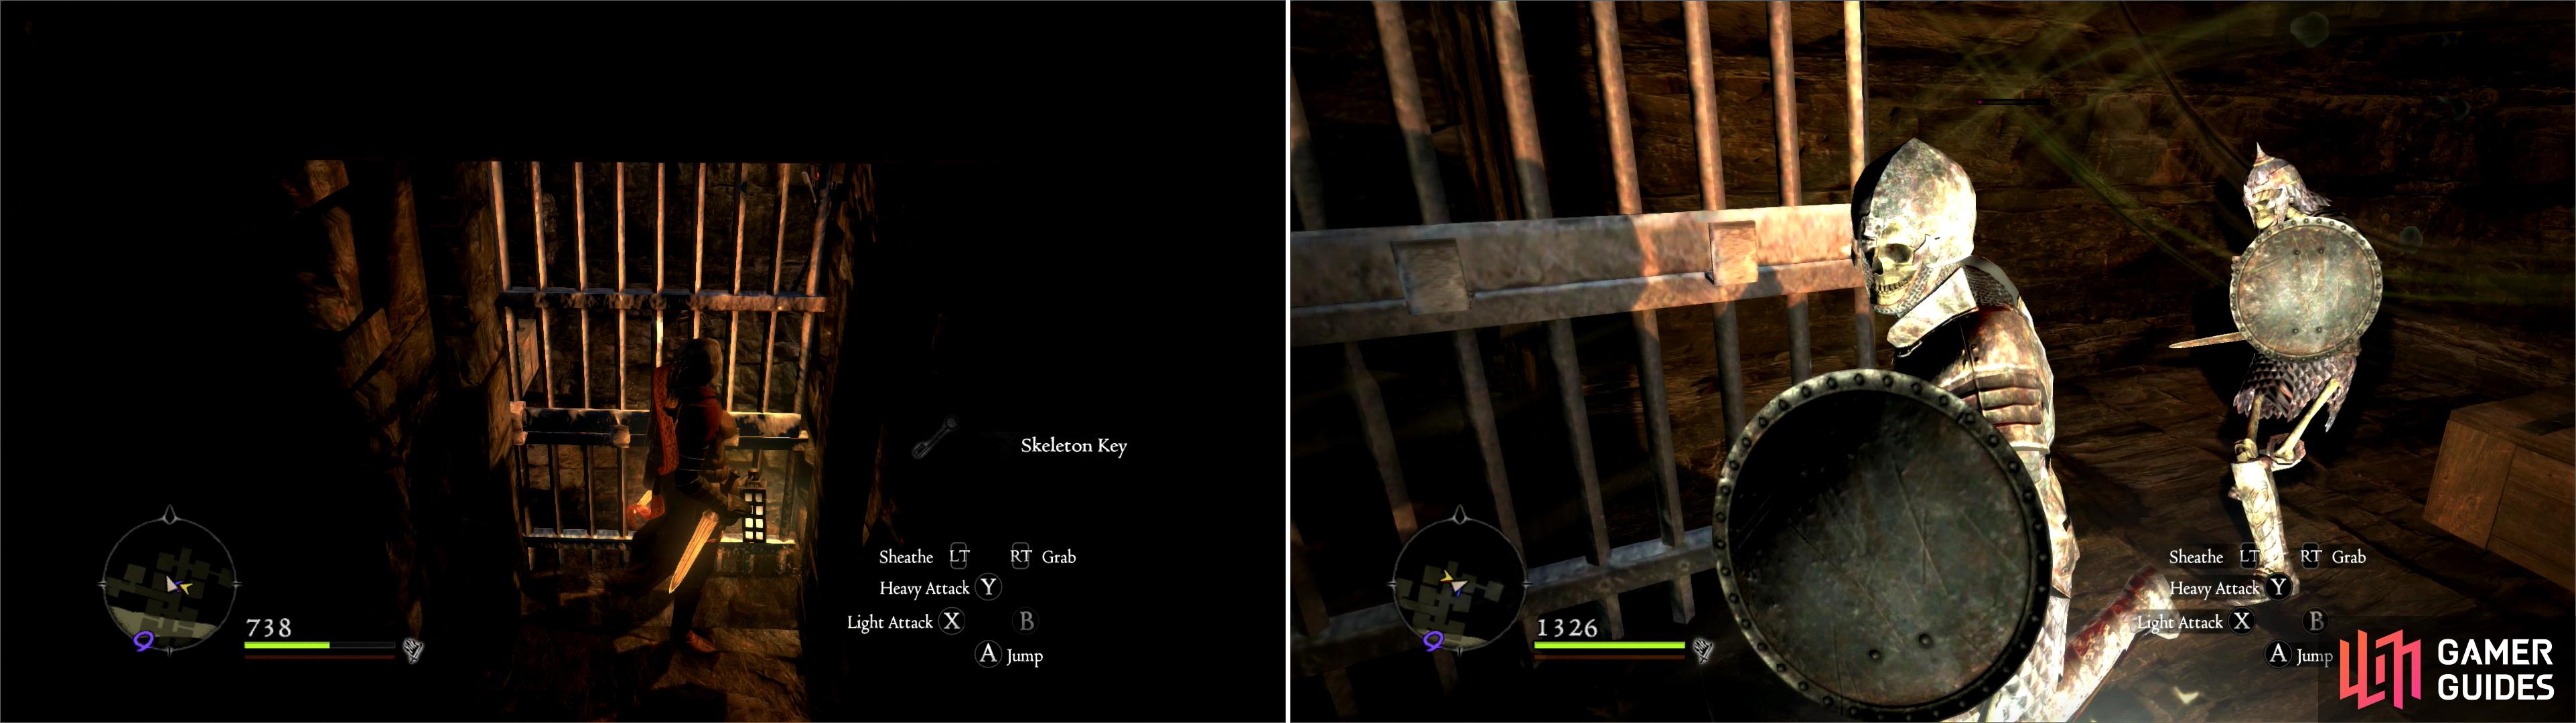
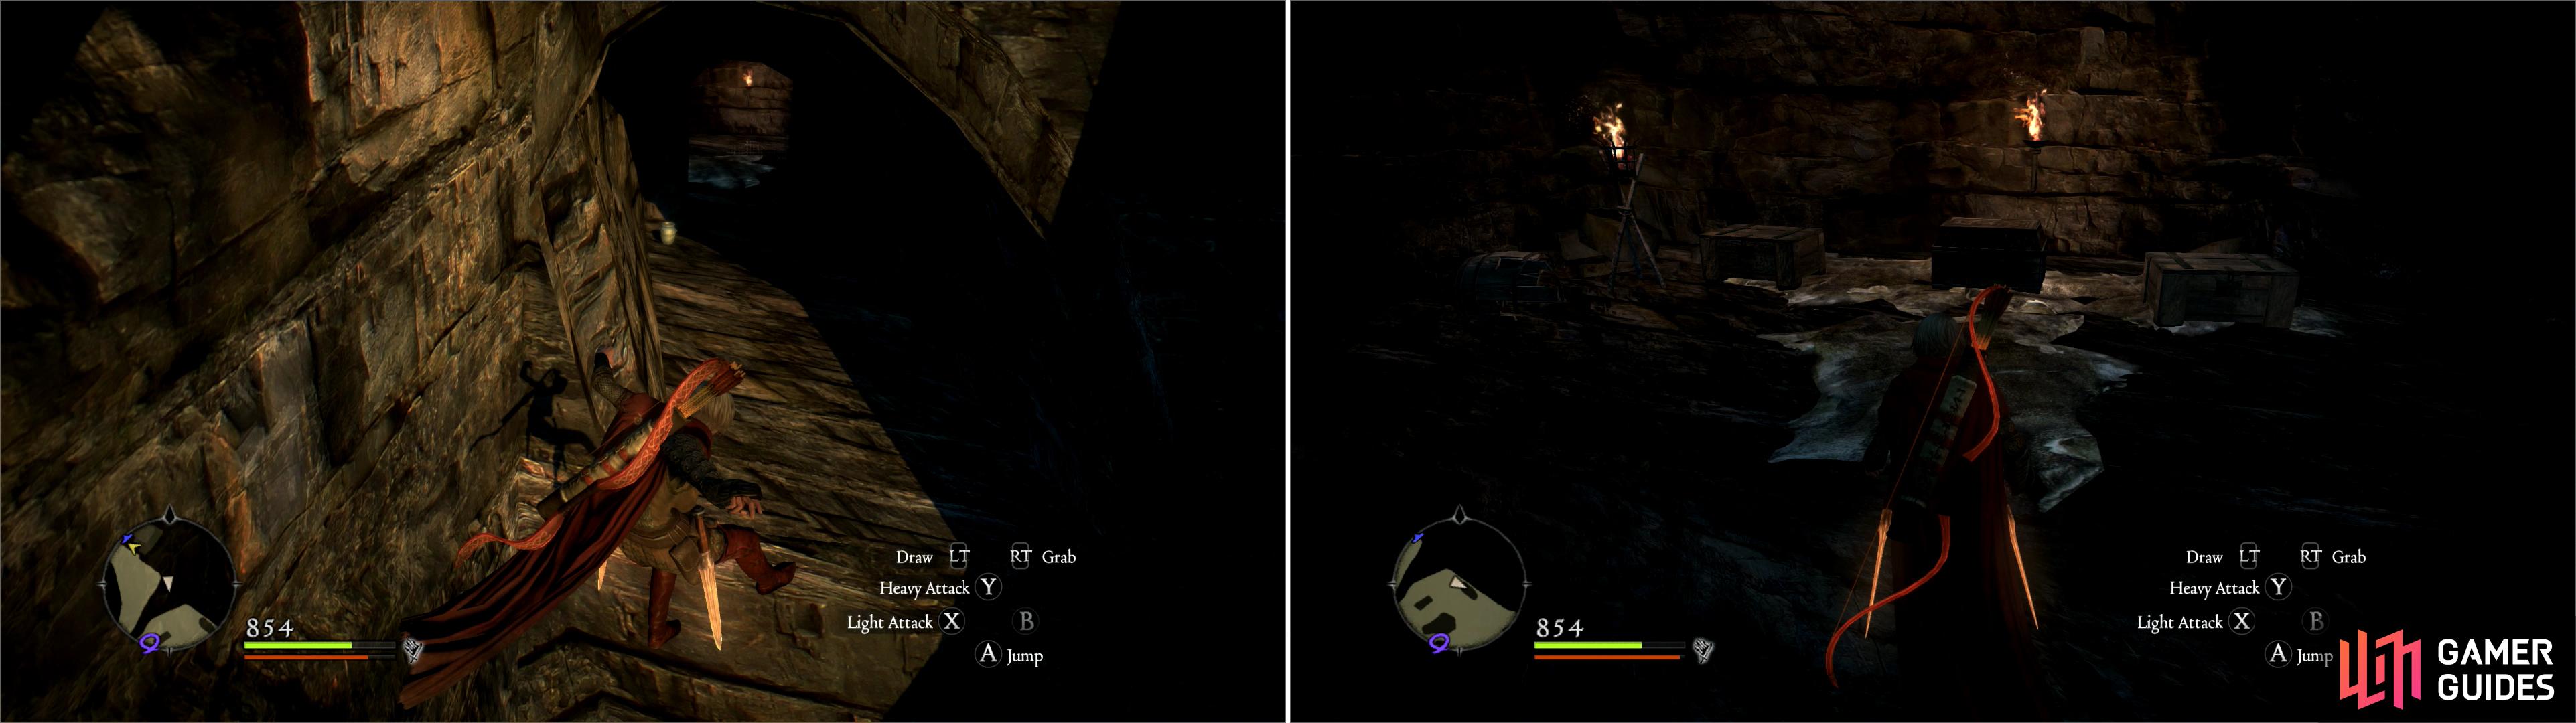
Use Skeleton Keys to open doors in Smuggler’s Pass (left) then defeat the Skeleton Knights guarding various treasure (right).
Cutlass Cape
Return to the exterior and continue following the cavern downhill to the south-east. You’ll pass under another stone arch, and will have to deal with more skeletal undead and Spiders, depending on the time of day. Eventually the cavern will turn east and you’ll see the ruins of stone stairs on the ground you traverse, with toppled arches lining the path. Ahead of you lies Bluemoon Tower, the remains of what must have been a once-mighty civilization. As the road turns south again, you’ll find a square chest along the northern side of the road, and outside the gates to Bluemoon Tower itself sits a Riftstone. At least your Pawns can get back up to full strength before venturing on. Be warned, though, lots of loot still lies ahead. If you’re inventory is full now, it might be worth a run back to the ‘Traveler’s Rest’ south of the Blighted Manse. If you’re quick enough (and don’t rest) the enemies won’t all respawn in such a short time… and neither will all that tempting treasure…

 Sign up
No Comments