When you are ready to continue, return to Reaver in Bloodstone. When you are back in control, follow Reaver into his hidden escape tunnel. Make your way through the initial stages of the area and look behind the large barrels for a chest, loot the rest of the area and then make your way down the second set of stairs. As you reach the first large, open area you will be attacked by a large number of Spire guards.
Make your way down the ramp to the right and if you have learned the free-aim ability in dexterous styles you will be able to shoot the explosive barrels close to the ranged attackers on the upper platform to take two or three guards out at a time. Clear out the melee guards and then climb the ramp for a chest. Return to the ground level and proceed down the next ramp.
Clear out the Spire guards and then climb the ramp for a chest (right).
Again kill the melee and ranged attackers and climb the ramp. Enter the tunnel the guards entered from and at the end you will find a chest to loot. Return to the main cavern, head back down to the floor and continue across the next makeshift bridge and into the tunnel at the end.
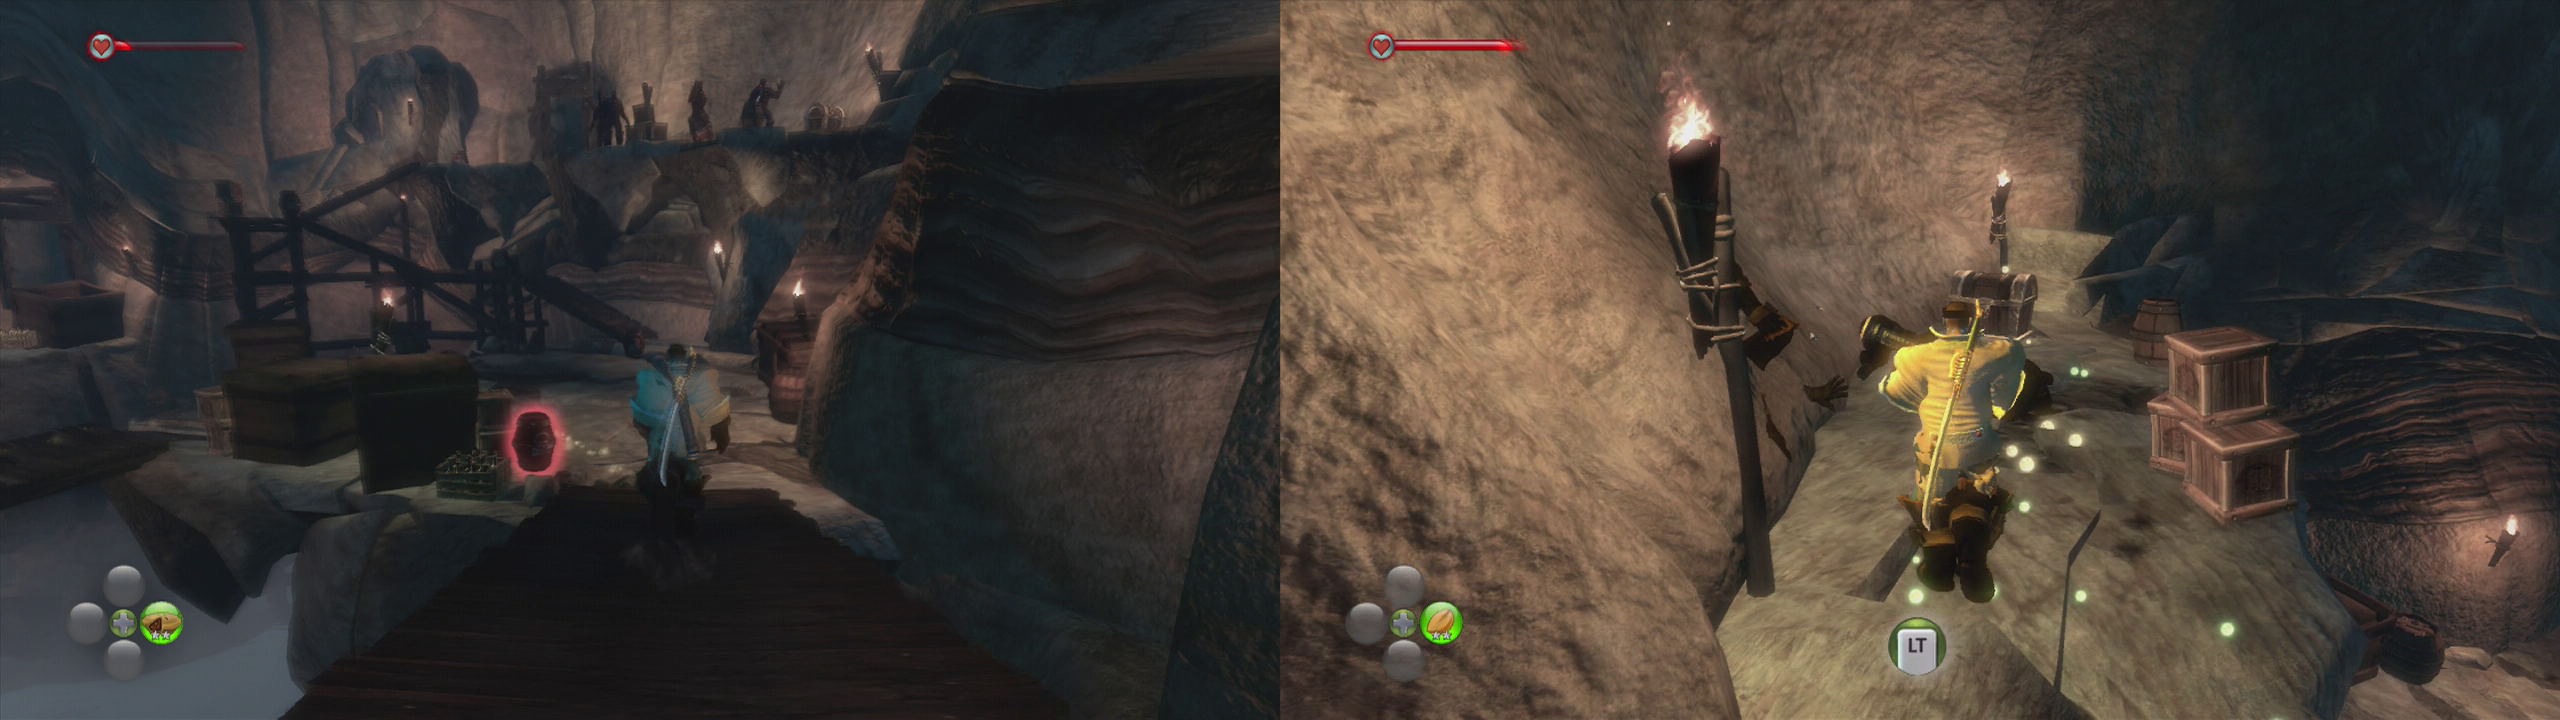
Continue through the tunnels and another enemy encounter before you reach the next open room. You’ll notice there are mine cart tracks here and a bridge overhead packed with ranged guards. Quickly run down the right hand fork killing any melee enemies that get in your way and picking off the ranged attackers on the overhead bridge when you get the chance (there are explosive barrels here that can be used to great effect!).
Continue under the bridge and when the tracks split, run to the left and look behind some boxes for a chest. Once you have that, return to the fork and this time, take the right hand path.
Look behind the crates for a chest (left). Cross the bridge, killing enemies as you go (right).
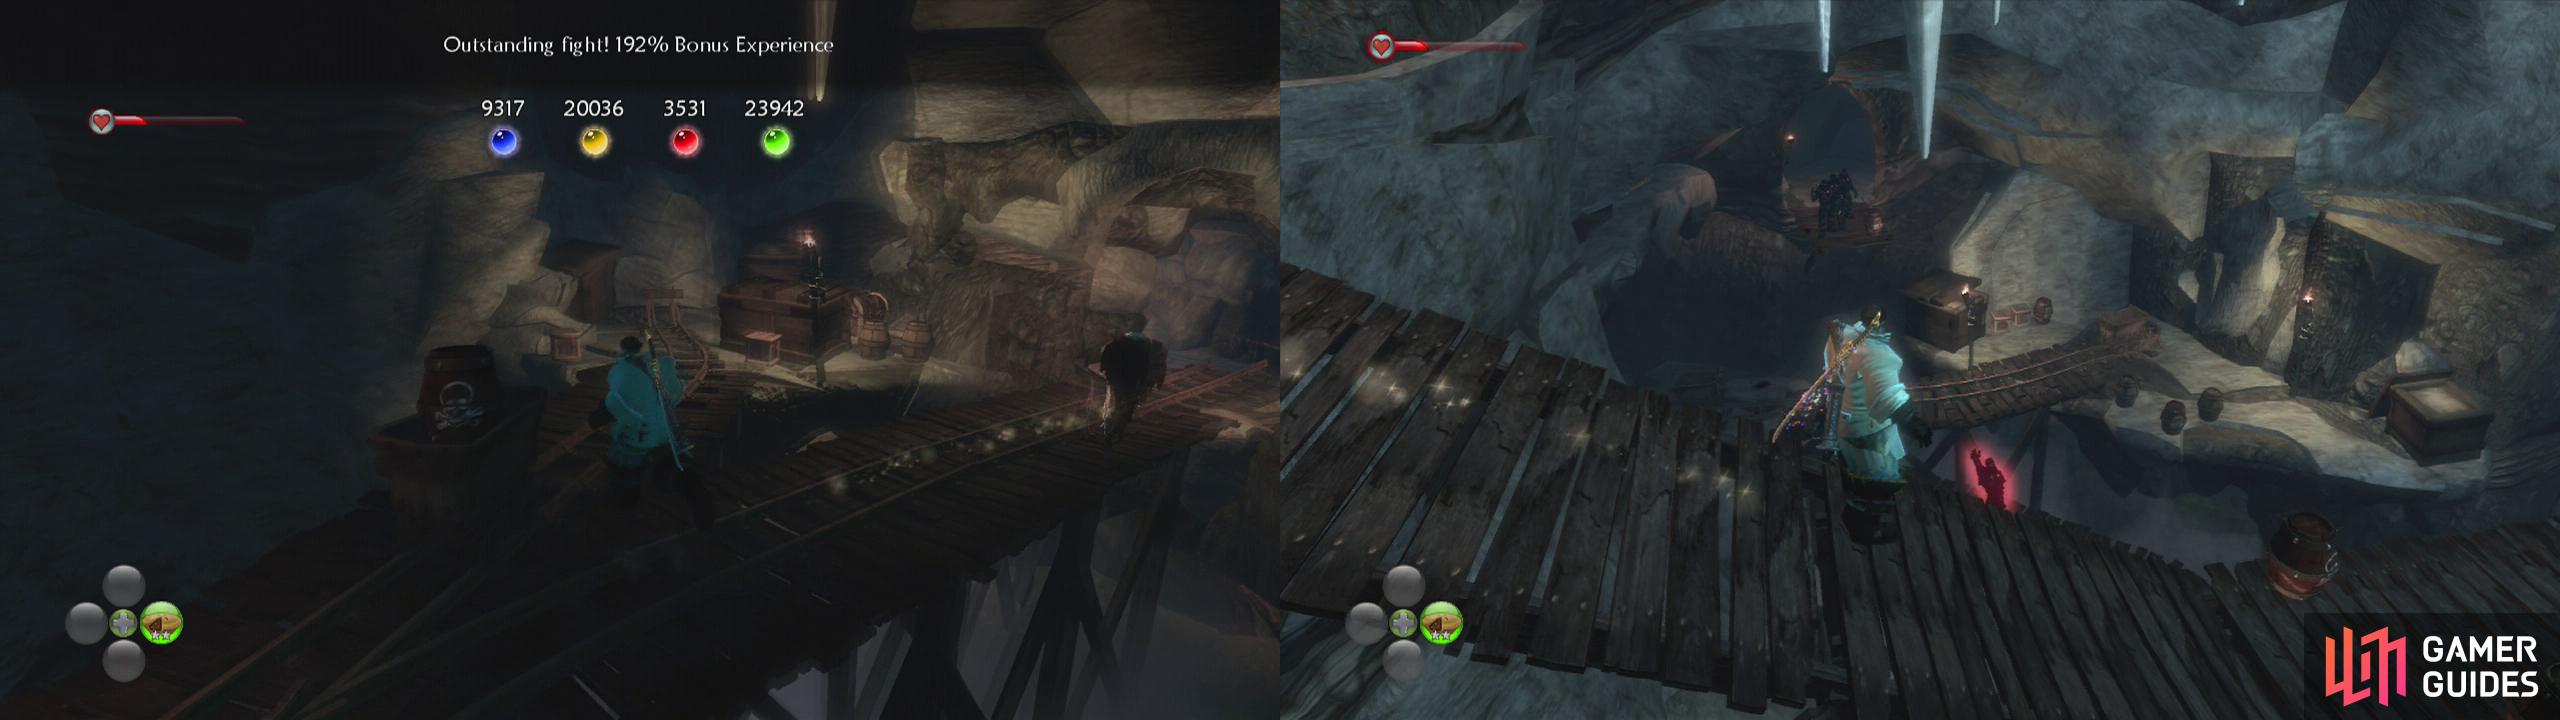
Follow the passage upwards until you are standing on the bridge you previously went under. You will be attacked by lots of ranged attackers and a few melee guys will come at you from behind if you are unable to kill them as they run below you. You can either try to eliminate them all, or alternatively, run across the bridge and smash down the barricade to continue.
Follow the tunnel down and hop down the hole. Kill the enemies in the next room and then keep moving through the tunnel here until you find the exit onto Smuggler’s Beach. At this point you are reunited with Garth and Hammer and after a fairly lengthy conversation sequence you will be confronted by a Great Shard.
The great shard acts as the game’s final real boss encounter and this thing is fairly nasty. The shard will fire off a damaging death laser complete with an explosive effect which will obliterate health if it touches you, fortunately, there is a charge up time and you can see where it is going to hit beforehand, making it easy enough to avoid. In addition to its laser, the shard will also frequently summon large numbers of magical and melee Spire Guards. When it reaches about 1/3 of its health, in addition to the spire guards it will also spawn smaller shards to attack you as well.
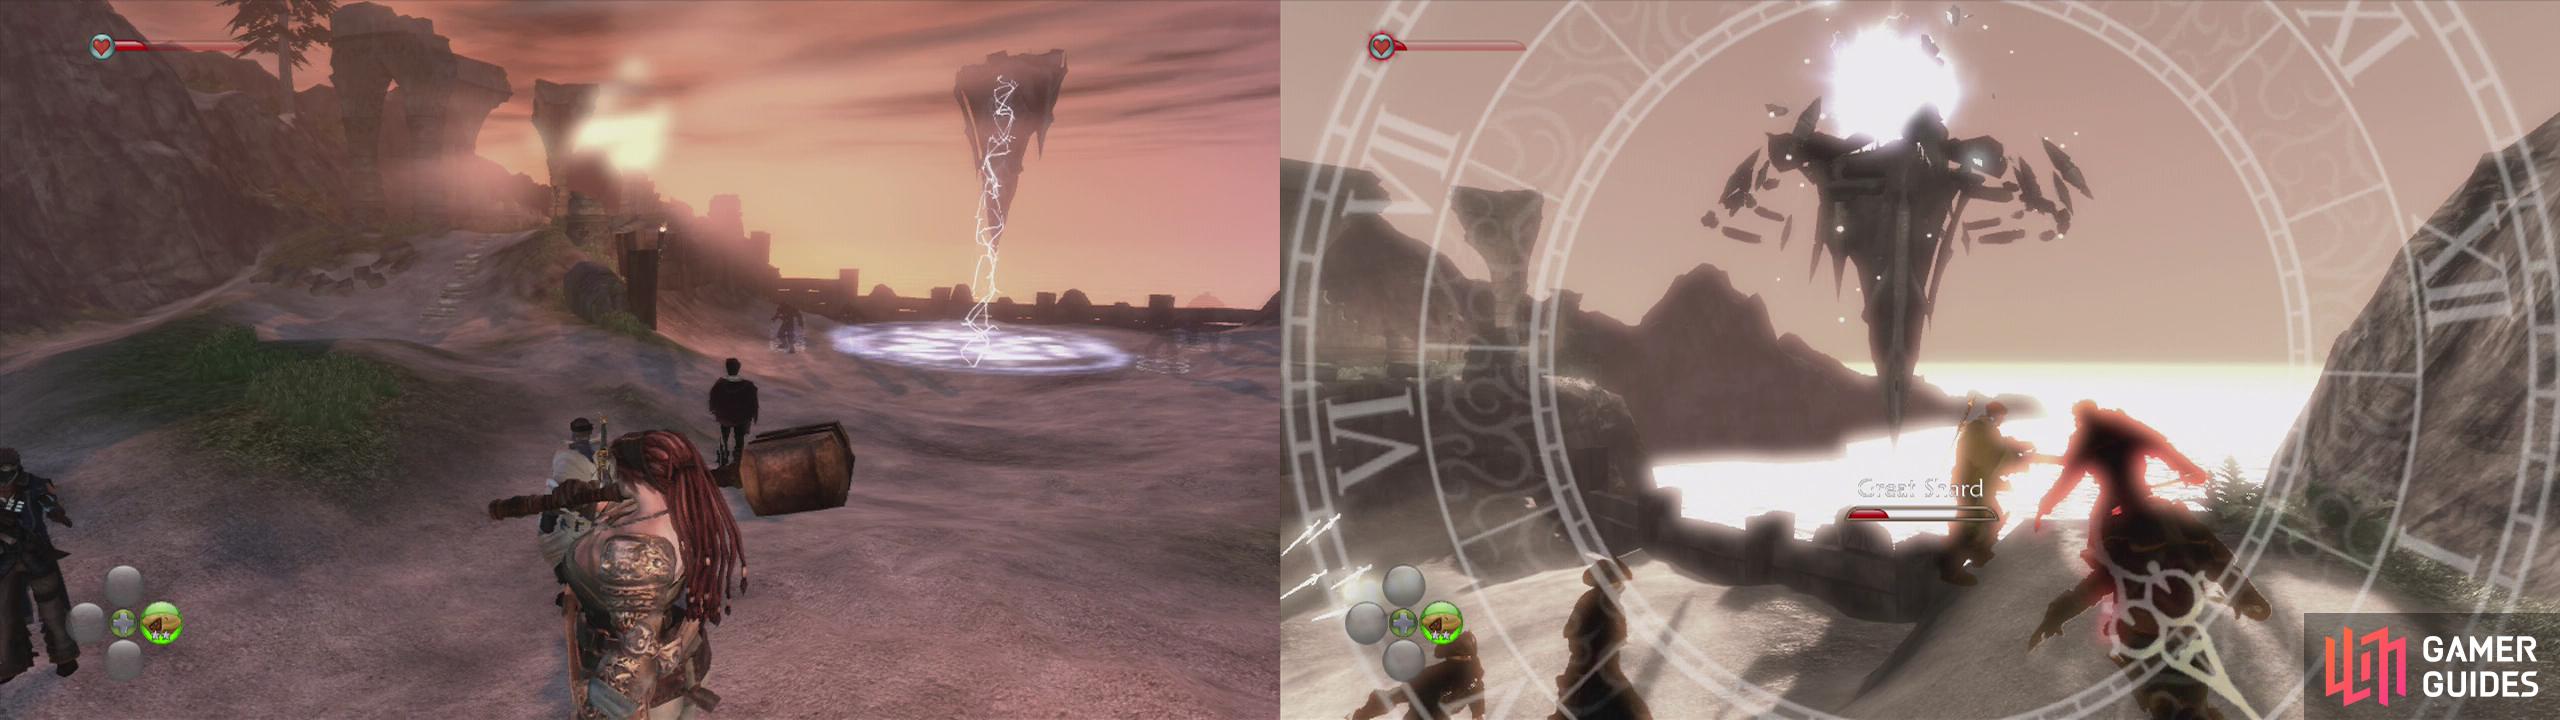
The great shard will summon wave upon wave of enemies (left). To damage it, you need to shoot it or throw spells at it when the white crystal appears (right).
The trick to destroying the great shard is to hit it with ranged or will attacks. It can only be hit easily from two raised areas, the hill on the left side of the beach and the raised dune on the right side. You will have to kill all of the enemies first and then wait for Garth to bring out the weak spot – which takes the form of a glowing ball of light that hovers above the shard itself.
Essentially, this whole battle is a bit of an endurance effort. It is a simple matter of destroying minions until the shard’s weak spot appears, then aiming for and then shooting the glowing white crystal above the shard in order to damage it. When the shard starts taking damage it will begin shooting its death laser and whilst it is easy to avoid, it unfortunately doesn’t give you much time to damage the shard.
After a few repeats of the strategy and few minutes of real time combat action, it should be history.


 Sign up
No Comments