Following a brief story scene in the guild hall, your crew hatches a plan to rescue our new friend by infiltrating the Spire. After the scene, Hammer will run off to wait for you.
Travel to Brightwood and make your way to the Bandit Coast Road. When you get there, Hammer will have a few choice words for you and wander ahead. Enter the next zone - the Bandit Coast.
The Bandit Coast
Follow the path here killing until you go through the first wooden gate. Kill the small number of bandits that ambush you here. Once the fight is over, there is a dig spot beneath the wooden platform on the right. Dig it up and continue along the dirt path.
After fighting off another small group of bandits you will arrive in a camp with several wagons. Clear the immediate area of bandits and then look beneath a ruined stone arch behind the wagons to find a chest. Return to the dirt path and continue along it for a short distance whilst keeping an eye out to the left – you should soon spot a silver key . Hop down to the ledge below to grab it and then down to the path below.
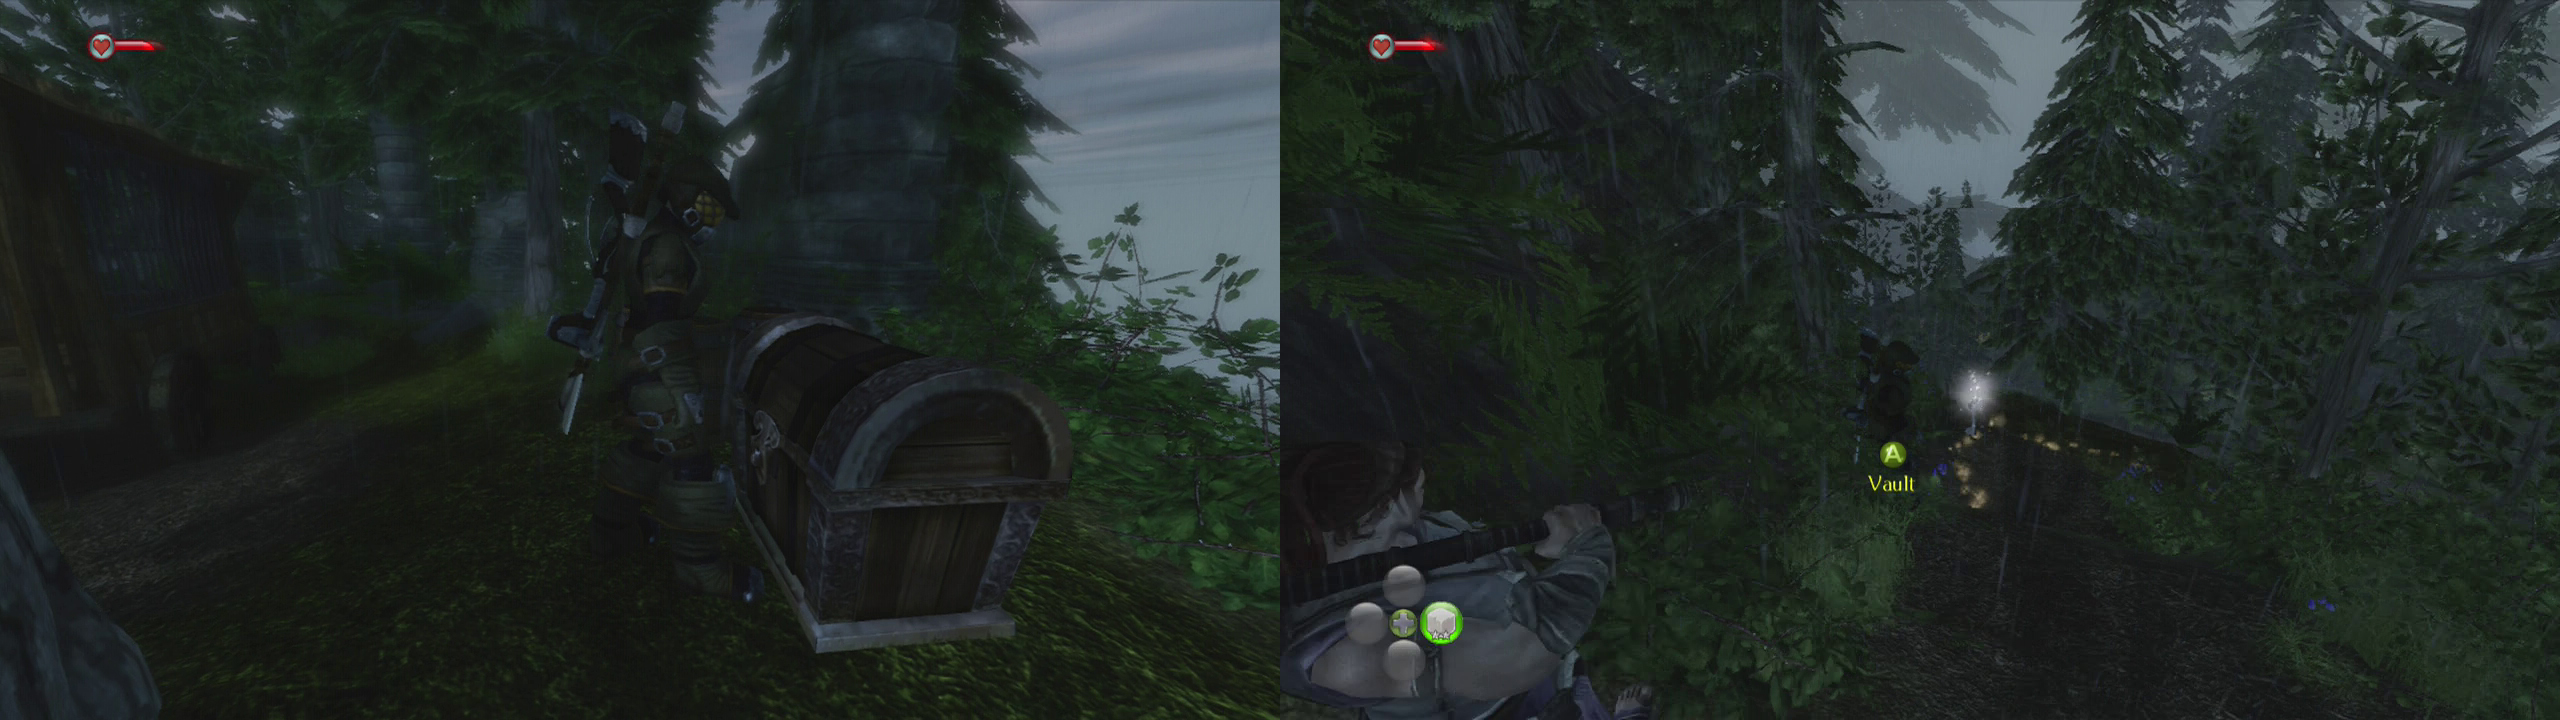
Keep an eye out for chests (left) as you move through this area and be sure to grab the silver key from a lower ledge to the left of the main path (right).
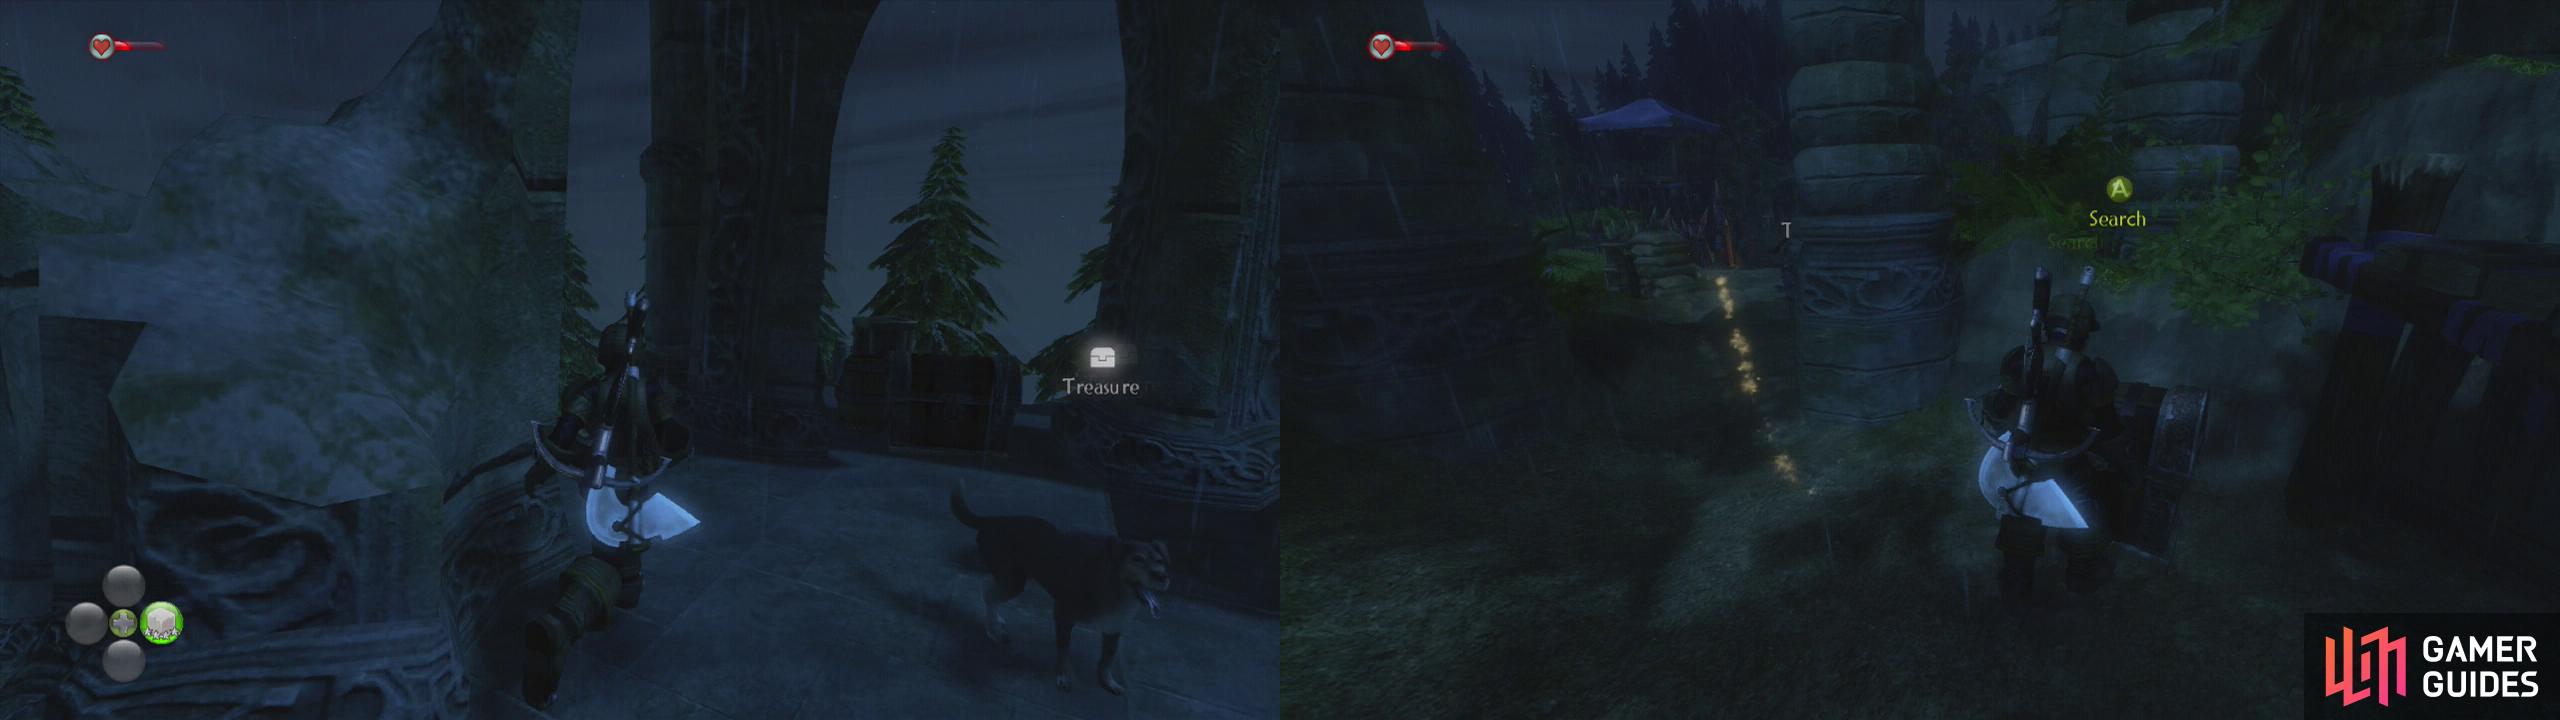
Continue around the corner ahead, killing the two groups of bandits here. Just after the corner, look along the right hand side of the path to spy a silver key chest – this requires 10 silver keys to open. If you can’t do it just yet, keep it in mind and be sure to visit again once you have the right amount!
When you reach the next wooden structure, fight off the bandits here and then continue up the road a little more. When you see bandits drop out of the trees in front you’ll want to eliminate them and look behind a shrub just off the path to find another chest. There is also a dig spot nearby, so you may as well grab the contents of that as well whilst you are here.
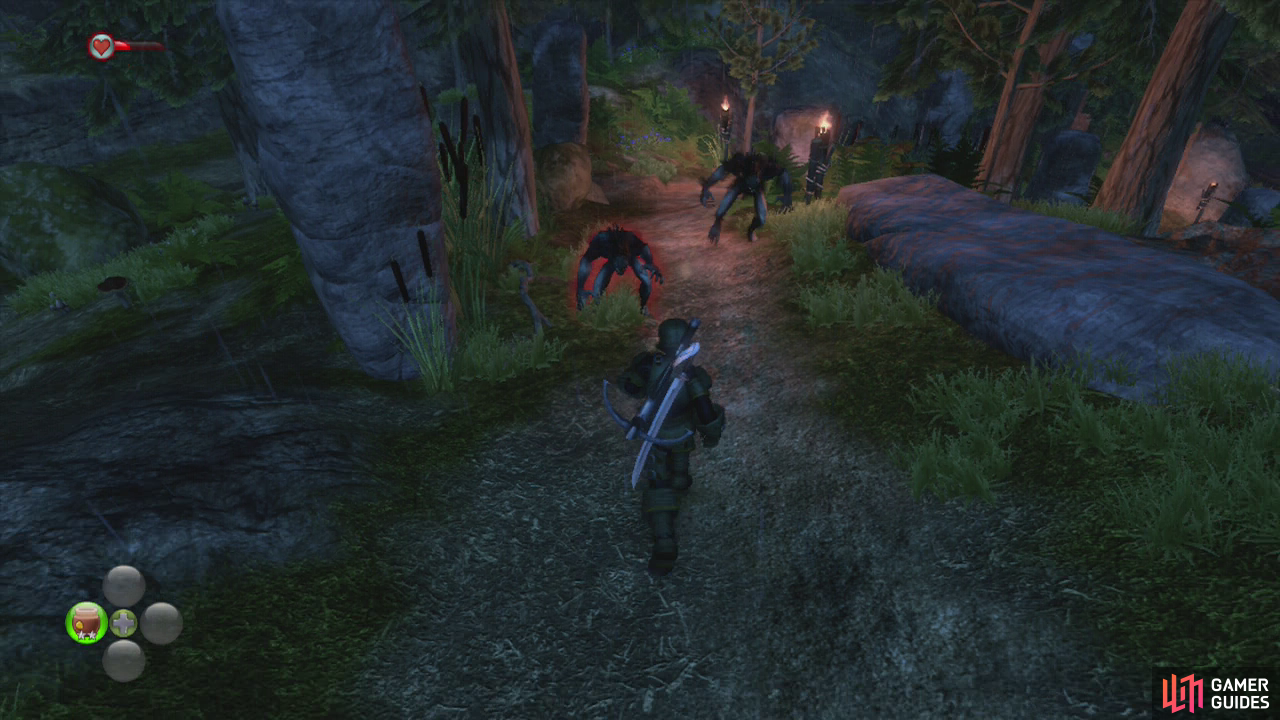
Keep going until you cross a short bridge and arrive at a locked gate. When Hammer arrives, she will break down the gate and you can continue through. After a brief scene introducing highwaymen as a new enemy, you will have to face a pair of them and a large number of bandits.
Highwaymen are a little quicker than the average bandit and are more adept at blocking your melee attacks. They can also do a brief teleport move to appear behind you if you give them time to do so. As such, watch your back during encounters with them. After you mop them up and explore the area.
Once you have cleared the main camp, look around for chests to loot.
You can find several chests in the area. They can be found:
- Behind the large stone tower on the left of the area.
- On top of the stone tower.
- In a small set of ruins just past the stone tower (the entrance is right behind the empty cart).
- Behind a tent near the guard tower on the right hand side as you enter the camp.
Once you are done, head out of the camp following the golden trail to reach Westcliff Road.
Westcliff - Westcliff Road
Like the previous area, simply follow the path that is set out in front of you. Soon after you enter, you’ll find a chest to loot on the left hand side of the road. Grab this and then continue down the hill. After a short distance you will be attacked by a pair of balvarines.
Watch out for the balvarines’ teleportation ability and avoid the claws!
Balvarines are probably the toughest enemy that you have faced so far. Like the highwayman, they can use a teleport move to escape your attacks and land behind you. They also have a multi-swipe melee attack which can rip through your health very quickly and a pounce attack which can damage you as well as knock you down. The trick to beating them is to stun lock them. They cannot perform any of their moves if you are able to hit them as they are stunned by the previous attack and as long as you keep a decent rhythm up with your melee strikes, you should be able to keep them from attacking you until they die.
After you have defeated your first set of balvarines follow the dirt path until you encounter another pair of balvarines. Fight them off and then take the right path when you reach the fork in the road. Keep an eye out for a pile of logs off to the left and look behind it to find a chest. Keep going up the dirt road a short distance to encounter a frightened woman and a scene.
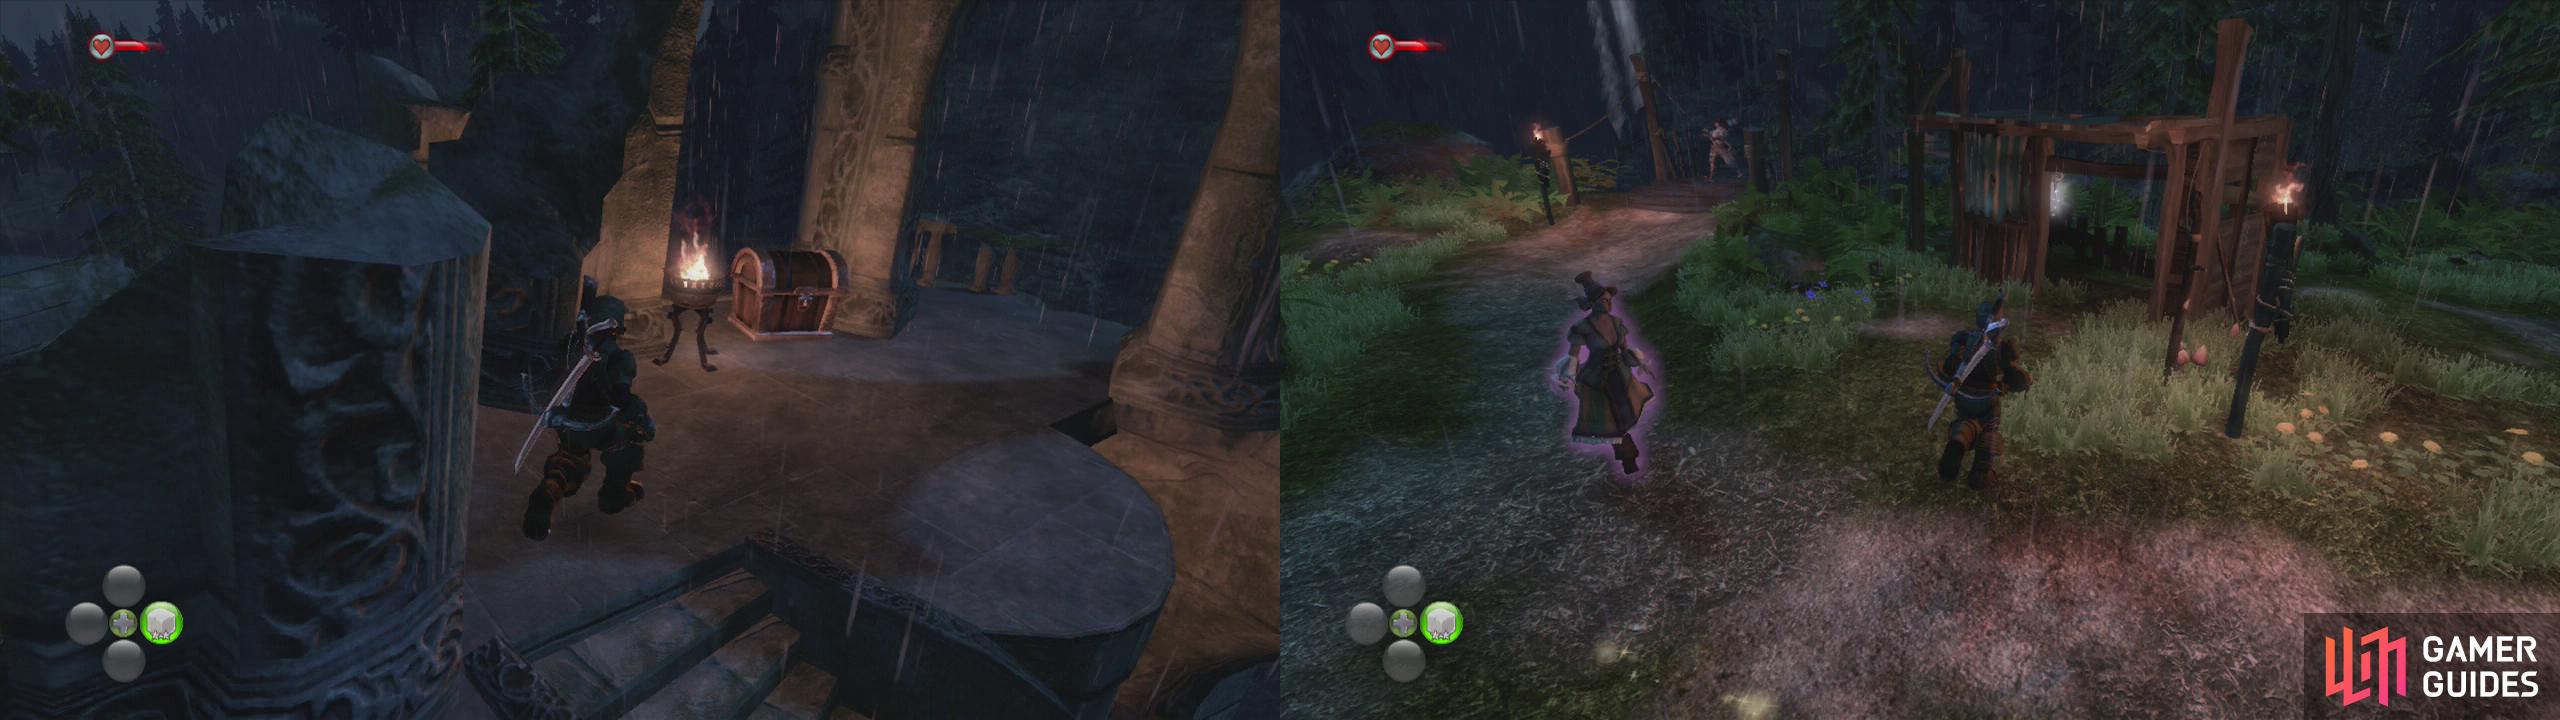
Ignore the gold trail and explore the ruined tower for a chest (left). After crossing the bridge, look inside the shack to the left for a silver key (right),
Instead of following the gold trail, head straight ahead long the path and climb the stone tower ahead. At the top you will find a chest. Now return to where you encountered the woman and cross the nearby wooden bridge. Look inside the small wooden shack to the left as you reach the far end for a silver key . There is also a silver key chest (you will need 20 to open it – probably a come back later job!) in the centre of the buildings here.
Exit the camp and continue down the slope to the left of the area, kill a pair of balvarines that show up and then follow the path into a misty swamp area. Continue straight through the marsh and re-join the dirt path. As you reach a stone bridge you will be attacked by some more balvarines. Smash their faces off and cross the bridge.
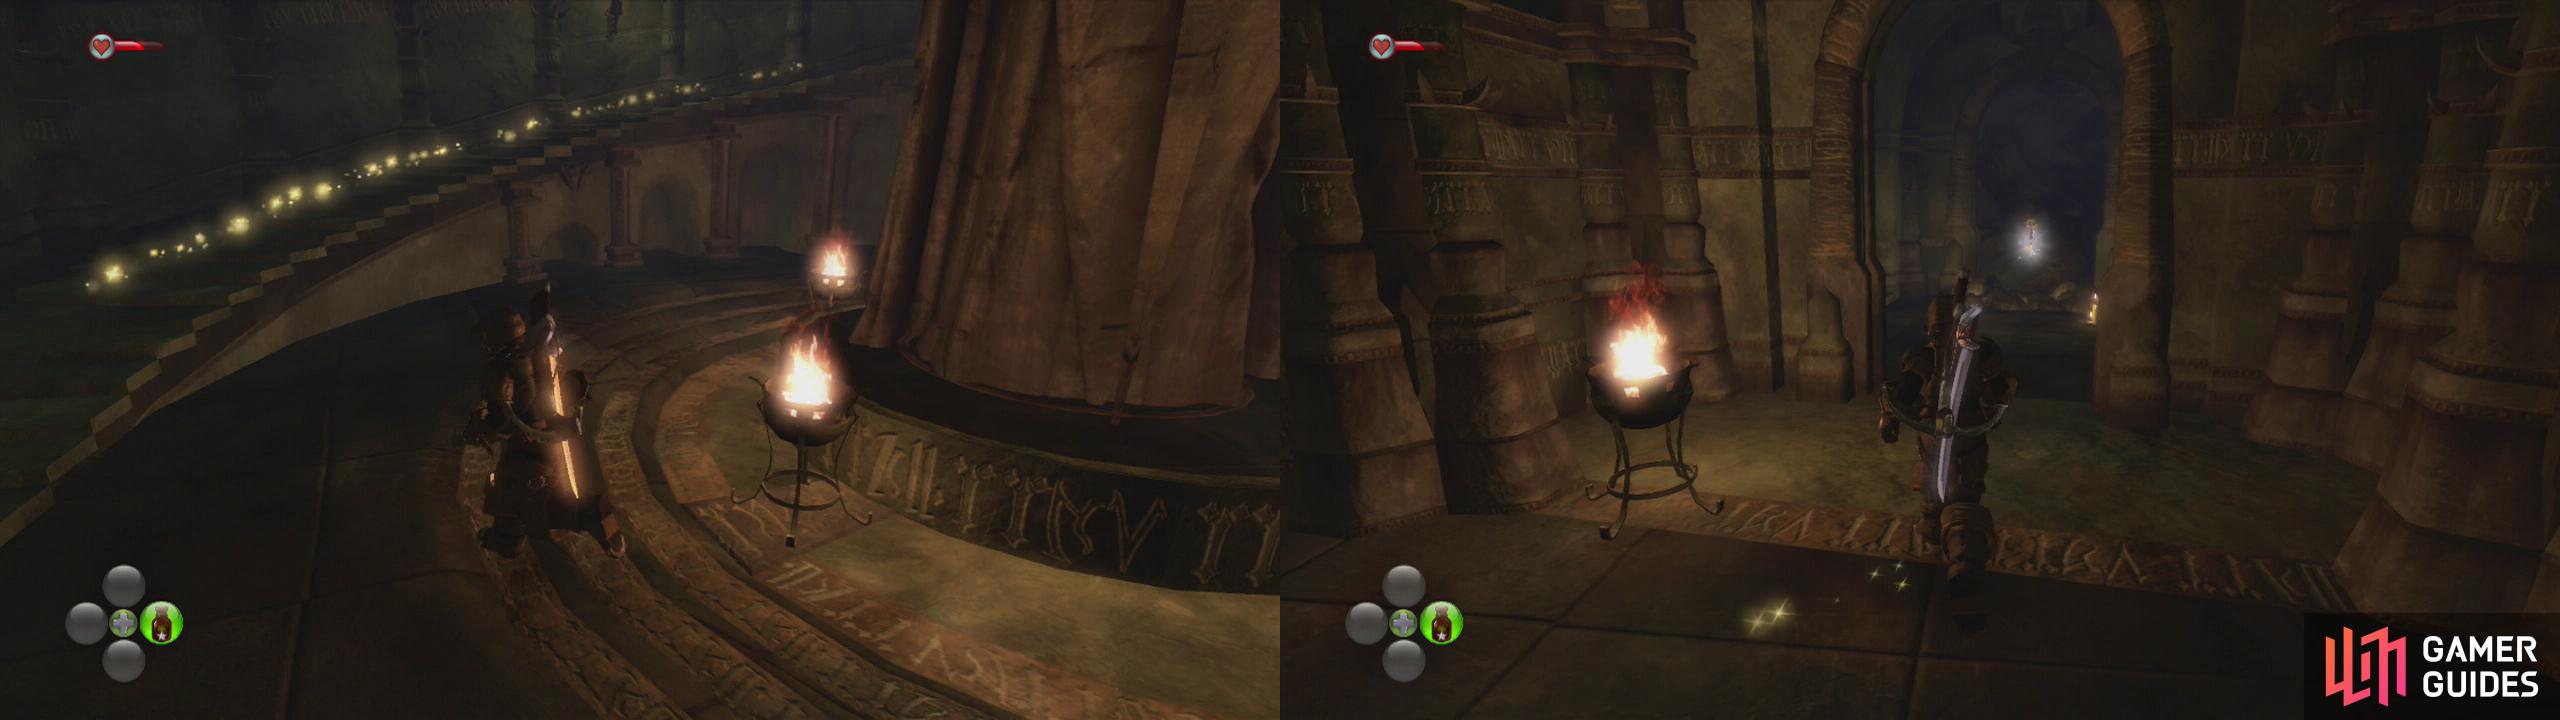
As soon as you reach the far side, turn left and check out the chest at the base of the cliff behind the trees here. Return to the path and climb to the ruins ahead. After entering the large stone gate, turn to the right and loot the chest behind one of the columns here. Afterwards, descend the stairs to enter the Howling Halls.
Westcliff - The Howling Halls
Follow the woman through the area until you reach a large open room filled with a large number of stone pillars. After a short scene, you will be attacked by a group of three balvarines. Use the usual tactics to kill them off and another two waves of balvarines will show up. Once they have stopped coming, there will be a brief lull in the fighting.
During the break, go to the centre of the room and follow the edge of the spike pit to the left to identify a weak pillar. Use the look button when prompted and then Hammer will begin trying to push it down.
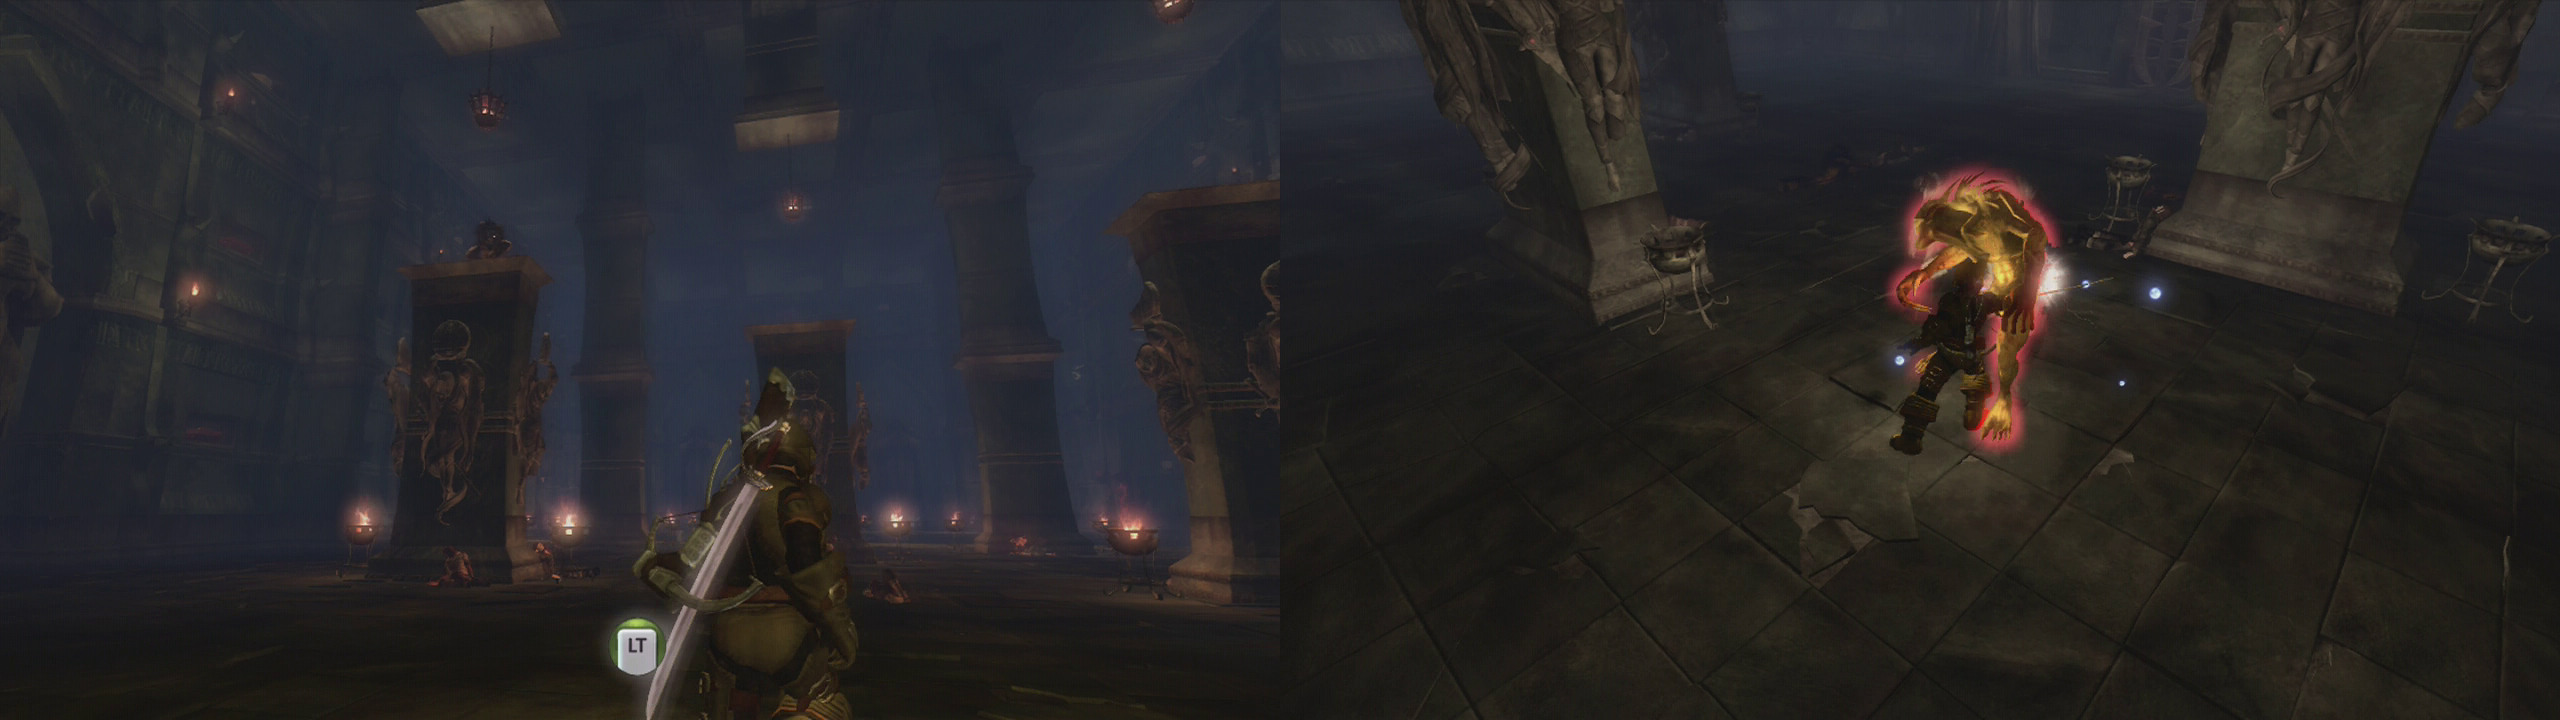
Once you reach the room with all the pillars, prepare for a balvarine onslaught!
Once she has started, you are going to have to fight off some more balvarines. After killing the first couple, the balvarine leader will show up. She is slightly larger than the other balvarines you have encountered so far and has lighter coloured fur. She acts in exactly the same manner as the standard balvarine, just with a lot more health and increased attack damage. To eliminate her, you should make no real strategy adjustments, utilise your usual balvarine killing tactics and keep your assault up for a little longer to put her away for good.
Once the super balvarine is pushing up daisies, Hammer will have pushed the pillar down, giving you a path across the spike pit. Make your way across the newly formed bridge and grab the chest off to the left. Continue through the door, go up the stairs and when you enter a debris filled room, look behind a fallen pillar to the left for another chest.
Keep moving through the cramped passage here until you reach a circular chamber. Follow the spiralling stairs upwards. Here you can pick up a silver key that appears in the alcove in front of you as you reach the top. Afterwards make your way around the the walkway to the open gate. Continue through to the exit.
Grab the silver key from the open doorway at the top of the circular staircase.
Westcliff – The Westcliff Camp
Upon exiting the cave, follow the dirt path to enter the Westcliff Camp to complete the quest.

 Sign up
No Comments