You can pick up this quest from a drunken pirate at the Leper’s Arms Inn on the Waterfront of Bloodstone. He will start to tell you a story but will not continue until you buy him a drink, do so and he will tell you of a smugglers cave just outside of town. Head over to the far end of town from the road to Wraithmarsh and hack your way through some bushes on the left. Open the chest here if you like and then head into the cave.
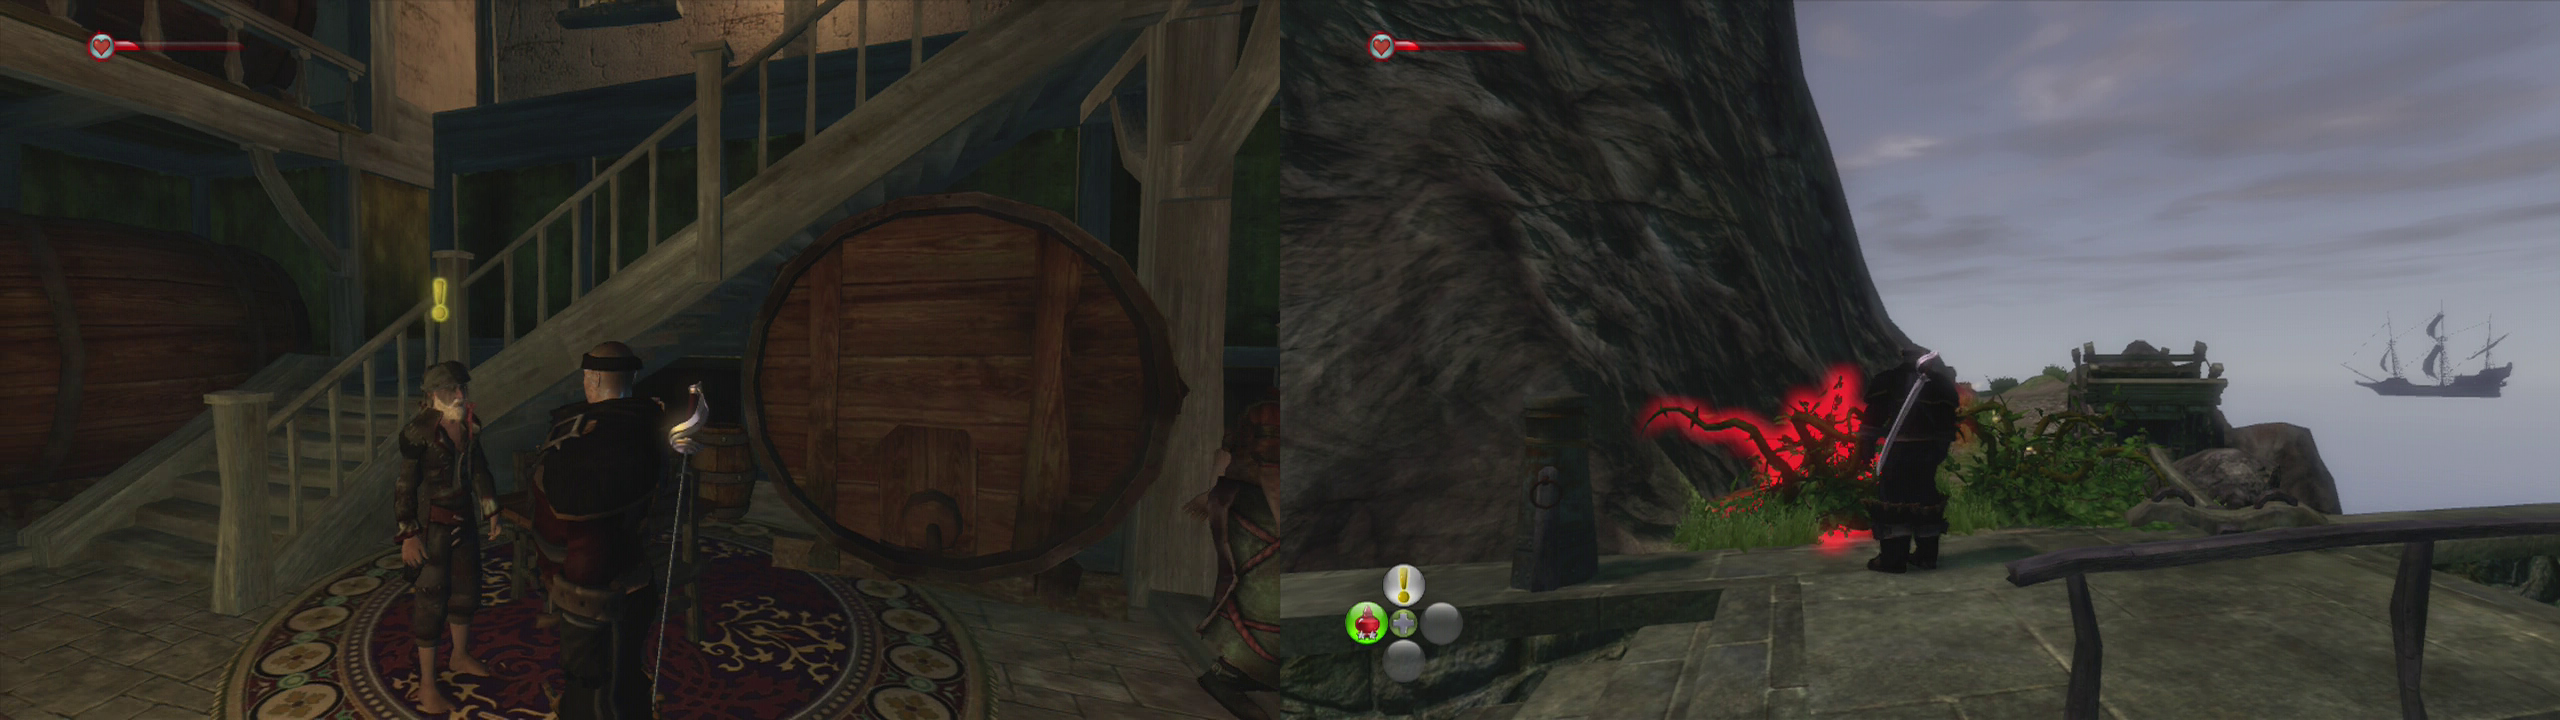
Pick up the quest in the inn (left) then find the shrubs along the waterfront leading to the cave (right).
Part 1: Captain Dread
Follow the tunnel around to the left and dive into the water below when you come to the gap. Continue along the set path through the cave and up the ramps to a door at the top. Enter the door here to face a large crew of zombie pirates. You will need to kill three waves of them.
Once they are all defeated the door at the end of the room will open. In the next room smash the crates opposite the locked door to reveal a blue switch. Step on it to open the door. Go through the now open door and you will need to find Captain Dread’s key. Look in the small bedside table to the right of the bed for it, and then open the chest by the door. Loot the rest of the room as you see fit.
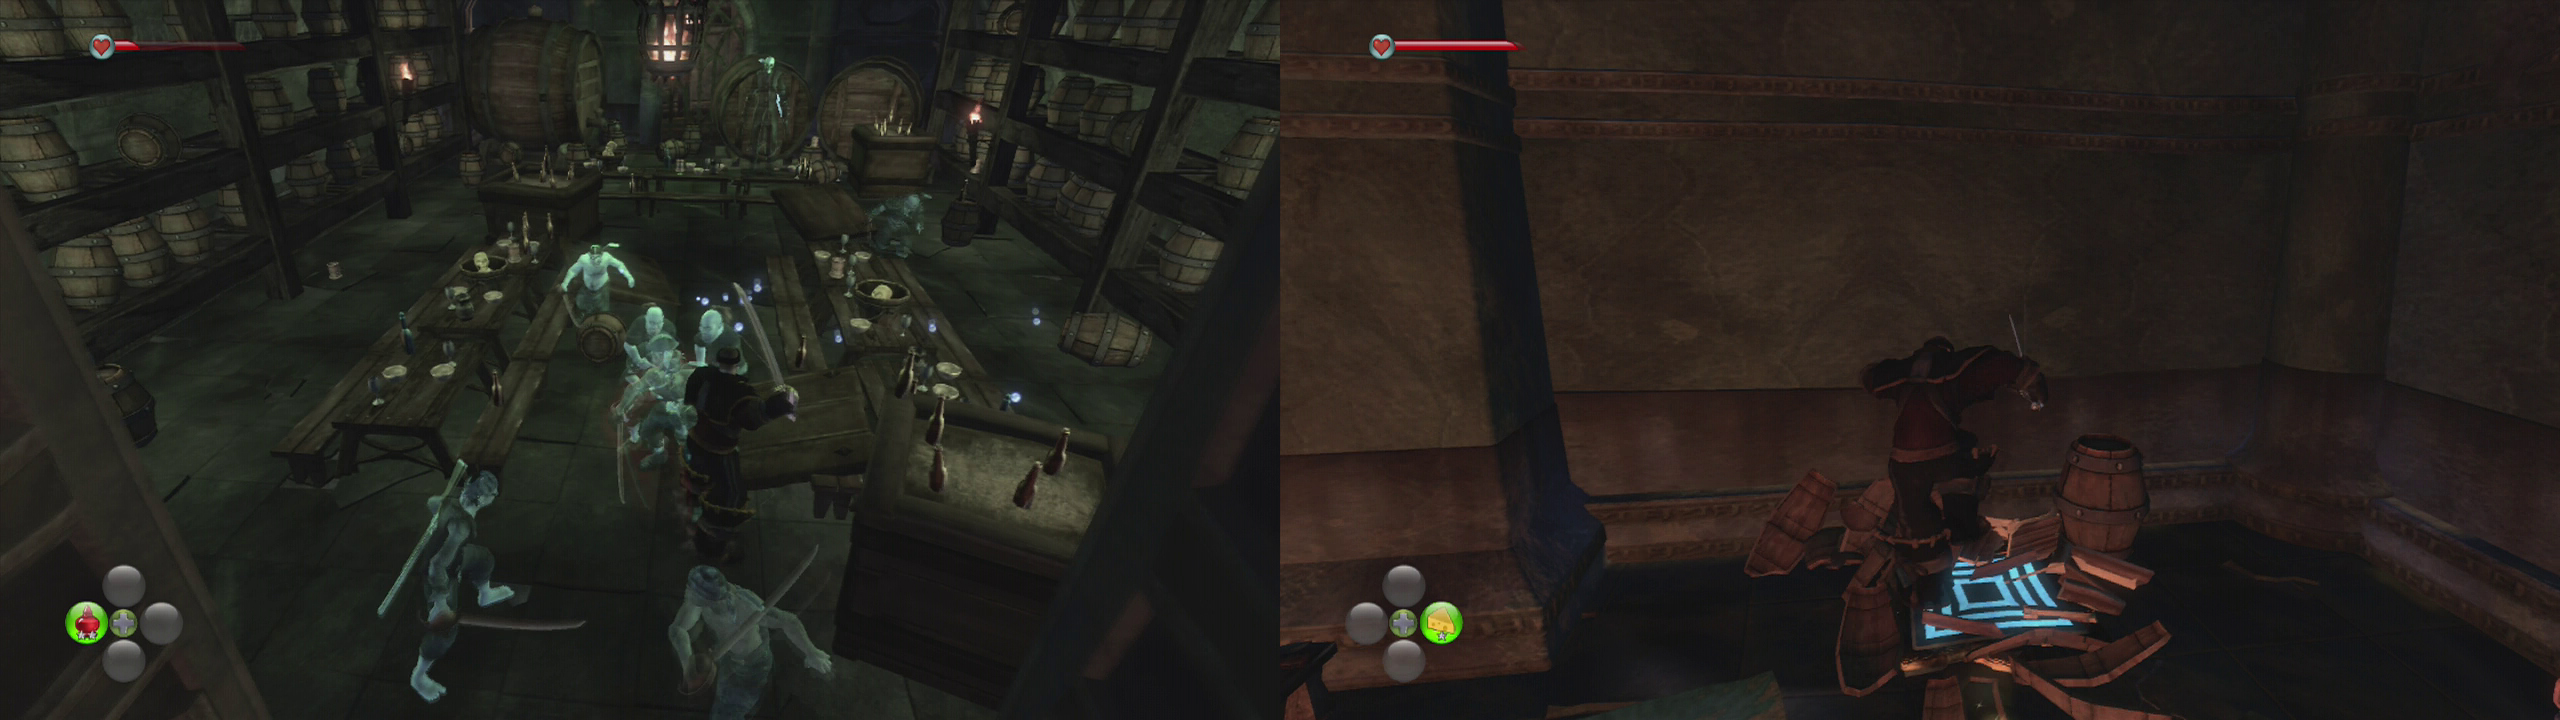
Once inside the cave, fight off the the ghots pirates (left) and then look for the pressure plate beneath the destructibles int he next room (right).
Now that you have a lever, head all the way back to the area at the top of the ramps beside the pirate ship and use the lever on the metal lift here to be lowered down to Captain Dread’s ship. Jump on board and prepare to do battle.
Captain Dread is here and will stand in front of the cabin door and watch you fight. To keep himself entertained he will summon three waves of ghost pirates to attack you. Once all of them have fallen, the Captain himself will try his luck and attack you. In addition to some fairly damaging heavy melee attacks, he also has the ability to use the will power vortex. As such, keep an eye out for the twisters he lays down and make sure to avoid them!
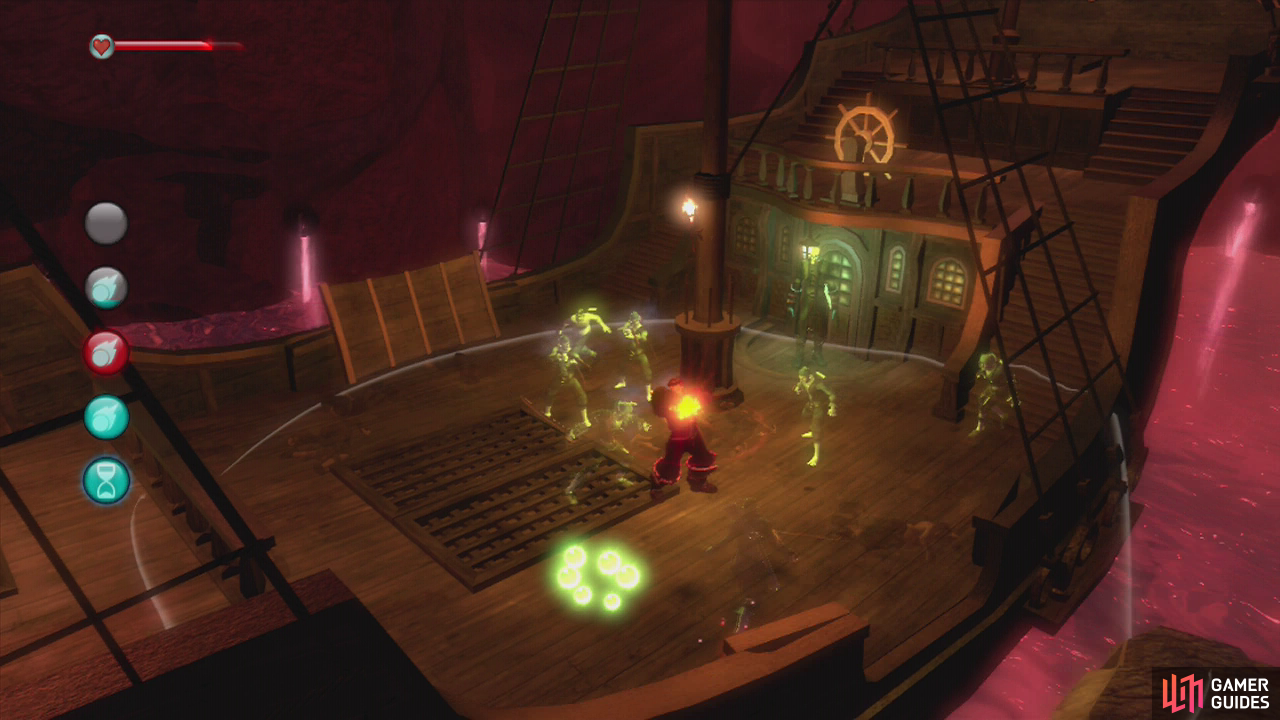
Defeat Captain Dread and his cronies!
After you defeat him, you will receive a map that will enable you to use the wheel of the ship. Do so to be taken to Captain Dread’s secret Treasure Island.
Part 2: Find all of the Treasure
There are ten treasures hidden on the island. Each of these will give you 1,500 gold.
- The first is in the second part of the ship washed up on the beach. Destroy the barrels outside and you will be able to enter the wreckage.
- From the first chest, head out into the ocean and swim as far as you can along the rocks to the left and you will find treasure number two on a little hidden beach.
- Return to the main beach and head up the hilly path, take the first left here through the bushes and vault down onto the shipwreck below for treasure three.
- Return to the sloped path, but this time continue straight until you reach the dead end overlooking a large lake. Do not jump. Instead, turn to the left and hop down onto a lower ledge for chest four.
- Dive into the water and swim to the island in front of you. Treasure five is behind the tree.
- On the same island your dog should detect a dig spot. Dig here for treasure number six.
- Looking straight out into the lake from the dig spot, you will see ripples in the water. Swim out to the ripples and dive to find treasure seven.
- From treasure seven look in the direction of the island and head for the waterfall directly opposite your position, behind this awaits treasure eight.
- Find the ramp leading out of the water and head up the hill, as you reach the waterfall on your left, look up to the left of this to find a Gargoyle . Shoot it. Continue along the path and before you head into the tunnel, look to the right to see a silver key . Jump down to grab it. Climb back up the ramp again and head inside the tunnel. As you do, immediately turn left. Destroy the barricade for treasure nine.
- Exit the tunnel and jump down to find the tenth and final treasure.
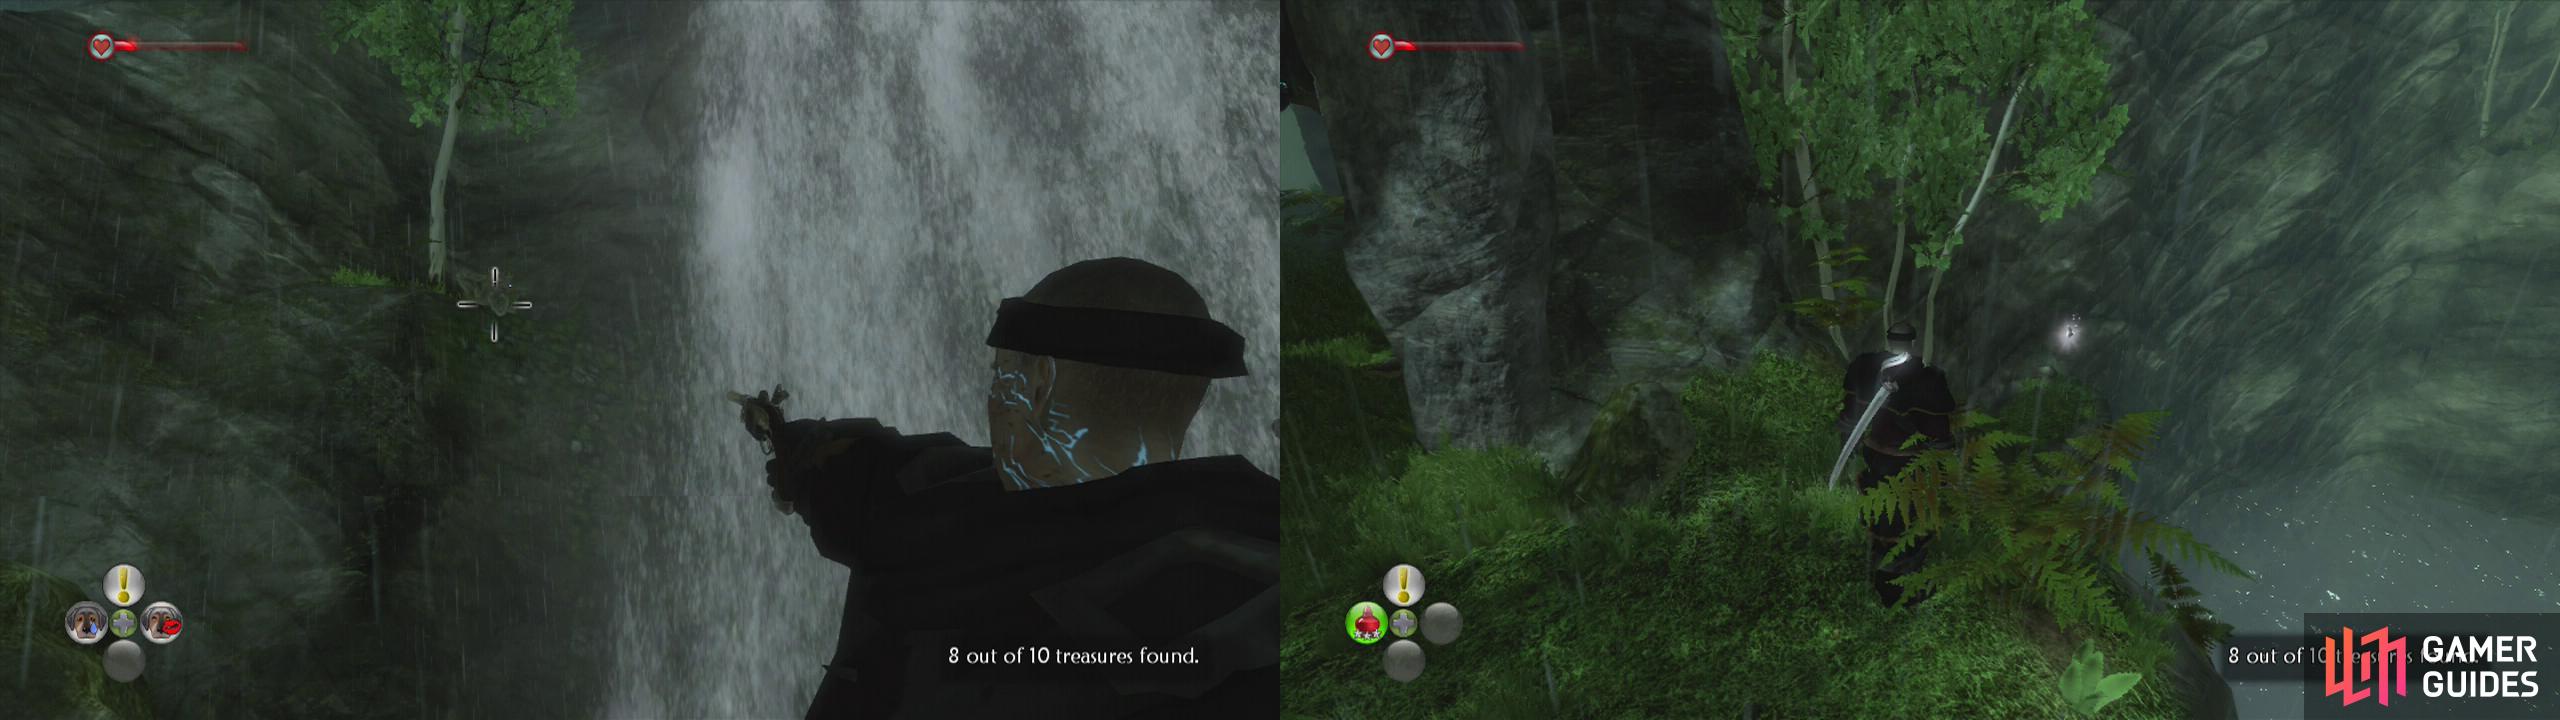
As you go around the island collecting the various treasues, make sure to shoot the gargoyle (left) and grab the silver key (right).
After collecting all of the treasure, head back to the ship and use the wheel again to return to Bloodstone and speak to Salty Jack who will be waiting for you to complete the quest.
Before going elsewhere, quickly duck back into the cave to the right. The hole you dove down at the entrance should now be filled with water. Swim across to the other side and destroy the barricade to claim another silver key .

After arriving back in Bloodstone, enter the pirate cave again for a silver key (right).

 Sign up
No Comments