
1) Awakening in Anchorage
You’ll be awakened by Sergeant Benjamin Montgomery, who will tell you the score. Your job is to disable the artillery guns on the mountain. Your gear is the rather protective Winterized Combat Armor , Winterized Combat Helmet , a Trench Knife , and a Silenced 10mm Pistol. The armor is fine, but… these weapons just won’t do! Ah well. Benjamin will climb off, leaving you to your own devices. Congrats, you’re in the army now! The job of choice for thousands of high school underachievers and misguided patriots! God bless the ol’ U.S. of A! It’s time to kill some Commies!
Weapon Info (Trench Knife): The Trench Knife is no better than a normal Combat Knife, and decidedly weaker than Occam’s Razor and Stabhappy . It’ll serve you well enough in the simulation, but afterwards, it’s just another unimpressive unique weapon to throw in our stash.
2) Dematerializing Deaders and Health Dispenser
Sneak over to the east a bit to discover the “Cliffs” location, for what good it does you. Continue to the north-east until you find your first Chinese Soldier. Dispatch him with your Trench Knife to keep low profile. Don’t worry if his body falls off the ledge-you won’t be looting slain foes in this simulation. Nearby you’ll spot a goofy red “Health Dispenser”. This is how you will keep in tip-top shape during Operation: Anchorage!. Just return to one when you need healing and you’re good to go.
3) Scoring the Sniper Rifle
Head to the north-west and go up some stairs, then turn north and go over a bridge, smiting any Chinese you find along the way. When you reach the far side of the bridge turn east and head up several more more flights of stairs to eventually reach another landing. From here you now can go up some stairs and into a metal shelter to the north-west or down some stairs to the south-east. First go south-east down some stairs to score a Sniper Rifle and find another Health Dispenser, then backtrack and head north-west into the shelter, killing the Chinese therein.
4) Assault Rifles, Frags, and Ammo Dispensers
You will now find a Chinese Assault Rifle, some Frag Mines and Frag Grenades, and an Ammo Dispenser. Your ammo, if you noticed, is set at certain amounts by weapon type. You don’t pick up more ammo from the dead, so this is your only way to replenish your ammo. You now have a melee weapon, a mid-ranged rifle, and a long-ranged rifle… as well as a puny pistol. The point is, you now have options.
5) To the Cave Outpost
Head north-west to go back outdoors and crawl along a building and onto a large pipe. If you go north, north-east up a ramp you can find a Stealth Boy, which you are probably supposed to use to assist getting over the pipe to the south. Use it, or not, and make your way south, south-west over the pipe, then head up a hill to the north, north-west to find some stairs to the north. The stairs will double around and you’ll eventually end up on top of the building that over-looked the southern side of the pipe we crossed earlier. Continue up some more and you’ll find a door to “Cave Outpost.”
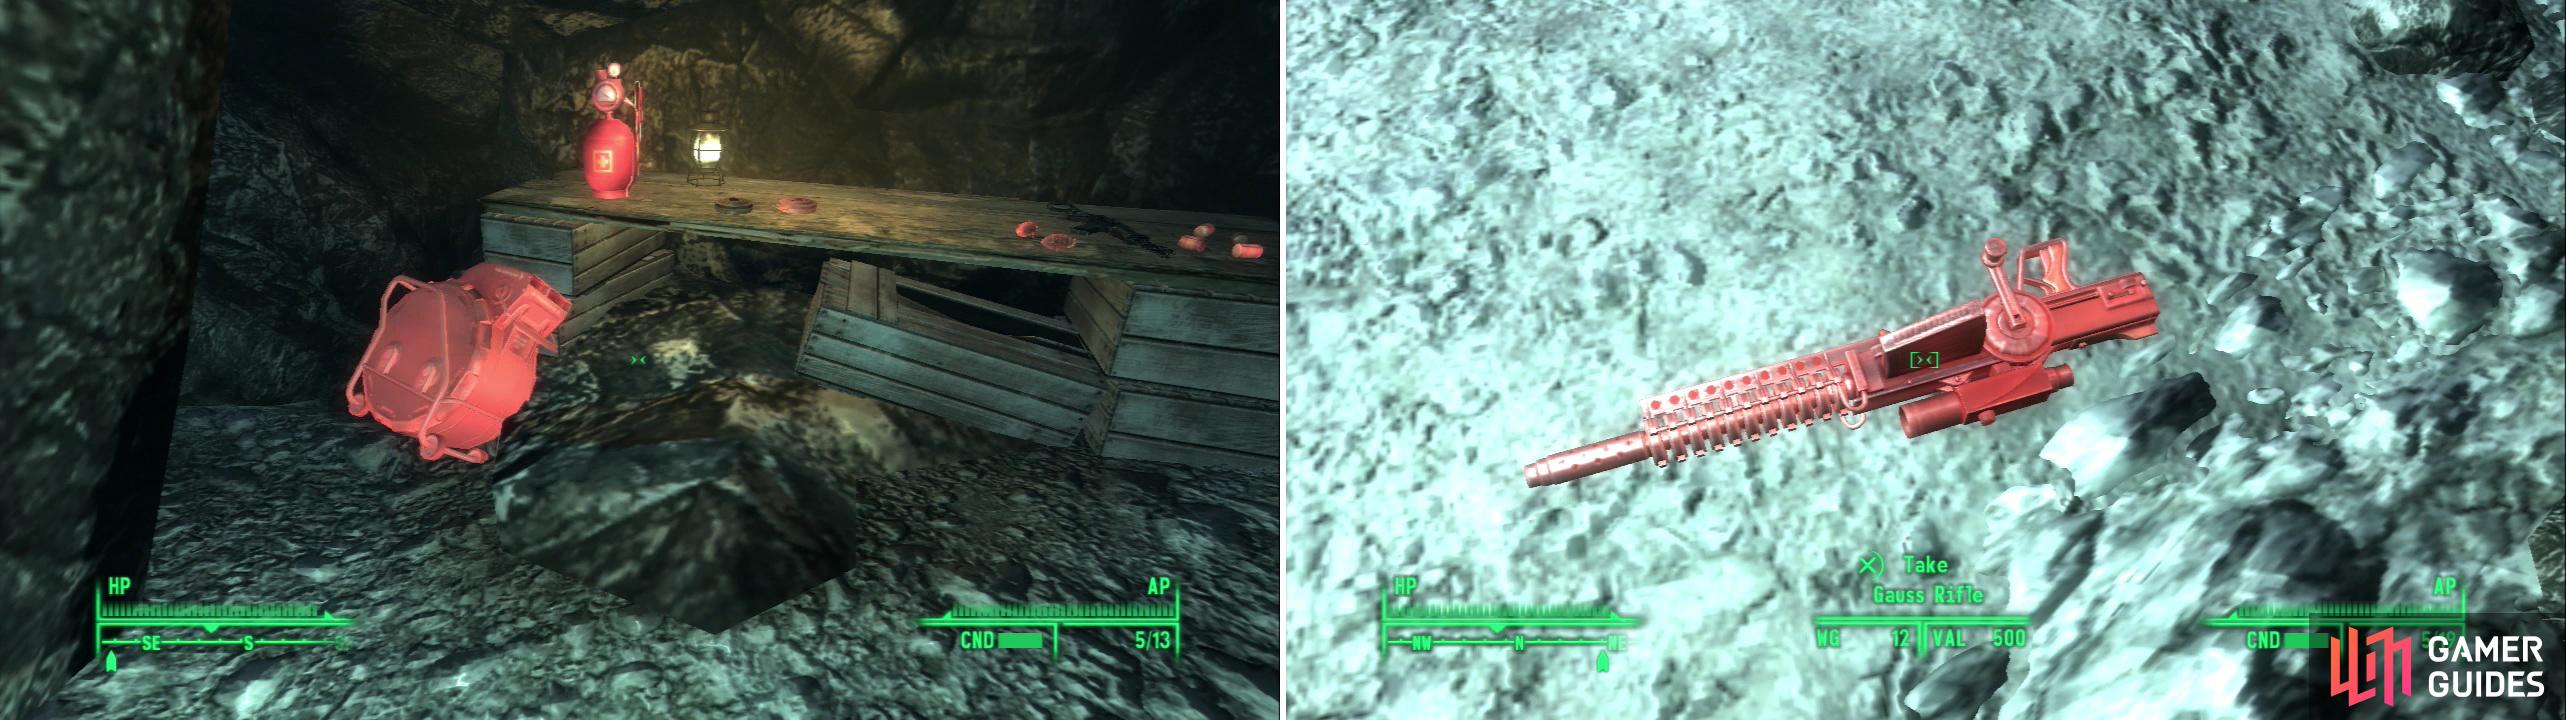
Ammo and health dispeners replenish your ammo and heatlh, respectively (left). Be sure the grab the Gauss Rifle dropped by the paratrooper (right).
6) Getting the Gauss Rifle
Continue forward until you reach a cavern, where you’ll see an unfortunate paratrooper get killed by some Chinese Soldiers. Explore the south-eastern corner of the room to find an ammo depot, which includes another Chinese Assault Rifle, some Frag Mines, Frag Grenades, some Microfusion Cells, and Health and Ammo Dispensers. On the floor underneath where the Paratrooper was you’ll find the Gauss Rifle .
Continue more or less to the north, up stairs, up ramps, and through a building. Eventually you’ll come to a room where a Chinese Soldier will fall from the ceiling, cause of death: Sergeant Benjamin. The way back into the caves is now sealed, so head through a door to the east to return to the Cliffs.
7) Bombardment!
Intel #1
Head north until you reach some metal ramps. Continue along them then head down two flights of stairs until you reach a concrete platform, waxing some Chinese Soldiers as you go. On the platform you can now continue north, or turn south and go down some stairs. Go south first and cross a pipe to the east to reach a shelter beyond. Inside you’ll find a door [Very Easy] leading to a Field Storage room. Inside you’ll find a note “Holotape - Bombardment”, a Chinese Terminal, and an Intel suitcase. Return to the western side of the pipe and continue your trek to the north.
8) Bunker Busting
Intel #2
Continue north until you cross a pair of bridges to reach a concrete platform near another shelter. Kill the Chinese who are pestern you, then head north, north-west to find another Field Storage room behind another locked [Very Easy] door. And again, you will find a case of Intel inside, and the note “Holotape - Goodbye.” After you’re done grabbing the Intel head outside again and cross a bridge to the west, south-west to reach a metal shelter. Inside you will find another Ammo Dispenser, along with some Microfusion Cells and explosives.
Continuing north, then west until the path splits. We now have two options: You can cross a long bridge under fire from bunkered Chinese defenders, or you can go through a door leading to a “Cave Passage.” The Cave Passage will take you up to some high ground north-east of the bunkers. Either way, rush the bunkers and kill the defenders. Along the way you’ll discover the Artillery Overlook Entrance area, for what good that does anybody. When all is quiet head inside the Chinese Artillery Outpost.
9) Chinese Artillery Outpost
Intel #3
Head into the large room to the north and proceed up a ramp to the east. Kill some Chinese Soldiers and continue going east until you can go no futher, from here turning north to discover a table full of loot, including a Sniper Rifle, two missiles, a Frag Mine, some Microfusion Cells, and an Ammo and Health Dispenser. Head up the stairs to the north and go through a doorway to the west to discover another locked [Very Easy] door, beyond which you’ll find the “Holotape - Invasion”, a Stealth Boy, and another case of Intel .
10) Another Loot-Friendly Table
Intel #4
Head back to the east and travel north as far as you can go until you come across another loot-friendly table. Nearby is also a Terminal [Very Easy] which opens a door [Very Easy]. Inside are two Frag Grenades, an “American Artillery Protocols” Terminal, and another Intel suitcase.
11) Overrun
Go up some stairs to the east and you’ll find two more Frag Grenades and another Health Dispenser on a crate. Continue east as far as you can go before turning north and heading through a room full of artillery shells. Go up some stairs near a pit and through a door to the west, turning north to find another [Very Easy] door. Inside you’ll find the “Holotape - Overrun.” Turn around and head to the south, up some stairs, then west around a corner, through a room, and up some stairs to the south. Here you’ll find another ammo and health depot.
12) Chinese Dragoons
Make your way east into another room full of artillery shells, then turn north into a warehouse… needless to say, the Chinese aren’t short of artillery ammo. Some Chinese Dragoons will drop from the ceiling and go invisible. You can’t hit them in V.A.T.S. them while they’re cloaked, but you can spot them-and shoot them-if you keep your eyes open. Once the Dragoons are eliminated head up onto the railing and go through an elevated door to the north. Go up some stairs and grab another supply depot before heading out the door leading back to the Artillery Overlook.

Chinese Dragoons wear armor that allows them to remain mostly invisible indefinitely (left). Blow up the fixed guns that are shelling the U.S. Army camp, and victory is yours (right).
13) Artillery Overlook
Now that you’re outside again you’ve got a pretty simple mission: blow up the three artillery guns pounding your allied troops. Head over to the north where you’ll find one artillery cannon. Kill the Chinese Soldiers in the bunker and proceed to plant the bomb. You now have 20 seconds to get outside the blast radius. Do so by heading up some stairs to the east. Turn south, go up some stairs and fight your way to the second artillery cannon, Plant the second bomb once all Chinese opposition has been silenced and head up a path to the east, south-east to find the third and final piece of artillery. You know what to do by now-plant the bomb and flee downhill to the west.


Once this one blows up the screen will white-out on you, and you’ll appear in front of General Chase. The guns of Anchorage may have been silenced, but the Chinese are still out there. Your mission is just beginning, soldier!

 Sign up
No Comments