
1) Irradiated Gladiators
Head back to the Mill and head west until you reach the fence-covered pit again. Turn north and go through a gate, where a lady named Spook will bother you. Go through the door behind her and down some stairs until you find Faydra. She’ll tell you the rules in the arena: kill or be killed, once you’re in, radioactive barrels are dropped in and you’ve got until the rads kill you to kill the other fighters. You can grab some weapons out of the locker to the north, but none of them are particularly good. When you’re ready let Faydra know.
2) Slaying Scabs
The first round is against a “bunch of other scabs.” Go into the Hole and kill the other slaves, which will be armed with some Pitt Raider armor, Chinese Assault Rifles, and Combat Shotguns. You’ll get around 4-12 Rads per second, depending on where you are and what your Rad Resistance is.
Crush your opposition to win your freedom! One of the Bear Brother comes armed with a Deathclaw Gauntlet (left), which will help you kill the @#$% out of Gruber (right).
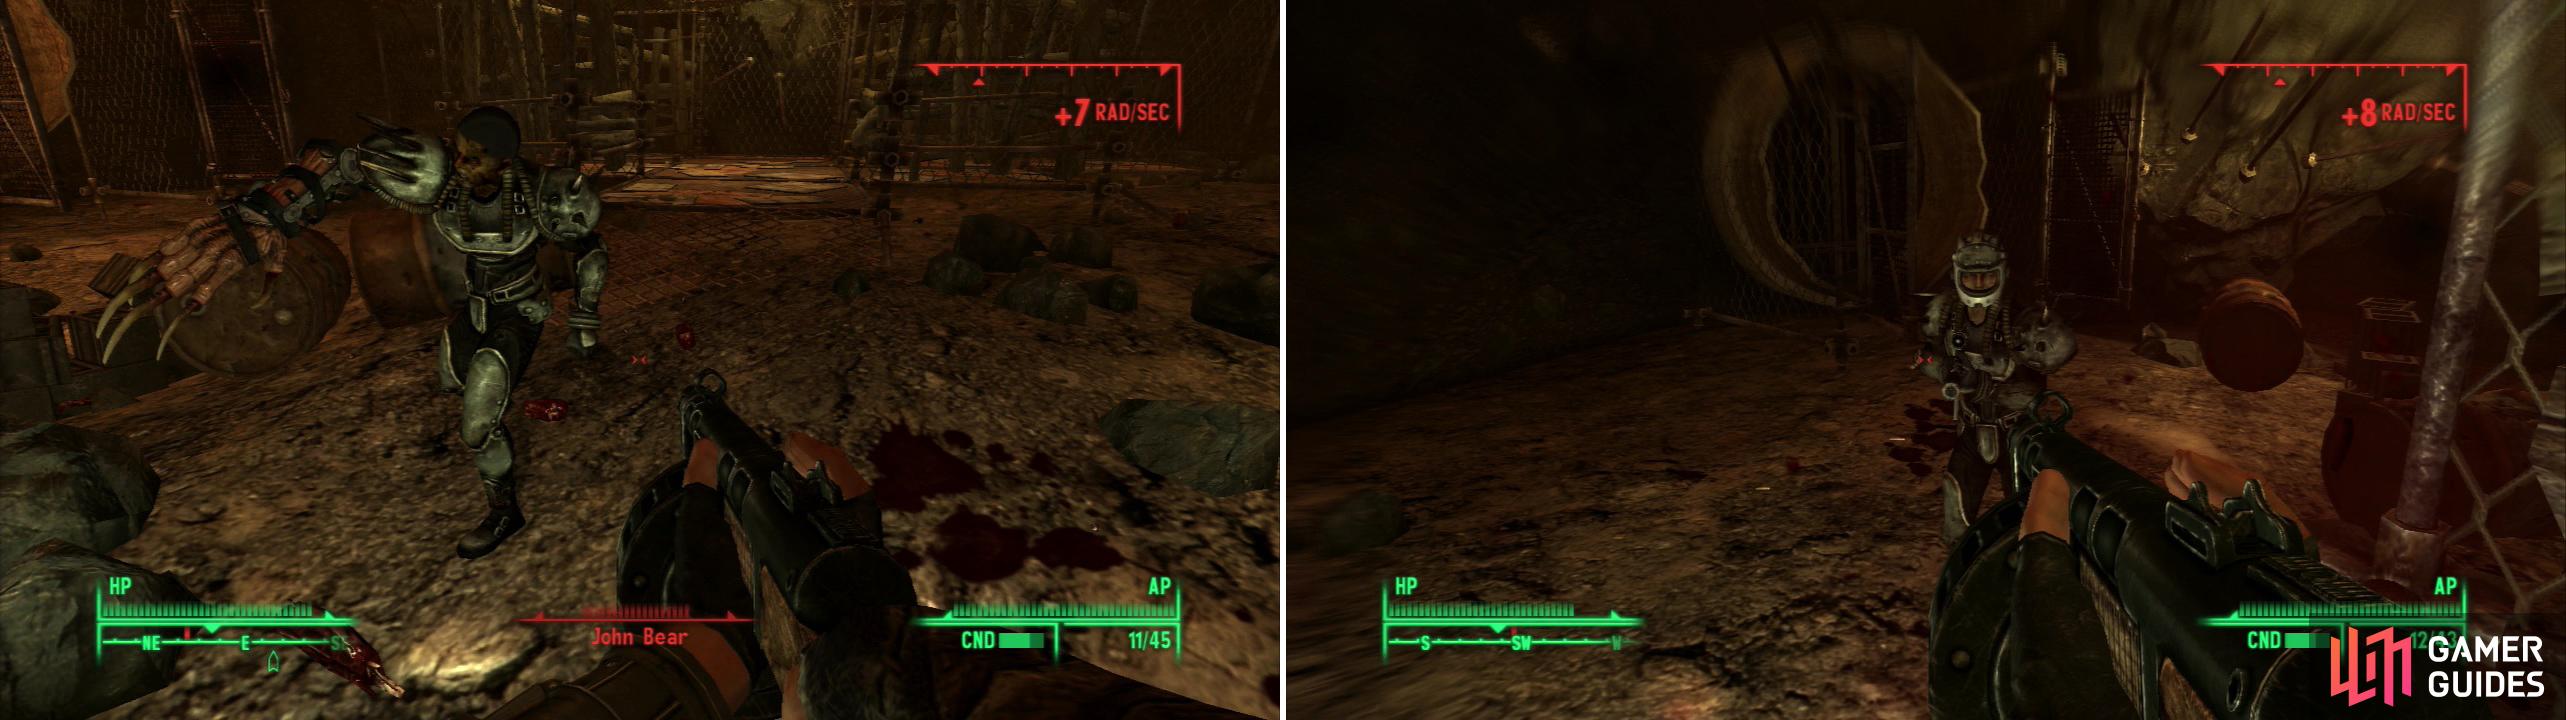
3) Beating the Bear Brothers
The second round is against the “Bear Brothers” Grudd Bear and John Bear. You have to watch out for the latter, armed as he is with a Deathclaw Gauntlet and Gamma Shield Armor. Once he dies, however, that Deathclaw Gauntlet is yours, and the Pitt becomes even easier. Again, you’ll get 4-12 Rads per second.
4) Killing the @#$% Out of Gruber
Your last fight is Gruber, a former slave with a “decent gun”. Well, it’s somebody who made it through the arena themselves, so they can’t be that weak, right? Head on into the Hole and find out how well Gruber does against your new Deathclaw Gauntlet . Gruber did alright in my game. He lasted two hits. Take his Infiltrator (the same kind of gun as Perforator ) and his Gamma Shield Armor. Again, the rads top out at 4-12 per second. Best of all, you’ve earned yourself the Pitt Fighter Perk, and completed the quest “Unsafe Working Conditions”


5) Audience With Ashur
When you exit the Hole a Pitt Raider named Krenshaw will show up and speak to you, telling you that Ashur wants to meet you. Loot the footlocker in the room to recover the gear that Mex confiscated earlier. Leave the fenced-off arena area and head past where Marco is to find a man named Hammer standing in front of a now-opened gate. Continue past him through the gate, up some stairs to the east, and exit to Uptown.
6) Uptown Girl (or Boy)
Head east, then north up a ramp. In Uptown is where you’ll find the more charismatic-and unique-Pitt Raiders. Talk to them to get a better understanding of how things work in the Pitt… you know, the other side of the story and all that. A Pitt Raider named Lulu will give you some food if you talk to her (and ask for it)and Phantom will give you some Rad Away. There are also some elevated areas in Downtown you can reach now, which includes Friday, who will sell you guns, ammo, and armor, and Harris who sells alcohol, drugs, and food. Of course there’s also plenty of alcohol and drugs around, most of which coun’t as stealing. There’s no need to cover every little thing you can pick up here-there’s an abundance of goodies, especially if you’re willing to steal.
7) Abandoned Apartments
Continue through Uptown, your goal being generally to get to the ground level, and from there, to the east. Along the eastern end of Uptown is a gated plaza dominated by a giant metal effigy of a chained and tormented humanoid, and beyond that is Haven-Ashur’s stronghold. Before we bother him, though, there’s some optional exploration that can be done. From Haven head north-west to find a door to the “Abandoned Apartments.” Note that “abandoned” doesn’t mean “unoccupied”, as there are sure to be Trogs crawling around. The first room you enter into is pretty boring-there’s a terminal [Hard] which unlocks a safe [Hard]. Loot and head through a hole in the wall to the south to find a bedroom that’s even less interesting.
8) The Smoker’s Room
Go through a doorway to the south to find a kitchen. There’s a Nuka-Cola Quantum on the counter along the eastern wall, as well as some food and components strewn around. Loot what little you can, then go through a doorway to the west and then down a hallway to the north. You’ll find a door [Average] to your left, which leads to an apartment once occupied by a prolific smoker, given the number of cigarettes around. There’s also a first aid box on a table, another one on a counter, two Stimpaks on a tray, a door to Uptown, and a bunch of other minor loot strewn about.
9) Looting More Apartments
Return to the hallway and continue north, taking another left when you get the chance. In this apartment you’ll notice that the roof has collapsed, forming a ramp up to the next level. Before you head up, though, loot this apartment. There’s a first aid box in a drawer built into a counter and an ammo box in the bathroom, near the tub. Be wary as you loot-the Trogs above will probably be clever enough to find their way down to you. When you’re ready, head upstairs and loot this apartment, too, for what little is here.
10) The Chinese Agent’s Room
Once done, head through a doorway to the east, then down a hallway to the south. Loot the apartment to the right to find some intact Pre-War headware, a first aid box in a drawer under a counter, and a hole-y bathroom. Go through to door [Very Easy] to find a more interesting room. There’s money on the floor, a trio of Chinese Assault Rifles and ammo boxes in the corner, and a floor safe [Average] under the bedside table. In this safe you’ll find-amongst other goodies-the Hat of the People , a unique bit of headware that gives a +5 bonus to Small Guns , and by far the most interesting thing you’ll find in here. Return to the hallway and finish up this area by exploring an apartment to the east. There’s not much to loot here, but there are a number of Trogs in the bedroom. Also gas. So don’t fire off any guns while you’re in here. Once done, leave the Abandoned Apartments. It’s time to find Ashur.
11) Haven
Continue past the metal sculpture of a chained human to discover Haven and enter the door leading to the Haven Entrance. Head east up some stairs and take an elevator up to Haven. Continue west where you’ll find Krenshaw and Ashur talking. After they’re done talking Ashur will approach and initiate dialogue. If you pick the third option, you’ll start a fight. Pick options #1 or #2 to continue the dialogue, where he’ll ask you if you know Wernher. Regardless of what you say you’ll find out that Wernher was Ashur’s second in command, but fled after a failed coup. Which makes one wonder if Wernher wants to help the slaves because he’s a good guy, or if he just wants to get in power, and is using the slaves as a means to his end?
Before the question can be answered Krenshaw will report that the slaves are revolting. Ashur will run off leaving you to your own devices. You now how two fundamental choices, side with Ashur, or side with Wernher. Ashur’s a tyrant, but he at least pretends to have a goal to uplift the Pitt and restore civilization, do the ends justfiy the means? On the other hand, Wernher is at least a liar, and at worst an aspiring overlord. Perhaps we should check out the cure before we make a decision?
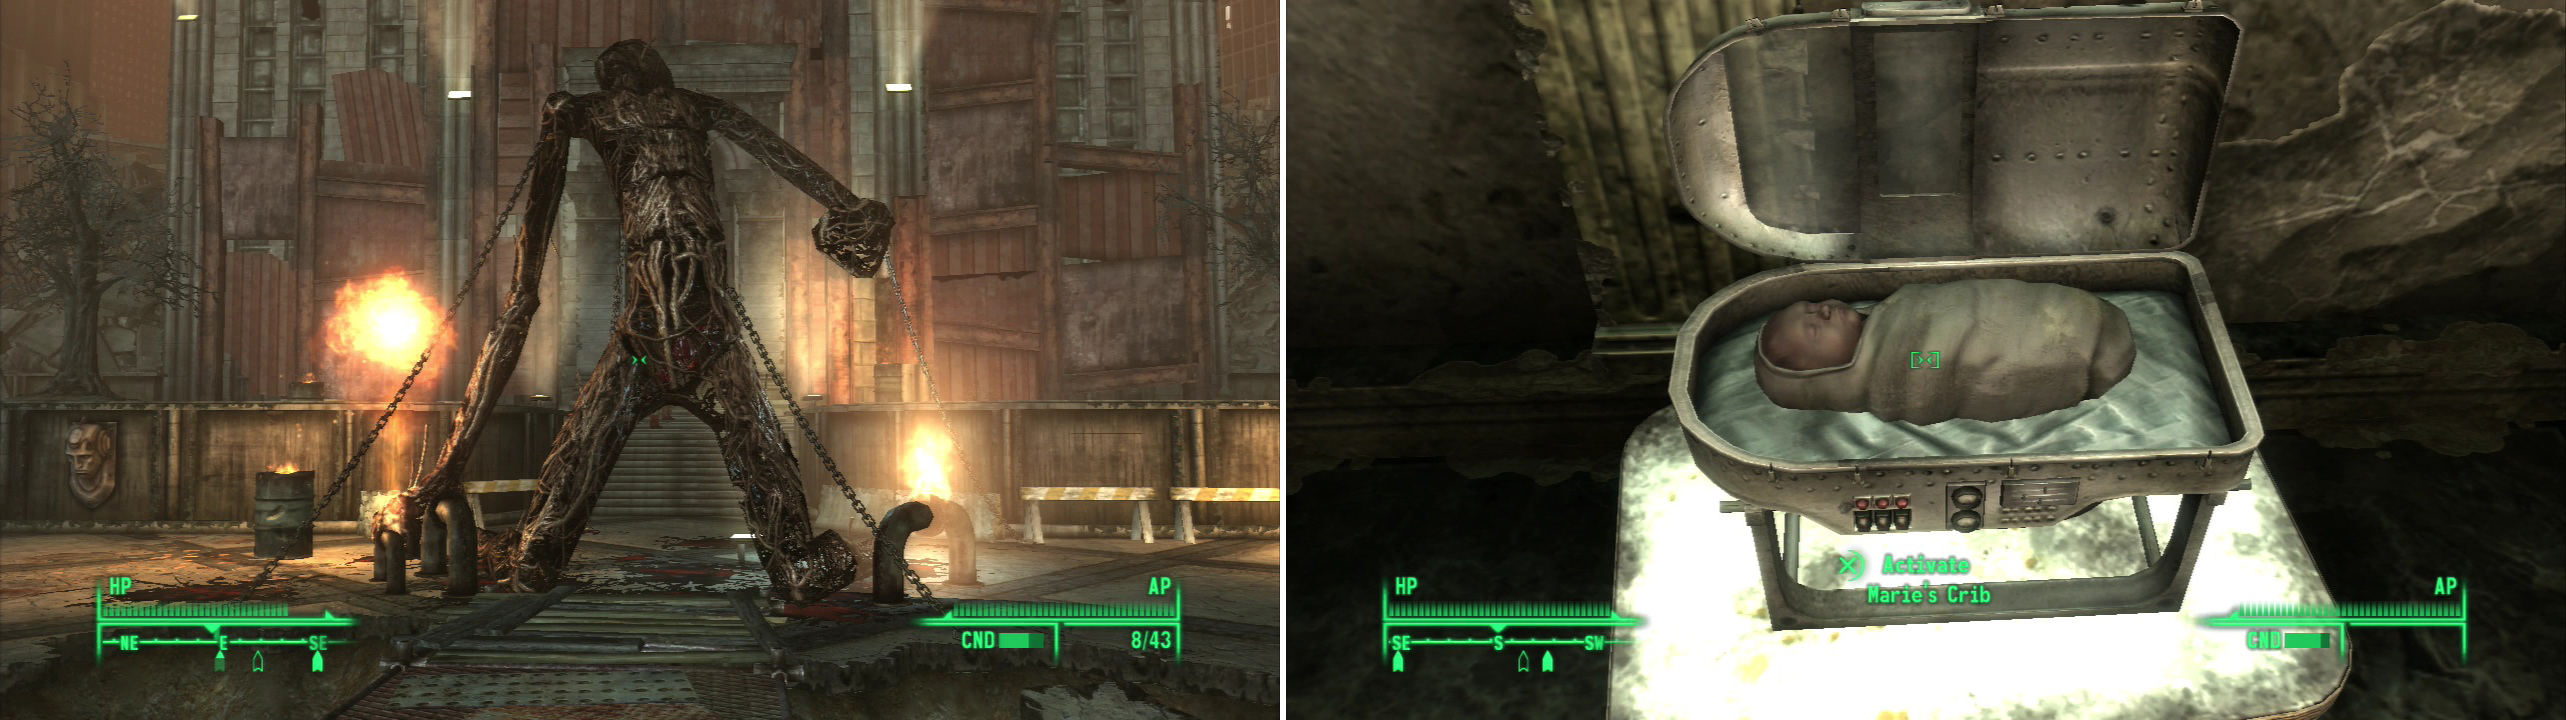
This lovely sculpture sums up life in The Pitt pretty well (left). The true nature of “the cure” complicates matters a bit (right).
12) Moral Dilemma
Go through the door to the south to find Ashur’s room. Here you can hack his “Turret Control System” Terminal [Hard], and open his safe [Average]. In the latter you’ll find four Diary entries and two Stealth Boys. The Diary entries are confessions to Ashur’s daughter, Marie, so she’ll know who he really was when she grows up, in case something happens. If anything will shed light on Ashur’s character, it’s these tapes.
Go back to the room where you met Ashur and head through the door to the north, where you’ll eventually come across a research room. Search the Research Computer to discover-if you hadn’t already figured it out-that Ashur’s daughter Marie is the cure Wernher wants so badly. Now it’s up to you to decide whether to nab Marie and side with Wernher (Steps 13-16) , or leave Marie behind and side with Ashur (Steps 17-19) .
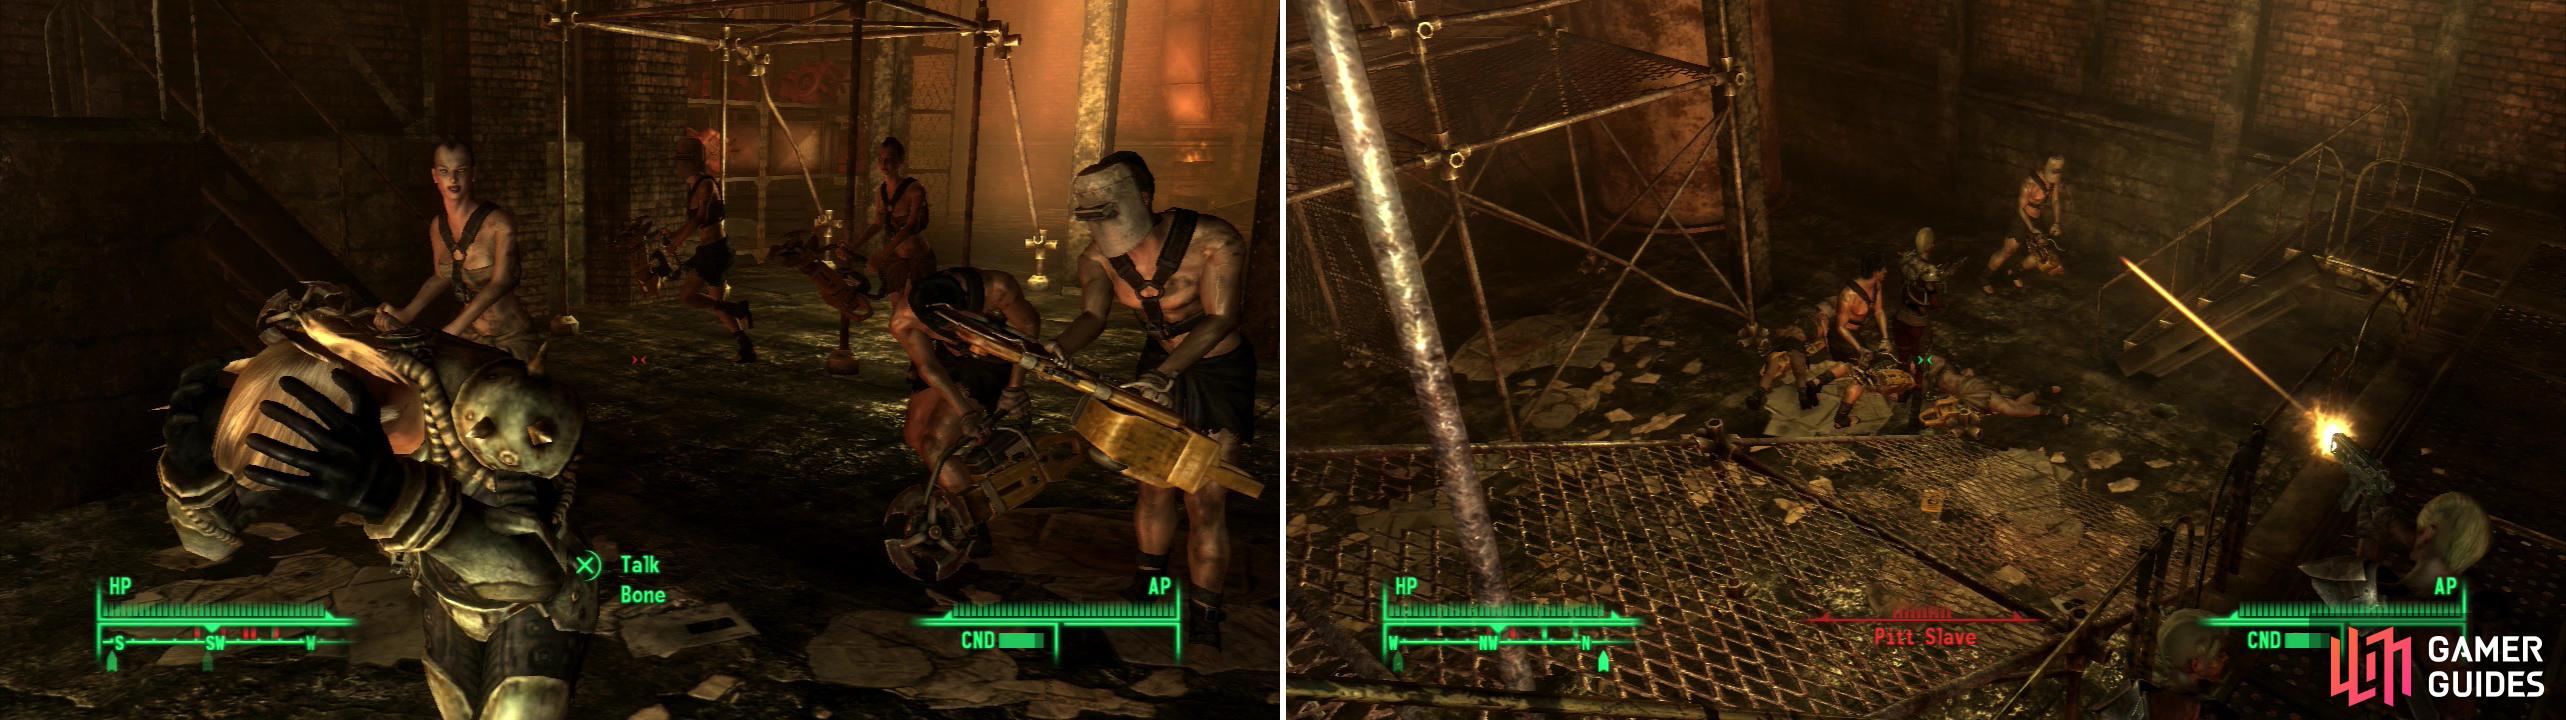
Either take “the cure” and help the slaves get their revenge (left) or defend the status-quo and help put the rebellion down (right).
13) Siding with Wernher
Take the baby and fight your way out of Haven. Once you reach Uptown you’ll be joined in your fight by Pitt Slaves weilding Auto Axes, who will at least provide you with a distraction. All you potentially need to be wary of are Raiders with Miniguns, Scoped .44 Magnums, and Sniper Rifles, due to their damage-dealing potential, of which there are actually quite a few. Make your way back to Midea’s Quarters, where she’ll tell you to take the baby to Wernher, who is hiding in the Steelyard… which means you need to fight your way through the Mill. Once at the Steelyard head west to the Wildman Shack (just past where you found Wild Bill). To the north of the shack is a door leading to Wernher’s Hideout.
14) Wernher’s Hideout
Wernher will approach and iniatiate dialogue. He’ll take the baby and reveal the last part of his plan: to allow the Trogs to kill the remaining Pitt bosses in Uptown. All you need to do is shut off the floodlights and the Trogs will do the dirty work… what’s left of it, anyways, for you. If you use iyou can convince Wernher to give you some ammo. In any event, he’ll give you the Power Plant Key and a Stealth Boy and send you off on your merry way.
15) Pitt Underground
Head back out into the Steelyard and travel to the Supply Plant. From there head north until you deadend at a train tunnel filled with debris. Find a barrel with a fire inside of it, nearby will be a “Sewer Entrance to Pitt Underground.” What we have here is a linear trek through a Trog-infested building. There’s minor loot to be found, a few Frag Mines (including several tricky ones hidden under traffic cones) but nothing that warrants an in-detail description. Make your way through the area until you find the “Uptown Floodlight Controls” terminal. Access the terminal and shut off the floodlights. When that’s done continue on through the door to Uptown.
16) Lights Out
Uptown is now crawling with Trogs, which makes it only slightly more inhospitable to us than it was the last time we were here. Now would be a good time to use your Stealth Boy. Around the corner you’ll find Ashur, whom you can kill and loot for his unique Power Armor. Once done, you just need to make it back to Midea. As you go the floodlights will falter and Trogs will show up. It’s possible to kill all the Trogs and spare a Stealth Boy… it’s not even difficult to do so. Either way, once you get near Midea’s Wernher will talk to you, congratulating you on a job well done. This completes the quest “Free Labor” , and earns you the Booster Shot perk, which increases your Radiation Resistance. You can now do two more freeform “quests” in The Pitt: Bring Scrap Metal to the Ammo Press in the Mill and you get create your own ammo. Also, Midea wants Teddy Bears for Marie, for which she’ll pay you 30 Caps a piece. The Ammo Press is covered in greater detail in Step #20 .
17) Siding With Ashur
Once you exit Haven Pitt Slaves will show up and begin attacking the Raiders with Auto Axes. You’ll be given the mission to find out where Wernher is hiding from Midea. It’s not a bad idea to let the Raiders and the Slaves fight it out… more loot for us in the end. Besides, the Raiders have everything well in hand: you are the muscle Wernher needed toultimately succeed, and without you, they don’t have a chance. Talk to Midea and succeed at a Speech check to get Wernher’s location… or kill her and take the note “Wernher’s Note to Midea” off her body. Either way, you’re heading to the Steelyard.
18) Wernher’s Last Stand
Once at the Steelyard head west to the Wildman Shack (just past where you found Wild Bill). To the north of the shack is a door leading to Wernher’s Hideout. His hideout is guarded by a Pitt Slave who will try the novel tactic of using a Stealth Boy on you before attacking with an Auto Axe. Deal with the slave, then head inside and confront Wernher. If you allow him, he’ll try to talk things out with you. If you have Black Widow you can convince Wernher to simply walk away, otherwise you’ll have to fight it out. At a low level he might be challenging, with his high health and Scoped .44 Magnum, but by now he’s just another enemy, no more threatening than an Enclave Soldier or Talon Company Mercenary. Kill him and grab the Power Plant Key, which you can now explore… if you want to (Read Step #15) . It’s not necessary, however. Otherwise head back to Ashur. Don’t be afraid to use your World Map and fast travel, either. Yeah. You can do that here.
19) A Bright New Day
Ashur will congratulate you, and is generally optimistic.. if conservative.. about the future of the Pitt. Notice that he says “Now that we have Marie back..” She went somewhere? Anyways, ask for a reward and you’ll be given the Booster Shot perk, as well as access to the Ammo Press. You can also give Sandra toys (Teddy Bears) for Marie at a rate of 30 Caps a pop.


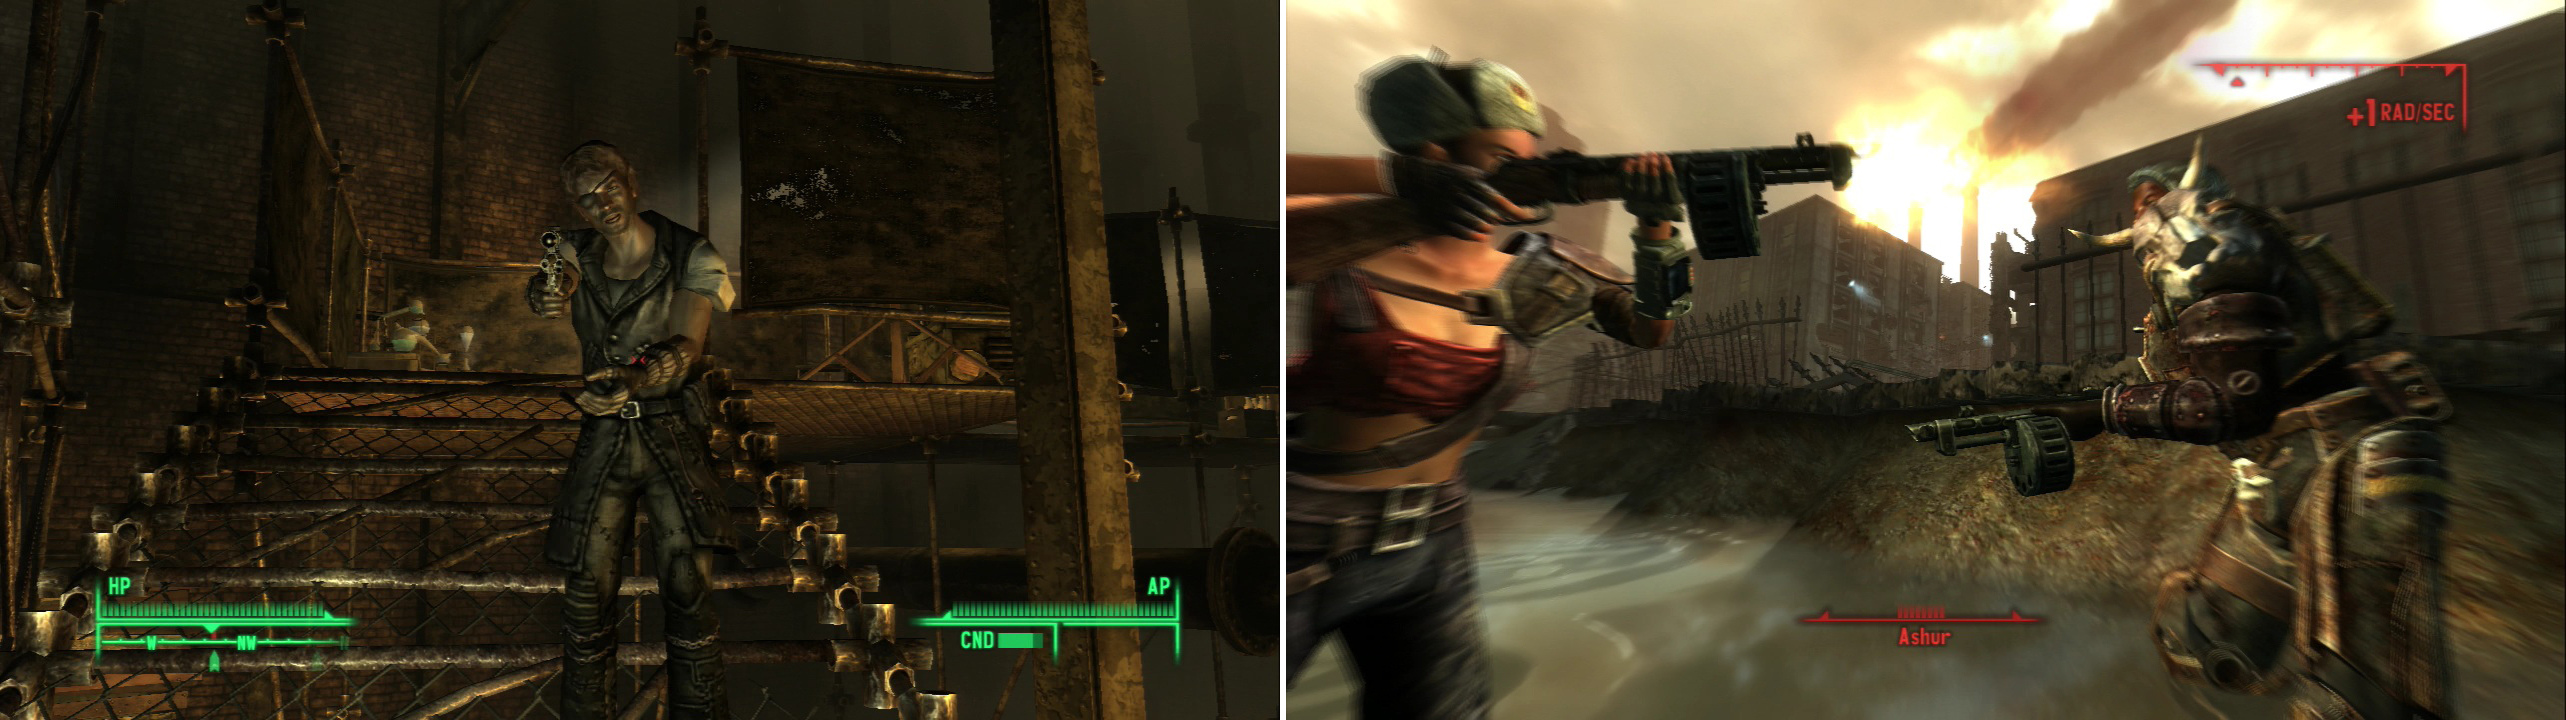
Ultimately things come down to a battle between you and Wernher (left) or Ashur (right).
20) Either Way, the Ammo Press
Now we’re done with the Pitt. Not much to do but haul our loot back to the Capital Wasteland. We can return if we want to turn in Teddy Bears, or use the Ammo Press… speaking of which…
The Ammo Press in the Mill can produce ammunition from Scrap Metal, or it can convert one type of ammo into another. This only applies to “standard” ammo, such as 5mm, 5.56mm, 10mm, .308, .32, .44, or Shotgun Shells. There’s always the chance of loss involved, so when pressing large amounts of ammo you might want to save/load until you get good results. Also, since you can sell Scrap Metal to Walter for better relative prices than you’d get from pressing the Scrap Metal, you should probably just stick to converting ammo.
Turning more common ammo into less common ammo will give you a lower rate of return. For example, if you can convert 50 10mm Rounds into 51-100 5mm Rounds, or 3-10 .44 Magnum Rounds. As far as the Ammo Press is concerned 5mm Rounds are the most common, 5.56mm Rounds, 10mm Rounds, and .32 Caliber Rounds are next in line, and .308 Rounds, .44 Magnum Rounds, and Shotgun Shells are the most uncommon. Nonetheless, it might not be a bad idea to convert some generally useless 5mm Rounds or .32 Caliber Rounds into something more useful, like 10mm, 5.56, .44, or Shotgun Shells.
Anyways, when you’re done in The Pitt, return to the Wasteland, stash loot, rest up, remove your Rads, and get ready for Operation: Anchorage!

 Sign up
No Comments