
| Important Items in This Area |
|---|
| Islander’s Almanac |
| Carlo’s Note |
| T-51 Power Armor |
| Aldersea Day Spa Key |
National Park Campground
Once you’re back outside head south from the hotel to find the National Park Campground area, the site of Cassie Dalton’s first bit of revenge against the island. This is a simple enough area; just kill the Feral Ghouls lurking around here, loot the structures for whatever junk appeals to you, then return to Cassie Dalton in Far Harbor, who will reward you for giving Petey some vengeance (pass an easy speech check to score an extra 100 Caps)… then will offer you more work. Poor grandpa George was slain by a nastier beastie than Feral Ghouls - a Fog Crawler. Accept this next task to get your map updated, giving you an excuse to press on further north and east. For grandpa George!
| Objective | Reward |
|---|---|
| For avenging Petey | 200 - 300 Caps |
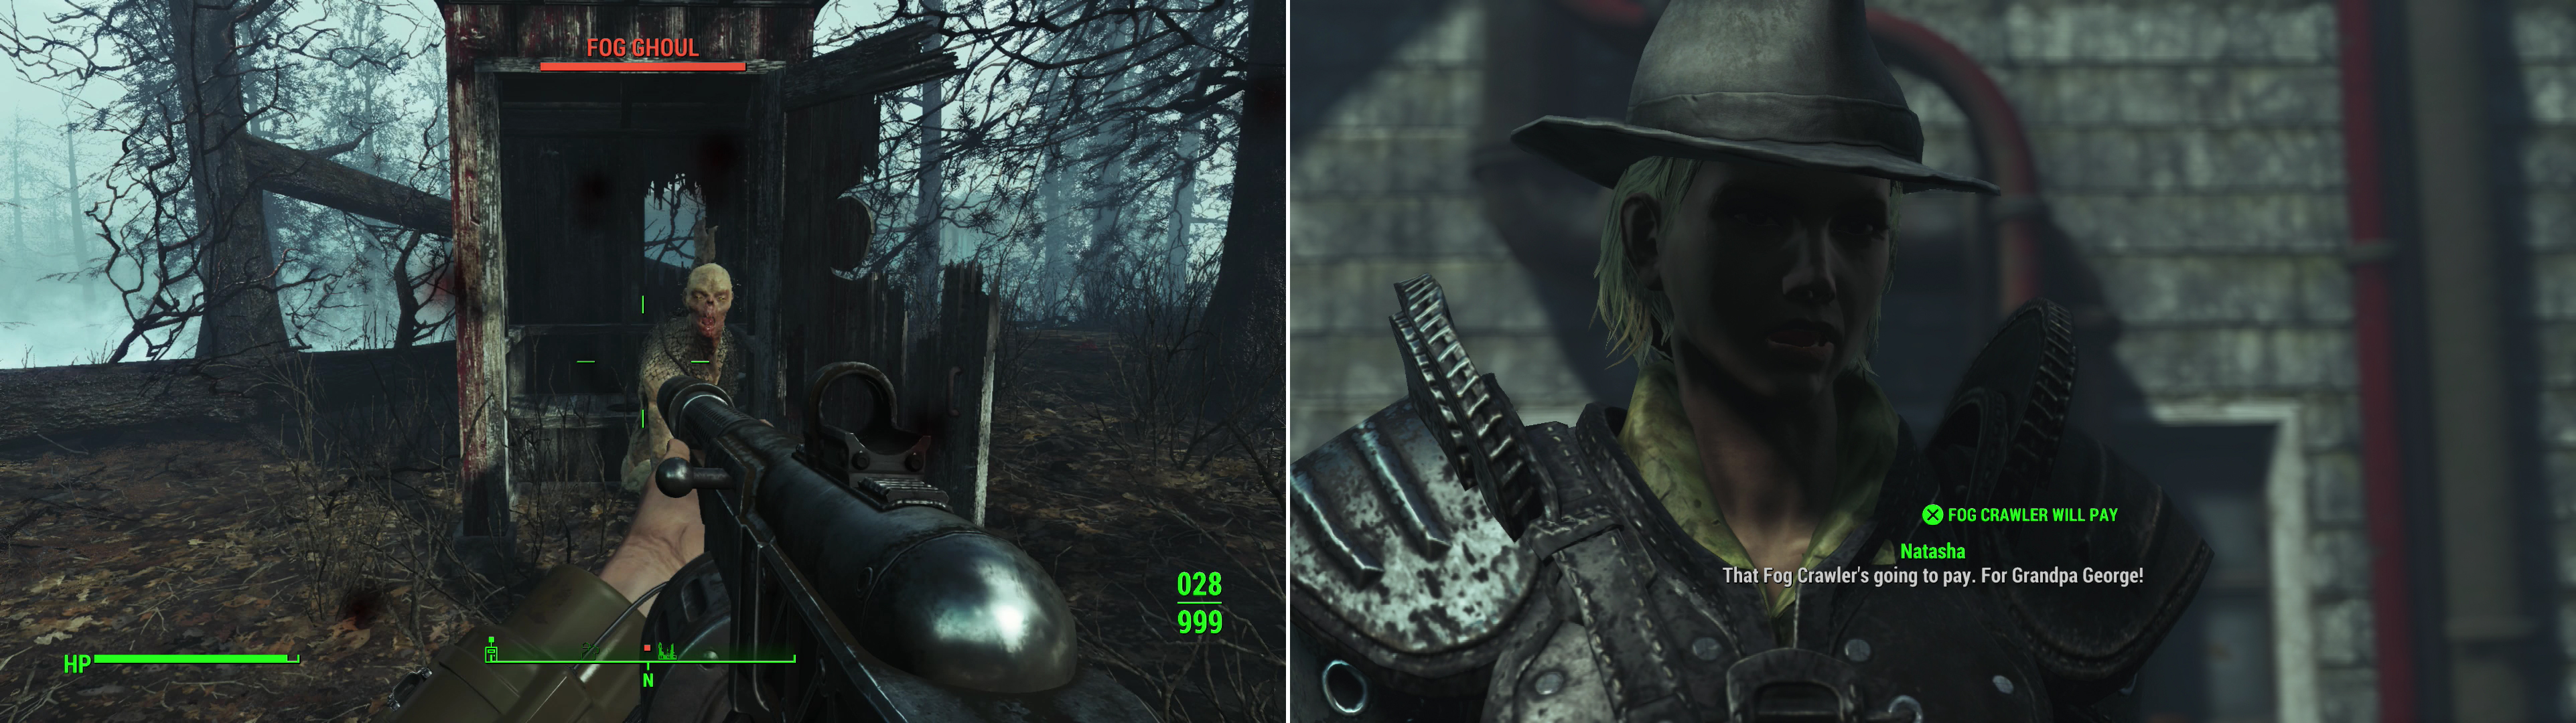
Kill the Ghouls lurking around the National Park Campground… for Petey! (left) Return to Cassie and swear an oath to avenge poor Grandpa George! (right) This island will pay!
National Park Visitors Center
Leave Far Harbor again and follow the road you’ve previously traveled that runs along the coast to the north-west, the same road that takes you to Acadia and the Cliff’s Edge Hotel. This time, when you reach the road that leads to the Cliff’s Edge Hotel, however, continue following the road to the north-west then north until you spot a side-road running north-west. If you go down this road you’ll find the National Park Visitor’s Center. This area has a quest that’ll take place here later, and can become a settlement, so expect to return here. For now, however, head through the pavilion, disarm some Frag Mines (unlike those poor, dead Trappers) then head up some stairs to reach the Visitor’s Center. Head into the building and turn south-west to find a counter, upon which rests a copy of “Islander’s Almanac” which will give give you the perk “You’ve unlocked Sludge based recipes at the Chemistry Station.” Neat. Loot the place if you with, then return to the main highway to the east.
Continue traveling north until another road branches off from the main highway, with the main road turning west. Follow the smaller road north to reach a house occupied by Trappers. Exterminate them, then loot the house to find a Tool Chest [Advanced]. In another house - one which is in the process of falling into the sea - to the north-west you can also score a Wooden Crate [Novice].
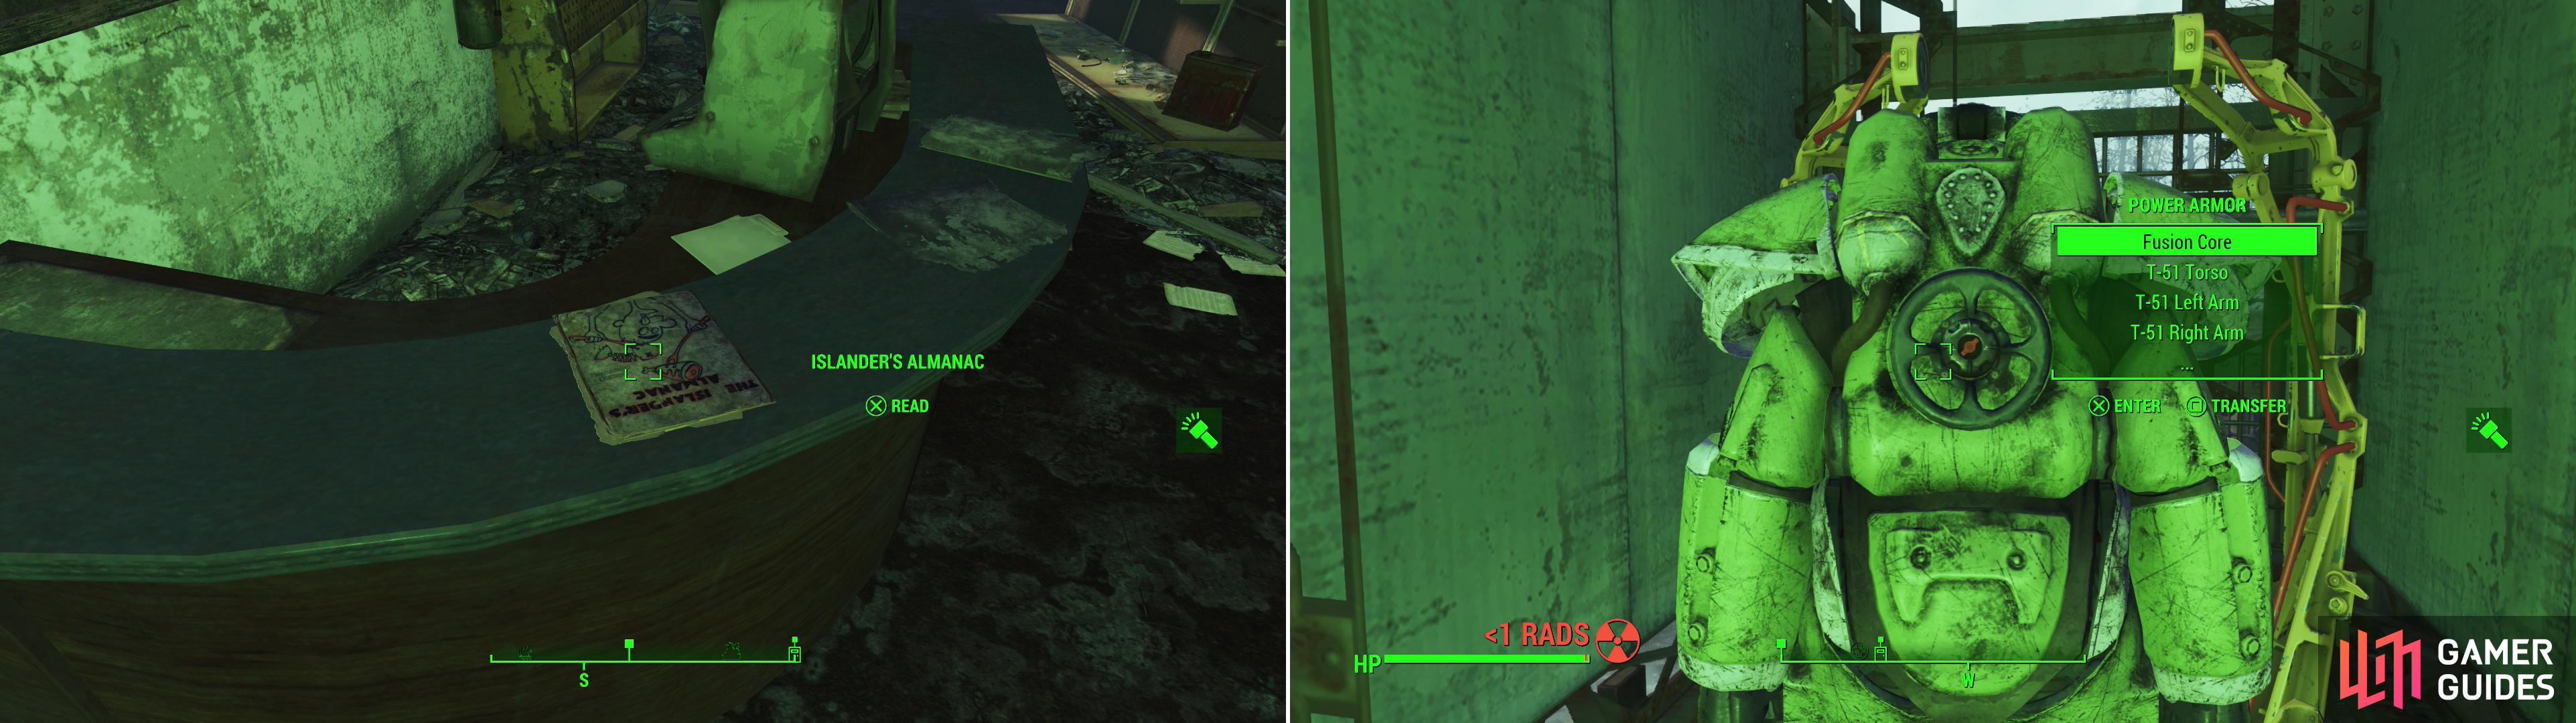
Stop by the National Park Visitors Center long enough to quickly grab an issue of Islander’s Almanac (left). While heading up the highway you’ll find a truck with a suit of Vim! themed T-51 Power Armor in the back! (right)
Return to the highway and follow the road west to find an eighteen-wheeler that has collided with a bus. Climb onto the back of the semi and head into a cage on the back to find a skeleton near a suit of Vim! themed Power Armor. In the skeleton’s hand you can find “Carlo’s Note” , which will detail a possible nefarious end for the poor truck driver. Oh well. Neither he, Vim! nor the Power Armor rustlers are going to need this sweet suit of T-51 Power Armor anymore, are they? Make it your own and do with it what you will, then press on.
Aldersea Day Spa
Follow the road west (optionally looting a rest station to the north for meager loot, if you care to) until you reach a fork in the road. To the west is a bridge which leads to the destination, but let’s detour to the south-west to reach Aldersea Day Spa. Be wary, however, as the area is crawling with Super Mutants. Seems they know how to swim. Fight your way to the western side of the building, being wary of a Super Mutant Suicider that lurks about. Once the muties are dead there are two entrances; some double doors on the western end of the building, and a single door [Expert] on the northern end. Playing to the lowest common denominator again, let’s assume you’ll just go through the double doors.
The first floor of this spa is essentially one large, open room, and if you start a commotion you’ll likely have to fend off two Super Mutants and a Mutant Hound. More Super Mutants await downstairs. South of the entrance you’ll find a locked door [Advanced], beyond which is a small room housing some chems, a Safe [Advanced] and a Duffle Bag behind a Chaise. Two more rooms lie to the east, with rather little of interest in them, while along the north-eastern end of this level you’ll find the alternate door to the outside [Expert].
Return to the entrance and head down some stairs to the east, then down another flight of stairs to reach the pool room, now patrolled by a Super Mutant and two Mutant Hounds. Kill them and loot the Super Mutant for the “Aldersea Day Spa Key” , which opens the [Expert] door on the main floor. Before you leave, however, head north to find a steam room, where you can score a Steamer Trunk.
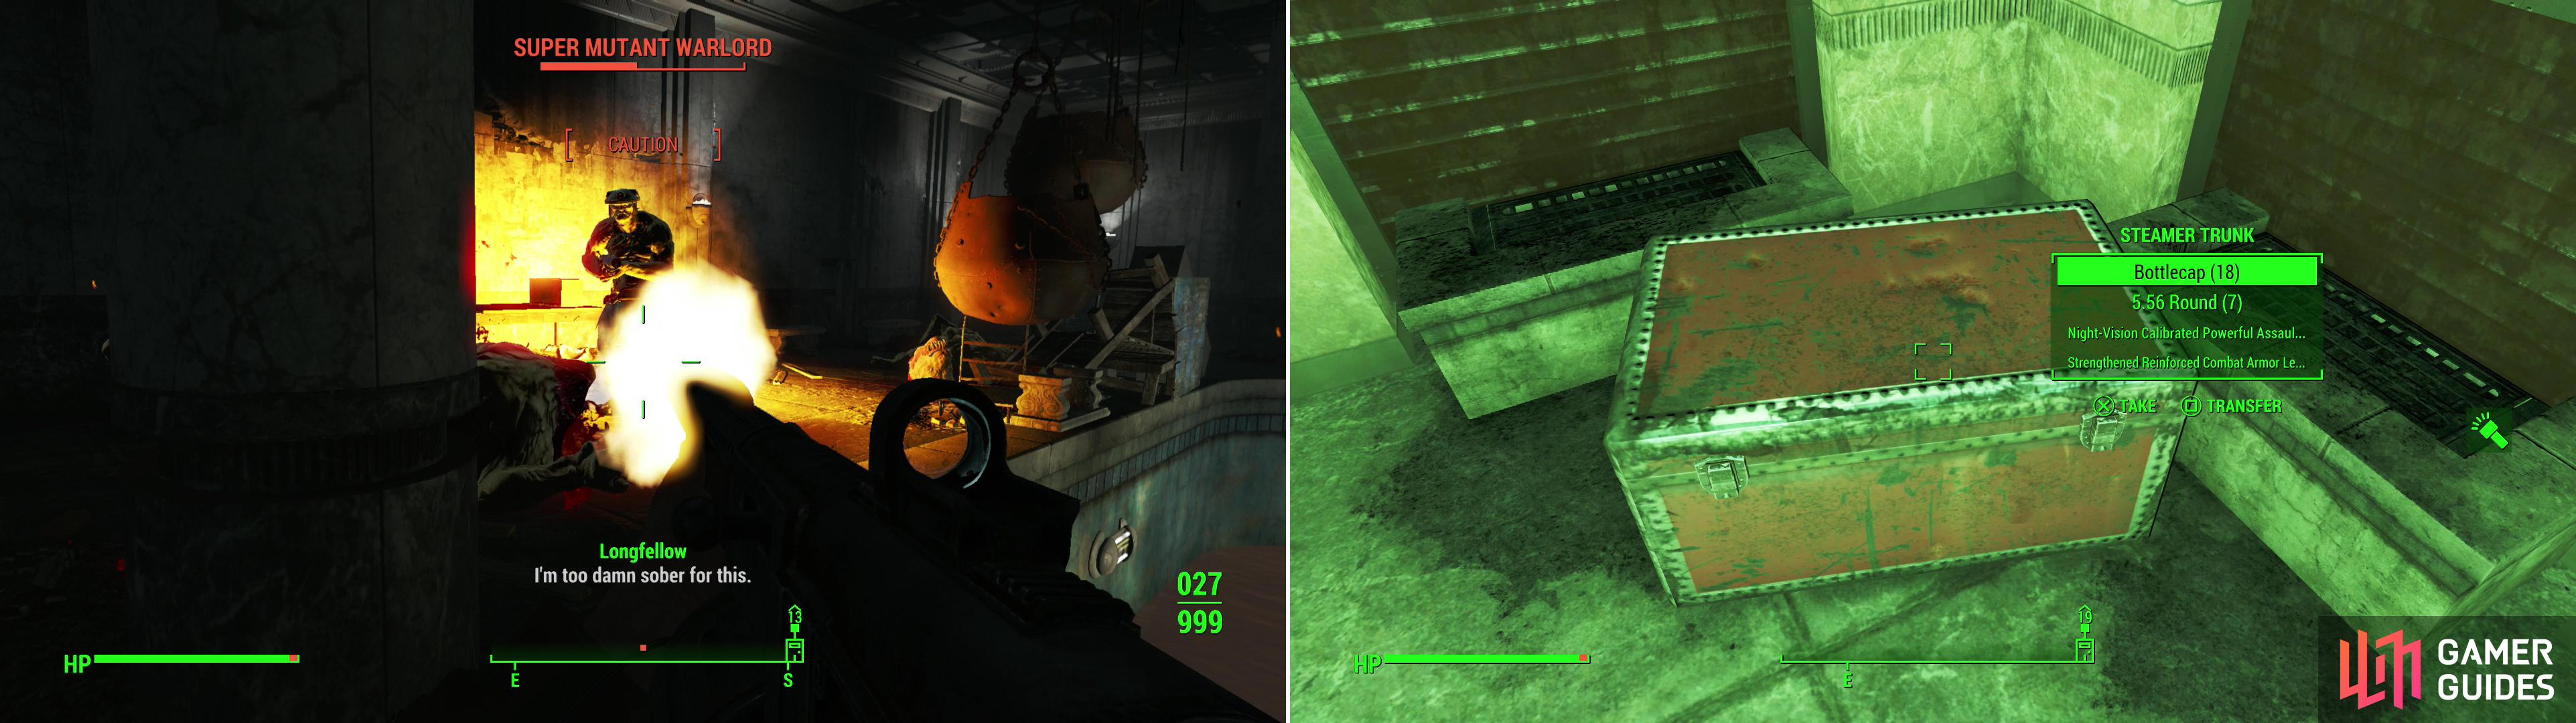
The Aldersea Day Spa is crawling with Super Mutants (left), but exterminating them could prove to be quite lucrative (right).
National Park HQ
One more area to dust off before heading to the Dalton Farm; leave the Aldersea Day Spa and travel south and east to find the National Park HQ. This area consists of two buildings, including a large L-shaped structure to the north-west and a more homely building to the south-east. Super Mutants and their pet hounds lurk in and around both, including a mutie with a Minigun and a Suicider. In the eastern end of the L-shaped building you can find a Steamer Trunk, and there’s also a First Aid Box on a desk, along with several other junk-filled containers to loot. The house to the south-east is less interesting, although you can plunder some Meat Bags and Desks, as it suits you.
Dalton Farm
Return back north to Aldersea Day Spa, then from there continue north-east back to the highway fork. From there turn your attention to a bridge to the west, north-west. Be wary of Frag Mines as you cross the bridge, then continue north-west along the highway until you spot a driveway leading to the Dalton Farm, which is to the right (north of) the road.
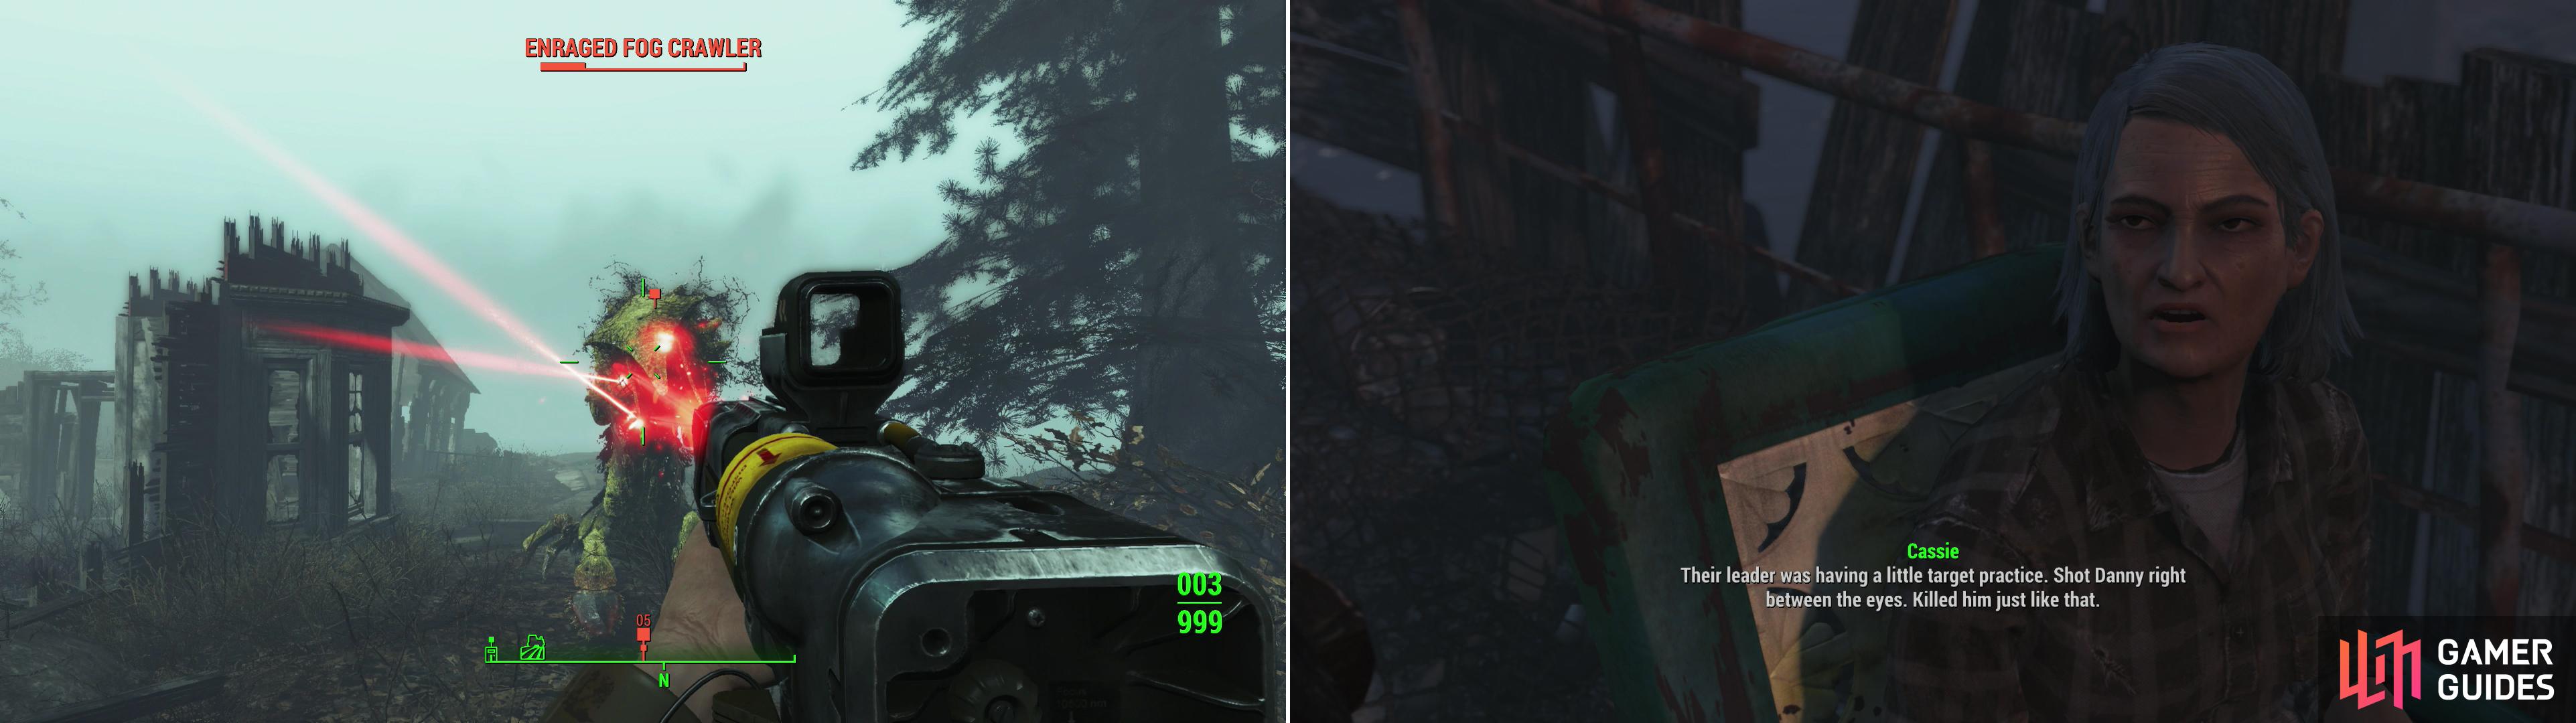
Fog Crawlers are heavily armored behemoths which can shrug off insane amounts of abuse (left). Defeat this mighty foe and return to Cassie to get a third - and final - island-punishing assignment (right).
As promised, the farm is occupied by a leveled Fog Crawler, a bizarre insectoid beast that is quite dangerous, having absurdly high physical resistance (and not bad energy resistance, either), a lot of Hit Points, and the ability to dish out punishment. Put it down, however, for the sake of Grandpa George, then return to Far Harbor and tell Cassie the news. She’ll reward you with 200 Caps (you can talk her up to 300 Caps, like last time), and she’ll further incentivize you by giving you control of Dalton Farm, which is now a settlement. Fortunately you can demolish the existing structures there, should you feel the need, although the area is big enough that you shouldn’t be wanting for space, if you don’t mind building on the beach.
| Objective | Reward |
|---|---|
| For avenging Grandpa George | 200 - 300 Caps |


Anyways, before you go playing around with your new settlement Cassie will give you another quest; to avenge her late husband, shot between the eyes by a Trapper for sport. Something your protagonist can certainly identify with. The Trapper who murdered poor Daniel dwells at Brooke’s Head Lighthouse, which is at the far southern end of the map… Never fear, however. There are still plenty of quests to do up north.

 Sign up
No Comments