
| Important Items in This Area |
|---|
| Big Boy |
| Live & Love |
| Old Faithful |
| Rockville Slugger |
It might seem like it’s imperative to find Nick, but like most quests, this one will wait for you. That being the case, let’s explore the interior of Diamond City before continuing on after Nick. It’s a good time to meet new characters, pick up quests, steal things… and of course, go shopping. Speaking of which, let’s cover the shops around Diamond City, first.
Mayor McDonoughs Office
Start your exploration by heading to the stairs leading to Diamond City’s gate and turn south to find a metal ramp leading up to an elevator, which in turn leads to the mayor. Talk to his secretary, Geneva, and she’ll offer to sell you a house. If you want to become a resident of Diamond City, it’ll set you back 2,000 Caps, but in return you’ll get the Home Plate Key, which gives you access to your new home; The Home Plate. Further west you’ll find the Mayor, who suddenly isn’t very talkative. If you’re exceptionally sneaky you can hack Mayor McDonough’s Terminal [Novice] which contains some of his notes and edicts. You can also use the terminal to open the Mayor’s Safe [Advanced].
Uptown Residence
Return down the elevator and head up the ramp to the east, which leads to the rich part of town. There are houses to pillage, which is always fun, but avoid the Colonial Taphouse for now, as a rather lengthy, convoluted, exploration-accompanying quest starts there. The houses you can loot are as follows:
- Hawkthorne Residence : This is one of the “Upper Deck” houses, found by taking the catwalk near the city entrance up to the upper decks. It is very easy to get caught trying to break in here as there is a Guard nearby who is permanently stationed here. Moreover, there is nothing worthwhile to really steal here apart from random junk, meds, ammo and… cats. Lots and lots of cats. If you are just determined to pick every lock in the game, though, a Stealth Boy is recommended here or a few ranks in Sneak.
- Cooke Residence : This is one of the “Upper Deck” houses. This house has an [Advanced] lock and lots of drugs inside. There is also a trunk upstairs with some random loot (and guns).
- Latimer Residence : This is one of the “Upper Deck” houses. You may find this house unlocked (at night) and the family just doesn’t care if you enter (although they do ask you to leave, they don’t call the guards). If you’re not so fortunate, you’ll have to bypass an [Advanced] lock. Inside you’ll mostly find junk though, so maybe that’s why they don’t care. This house is noteworthy for the boat inside it though, with the water and everything. Just a bit odd…
- Codman Residence : This is one of the “Upper Deck” houses. The door here has an [Advanced] lock and once you get inside you will find a paltry selection of chems and the odd bit of ammo.
All Faiths Chapel
When you’re done robbing rich folk, return down the metal ramps to reach the stairs that lead to the town’s front gate. Start the next phase of your exploration by turning east to find All Faiths Chapel. This is a church (yes, a church - at least they don’t worship an Atom Bomb!) which is mostly noteworthy as you can enter and talk to the Pastor, and then you can sit down on the pews and gain the “Quiet Reflection” perk, which gives you a 5% XP boost for a limited time (kind of like the “Well Rested” perk).
Choice Chops/Pollys House
From the chapel head north, then east around a corner to find the Choice Cops meat stall run by Polly. This shop itself isn’t terribly interesting unless you really want a snack. Inside Polly’s House [Novice] nearby you can find a ton of food as you may expect, as well as a [Novice] terminal you can hack (Polly’s Terminal). There is also a hatch here that leads up to the city, which is worth taking as it leads to a nearby “Meat Locker” [Novice], but it has nothing worthwhile inside (seriously, nothing).
Dugout Inn
Next stop is the Dugout Inn, which is east and south from Polly’s House. When you first enter people will be telling a story. Once they are done, talk to Hawthorne here (the dark-skinned man) and ask him about his adventures in the Commonwealth. Talking to him can reveal three locations on your map, including “Vault 81”, “Salem”, and “University Point”. Not bad.
Leave the inn, then head back inside and approach the two brothers - Vadim and Yefim - who will now be discussing how bad the Diamond City DJ really is. They’ll rope you into this conversation and Vadim will pull your leg a bit before they start to seriously discuss the shortcomings of their friend, Travis. This officially starts the quest “Confidence Man” , and Vadim will invite you into a back room to hammer out the details. Make sure your Charisma gear is on, then follow him and Vadim will explain his plan. Haggle for Caps - the traditional three speech challenges of escalating difficulty - and he’ll organize to have Travis show up at the bar at 6:00. Don’t worry, things won’t proceed until you actually talk to Travis when he’s being harassed, so go this far in the quest to get everything started, but no further. It can wait until you’re done exploring the rest of Diamond City.
Now, back to exploring the inn. Search a room with blue and yellow wallpaper in the north-eastern corner of the bar to find the “Join the Railroad” Holotape on a table near a bed. Once done, find Vadim and Yefim’s Terminal [Novice] in the same room. Hack it and read some funny notes from Yefim. You can also find an [Advanced] door locked in the back of this area that is actually worth picking as there are random goodies and drugs to be had.
Lowtown Residences
Leave the Dugout Inn and continue east to find several lowtown residences (in order, Earl Sterling’s House, Doctor Sun’s House and Doc Crocker’s House), with a Warehouse just off the path, between the first two residences. Let’s have a look at these residences for now before turning your attention to that Warehouse:
- Earl Sterling’s House : This house is located just past the Meat Shop, on the right. You can pick a [Novice] lock here to get in. There isn’t much here, but you can nab some junk and a Duffle Bag with random goodies.
- Dr. Sun’s House : Head down the alley past the Meat Shop to find this house along the way. It has an [Advanced] lock but if you pick it and head in you can find lots of drugs and Purified Water. Just be careful of the patrolling Diamond City guards.
- Dr. Crocker’s House : This house is near Dr. Sun’s House. Like Dr. Sun’s, this door has an [Advanced] lock as well. Inside are quite a few meds as well as an ammo box. You can also hack “Doc Crocker’s Terminal” (it is a [Novice] hack) to see who exactly he has had as clients. Heh, so nosy!
Warehouse
Finally, something worthwhile! You can find this Warehouse just past Earl Sterling’s House, off the main path but you can pick the [Novice] lock and head inside for a ton of goodies. Ammo, items, random guns… just a very worthwhile house, especially compared to most houses in the city.
Science! Center
Continue north past Doc Crocker’s House to find the Science! Center, inside which Professor Scara and Doctor Duff will argue about the latter’s theory on Synths. Accept Duff’s offer for a bit of a science lesson, which will turn into a field trip - meaning she wants you to go outside and fetch her some monster bits, in this case, a Bloatfly Gland. Haggle for better pay - you know the drill, three checks of escalating difficulty, escalating rewards, base pay if you fail at any step. Get what you can, then turn your attention to the only other interesting thing in the building; Scara’s Terminal [Master]. If you can hack it, you’ll find several mundane journal entries from Scara, which just expose her discontent with her lot and will mention a… Brotherhood Airship in the area? Huh.
Diamond City Radio
East of the Science! Center you’ll find a metal, elevated shack. This is the home of Travis, the DJ for this particular radio station. If you’ve ever listened to it, you know Travis has, well, people problems, and now you can witness it first hand! At least, if you didn’t send him to the Dugout Inn earlier. As for loot, aside from an Ammo Box, there’s little worth mentioning.
Outfield Houses
From Diamond City Radio, if you head south-east you’ll find Abbot’s House, and nearby is a makeshift bridge that crosses some radioactive water, where you can find Sheng Kawolski’s House. In Abbot’s House [Novice] you can find… well, a lot of junk, including plenty of paint cans, for what that’s worth. Sheng’s house has a [Novice] lock, but pick it and be careful inside as there are some chimes you can disarm. The house itself is quite odd, but has quite a bit of water and sugar bombs (someone has a favorite food!). Outside of his house you can also find a Nuka Cola Quantum on a metal shelf.
The Garden
This isn’t really a “place”, but it is worth noting that out in the outfield (and even in the “Greenhouse” which is in the same alley as the Valentine Detective Agency) you can find a ton of food. You can pick this food and plant it in your own settlements for food of your own, so keep this in mind if you ever need food supplies! He’ll offer you 100 Caps to get him some paint from the nearby Hardware Town, which you may have recently explored. Haggle him up as much as you can and start the quest “Painting the Town” .
The Wall
If you head north-west from Diamond City Radio you should spot the… well, the big green wall the mayor seems to love so much. Praise the wall! Anyway, working out here you’ll find Abbot, whose love of the wall rivals even the mayor’s. So much does he love it, in fact, that he wants to keep it looking pretty - as a thank you for all the, erm, wall stuff it does.
Backstreet Houses
From Diamond City Radio head west to find a house with a red canvas covering it. This splash of color marks Myrna’s House, and further west is a street lined with buildings, as follows:
- Myrna’s House : This is located by Myrna’s Shop. She actually has two doors to her house, the one by her shop and via the alley behind the shops. The only noteworthy thing about her house is that there is a [Novice] Terminal inside you can hack. It has entries in it that you would expect Myrna to have if you’ve talked with her…
- Arturo’s House : This house is also located in the alley where you’ll find the Valentine Detective Agency. Surprisingly there is no lock here, and you can just go in when he isn’t home to find lots of ammo - including a Mini Nuke - and ammo crates.
- Moe Cronin’s House : This house is located in the alley where you’ll find the Valentine Detective Agency. It is a [Novice] lock but there is nothing but junk inside (and a lot of baseball stuff).
- Greenhouse : This was already mentioned earlier, but there’s plenty of food inside, should you need to “borrow” any from Diamond City. There’s also an inconsequential amount of junk inside which is free for the taking.
- Pembroke Residence : This house is just west of the Greenhouse. It has a [Novice] lock on it but is a very small house and just has various junk inside. Hardly worth it.
- Kellog’s House : This area doesn’t really fit geographically with the other ones, but its isolation makes it worth pointing out here. From the Pembroke Residence head north, then turn south-west to find some stairs which will take you to a metal platform, upon which Kellog’s House [Master] is located. Inside you’ll only find some junk, and really, there’s no need to mess with this house yet. You’ll come back here during the main story.
Schoolhouse
From the Pembroke Residence head south to find the Schoolhouse, a rare institution in post-apocalyptia. Head behind some barricades on the ground floor to find some beds, near which you can find an issue of Live & Love on a cinder block. You can also check out the kids having a lesson up above and talk to the teacher, Mr. Zwicky. More importantly, you can talk to Edna the robot up here about love (she is obviously crushing on the teacher). Go ahead and encourage her to see a funny scene later on. One last note: you can take the upper ladder here to the bus on top of the roof to find some various drugs to take.
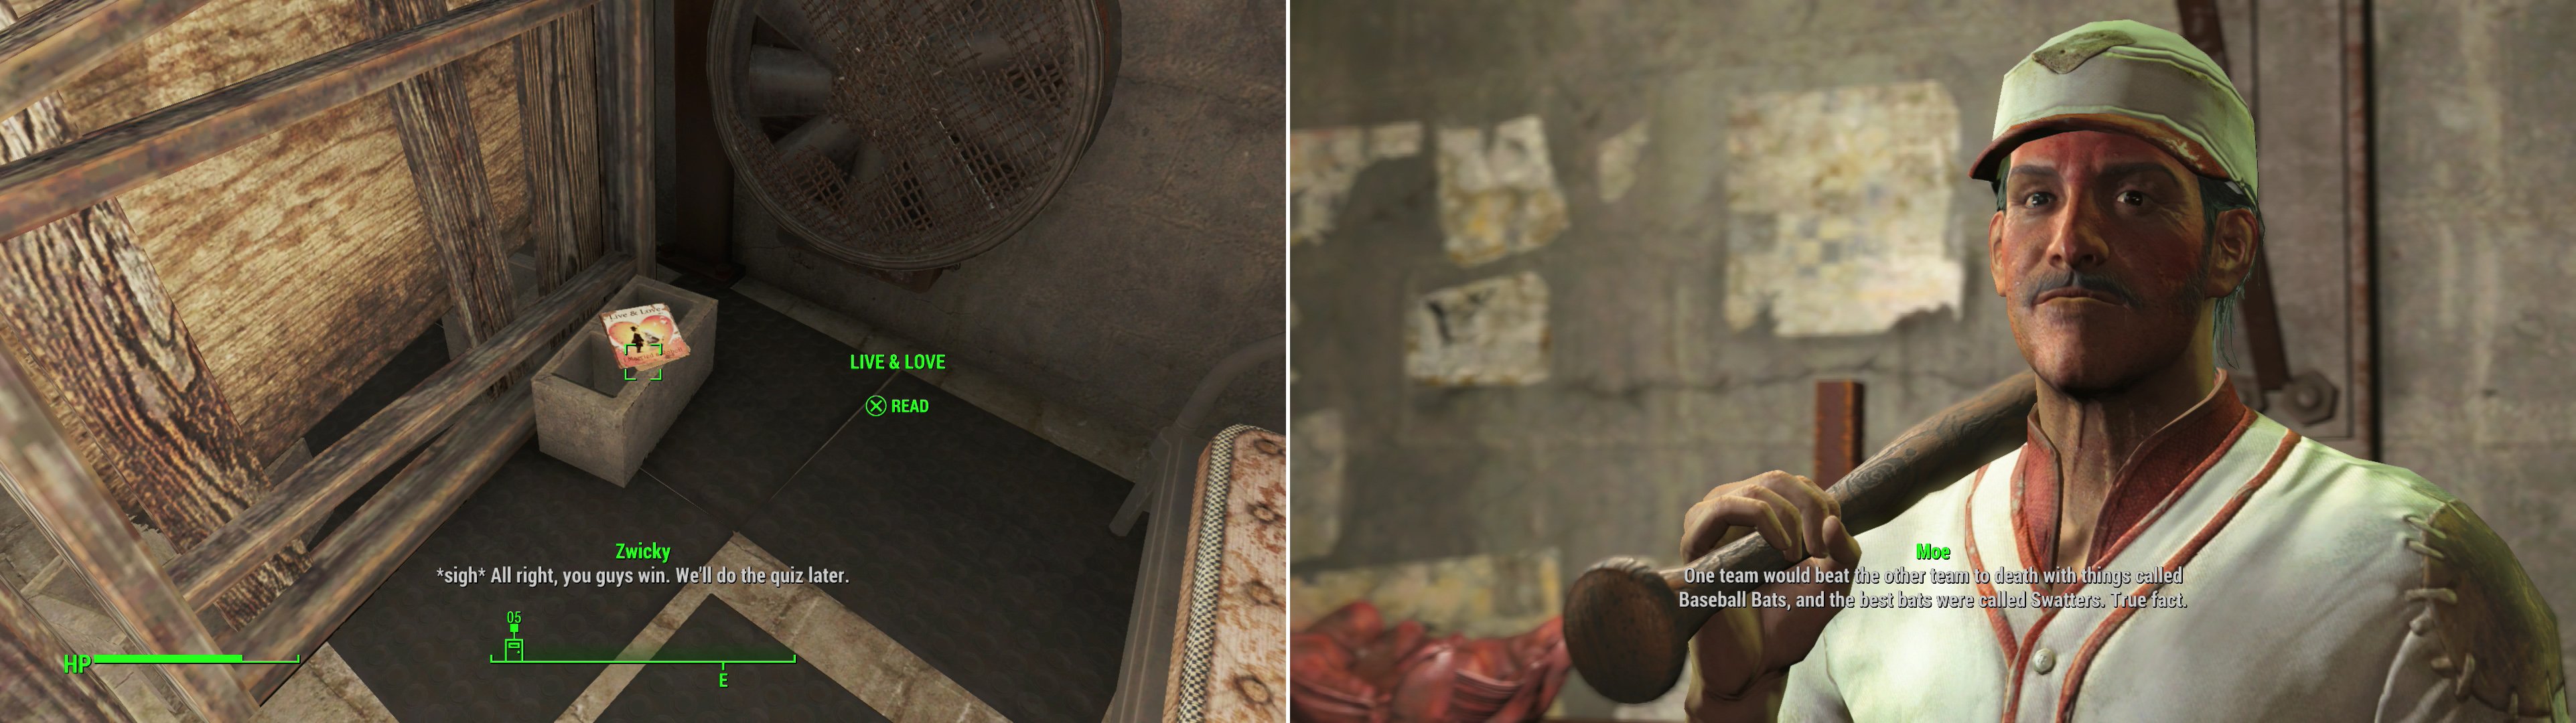
Grab the Live & Love magazine from the Schoolhouse to obtain one of the rare bits of notable loot in Diamond City (left). Moe has some… odd thoughts on how baseball was played. Probably would be a more interesting sport that way, though. (right).
Security Office
Head around a corner to the west to find the Security Office building, which houses the guards not out in the city. You can enter and find a charging Protectron in here, along with an [Expert] Terminal nearby. Now if you hack the terminal, you can read about this unit, which is damaged and targets anyone. If you are really evil you can choose to activate it and the unit will of course go hostile, trying to kill you and the guards here. It is worth noting you can do this and kill it without making the Security Personnel here hostile, which is… a bit insane. There is also an [Expert] lock on the cell in here, but since you are in the open it isn’t wise to pick it. Thee is a room with goodies in it as well, but you’ll need to steal them so don’t bring along a “Good” companion.
Moes Swatter Store
From the Security Office return east down to the alley with the Schoolhouse, then turn north and east to reach the market area of Diamond City. Time for some shopping! The first stop is Moe’s Swatter Store. Moe is a baseball nut and sells “Swatters” (bats) and other baseball memorabilia, including the unique Rockville Slugger . Of course, he has no clue what baseball actually was, and if you tell him, he prefers his deathmatch variety which honestly, would be far more interesting than the steroid snooze-fest the game is these days. Ask him for work and he’ll ask you to recover some rare baseball memorabilia at the rate of 100 Caps each. Talk him up to 200 Caps each if you can, but either way, this starts the quest “Out in Left Field” .
Sheffields Caffeine Addiction
Between Moe’s Swatter Store and the next stop - Arturo’s Weapon Store - you can find Sheffield, who is tweeking out over some Nuka-Cola. Give him a Nuka Cola and you’ll get a nice XP reward, after which you can assign him to one of your settlements.
| Objective | Reward |
|---|---|
| For indulging Sheffield’s Nuka Cola Craving | 95 XP |
Arturos Weapon Store
Located in the Diamond City Markets area, only open during daylight hours. Arturo sells a wide selection of weapons and ammo, including the unique Fat Man Big Boy and the Laser Rifle Old Faithful .
Myrnas General Store
Myrna’s General Store is run by Myrna and her robot so you can use this shop 24/7. As the name implies, they sell general junk and a modest selection of weapons, armor, chems and ammo. Always worth a look. Before you talk to Myrna, it is a good idea to put on Charisma gear and quicksave, as you can pass a speech check with her for some easy XP when she questions whether or not you are synth - but only if you initially say that you aren’t human, then talk to her again.
The Home Plate
The next stop along this side of the market is The Home Plate; your house which you’ll have the key to if you bought the home from Geneva. Inside you can find three Ammo Boxes, three First Aid Boxes, a Steamer Trunk and a Workshop you can use to break down all the junk you don’t want, as well as building whatever furnishings may be lacking.
Solomons Drug Store
From the red door to The Home Plate (near the Power Armor Station) head west to find Solomon, who will sell chems. Ask him for work and he’ll give you the task to recover some Mutated Fern Flowers, which can be found at the Forest Grove Marsh on the western side of the river, just south of the Weston Water Treatment Plant. If you gathered these on the way to Diamond City, give one to Solomon, otherwise, return to the Forest Grove Marsh and recover one. For such a menial task, he rewards you quite well. If you’d rather get a five finger discount on his chems, though, you can head into his nearby house [Novice], but this endeavor is best postponed until night, when you’ll have a better chance of going undetected.
| Objective | Reward |
|---|---|
| For giving Solomon a Mutated Fern Flower | 181 XP, 200 Caps Buffout x1, Psycho x1, Jet x1 |
Mega Surgery Center
West of Solomon’s Drug Store you’ll find Diamond City’s clinic. The basic medical services are offered by Doctor Sun, who will heal you, remove your RADS and cure addictions… for the right price. Head through the red door to reach the interior of the Mega Surgery Center to find Doctor Crocker, who will offer to perform facial reconstructive surgery on you for 100 Caps; in case you need to obsess over trivial aesthetics. Finally, find a trap door [Advanced] east of where Doctor Sun stands during the day, which leads to the Surgery Cellar, which, well, no sane person would ever want to be operated on in here, but at least you can score some chems.
Super Salon
Continue west to find John’s Barber Shop: As you can guess, you can get a haircut here for a few caps, which lets you change your hairstyle (and color). You can also talk to John’s paranoid mother, Cathy, who thinks the mayor’s secretary is a synth.
Fallons Basement
North of the salon you’ll find some stairs leading down to Fallon’s Basement, where you can buy various armor, including a valuable Hazmat Suit. If you don’t want to buy it, however, there’s a (very long) side quest that starts in Diamond City where you can get one for free. You can also find a “Join the Railroad” Holotape here as well by looking around the store.
Noodle Soup
Finally, turn your attention to the stall in the middle of the market to find a Protectron named Takahashi, who only understands the response “Yes”, and will only sell Noodle Cups. Stay classy, guys.
Annnnnd, that’s Diamond City. On your way through this place you should have found a whole bunch of new shops to do business with, witnessed plenty of synth paranoia (you’ll be dealing with this quite a bit down the line), met some new people and started a whole bunch of new quests, including “Story of the Century” , “Confidence Man” , “Painting the Town” and “Out in Left Field” , along with many miscellaneous objectives. Let’s tackle all these quests in and around Diamond City before bothering with the quest “Unlikely Valentine” .
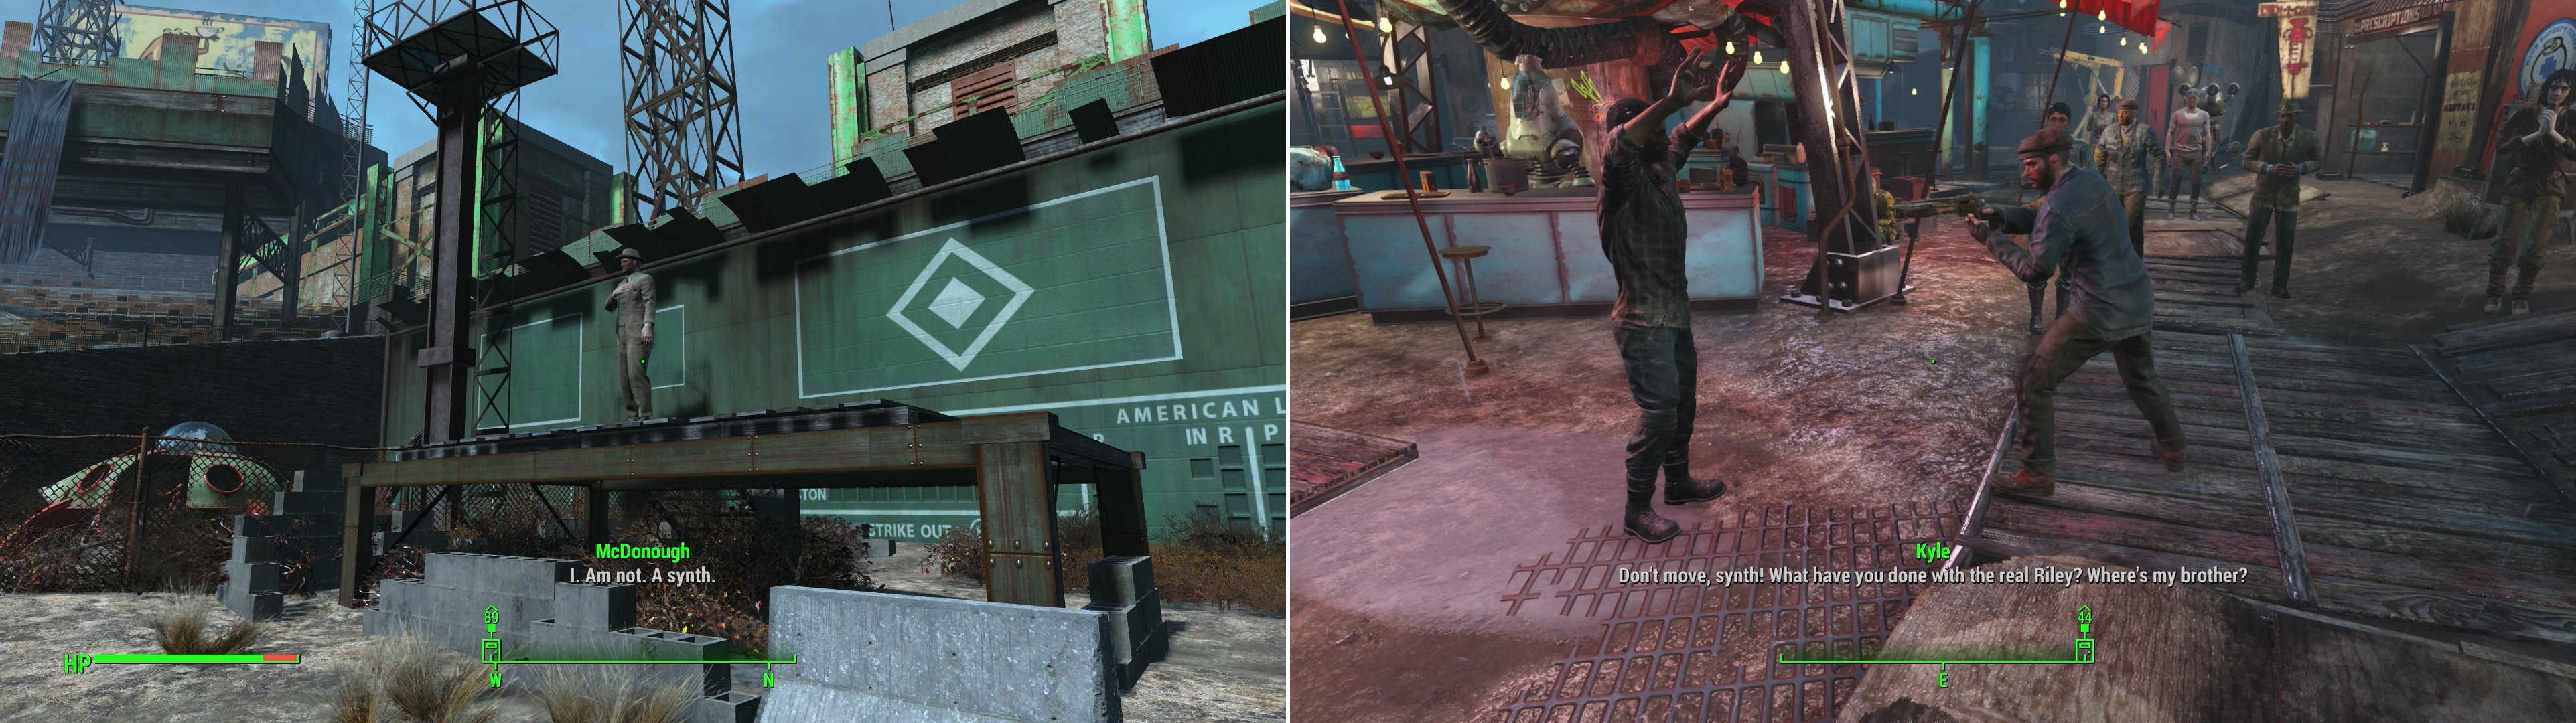
The mayor gives an impassioned speech declaring he’s not a Synth (left) and you’ll witness other unfortunate incidents of Snyth hysteria while you explore Diamond City (right).

 Sign up
No Comments