
| Important Items in This Area |
|---|
| Ashmaker |
| Astoundingly Awesome Tales |
| Lock Picking Bobblehead |
| Pickman’s Blade |
| Shem Drowne Sword |
The Gilded Grasshopper
Let’s start things off by clearing out Pickman Gallery. Fast-travel to the Old North Church and head west along the southern end of the church to spot a green door leading to a Boxing Gym. Hancock’s been waiting this long, what’s another diversion, eh? In here you can find weights of various sizes, if you need more lead for whatever reason (why not just scrape some paint off Shaun’s crib for that?). There’s also a Footlocker [Novice] under a metal shelf and a Safe [Advanced] in a poor excuse for an office. If you head down a street to the west from this little gym you’ll find a cemetery to the right and the Mean Pastries shop to the left, though another green door. In the graveyard you’ll find some Feral Ghouls (but remember, they’re totally not zombies!), but more importantly you can search “Shem Drowne’s Grave” to find some loot in the sarcophagus you dig up, including a Gold Bar, some Copper Bars, Silver Bars, the note “Fear Not” and the unique “Shem Drowne Sword” . Meanwhile, in the Mean Pastries store you’ll find a lot of nothing. Hardly a fair split.
| Objective | Reward |
|---|---|
| For robbing Shem Drowne’s grave | 455 XP |
Pickman Gallery
Return east to the Boxing Gym and follow another road north from the door, pass a truck, and turn west when you get the chance. Pass through a fence and make your way into alley which is crawling with Raiders. Smite them and go through a red door to reach Pickman Gallery. Inside the building to the east you’ll find some stairs, near which some Raiders are talking about the paintings, and some prey they’re hunting. Kill the Raiders here and go through a doorway to the north to find a dead Raider. Loot his body for a “Message to Jack” and listen to it to learn that… well, the only thing that might be worse than Raiders is a psychopath willing to hunt them. You can now head back to Goodneighbor, report to Hancock and claim your reward. When you’re done, you might as well return to Pickman Gallery to explore the rest of the place.
| Objective | Reward |
|---|---|
| For finding out more about the disturbance in Pickman Gallery | 195 XP 200 - 400 Caps |
From the room where you found the “Message to Jack” holotape go east through some double doors [Novice]… or you can just go around. Either way, enter this room, kill any Raiders inside, then loot an Ammo Box and a First Aid Box, as well as some of Pickman’s victims, who bear “Pickman’s Calling Card” on them. Hey, did you just do something like this? Oh well, perspective is the difference between a heroic vigilante and a serial killer. To the south you’ll find a door [Master], which you do not need to pick, but it’ll provide a bit of a shortcut if you do.
Assuming you can’t, however (it’s that lowest common denominator again!) head up some stairs near the entrance. The second floor isn’t terribly interesting, aside from a Tripwire rigged to a gun, so head up to the third floor and kill any Raiders here. Through a doorway to the west you’ll find another Tripwire rigged to a gun (possibly even a Missile Launcher!). Aside from this, however, this room isn’t terribly interesting. That in mind, head to the eastern end of the level and go through a hole in the wall to the north and descend down a hole, being wary of a Frag Mine when you land. Descend several more levels to reach sturdy stone ground and you’ll hear some Raiders announce they got the door [Master] open. They’ll shortly be coming down some stairs to the south, so be sure to greet them, then head east down some ladders and through a hole in the wall, just beyond a pile of gore. Lovely.
Continue east down a tunnel, then turn north to hear a loud-most Raider calling out Pickman. Enter the chamber he’s in and spare Pickman the trouble, then loot an Ammo Box near a radioactive barrel. Head west down a hallway to find a Suitcase, then return to the circular chamber and head south-east down some stairs, then turn south-west and drop off a ledge near a pipe. Crawl through some water and make your way east, north-east up a mound of dirt, then kill some Raiders on high-ground before slogging through some water to the north-east to find some stairs. Head up the stairs and make your way south, cross some pipes to the south, south-east, then follow a curving path north-east until you come across some more Raiders and a turret. Smite them, then head up some stairs to the west, then go down a tunnel to the south-west, then another to the south-east. Follow some pipes to the south-east, stopping only to loot some Nuka Cola Quantums, then keep going south-east into a small chamber with a Frag Mine in it. Proceed north-east and silence another Raider calling out to Pickman, then kill his buddy and his turret, too. Continue up some stairs to find a Mattress you can rest on, should you need to, loot an Ammo Box, then head down a tunnel to the west, then north before you run west along a pipe.
Here you’ll find Slab - accompanied by a few of his Raider pals - talking to Pickman. Act quickly and take out the Raiders before Pickman bites the dust, then talk to Pickman, who is all too proud of his hobby. Can’t really condemn him too much, considering how many Raiders you’ve killed by now. You just aren’t as creative with their corpses. Play nice and he’ll give you “Pickman’s Key” and tell you to come back to “his house” later. If you were hoping for some sweet loot you didn’t have to wait for, however, you’re in luck. Search near a trash can with a fire in it between the stone pillars to find the Lock Picking Bobblehead lying on the floor. Want more? Your luck holds. To the west you’ll find a Steamer Trunk, and on the ground nearby is a copy of Astoundingly Awesome Tales . Still want more? Too bad.
Head up a tunnel to the north-west and climb a ladder to exit Pickman’s Gallery. Make your way up some stairs, then drop down into an alley to the east. Now that you’re done with Pickman Gallery, immediately… return to Pickman Gallery. You started the quest “Pickman’s Gift” after accepting his key, and you might as well collect, right? Head back into the first room on the left and search the “Picnic for Stanley” painting in the north-western corner, which can be removed to reveal Pickman’s Safe. Open it with the key you were provided to obtain - amongst other loot - Pickman’s Blade .
| Objective | Reward |
|---|---|
| For claiming Pickman’s Treasure | 195 XP |
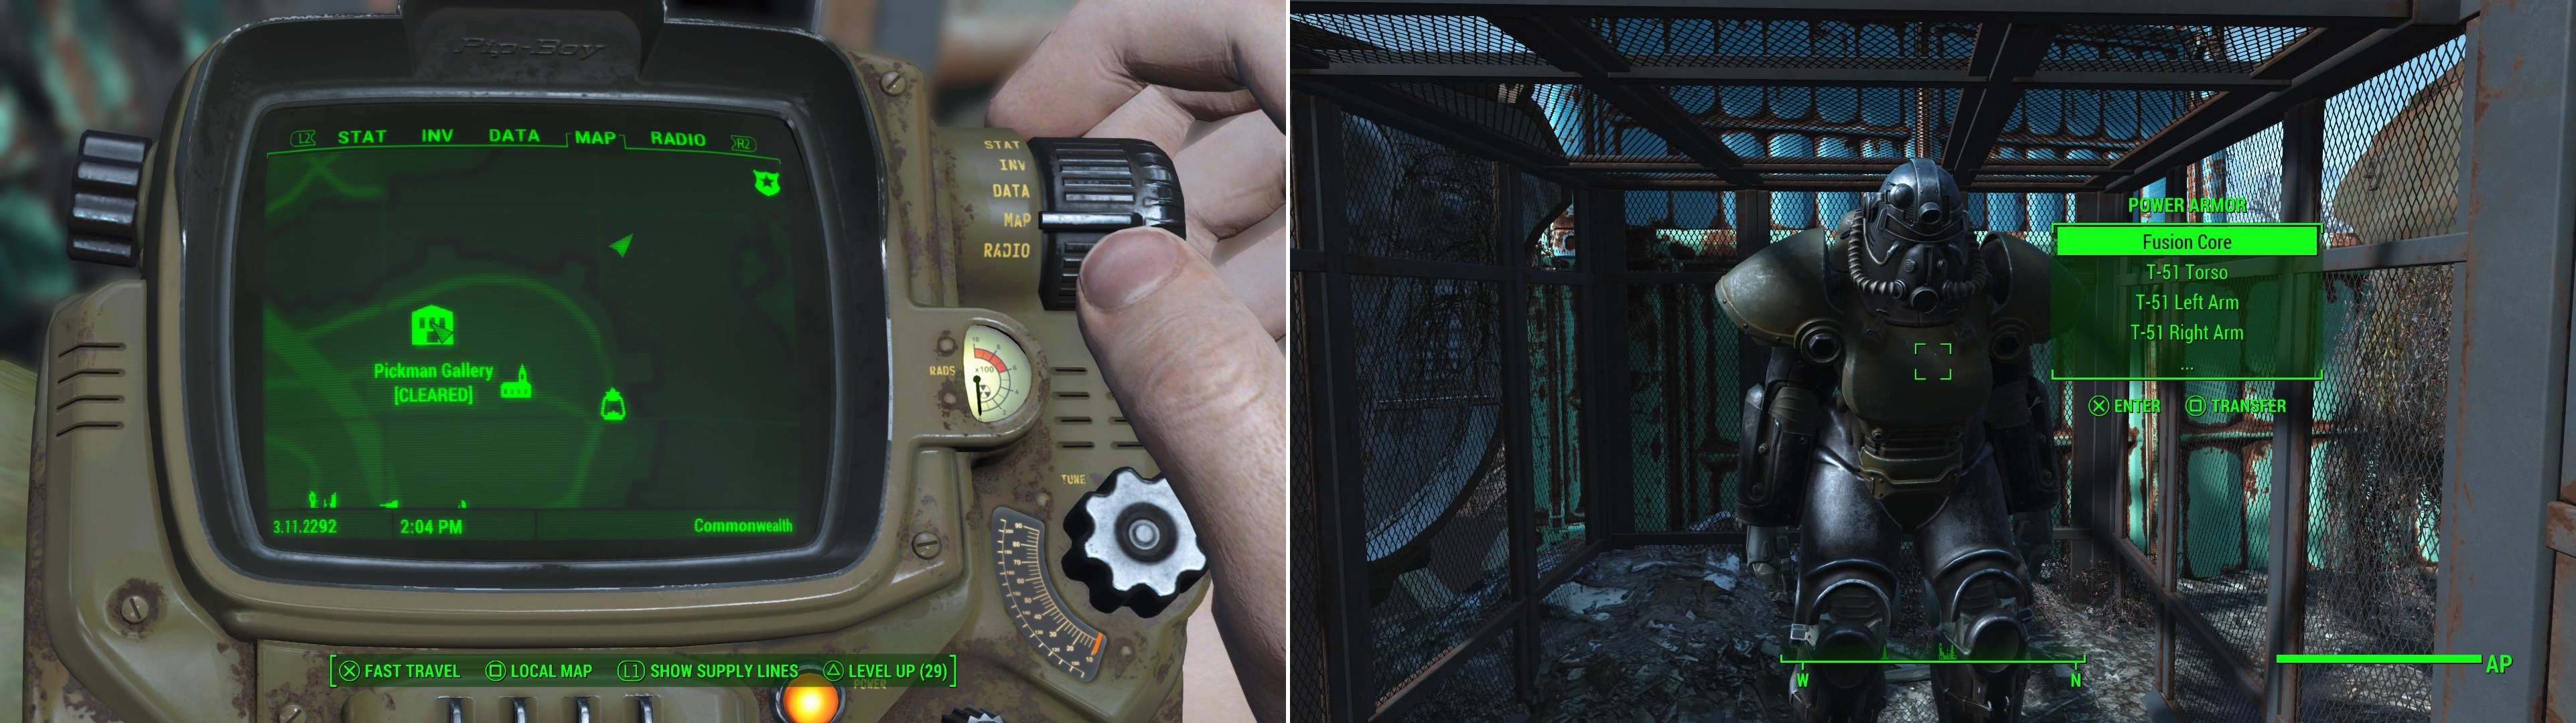
North-east of Pickman Gallery you can find a barge littered with old military equpiment (left). On this barge you’ll find a suit of Power Armor in a cage (right).
There’s still more stuff to do in Goodneighbor, but first, there’s on more bit of choice loot to obtain. Exit Pickman Gallery and, from the red door in the alley, head north until you reach the water. Follow the coastline east, picking your way across rubble and waterside brick walkways until you find a barge near a concrete dock. The barge is litted with shipping crates, a wrecked Vertibird and three ruined APCs. In the midst of the APCs, on the eastern end of the barge, you’ll find a cage containing some power armor. Just hack a terminal [Novice] on the cage itself to gain access to this treasure. Store it, then get ready to keep questing Goodneighbor.
The Big Dig
Return to Goodneighbor and head back down the alley between the two warehouses to find Bobbi’s Place, which you should now enter. If you head upstairs you can find Bobbi’s Terminal [Advanced], but for some reason it refuses to be tampered with. Oh well. Head downstairs instead to find Bobbi. Be sure to put your Charisma gear on, then talk to her, ask her about the job, then pass a moderate speech check to find out that she’s digging a tunnel in her basement, and needs your help.
Head through a door to the south and into a tunnel to find the site of the dig. Your fellow diggers will make some headway, then quickly bail, leaving it up to you to see what they found in the depths. Continue south into a small chamber, waste a trio of Mirelurks, then report back to Bobbi with the news. Since you’re the only one who stuck around, you’ll get a promotion, then she’ll mention needing some more quality help before telling you to meet her at the Noodle Shop in Diamond City.
Make your way to the market in Diamond City, where Bobbi will lay out her plan for you, then tell you about your new accomplice: Mel. Only problem? He’s currently incarcerated, and you’ll need to… shorten his sentence any way you can. Make your way west to the Security Office and talk to Mel through the bars and he’ll tell you about some Protectron on the fritz. Make your way west behind a wall near the cell to find an “Automated Security Terminal” [Expert]. The tech guy can’t hack an [Expert] terminal? Wonderful.
There are several ways to handle the breakout, if you’re as bad with tech as Mel is, or if you just don’t care to mess with a Protectron. First off you can simply kill everybody in here, pick the locked door to the cell [Advanced] (this will turn them hostile if they’re still alive, so why bother waiting?). The Protectron is just a means to this end, in case you were wondering. You can also try more subtle means if you find the right guard - there’s no telling just which one it is, so try talking to them all until one gives you dialogue options - namely bribing (300 Caps) or passing a moderate or hard speech check.
Exploring The Dig
Once Mel is free, follow him outside and eventually he’ll talk to you, inform you of Bobbi’s dubious character, and you can inform him about the job. Return to Bobbi’s Place in Goodneighbor, then make your way down to The Dig to find Bobbi and Mel, the latter of which shows off his new toy: a digging eyebot named… Sonya? Whatever. Make your way through the hole, kill a Mirelurk, then head east through a watery room where more Mirelurks dwell. Smite them, then head up some stairs and activate a “Fragile Wall” to the east to prompt Sonya to tear through it.
In the room beyond you’ll find a Mirelurk King. Dispose of it then locate a suit of Power Armor standing out in the open. Score. You shouldn’t need to make use of the suit in here, but if you want to run off and store it somewhere, go ahead, then return back to the watery Mirelurk room and sic Sonya on the southern wall. Continue west down the tunnel beyond until you reach another worked tunnel, where more Mirelurks await. Kill them, then mark another wall to the west for destruction at the ends of Sonya.
Beyond this last wall you’ll find a subway tunnel, the sight of which will prompt Bobbi and Mel to talk. Head onto the tracks and follow them south to find a large hub chamber. Cue the transition from Mirelurks to Feral Ghouls, and there are quite a few of them in here. Your allies will probably wander ahead of you and provoke the rotters, which is fine. Stay back and pick them off while your companions take the brunt of the assault. Once the Ghouls are dead, continue east to find a Suitcase [Novice] and a Nuka Cola Vending Machine with a Nuka Cola Quantum inside of it. To the south you can find a Terminal [Advanced] which opens a nearby door [Advanced], which has little of interest behind it, despite the locks.
From the subway hub room head west into a train, then turn south and search the train to find an Overdue book near a Cooler. Exit the train by heading west and kill another host of Ghouls, after which you’ll have a choice of ways to proceed. If you head north, then east past a Port-A-Diner you’ll find another Fragile Wall you can break down, past which you’ll find Mirelurks and radiation. Alternatively you can head through a doorway to the south, then down a train tunnel to find a Fragile Wall, beyond which you’ll find another hub tunnel filled with Ghouls and radiation. Those are your choices: Ghouls or Mirelurks, with a heap of radiation either way.
For the Ghoul approach, kill the Ghouls lurking and upon the flatbed car to the south then blast a hole in the wall to the west. Continue through it to reach an office where you’ll find a Safe [Expert]. Pillage the office then head through a doorway to the west, down a hallway, then through another doorway to reach a two story room full of machinery. Put down some more Ghouls. Head down a ramp, then get Sonya to headbutt another hole in the wall to the west, near some yellow machinery. Enter the dirt tunnel beyond and find a hole in the wall to the south, which leads to a room with a Chemistry Station.
Alternatively, if you go the Mirelurk route, waste the Mirelurks in the room beyond the Fragile Wall, then head down a metal ramp and into a large, broken metal pipe. Follow the pipe to the south to reach a room with two Mirelurk Hunters and some radioactive barrels. Kill them (the crabs, not the barrels) then turn east to find a Security Door [Expert], beyond which is a machine with a Fusion Core inside of it. Once it’s yours, make your way south-west, up some stairs and around some machinery, then continue upstairs and through a tunnel to find a hole in the wall to the south, which leads to a room with a Chemistry Station.
In the room with the Chemistry Station use a Terminal to unlock a sealed door to the west. Head through the now-open door and kill the Ghouls below you before heading down a ramp. Search the north-eastern corner of the lower floor to find a Terminal [Advanced] which opens a nearby Security Door, beyond which you’ll find an Ammo Box and a Duffle Bag. Return back up the ramp and walk around the edge of the room to the south to reach a hole in the wall, beyond which may well be more Ghouls. Enter a caged-off to find a Steamer Trunk, then go through a hole in the wall and turn west to find another Fragile Wall that can be destroyed.
Stealing from a Thief
Head through the resulting tunnel and talk to Mel, who will tell you that if there’s any goodies you still wish to plunder here, you better do so now. When you’re ready, tell him so and he’ll send Sonya to take down one final Fragile Wall. In the strongroom beyond, talk to Bobbi, then clear out of the room while Sonya brings the ceiling down. Before you go investigate, put on your Charisma gear if you want to deal with the next part through diplomacy, otherwise stay armed. Head into the strongroom and you’ll find out that Sonya’s made her last run, Bobbi’s been lying to you this entire time, and Fahrenheit is waiting for you up the concrete ramp above. Bobbi will try to convince you to fight for the treasure you’ve worked to reach, while Fahrenheit will make a surprisingly generous offer. Pass a moderate speech check to convince Bobbi to give up, betray Bobbi or fight Fahrenheit.
If you turn against Bobbi, put her down then talk to Fareheit and she’ll give you the unique Minigun “Ashmaker” , after which she’ll tell you to talk to Hancock. The quest unfolds largely the same way if you convince Bobbi to leave (except you don’t have to kill her, of course). In either event, return to Hancock (you’ll exit his strongroom at the NH&M Freight Depot) and he’ll reward you with some Caps for protecting his stash before he’ll reveal the burden of the trifold hat upon his head. Weary of his crown, he’ll offer to travel with you again, so he can play the rogue instead of the king. Ask him to come with you, then listen to him give a little anarcho-capitalist speech and you’ll have a brand new traveling buddy.
| Objective | Reward |
|---|---|
| For siding against Bobbi and returning to Hancock | 390 XP 191 Caps |
If you decide to fight Fahrenheit, however, things play out a bit differently. Kill Fahrenheit and her Triggermen goons, then loot her body for “Ashmaker” and the “Hancock Strongroom Key”. Open the boxcar to find Hancock’s stash which includes two Stealth Boys, some chems, a First Aid Box, some Fusion Cores, an Ammo Box and a Duffle Bag. Talk to Bobbi afterwards for your share, which you can haggle over for 50 more Caps, then take whatever you want from the boxcar. By all rights, it’s yours. Leave the building to discover the NH&M Freight Depot and return to Goodneighbor to find Hancock waiting for you. Seems kind of odd to go talk to a guy you just robbed, but there’s a good reason to do so, not the least of which because he confronts you. He’ll lay out an offer for you: since Fahrenheit is gone, he needs muscle, and more importantly, vengeance. Fortunately for him, he’s deciding to target Bobbi, being the brains of the operation and all, and will agree to wipe the slate clean if you kill Bobbi and pay him 1000 Caps (you can talk him down to 200 Caps with a series of successively more difficult speech checks).
| Objective | Reward |
|---|---|
| For siding with Bobbi) | 390 XP ?200 - 250 Caps |
Whether you killed Bobbi earlier or need to kill Bobbi now… or even if you let her walk, this is a good time to explore South Boston. Obviously if you need to kill Bobbi, that’s an objective that will be satisfied after a bit of exploration, but even if that’s not on the table, there’s a quest down there that can still be done: retaking The Castle for the Minutemen. This quest, “Taking Independence” should have been offered by Preston Garvey after completing some settlement quests (for example, “The First Step” and “Troubled Waters” ), and it’s down in this area as well. If that’s not enough incentive, there’s plenty of loot along the way.

 Sign up
No Comments