
| Important Items in This Area |
|---|
| Overdue Book |
| Picket Fences |
Preston may have told you to check out Graygarden, which is south of Drumlin Diner and south-west of the Corvega Assembly Plant. If not, you can still go and complete the quest there, with or without Preston telling you about it. You’re the General of this pathetically moribund operation, so you can do as you damn well please but it also gives you an excuse to explore further south and keeps you out of the more difficult areas to the south-east of Lexington for now, so fast-travel back to the Corvega Assembly Plant and make your way south-west.
Jalbert Brothers Disposal
The first area you should come across is Jalbert Brothers Disposal, which is infested with Mole Rats. Clear the pests out (be wary of a tripwire attached to a Grenade Bouquet in the south-western corner of the dump) then get to looting. Along the eastern edge of the dump, on the wall of a shack, you can find a Tool Chest [Novice] inside of which is an Overdue Book and near which is a Rigged Pipe Pistol. In this little shack you can find the Brother Edmund’s Journals Terminal [Advanced] which contains the ramblings of a Child of Atom cultist. On the floor nearby you’ll find a Floor Safe [Expert] which can be opened using the terminal, and there’s also a Steamer Trunk nearby. Leave the building and search along its western wall to find a Nuka Cola Vending Machine containing a Nuka Cola Quantum and a Nuka Cherry, then grab a Bottlecap Mine off the ground nearby.
Rocky Narrows Park
Before making your way to Graygarden, take a short detour west to find Rocky Narrows Park. This place is noteworthy only for the two Stunted Yao Gui you can find dwelling around; they’re still strong, but they’re too far away to aid each other and they’re not so strong a good couple of shots with a shotgun (perhaps aided by critical hits) can’t fix. Once they’re dead, loot a trailer to find a Steamer Trunk.
Graygarden
Now continue south-east to Graygarden, which is unusual because of it’s inhabitants, which are exclusively Mr. Handy robots. Head inside a greenhouse to find Supervisor White, who will tell you about Graygarden, direct you to the other supervisors, then ask about the water, which prompts her to ask you to help cleanse their water. Before you go running off, talk to Supervisor Greene near the Mutfruit plants outside. Point out - then indulge - his game show persona and he’ll give you… a new car! If you shouldn’t need such a fine piece of technology, however, you can trade it in for 100 Caps, and pass a series of speech challenges to get more; up to 300 Caps in total. He’ll also trade you some junk. On the other hand, Supervisor Brown will buy Mutfuit off you for two Caps each.
Graygarden Homestead
From Graygarden head west to find Graygarden Homestead, inside of which you can find plenty of junk. Go down some stairs and pick a locked door [Expert] to reach a basement, where more loot awaits, including a Toolbox [Novice], a Safe [Advanced] and a First Aid Box in a bathroom. There’s also a Tesla Arc trap in the western corner of the basement. When you’re done looting, leave the house and head downhill to the south where you’ll find a road, which you should follow south-west/south as it runs along a river. Along the way you can loot the back of a truck [Advanced], which contains a bed and an Ammo Box. From here, continue following the road south to find the Weston Water Treatment Plant.

Talk to Supervisor White at Graygarden and she’ll ask you to help clean up their water at its source (left). Outside of the Weston Water Treatment Plant you’ll find a host of Super Mutants, including one with a Missile Launcher. He looks better without a head (right).
Weston Water Treatment Plant
As you approach (hopefully while sneaking) you’ll spot Super Mutants lurking on top of the plant. They might not be the problem, but they’re not a good sign. Super Mutants are much tougher than Raiders, and these ones in particular are specialized. There’s a Mongrel Hound, a Super Mutant with a Missile Launcher, a Super Mutant Skirmisher with a Laser Rifle, several Super Mutants with more common weapons and a Super Mutant Suicider who will try to run up and blow himself - and you - up with a Mini Nuke. Obviously the two ‘muties’ with explosives are the most dangerous, and if you can take them out at long-range without being detected, you’ll greatly simplify this fight. The rocks to the west of the road make a good enough vantage point for this. Once they’re dead, a more straightforward approach will serve you just fine.
Once their numbers are depleted, continue south along the road to reach the flooded grounds of the plant. It’s not deep enough to catch you any RADS in most place, so don’t fret too much. In the various structures around here you can find plenty of industrial junk… and traps. In the eastern-most building in particular there’s a scale under some water, which prevents you from disarming the rigged explosive further on in the building - but if you trigger it and backtrack, the bomb should explode harmlessly. Loot around as you please, then head west to find the doors to the plant.
From the lobby entrance head behind a counter and read the entries on the Front Office Terminal to get some map information, then continue west up a hallway. You can look in a small locker room to the north wherein you’ll find some chems in a trash bin, a Duffle Bag, and a First Aid Box. Further west you’ll find an elevator, but ignore it for a moment and head south to find a locked door [Advanced] and a small storage closet. If you head up some nearby stairs you’ll reach the roof, on top of which you can find a shelter with a Grounds Terminal [Novice] which you can hack to turn off spotlights and open a nearby Safe [Expert].
Return to the interior of the plant and take the elevator down, then head east to reach a room with a Machinegun Turret in the north-eastern corner. Investigate the Manager’s Terminal to learn more about this place’s shady business practices. To the north you’ll find two doors, one locked [Novice], one unlocked. Either unlock the door or go through the unlocked door, then through a hole in the wall to find a small room with two Ammo Boxes.
Continue down some stairs to the east and your quest will update. Turn north and activate the “Pump Control Switch” on the blue console there, and watch as the water drains from a room to the east, which prompts several Mirelurks to crawl out of the water. Ignore a door to the south for now and make your way back up the stairs to the door to the west, then turn south to find another locked door, which you can open by pressing a big red button. Make your way through the door then turn east to find a room with a Safe [Expert]. There’s also a Facilities Terminal you can use to turn off the Machinegun Turrets in the larger chamber to the south and, most importantly, a copy of Picket Fences on a nearby cabinet.
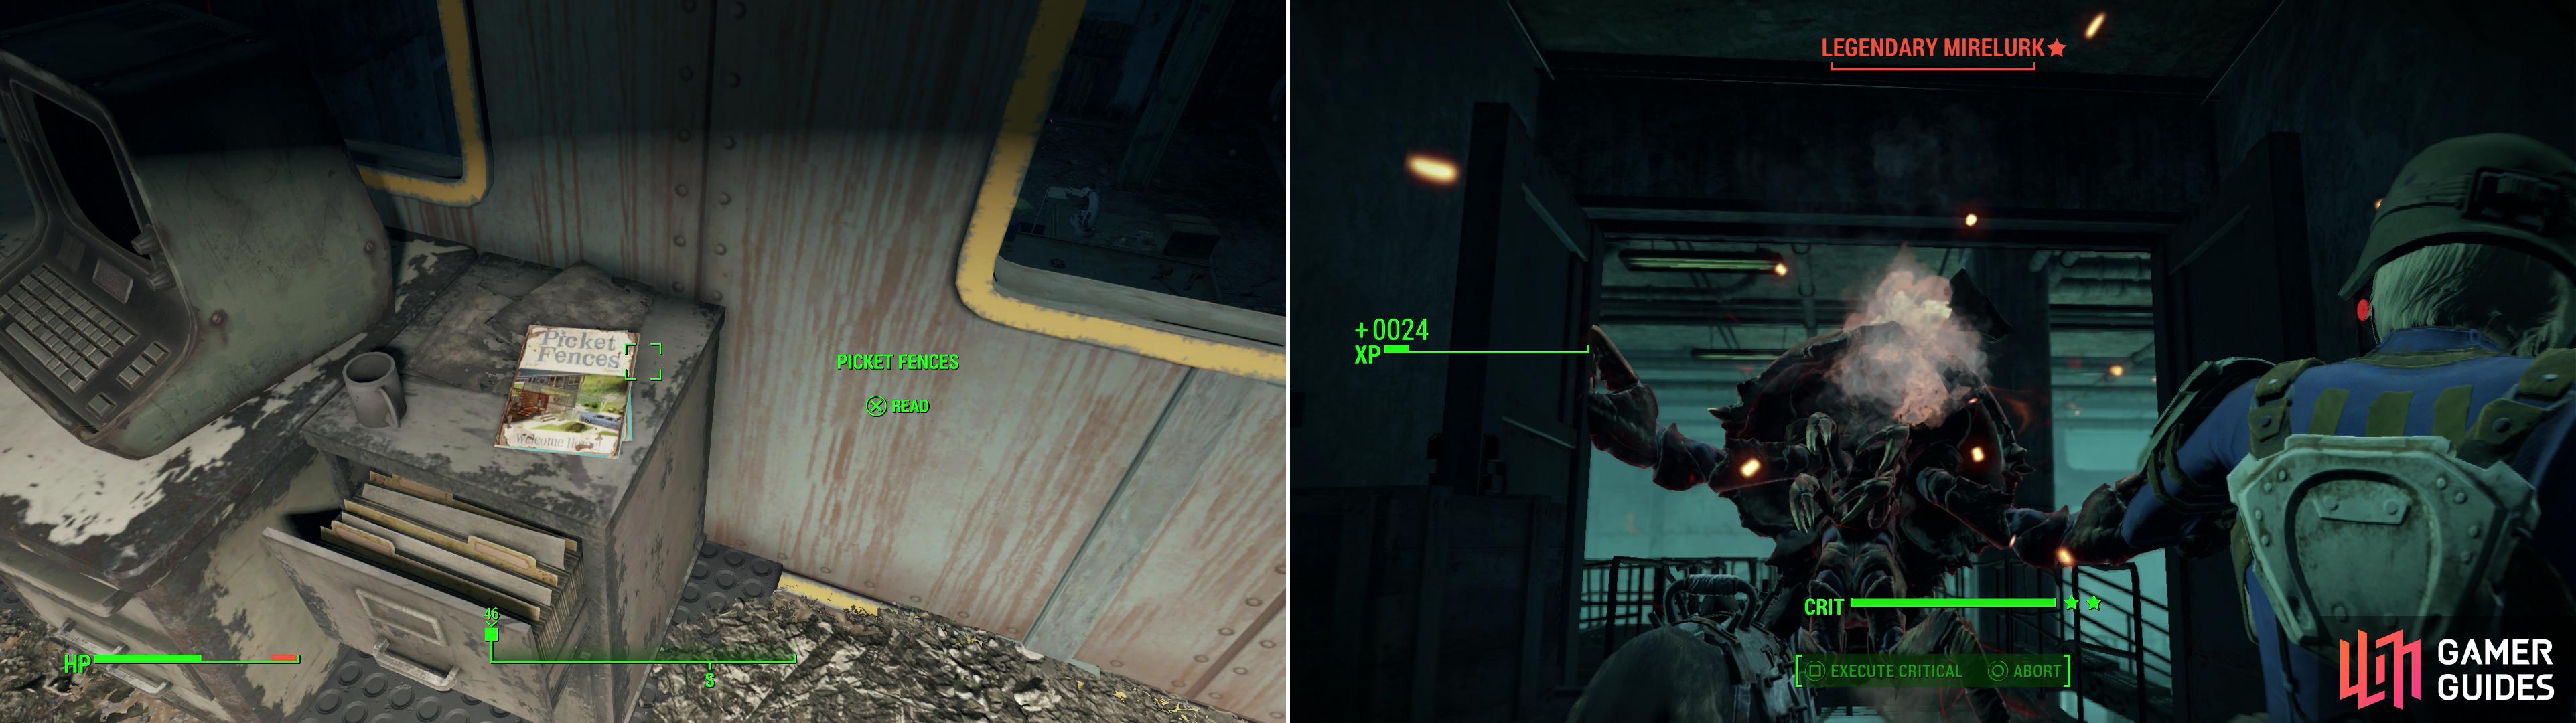
Grab the issue of Picket Fences inside the Weston Water Treatment Plant (left) then clear the Mirelurks out of the flooded portion of the plant (right).
Make your way into the larger room to the south and loot the place for some junk, then head through another door to the east, which requires a button press. Head down an oily, curving tunnel then go through another button-loving door to reach the room you partially drained. Kill the Mirelurks lurking in the mire, open the door to the west leading to the first pump console, then make your way along the metal walkways to the northern side of the room, where you can find yet another button to press. Go through the door the button opens and down a hallway to the north. Ignore for a moment the doorway to the east, and instead go through another door [Advanced] to the north. Destroy a Machine Gun Turret inside and loot the room for its meager offerings.
Leave this room and go through the doorway to the east which was ignored previously. Destroy another pair of Machine Gun Turrets near each doorway, then press another button to open the door to the east. Beyond this door you’ll find a burrowed Mirelurk and a Machine Gun Turret. Deal with them, then activate another Pump Control Switch to move the water level down further.
The third pump control switch is located on the southern side of the area, so backtrack through the room to the west then turn south to return to the large flooded chamber. Kill whatever Mirelurks have crawled out of the muck and ascend some stairs to the west, heading west, then south, then east around the metal walkways of this chamber to reach the concrete platform on which the third pump control console is located.
Drop off a ledge to the north to land on a metal platform, where you’ll find two Machine Gun Turrets and an equal number of Mirelurks. Dispose of them, then wade into the water to the north, make your way into a structure, then head upstairs to find the fourth Pump Control Switch. Finally fully drained, make your way south into the previously flooded room, and continue south past where the turrets were and into the muck to find yet another Pump Control Switch. Flip it to start the main pump, then press a button to open some double doors to the south. In the room beyond you’ll find a Steamer Trunk and an Elevator which will take you back up the surface.
Return to Supervisor White at Graygarden and she’ll guess that you’ve been successful with the water, and reward you by giving you some food, offering a discount (courtesy of Supervisor Greene) and by allying with you. The workshop is south of the greenhouse, and yes, the robots count as settlers. There’s plenty of food production - just build a house for some human settlers, some water pumps and defenses, and you’ll have a nice little settlement on your hands.
Anyway, when you’re done here, return to Preston for your reward- if he assigned this place to you, anyway. He’ll also tell you about the old stronghold of the Minutemen - “The Castle” - which he wants to retake, but since this is far to the south-east, it’ll be a while before you get down there. Don’t agree to go after The Castle yet, as it’ll get Preston to run off, and you may need him around to give you new settlement goals after you complete the quests he’s currently given you; just say “Later” when you talk to him to get the next quest.
| Objective | Reward |
|---|---|
| For bringing Graygarden into the fold | 253 XP |


 Sign up
No Comments