
Details for how to join the Railroad and unlock Ballistic Weave in Fallout 4.
The Railroad is a faction in Fallout 4 which can be joined fairly early in the game, provided you know where to go and aren’t shy about taking considerable risk to get there. You’ll hear about the faction from various sources, and the faction’s driving dilemma will almost certainly be explored before you even hear about the Railroad. That said, it’s also a fairly obscure faction to join, as you likely won’t start its first quest, Road to Freedom until you reach [Diamond City].
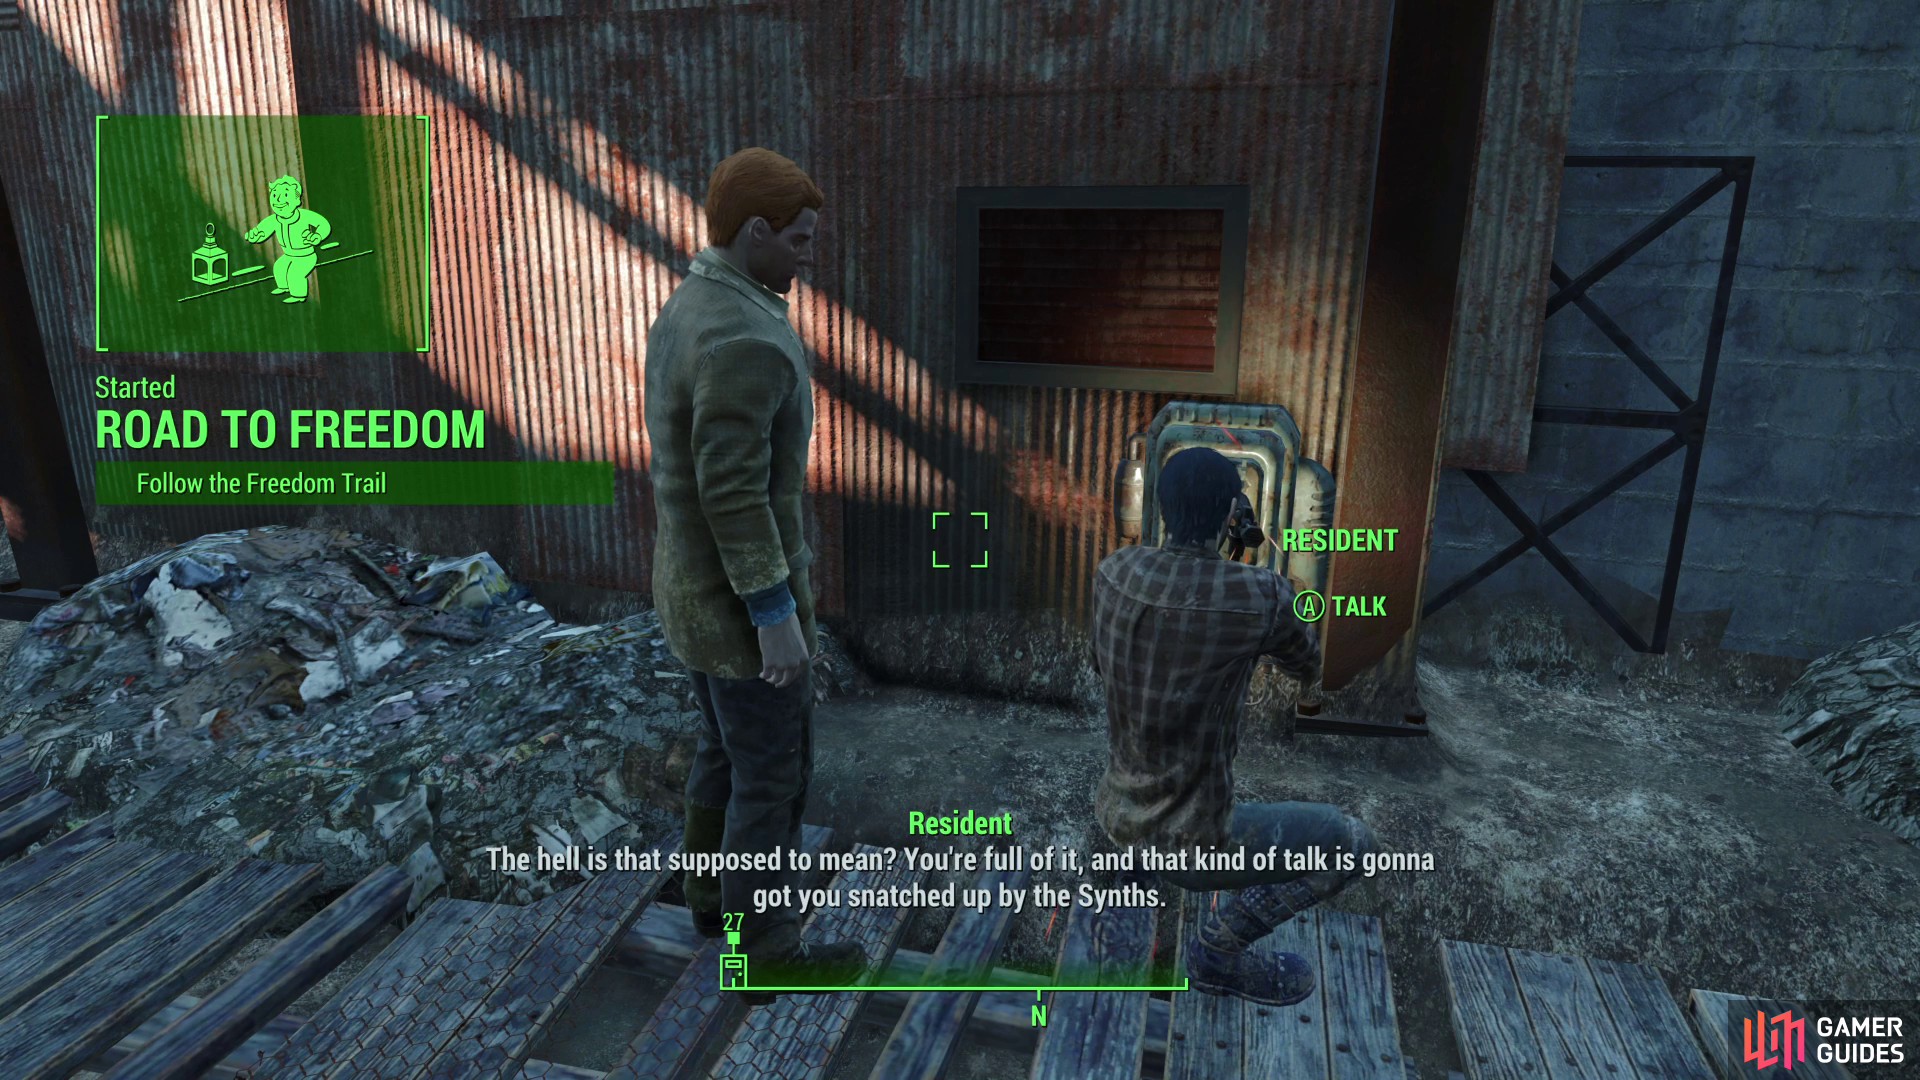
(1 of 2) You can start the “Road to Freedom” quest by overhearing some NPCs talk near the Valentine Detective Agency.
You can start the “Road to Freedom” quest by overhearing some NPCs talk near the Valentine Detective Agency. (left), Walk the Freedom Trail, seeking out murals in front of landmarks. (right)
Road to Freedom
The most reliable way to start this elusive quest is by waiting outside the Valentine Detective Agency for two NPCs to start talking about the Railroad; simply overhearing them is enough to start the quest. If they’re not there, go rest or wait for an hour, then return. Zone in and out of Diamond City (perhaps even fast traveling to and from the area) until these NPCs spawn.
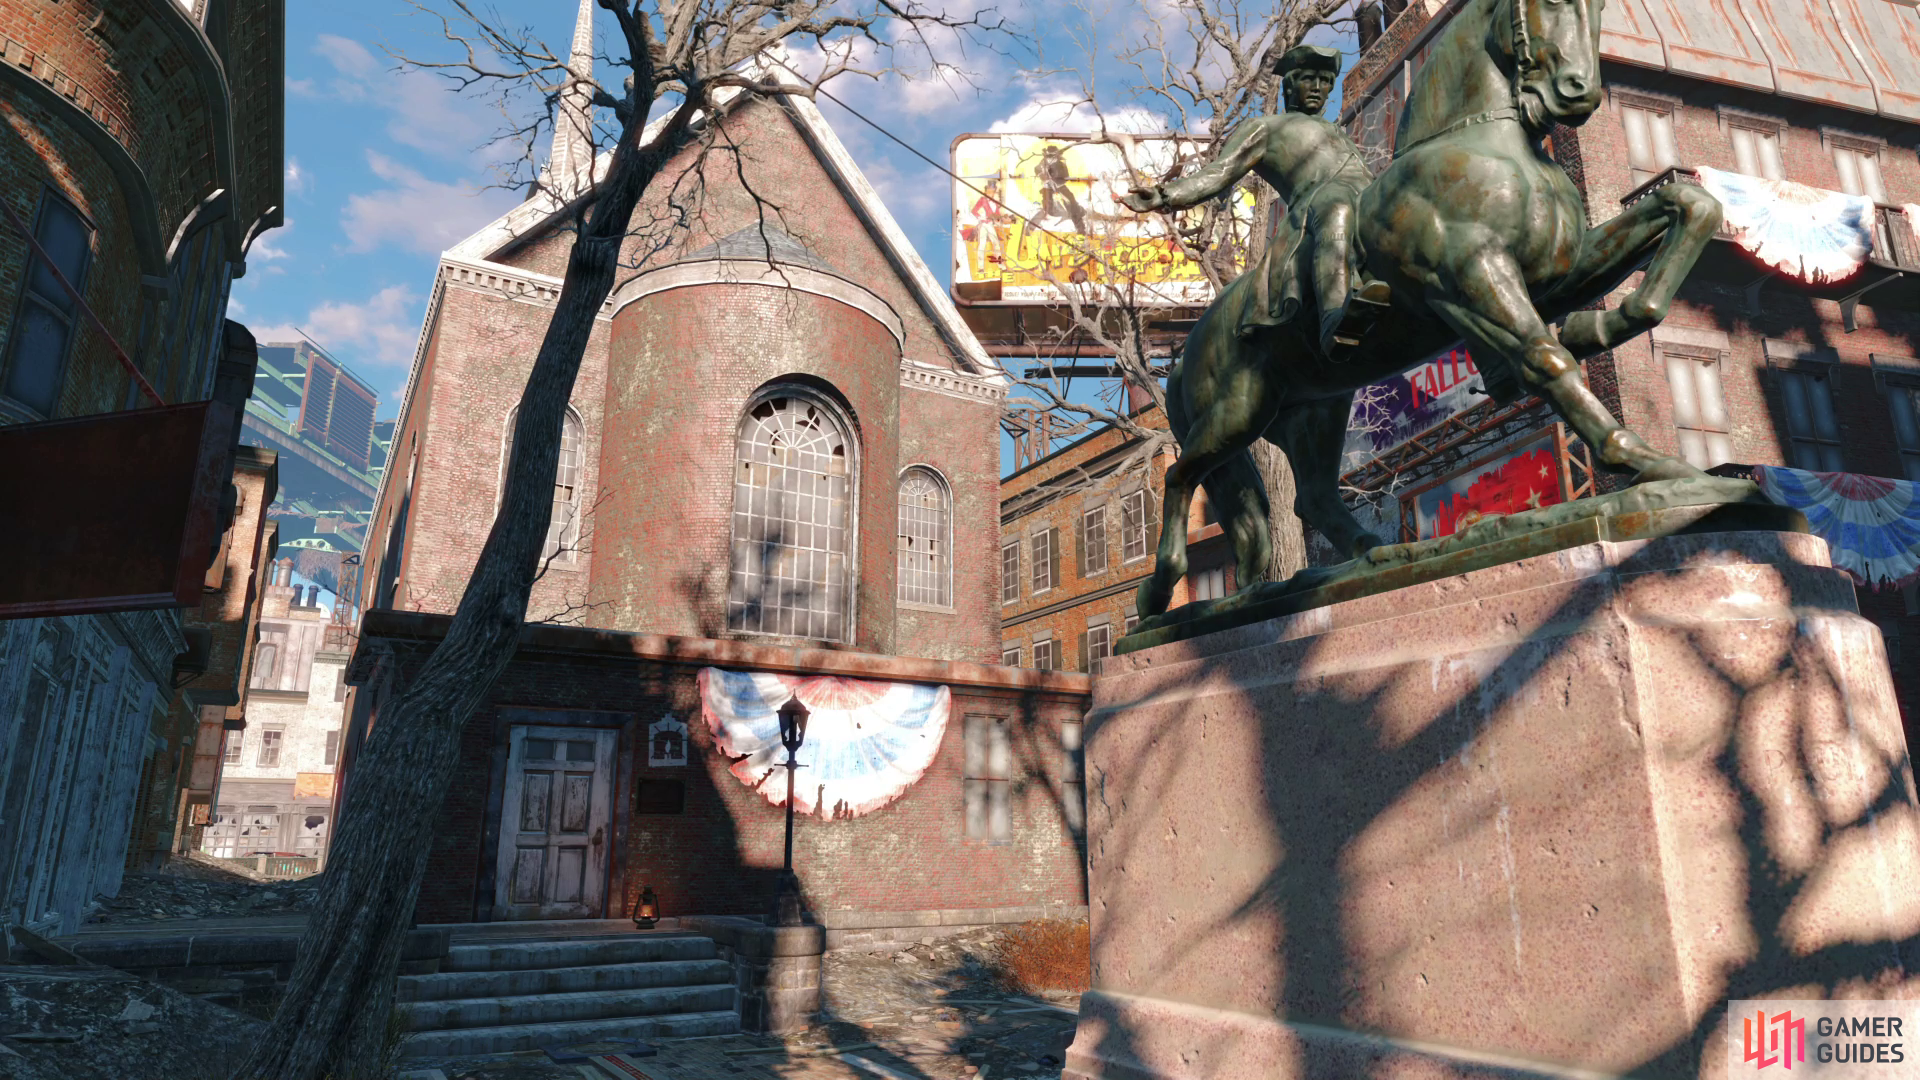
This quest can be quite involved, as it requires you to follow the “Freedom Trail”, which takes you to historical parts of northeastern Boston, stopping at various points to find murals which give you clues you need to solve a puzzle. This will take you from [Swan’s Pond] in the [Boston Commons] region to the Old North Church in the [North End] region. In fact, you’ll travel through much of the North End region, encountering Ghouls, Raiders, Super Mutants, and whatever else fate throws at you.
Suffice to say, it’s quite a perilous journey.
It’s also completely unnecessary, as you don’t need to walk the Freedom Trail at all. To join the Railroad you just need to travel to the Old North Church in northeastern Boston (you can reach it by heading southeast from Bunker Hill). Kill the Ghouls inside the church and work your way down into the catacombs, at the end of which you’ll find a Freedom Trail Ring.

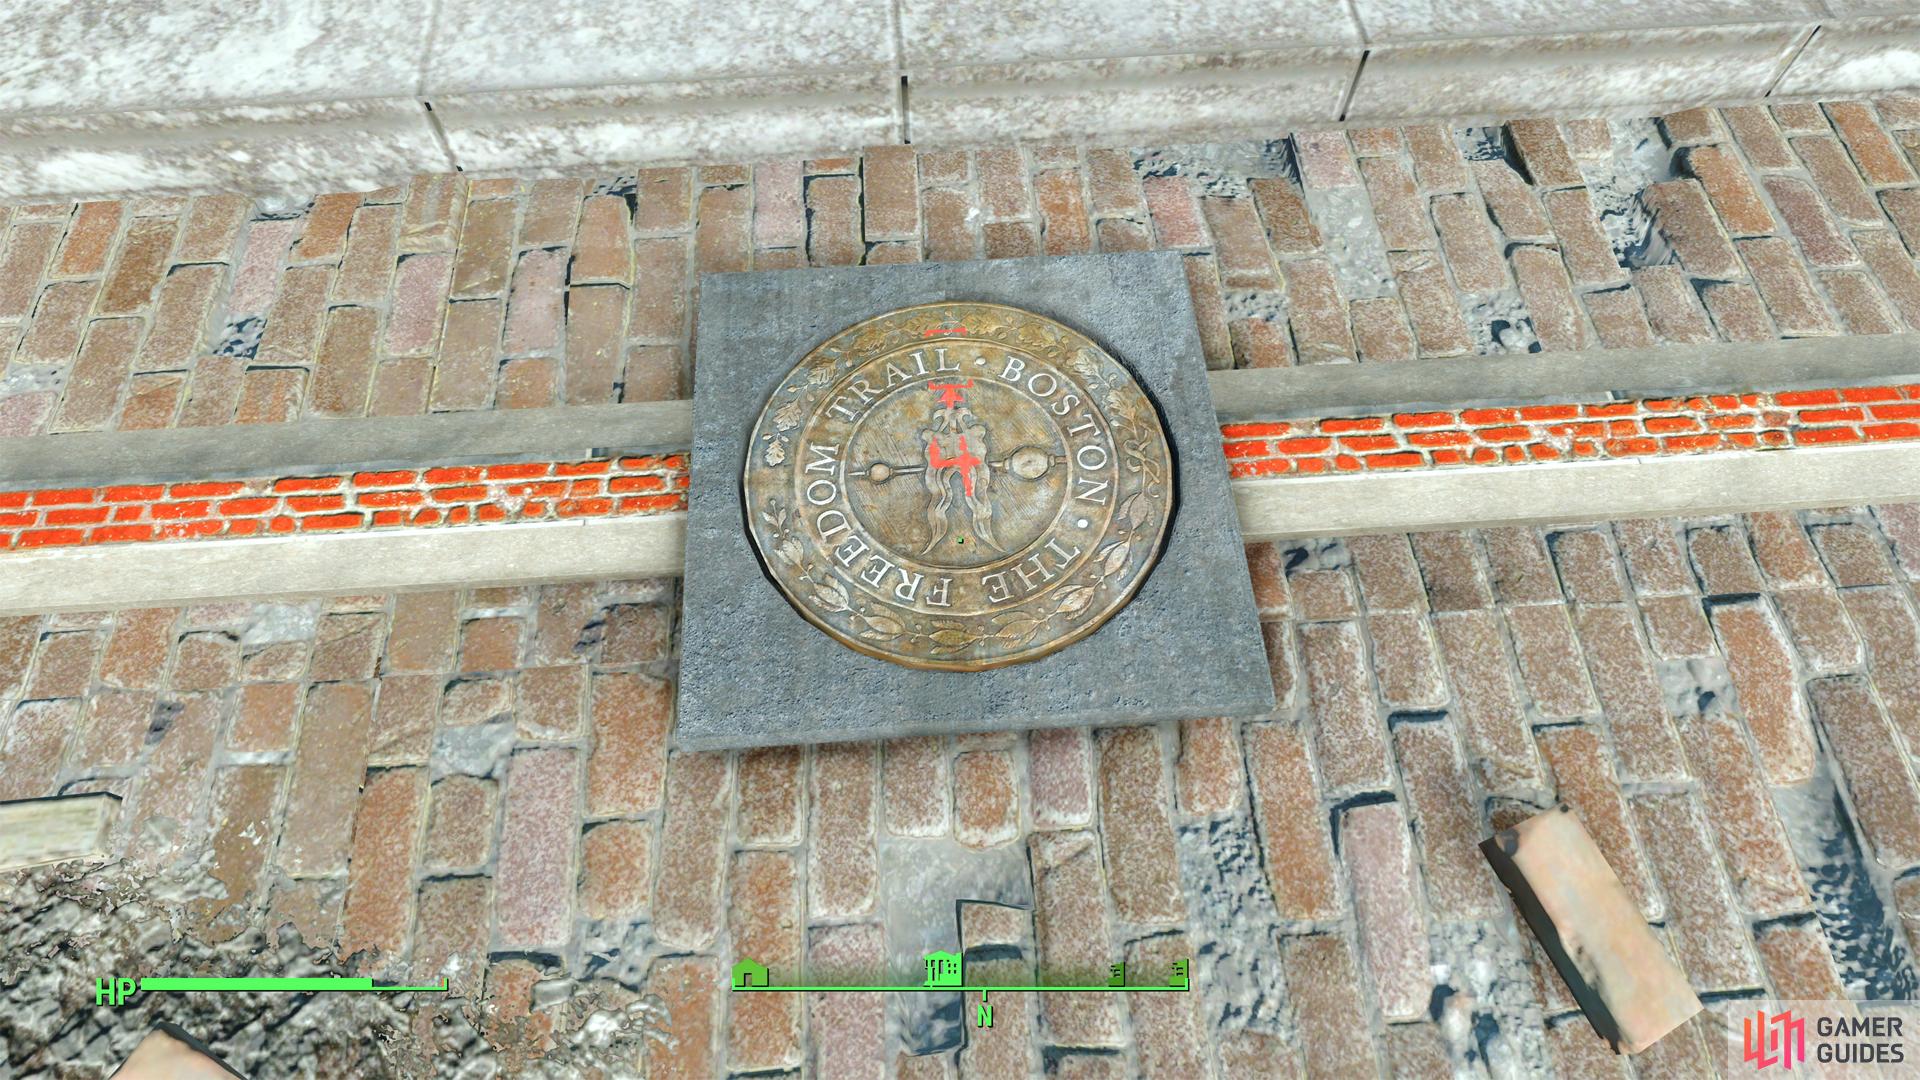
(1 of 2) The Freedom Trail will lead you to the Old North Church.
The Freedom Trail will lead you to the Old North Church. (left), Use the codes found on the murals along the Freedom Trail to solve the puzzle in the Old North Church. (right)
Freedom Trail Puzzle
On the ring are the words “THE FREEDOM TRAIL - BOSTON”, and if you aim at the edges of the ring you’ll be prompted to spin the word ring counterclockwise (left) and clockwise (right), while selecting the center of the ring will confirm whatever letter the red arrow on the ring is pointing at. Select the letters to spell out the code and you’ll cause a section of the wall to the left to open up. You’d normally find this code by reading all the Freedom Trail murals along the Freedom Trail, but this is only necessary if you’re not reading some guide or another. Only the words “FREEDOM TRAIL” matter - use them to spell out the word “RAILROAD” to gain entry.
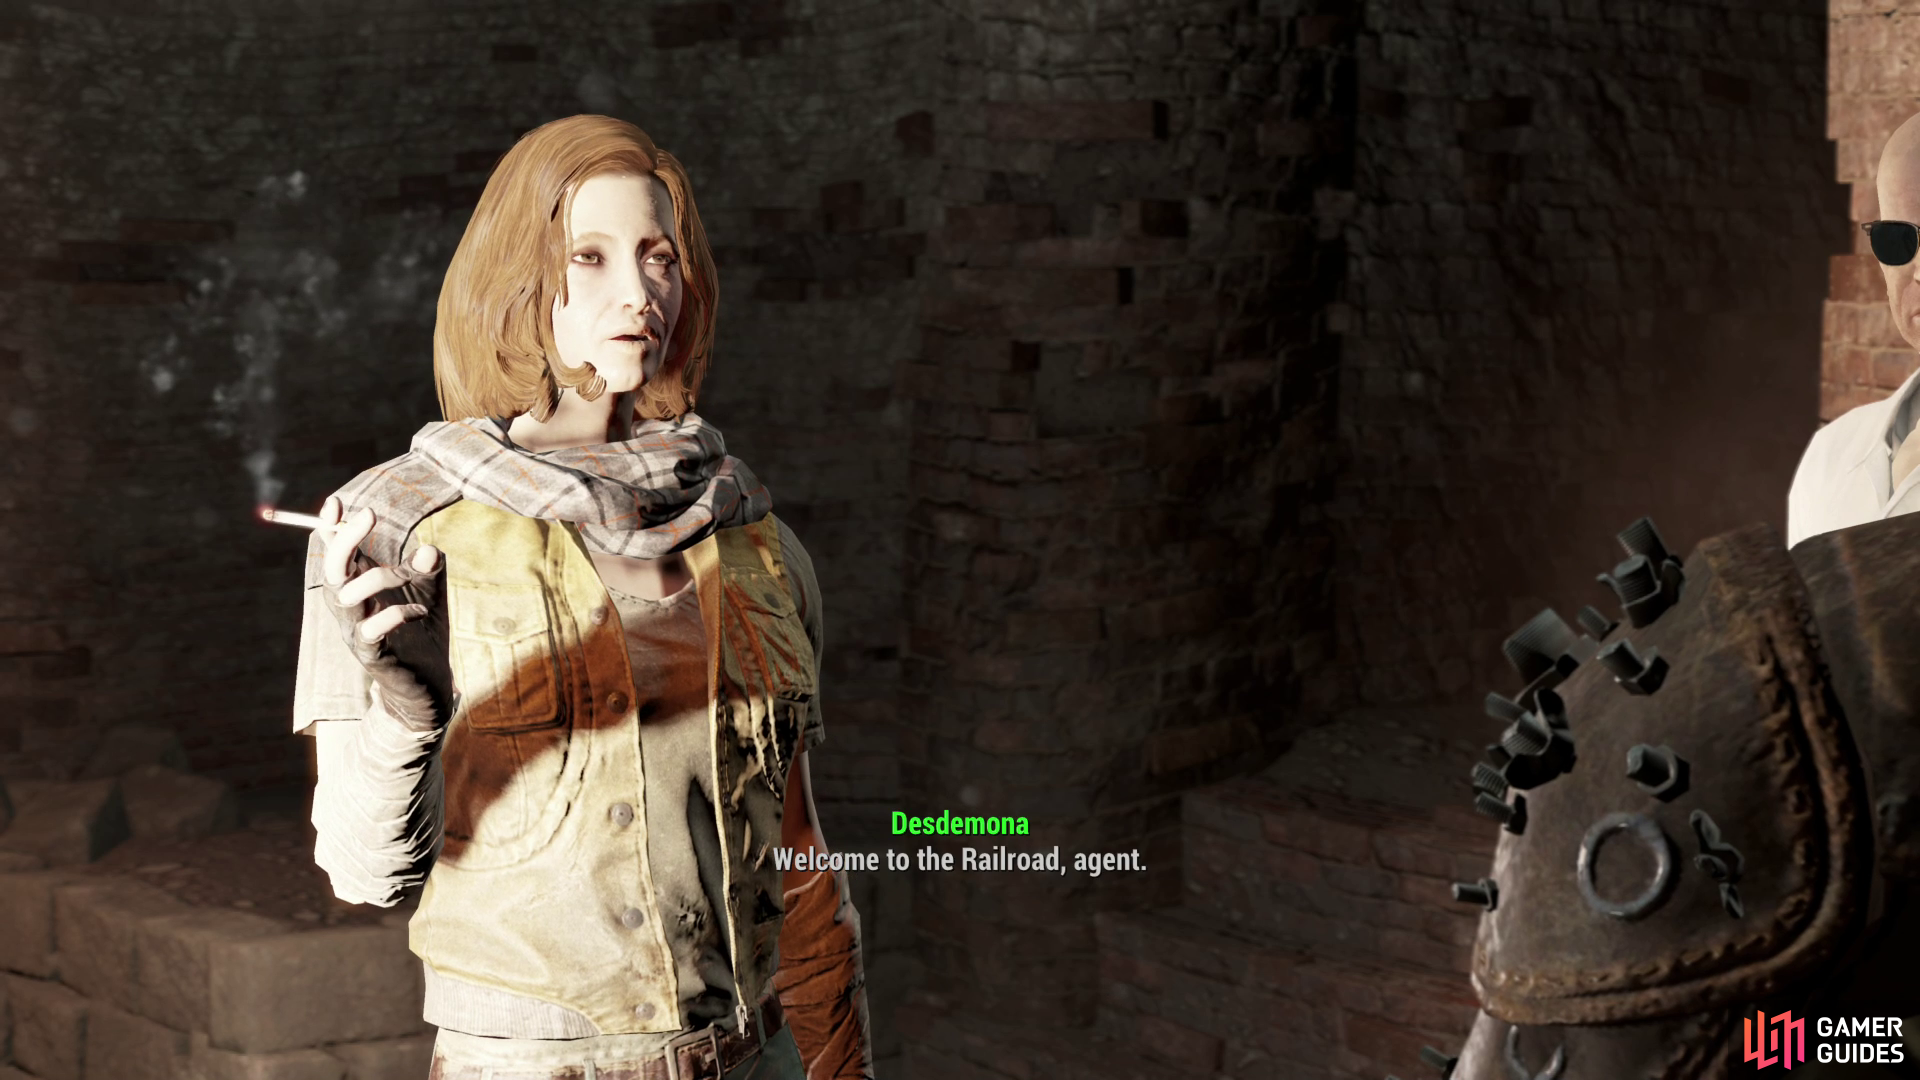
Once the wall opens up, pass through the opening and you’ll be confronted by Desdemona and some goons. Say what you will - you can attempt a hard dialog check to lie, but it doesn’t really matter what you say as long as you express a willingness to lay your life on the line for synths. This will complete the quest Road to Freedom, even if you haven’t started it yet.
Check out the linked page for a detailed walkthrough of Road to Freedom.
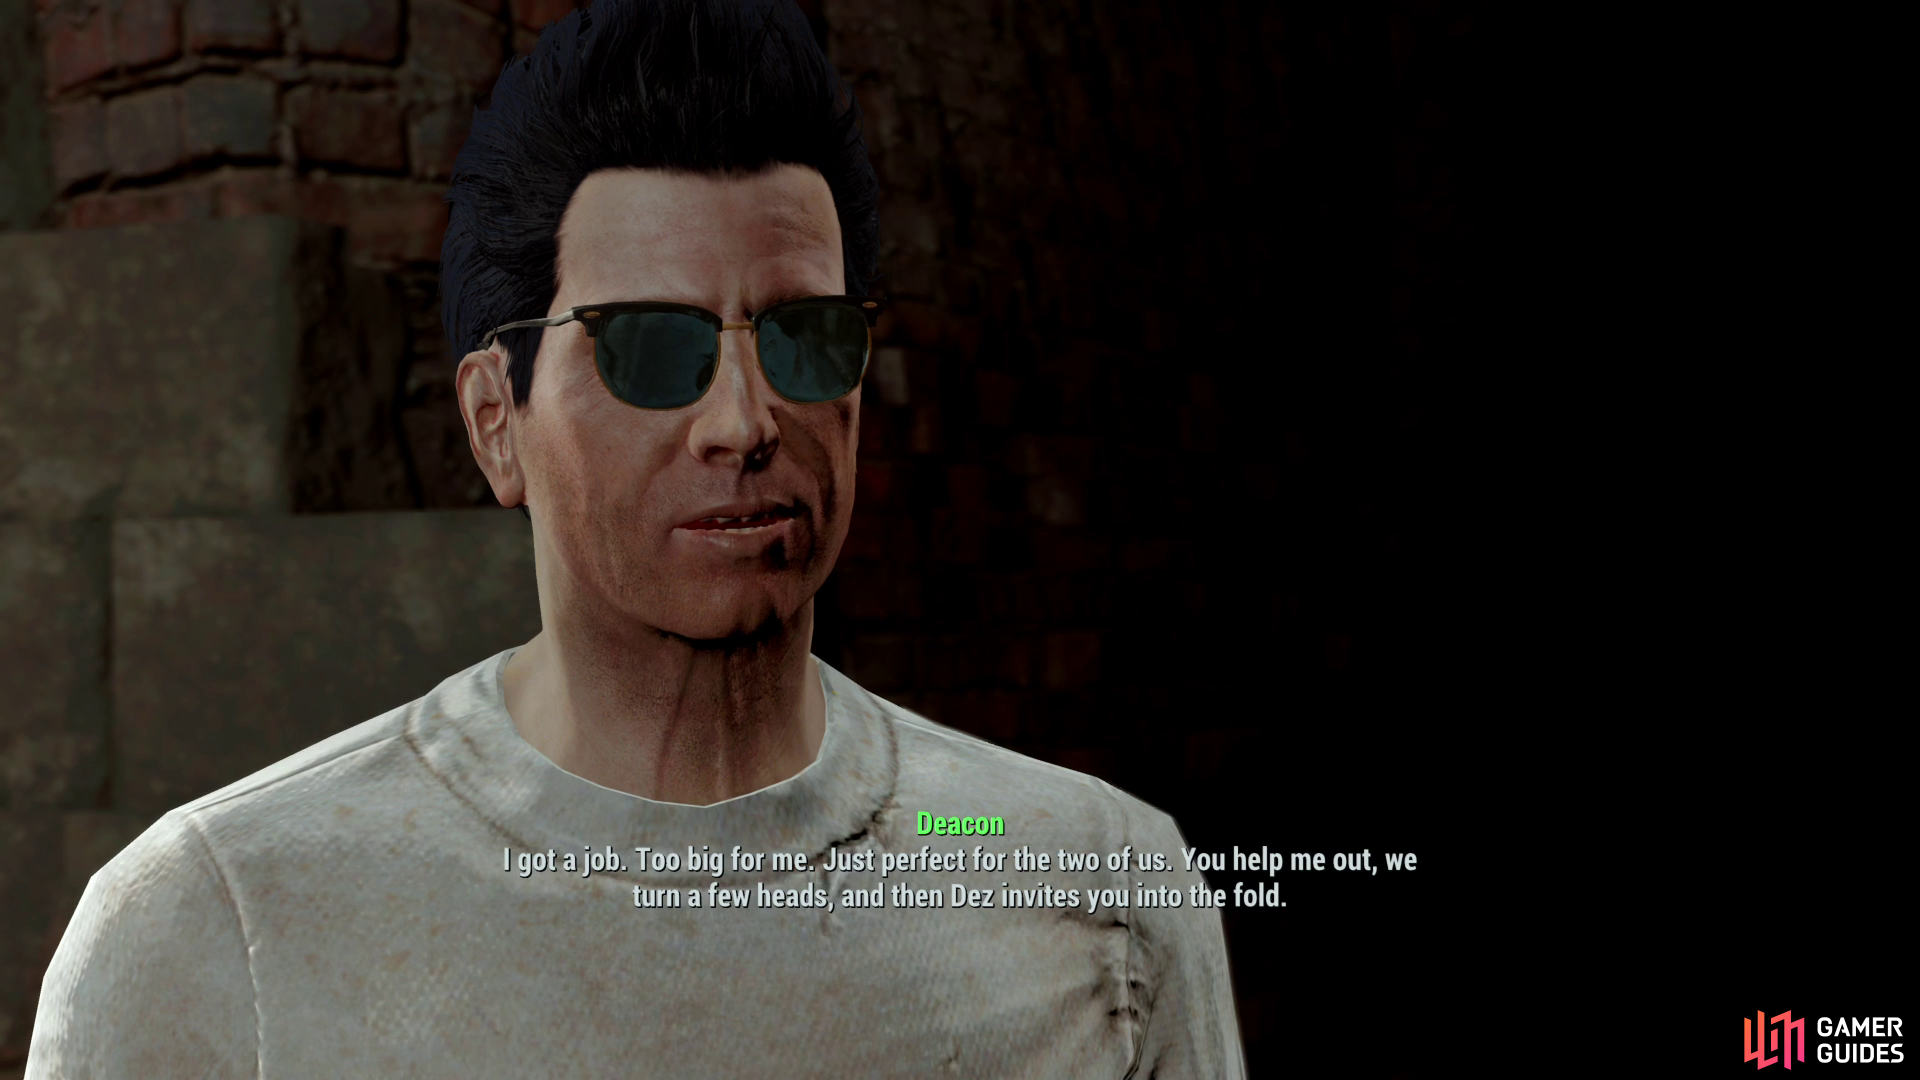

(1 of 5) After meeting the Railroad, talk to Deacon to start the quest “Tradecraft”.
Tradecraft
After your chat with Desdemona, you’ll have made contact with the Railroad, but you aren’t a member yet. Talk to Deacon and he’ll continue putting you over - for whatever reason, he thinks your talents are essential to the Railroad, and he wants to help you prove your worth by taking you on a mission. Desdemona might not have time to train a new field agent, but if you achieve results, she’ll have no choice but to let you join.
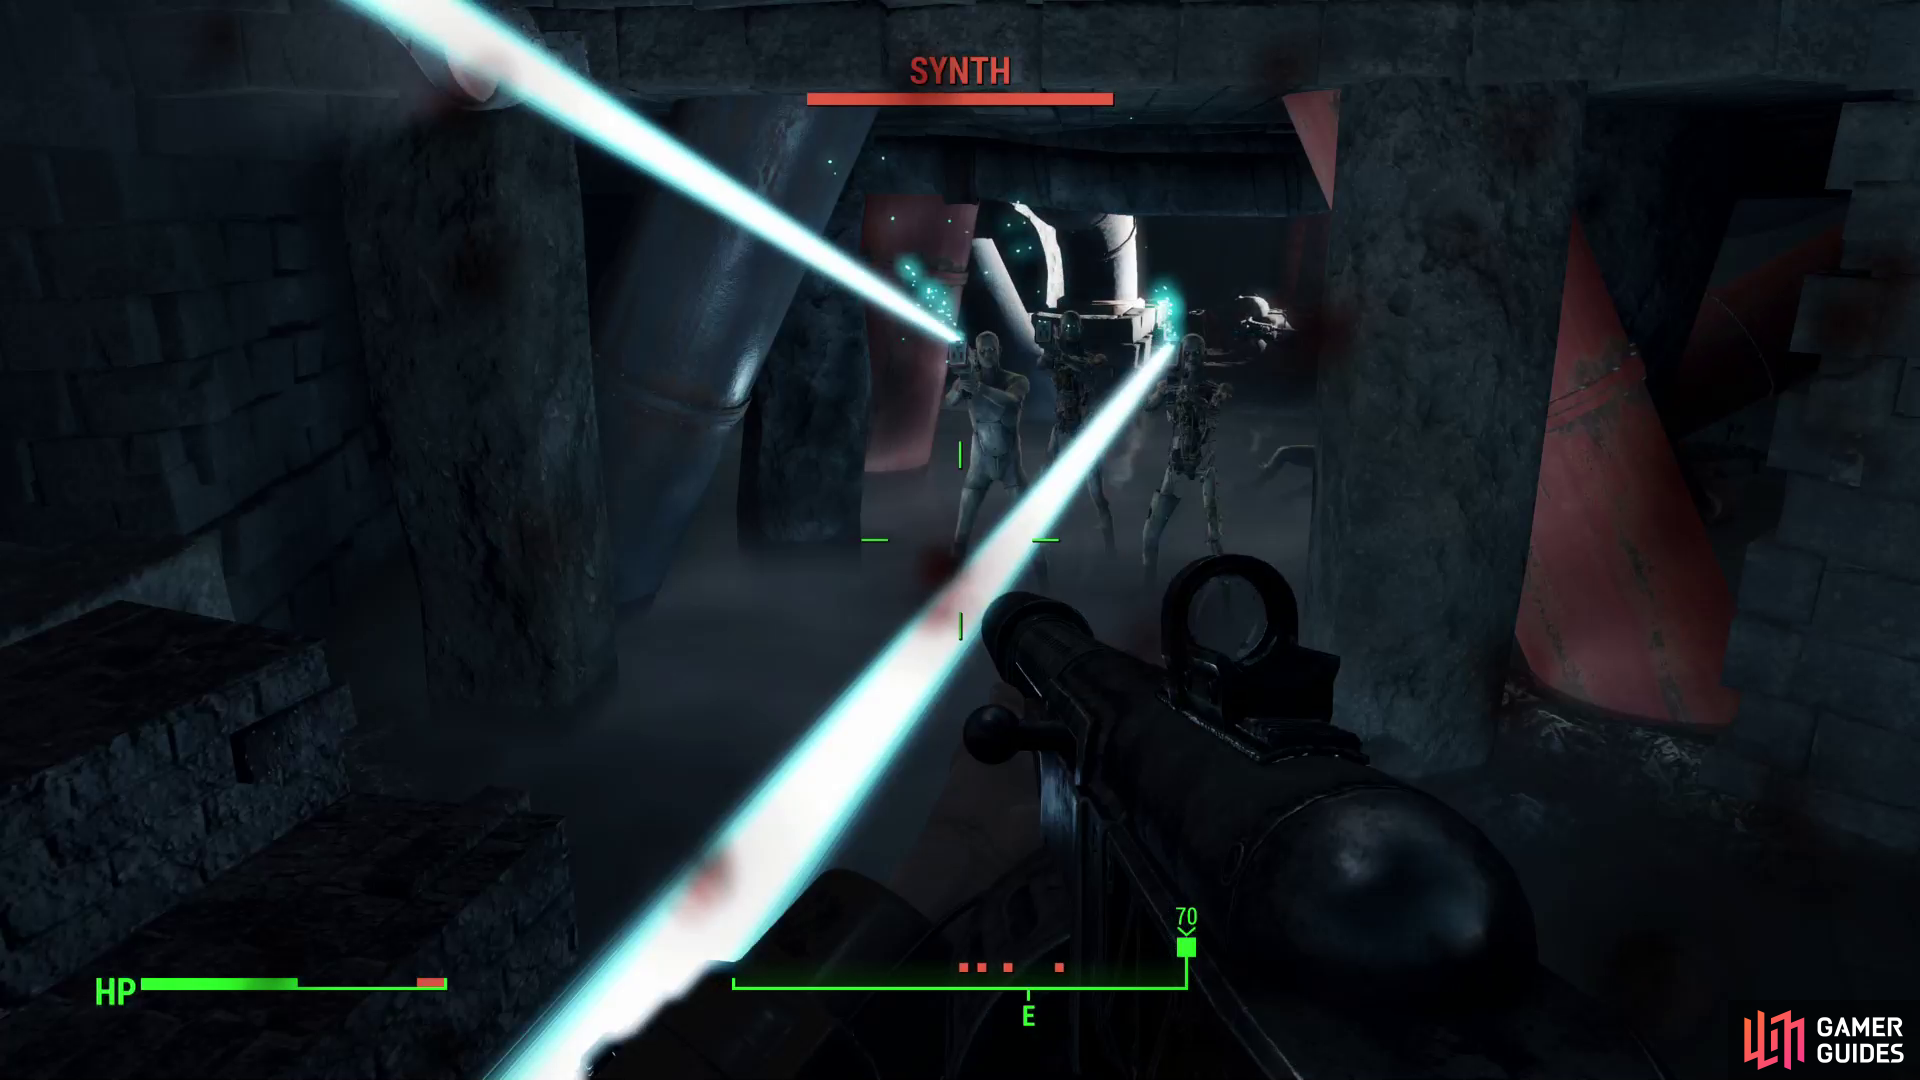
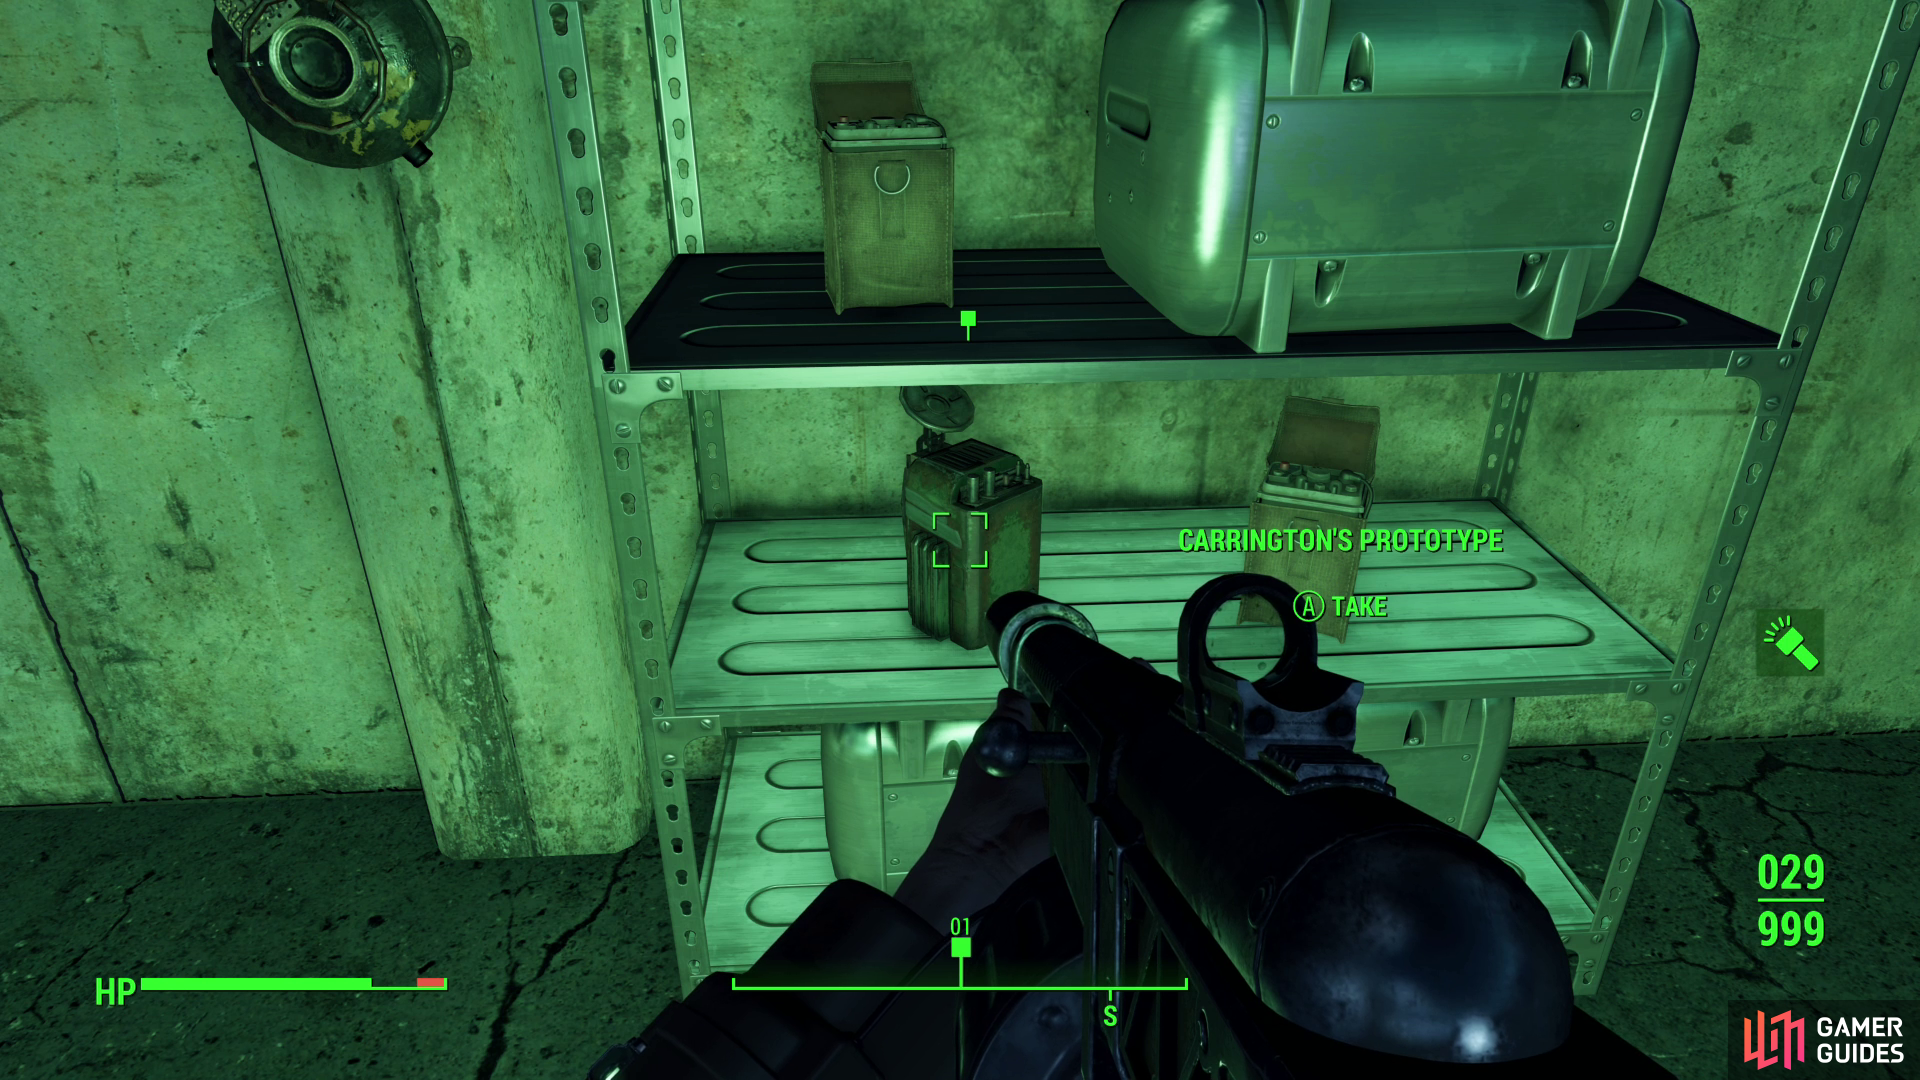
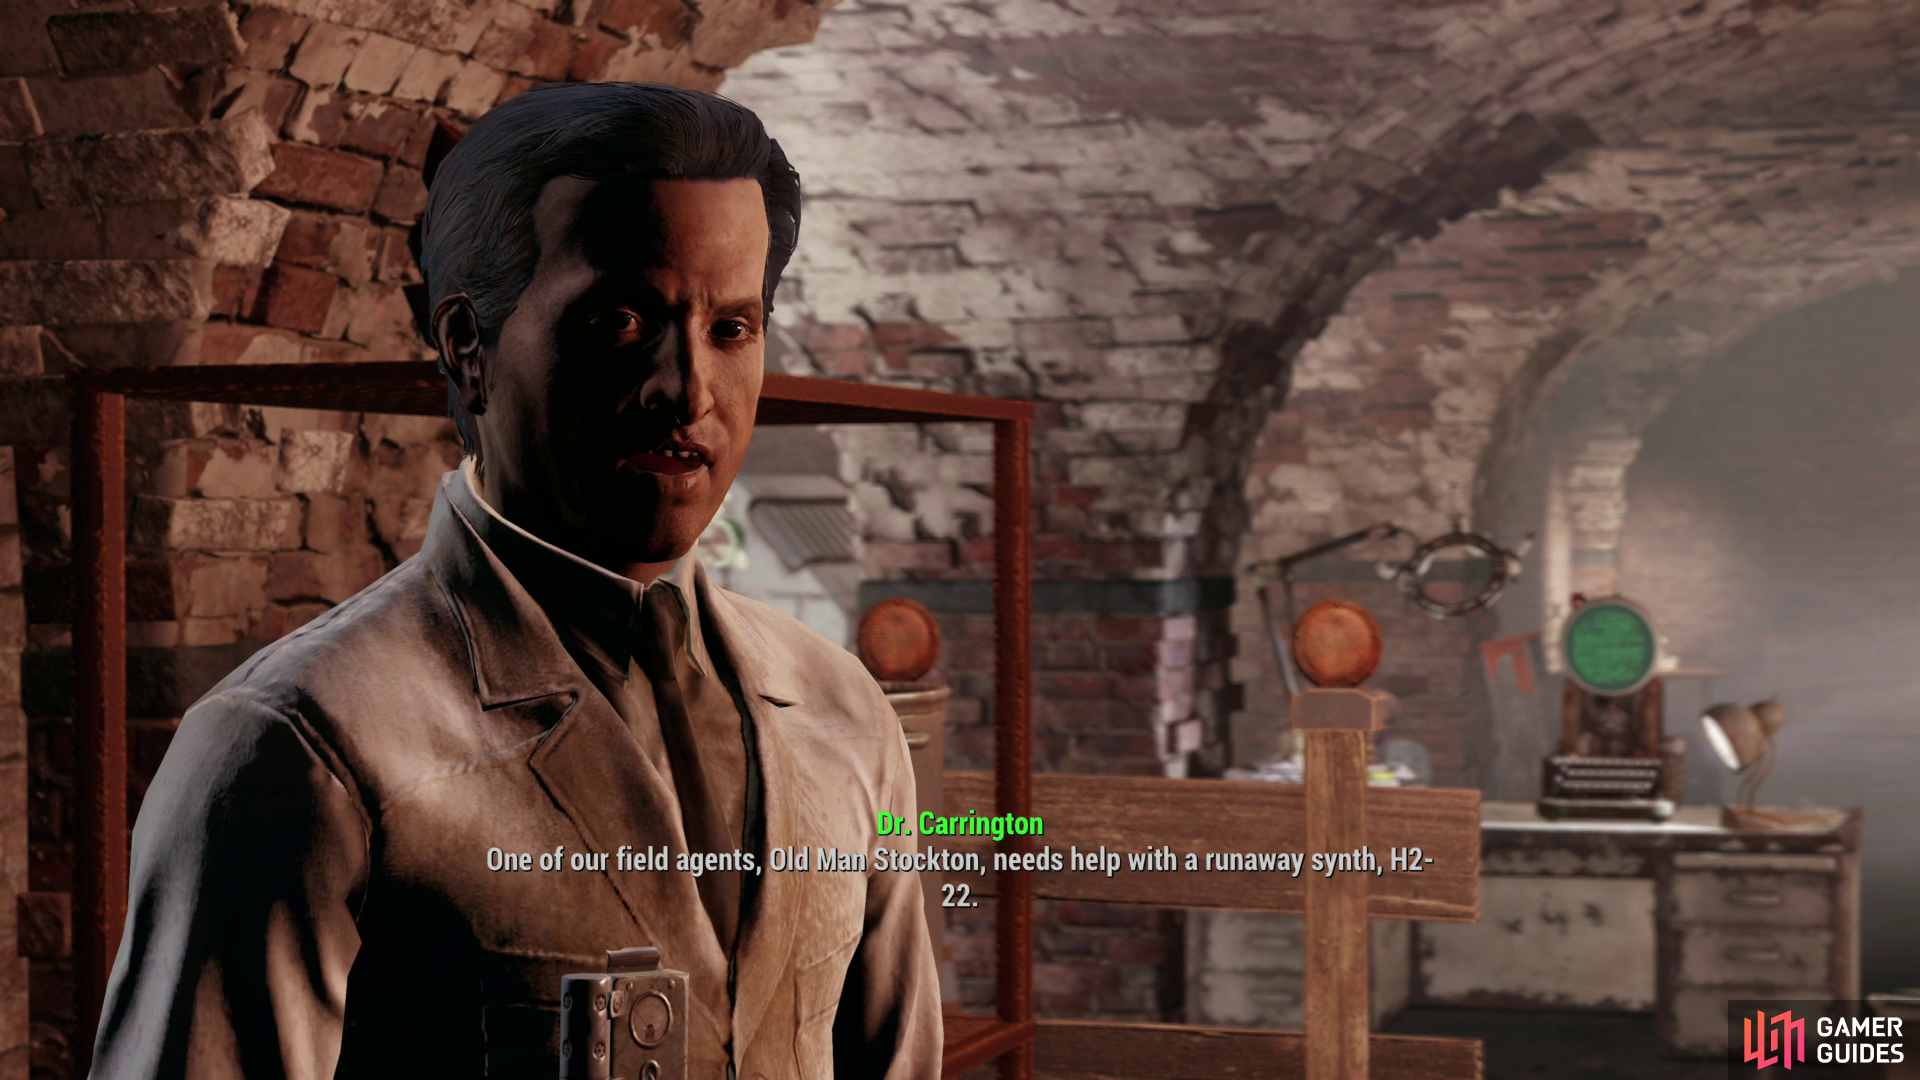
Agree to help Deacon to start the quest Tradecraft. There’s no shortcutting this one, you’ll need to rendezvous with Deacon at the “old highway”, which is the elevated highway west of Lexington, just north of [Rocky Narrows Park]. Talk to Deacon, then travel with him to meet up with the “tourist” who will give you intel on your target, in response to which Deacon will opt to enter The Switchboard via a sewer pipe.
You’ll now have to clear the area and seek out Carrington’s Prototype - your enemies are mostly unleveled Synths, which shouldn’t pose much of a threat to you regardless of your level. Clear the area, grab the prototype, then return to the Old North Church to find Deacon selling you to Desdemona in an even more outrageous fashion than usual. Say what you will (you can pass an easy dialog check to go along with Deacon’s lies) and Desdemona won’t be able to ignore results, inviting you to join the Railroad. Pick your codename (you only have five choices available) and Tradecraft will finish, with Boston After Dark immediately beginning to take its place. For a full walkthrough of Tradecraft, follow the links to its own page.
Follow Desdemona to the Railroad HQ, which you’ll be able to fast travel to and from going forward. After a short speech from Desdemona you’ll be properly introduced as a new member of the Railroad. Huzzah!
You’ve now joined the Railroad, but you don’t yet have access to all of its features. Namely, you can’t start doing radiant quests for PAM yet, which means you cannot unlock Ballistic Weave armor mods - one of the better perks for joining the Railroad. To unlock PAM’s quests you’ll need to complete Boston After Dark.
(1 of 4) After completing “Tradecraft”, talk to Dr. Carrington to start “Boston After Dark”,
Boston After Dark
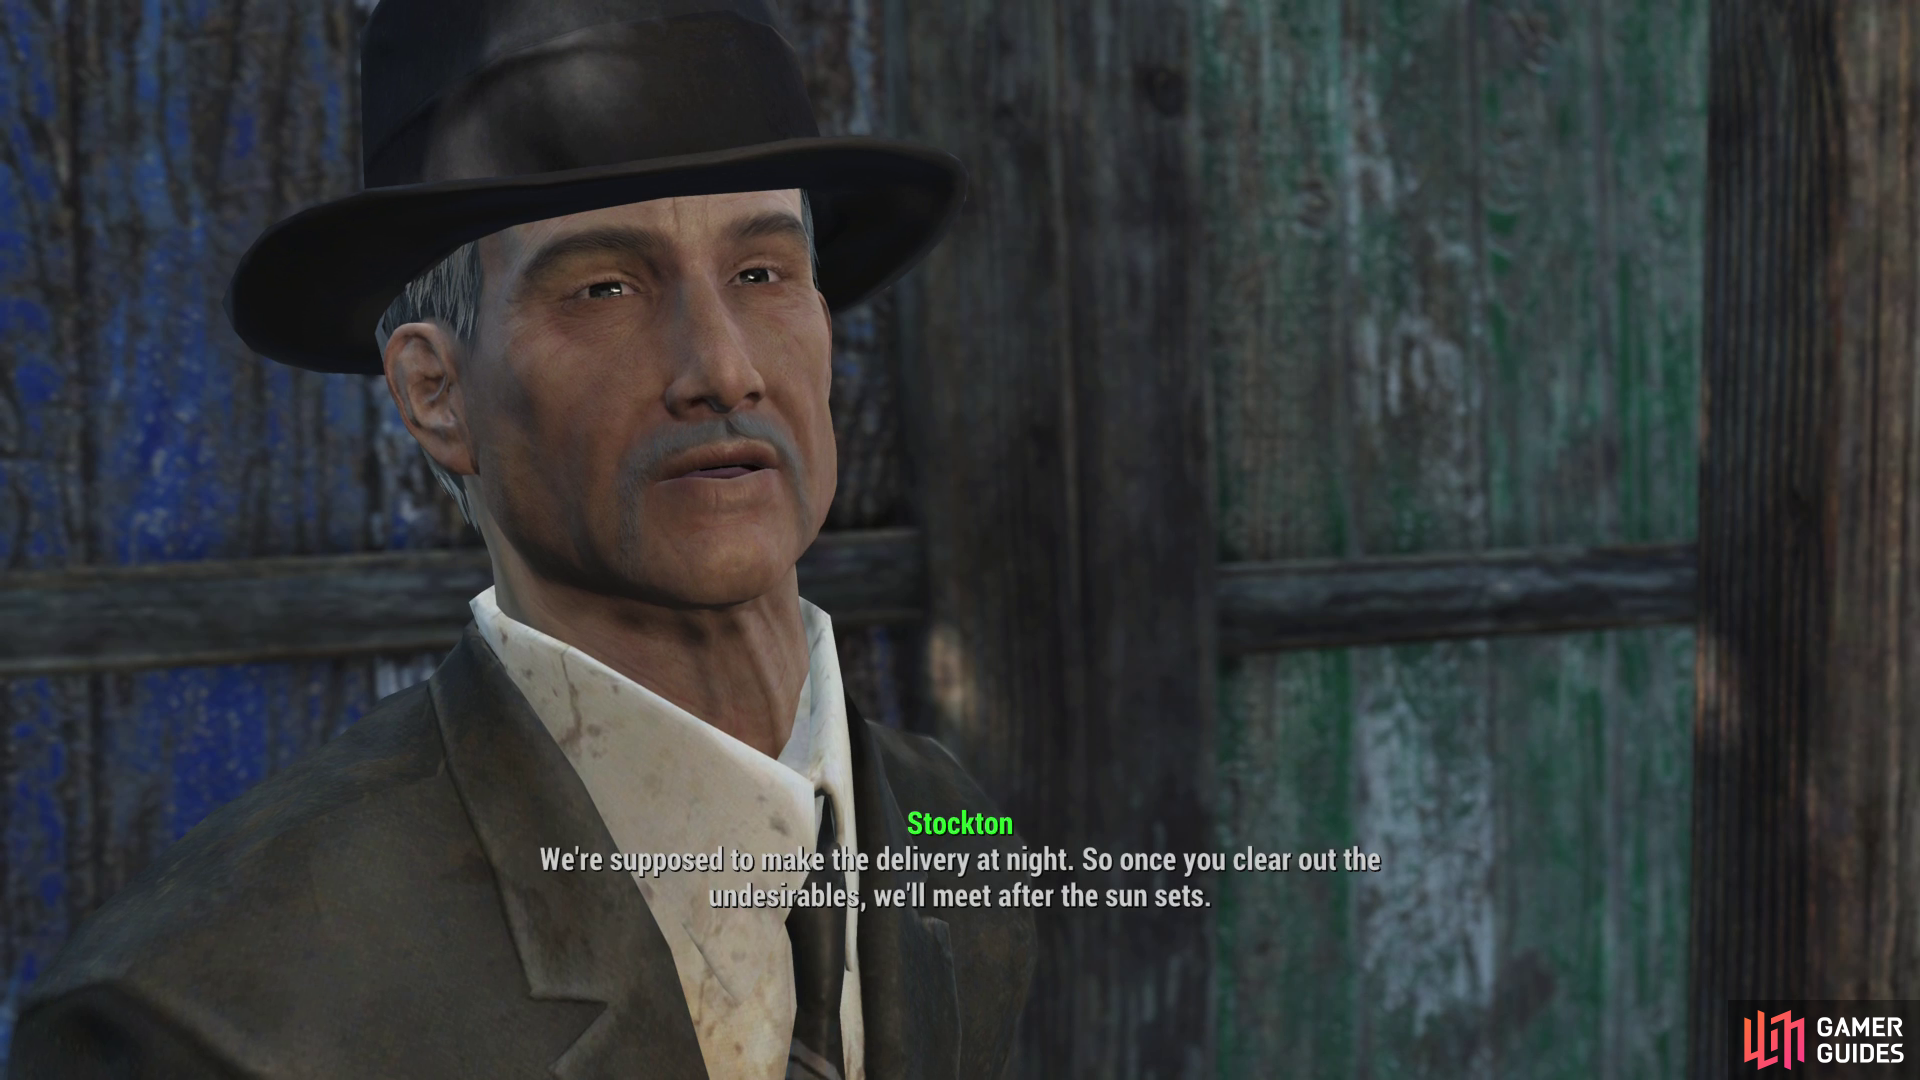
Talk to Doctor Carrington and after being snotty, he’ll explain your objective. Once he’s done blathering, fast travel to Bunker Hill and seek out the dead drop in a mailbox between Bunker Hill and Monsignor Plaza. With any luck, there won’t be any fighting involved at this phase and you’ll be able to secure Stockton’s Holotape without much fuss.
Return to Bunker Hill and talk to Old Man Stockton, who will probably be loitering in the bazaar. When he asks you the codephrase, respond with “Countersign”, then navigate through his dialog however you wish and he’ll tell you that you need to secure the rendezvous point. This should be the Cambridge Cathedral, an unmarked area west of BADTFL Regional Office.
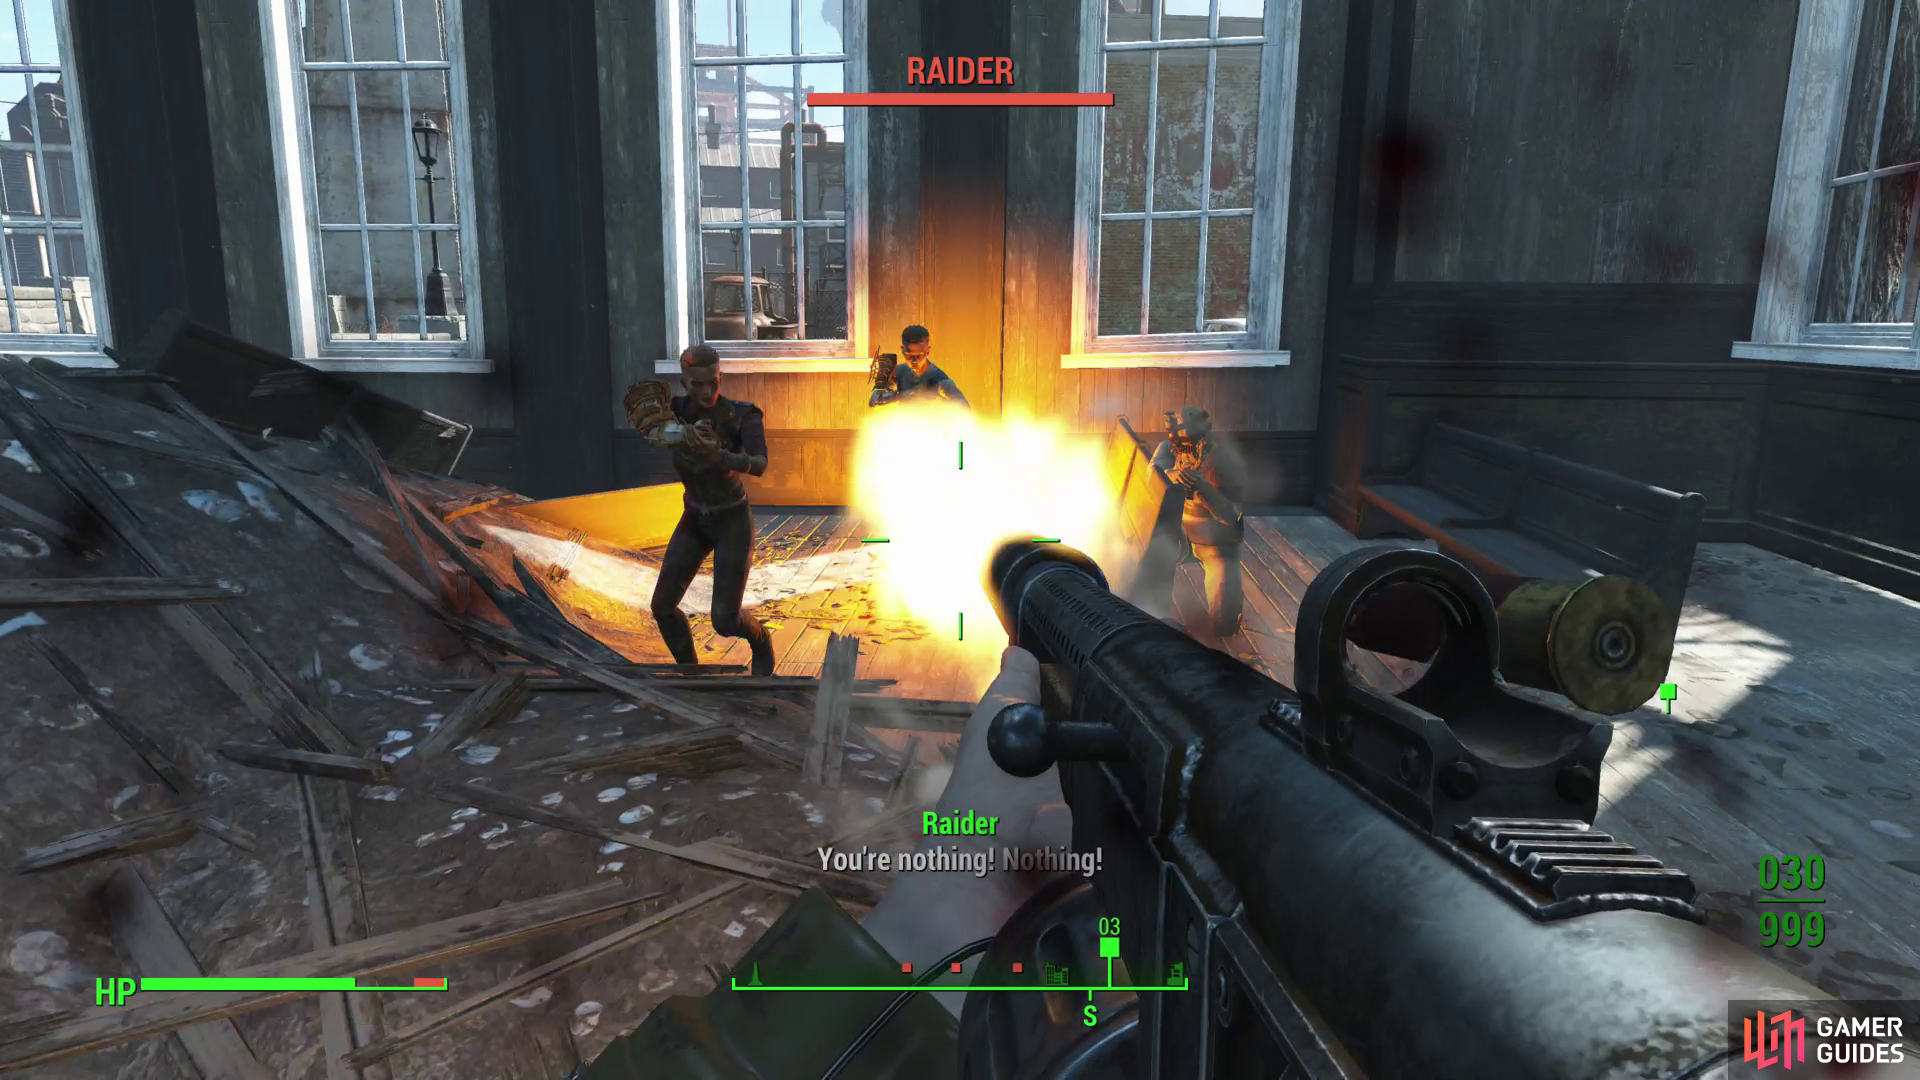
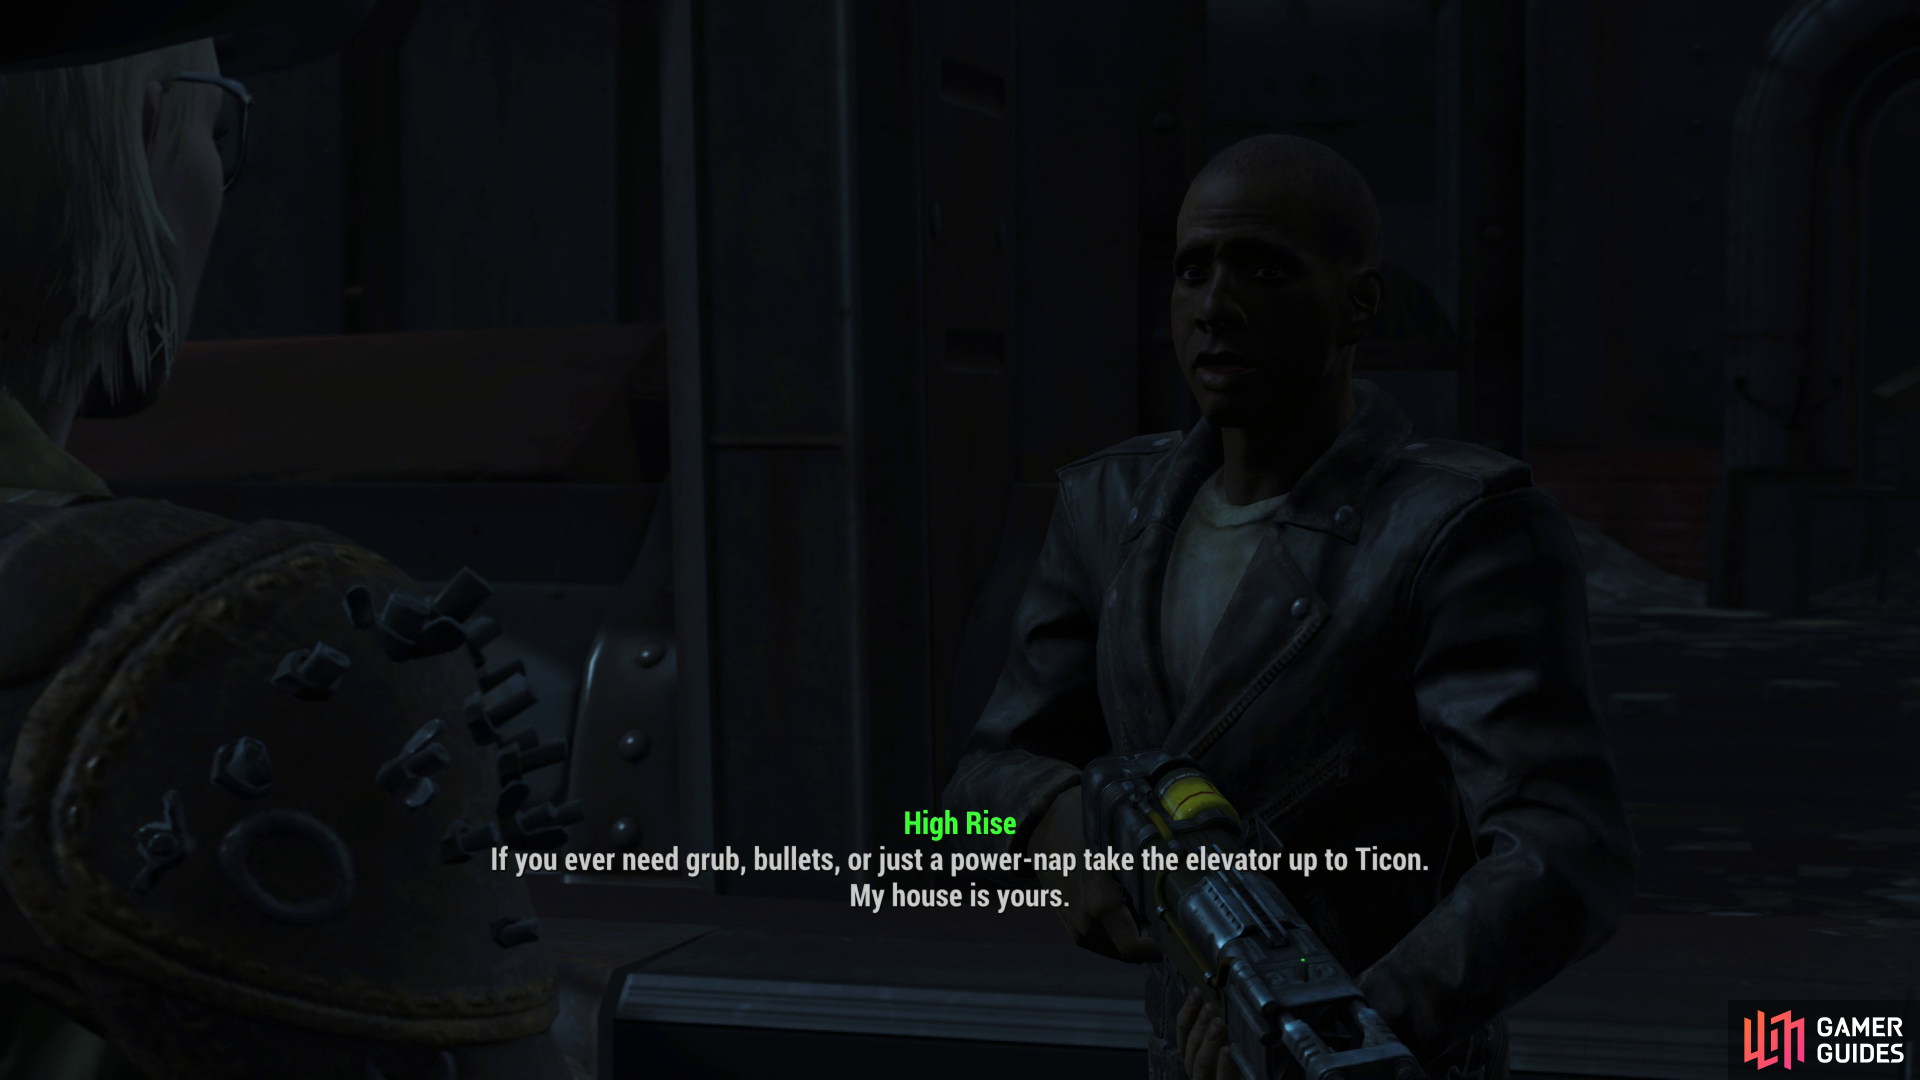
Head to your destination, exterminate any Raiders (they’ll likely be unleveled or lightly leveled, at worst) then wait at the rendezvous spot until Old Man Stockton and H2-22 show up. Talk to the former and after Stockton lights a lantern you’ll get to do more waiting, after which another Railroad agent named High Rise will show up. Talk to him and say what you will, then follow High Rise to [Ticonderoga], a Railroad Safehouse along the southeastern end of Cambridge that’ll appear on your map when you get close. Kill any Raiders you encounter on your way (these ones may be leveled to Psycho-tier) and talk to High Rise once again when you reach your destination.
Return to Doctor Carrington to complete Boston After Dark, after which he’ll tell you to investigate the demise of Augusta Safehouse, starting the quest [Butcher’s Bill]. Fortunately we don’t have to do this quest to unlock our beloved Ballistic Weave. We do, however, have to complete another prerequisite quest for PAM, so go talk to the robot and she’ll ask you to claim a new settlement for use as a safehouse, starting the quest [Mercer Safehouse].
Mercer Safehouse
This quest is quite random, as it’ll direct you to clear out an unclaimed settlement without a static quest. This could end up sending you quite a distance away and/or to a settlement with rather nasty creatures, like [Spectacle Island]. If you get assigned to clear a settlement you’d rather not deal with at the moment, you can reload your HARD SAVE from earlier, talk to Doctor Harrington again, then talk to PAM, who may issue you a different target.
Whatever settlement you’re assigned to, clear it out and interact with the Workshop, where you’ll then be tasked with building some defenses. If you don’t want to bother building a fully functional settlement, good news! You don’t have to. Two Machinegun Turrets will be enough to satisfy the quest objective, after which you can return to PAM at the Railroad HQ to complete the quest.
You may be bothered by Drummer Boy when you return to Railroad HQ, who will assign you the quest [Randolph Safehouse 1], which, again, you fortunately do not need to complete.
Jackpot
Talk to PAM, complete [Mercer Safehouse] and she should immediately start up her radiant questline, the [Jackpot] quests. These play out more or less the same way; she’ll give you an RFID Device and tell you to seek out a loot cache at a random, hostile-occupied area somewhere in the Commonwealth. Since the locations targeted are random, so are the critters you’ll have to fight in order to reach the cache, and if the location is in the heart of Boston somewhere, these simple fetch quests can get quite involved.
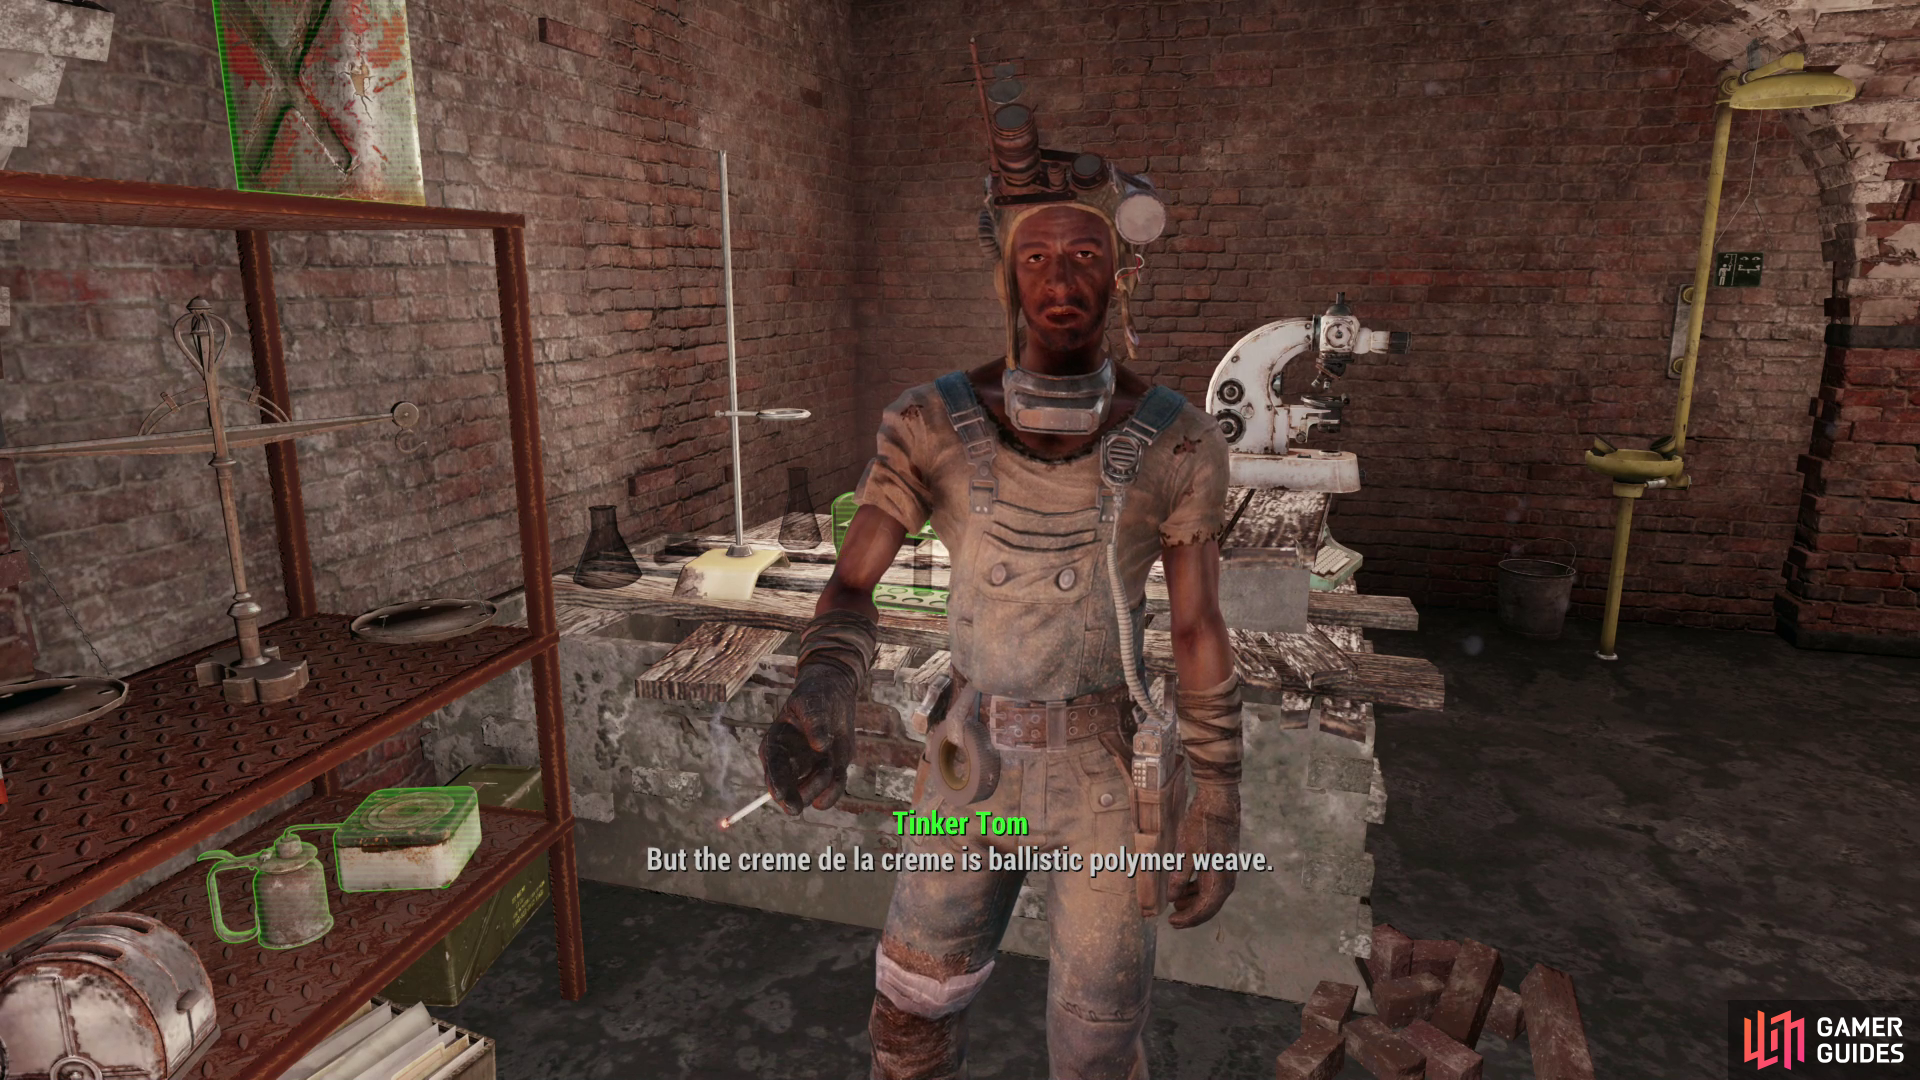
Reach your assigned cache, then return to PAM to complete the quest. After completing each [Jackpot] quest you should talk to Tinker Tom, who may assign you his own radiant [Weathervane] quest. You don’t need to complete these, just talk to him after each [Jackpot] quest and if he mentions that the last cache you recovered contained Ballistic Weave tech, then you’re good to go. You may have to complete a few [Jackpot] quests for this to unlock, and if it doesn’t, travel somewhere else (Sanctuary, perhaps?), rest a day, the return and talk to PAM - she should assign you another [Jackpot] quest.
(1 of 2) Complete Jackpot quests for PAM and talk to Tinker Tom after each one - he’ll eventually tell you about Ballistic Weave tech.
Complete Jackpot quests for PAM and talk to Tinker Tom after each one - he’ll eventually tell you about Ballistic Weave tech. (left), After this, you can modify many pieces of clothing with absurdly protective Ballistic Weave. (right)
Ballistic Weave
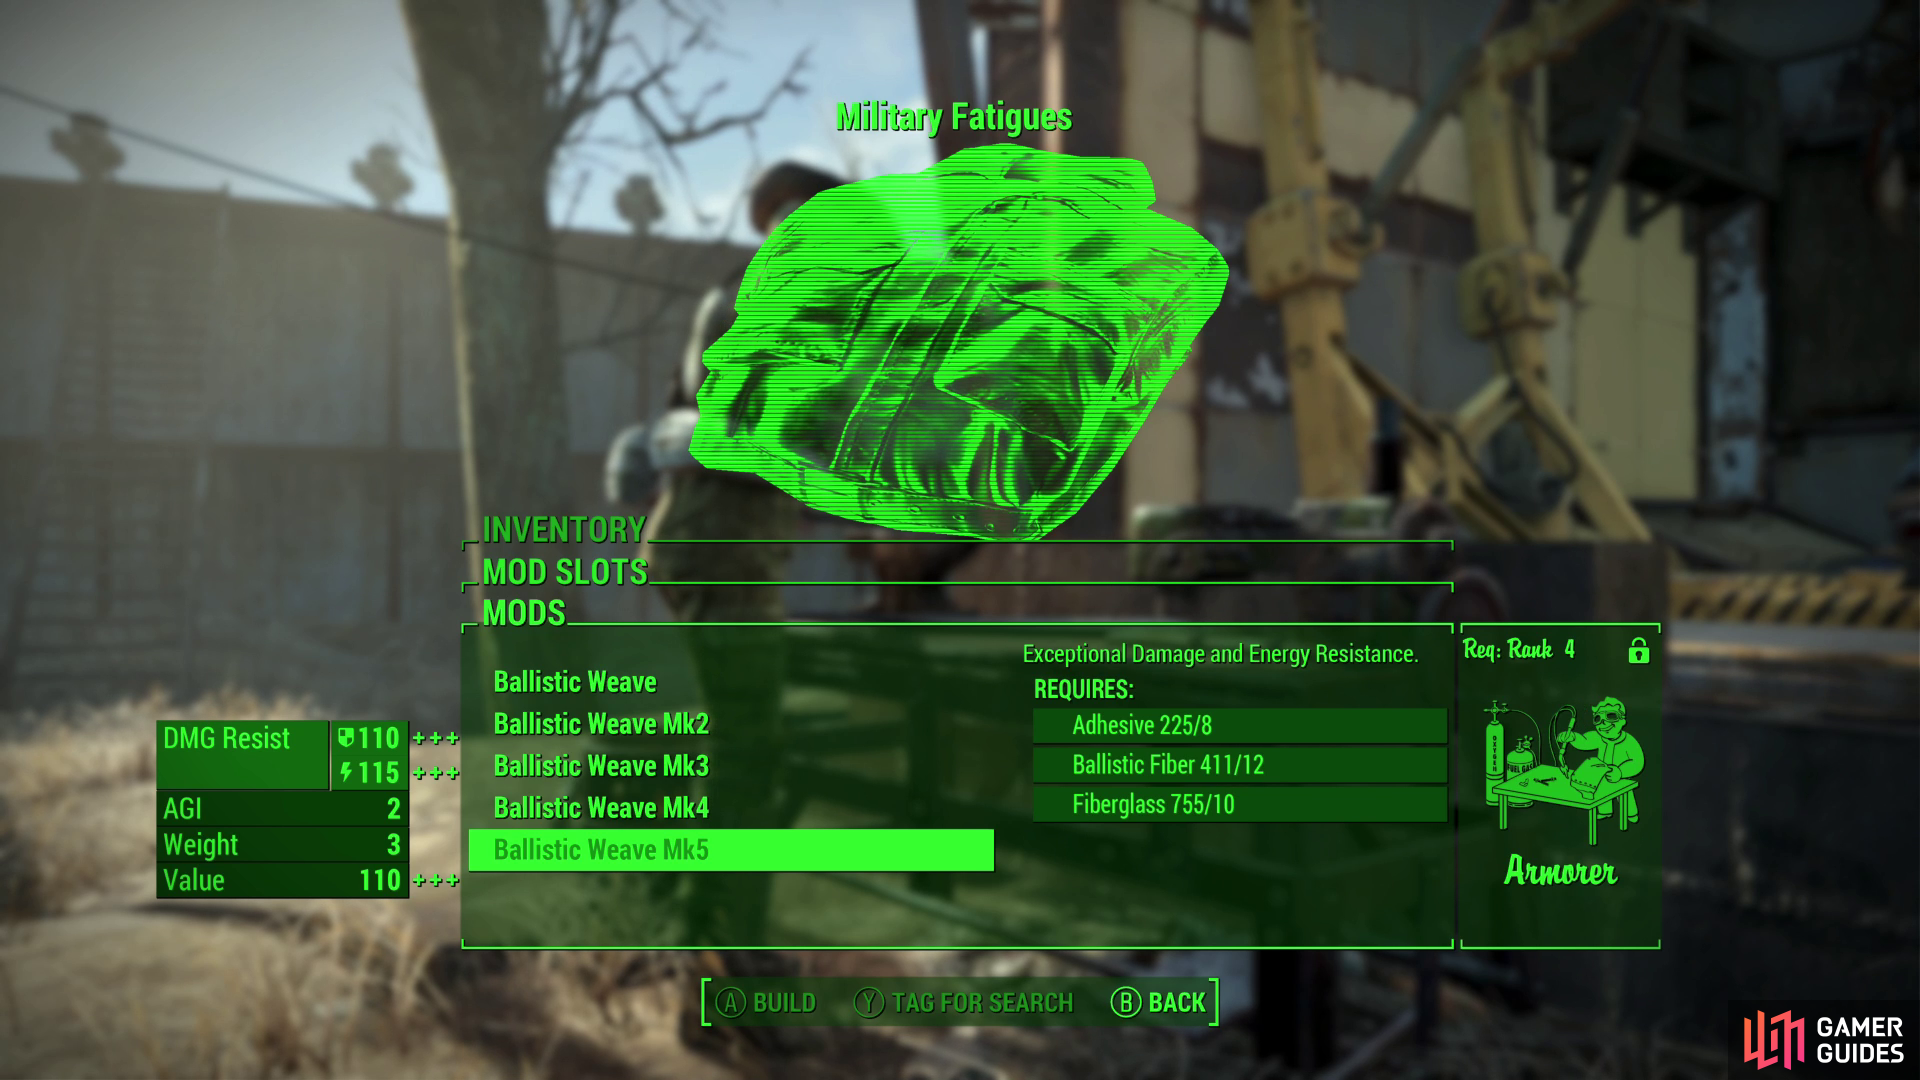
Once Tinker Tom says those wonderful words, you can add the Ballistic Weave to various articles of clothing. If you have four ranks in Armorer, you can install up to Ballistic Weave Mk5, which yields an absurd 110 DMG Resist against both physical and energy damage. Create some clothing and a hat with Ballistic Weave MK5 mods and you’ll be as well-protected as you can possibly get without a suit of high-end power armor. Keep in mind that Ballistic Wave requires Adhesive, Ballistic Fiber and Fiberglass - once you unlock the mod, consider visiting junk merchants who may sell scrap containing the necessary components.

 Sign up
No Comments