
Information about People - a settlement resource representing the number of settlers in a settlement - in Fallout 4.
Settlers are the engine of production in a settlement. Each settler (one settler = one People resource - they’ll be used interchangeably going forward) can be assigned to various tasks, like cultivating crops, manning Defenses or serving as scavengers, merchants or provisioners. Almost all of these tasks either generates resources for their settlement or profit for the player, both of which are worth pursuing.
First, before you can assign settlers, you have to attract them to your settlements. The only feasible way of luring any significant number of settlers to your cause is by building a Recruitment Radio Beacon (and a generator to power it). Once turned on you’ll passively attract new settlers over time, up to a maximum of ten settlers plus your Charisma score. A player with 5 Charisma can attract up to 15 settlers per settlement; anything that modifies your Charisma (such as gear or chems) will increase the number of settlers each settlement can attract, so keeping some Charisma-boosting gear isn’t a bad idea. Keep in mind that this process takes time - it can take hours of real time to fully stock a settlement.
Once you have settlers, you’ll need to take care of their basic creature comforts; each settler needs one [Food], one [Water], one [Bed] and one [Defense]. While there’s some nuance to these resources (check out their own pages for more details), the general rule above will ensure that your [Happiness] will get at high at 80 without any other boosts, which is more than enough to ensure you don’t have to worry about your settlers growing disgruntled.
Your Recruitment Radio Beacon will initially summon around two settlers, assuming there aren’t any at the settlement by default. More will arrive (again, up to a maximum of 10 + Charisma) over time provided you have enough resources/Happiness to entice them. Every resource save for Food can be generated without assigning anybody to it, so you’ll need to assign your first few settlers on Food cultivation. Each settler can take account for six Food, so it should be a fairly simple task to calculate the maximum number of settlers you can attract to each settlement and get that much Food production before you start assigning newer settlers to other tasks. To assign a settler to a task, enter build mode, highlight the settler and select them, then select the object related to the job you want them to perform (the shop stall, Scavenging Station, crop, Guard Post, etc.).
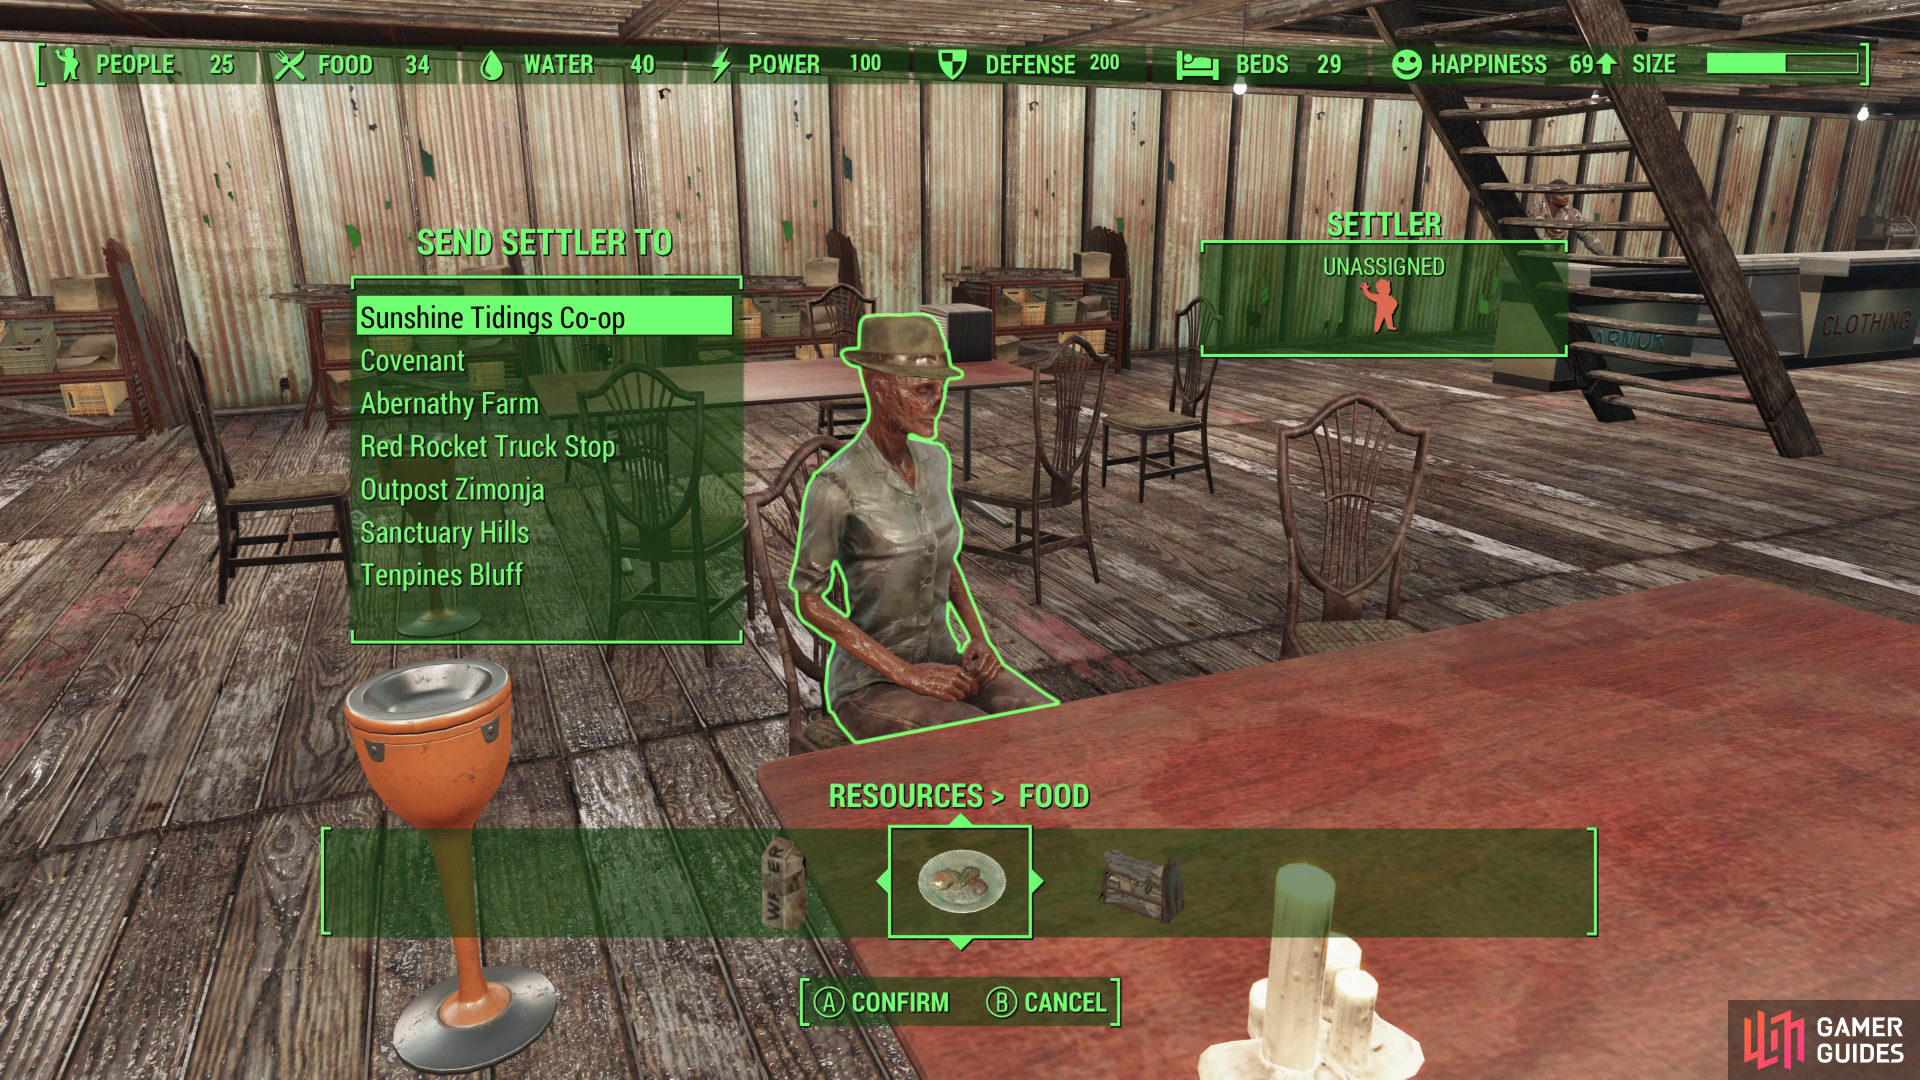
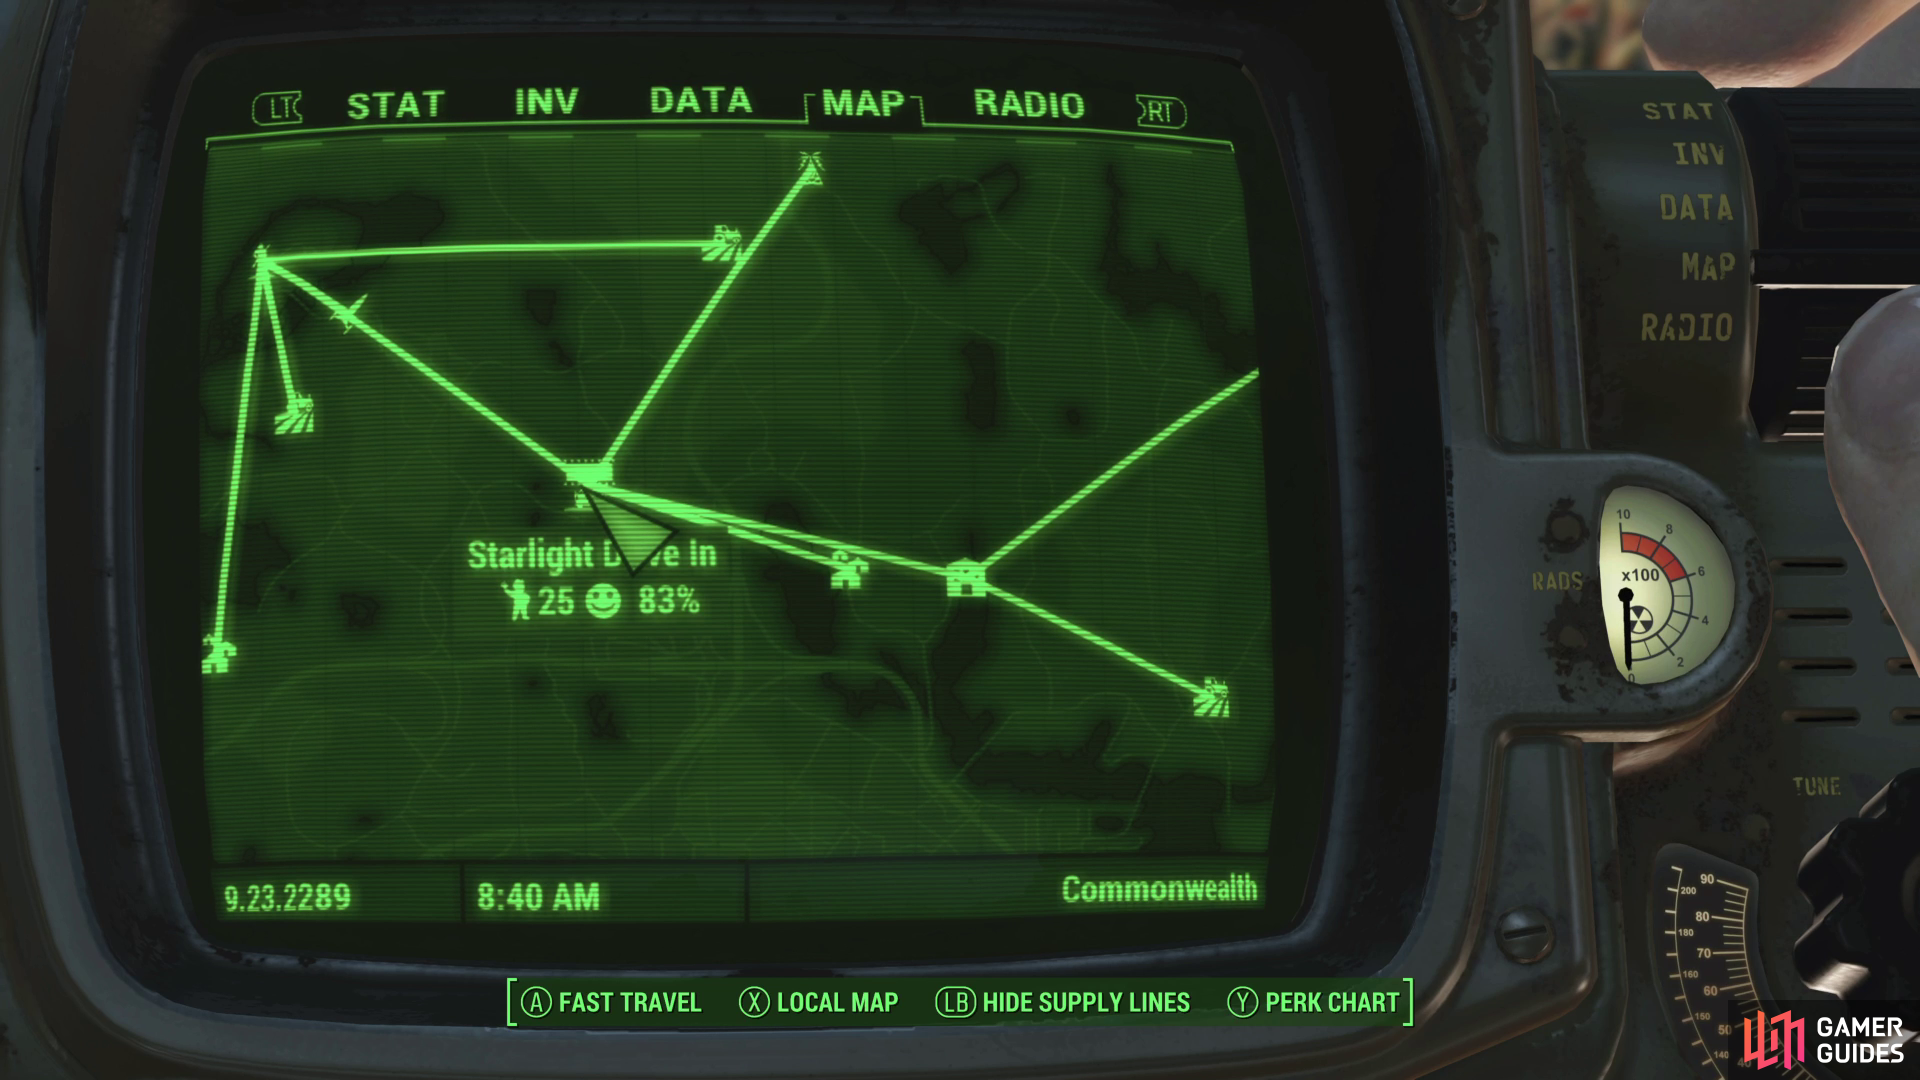
(1 of 2) With the Local Leader perk, you can assign settlers to work as provisioners,
With the Local Leader perk, you can assign settlers to work as provisioners, (left), who will establish supply lines between your settlements, causing them to share Workshop contents. (right)
Below you’ll find a (non-exhaustive) list of choice tasks you can assign settlers to and the benefits of doing so:
-
Crops: Assign one settler to any unassigned crop in your settlement. The settler will auto-assign themselves to a number of additional crops until they’re cultivating six Food in total.
-
Provisioner: If you have a rank in Local Leader (Charisma 6) you can assign settlers to act as provisioners. Simply enter build mode and highlight (look at) the desired settler and press the indicated button to bring up a list of settlements you can have them travel between. Settlements linked by provisioners will share Workshop contents, allowing you to just stash your loot wherever it’s convenient and access said loot from any connected settlement.
Provisioners will almost always be on the road, and will not be present in their “home” settlement very often. They will still require the normal Food, Water, Defense and Bed, however. Since a provisioner cannot participate in other activities, you’re better off just assigning one settler from every settlement to serve as a provisioner to another, rather than assigning multiple settlers from one settlement to act as provisioners to other settlements.
You can encounter provisioners as you explore the Commonwealth, and they can be killed in combat, so be wary. If you care about their wellbeing, consider giving them Ballistic Weave enhanced armor and decent weapons, if you can afford it.
-
Guard Posts: Generates two Defense when manned. Considering that turrets generate 5 - 15 Defense each and don’t require you to waste a settler on them, manning Guard Posts is downright profligate.
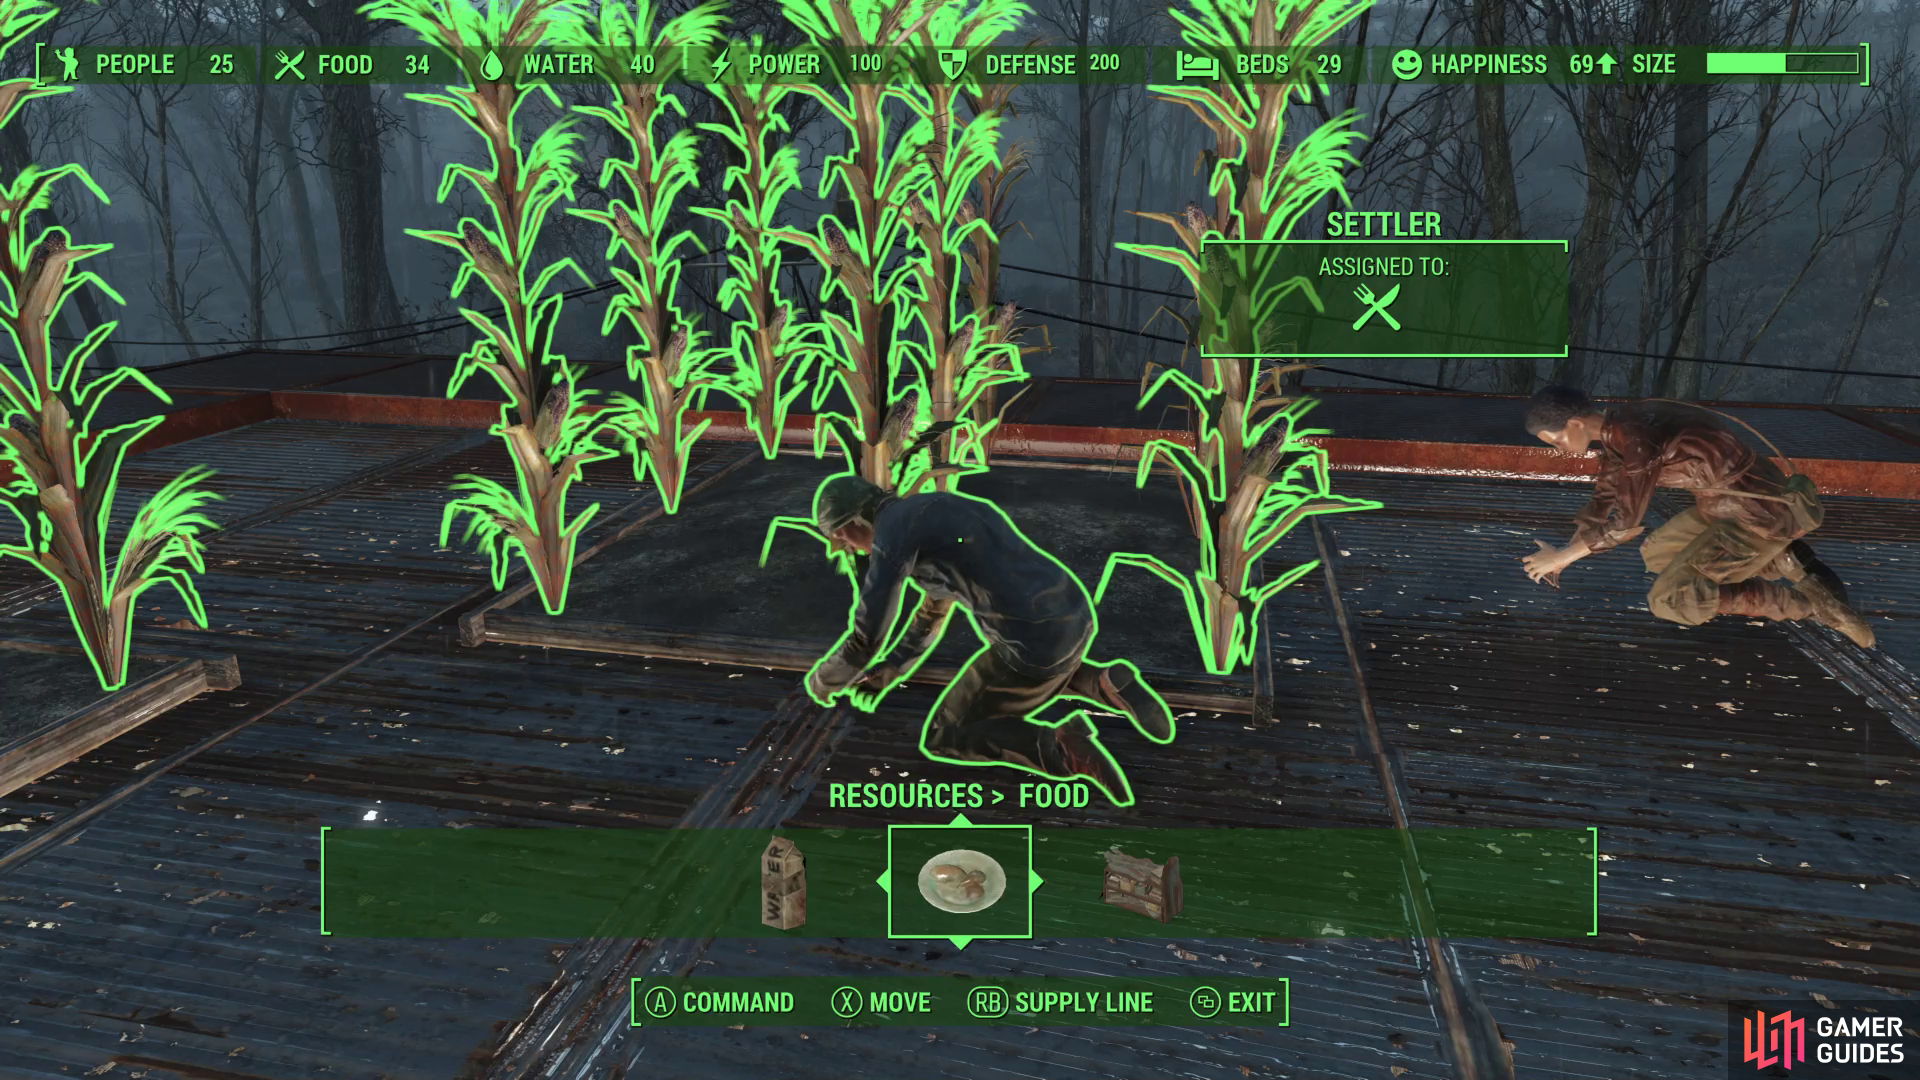

(1 of 4) You can assign settlers to cultivate crops,
-
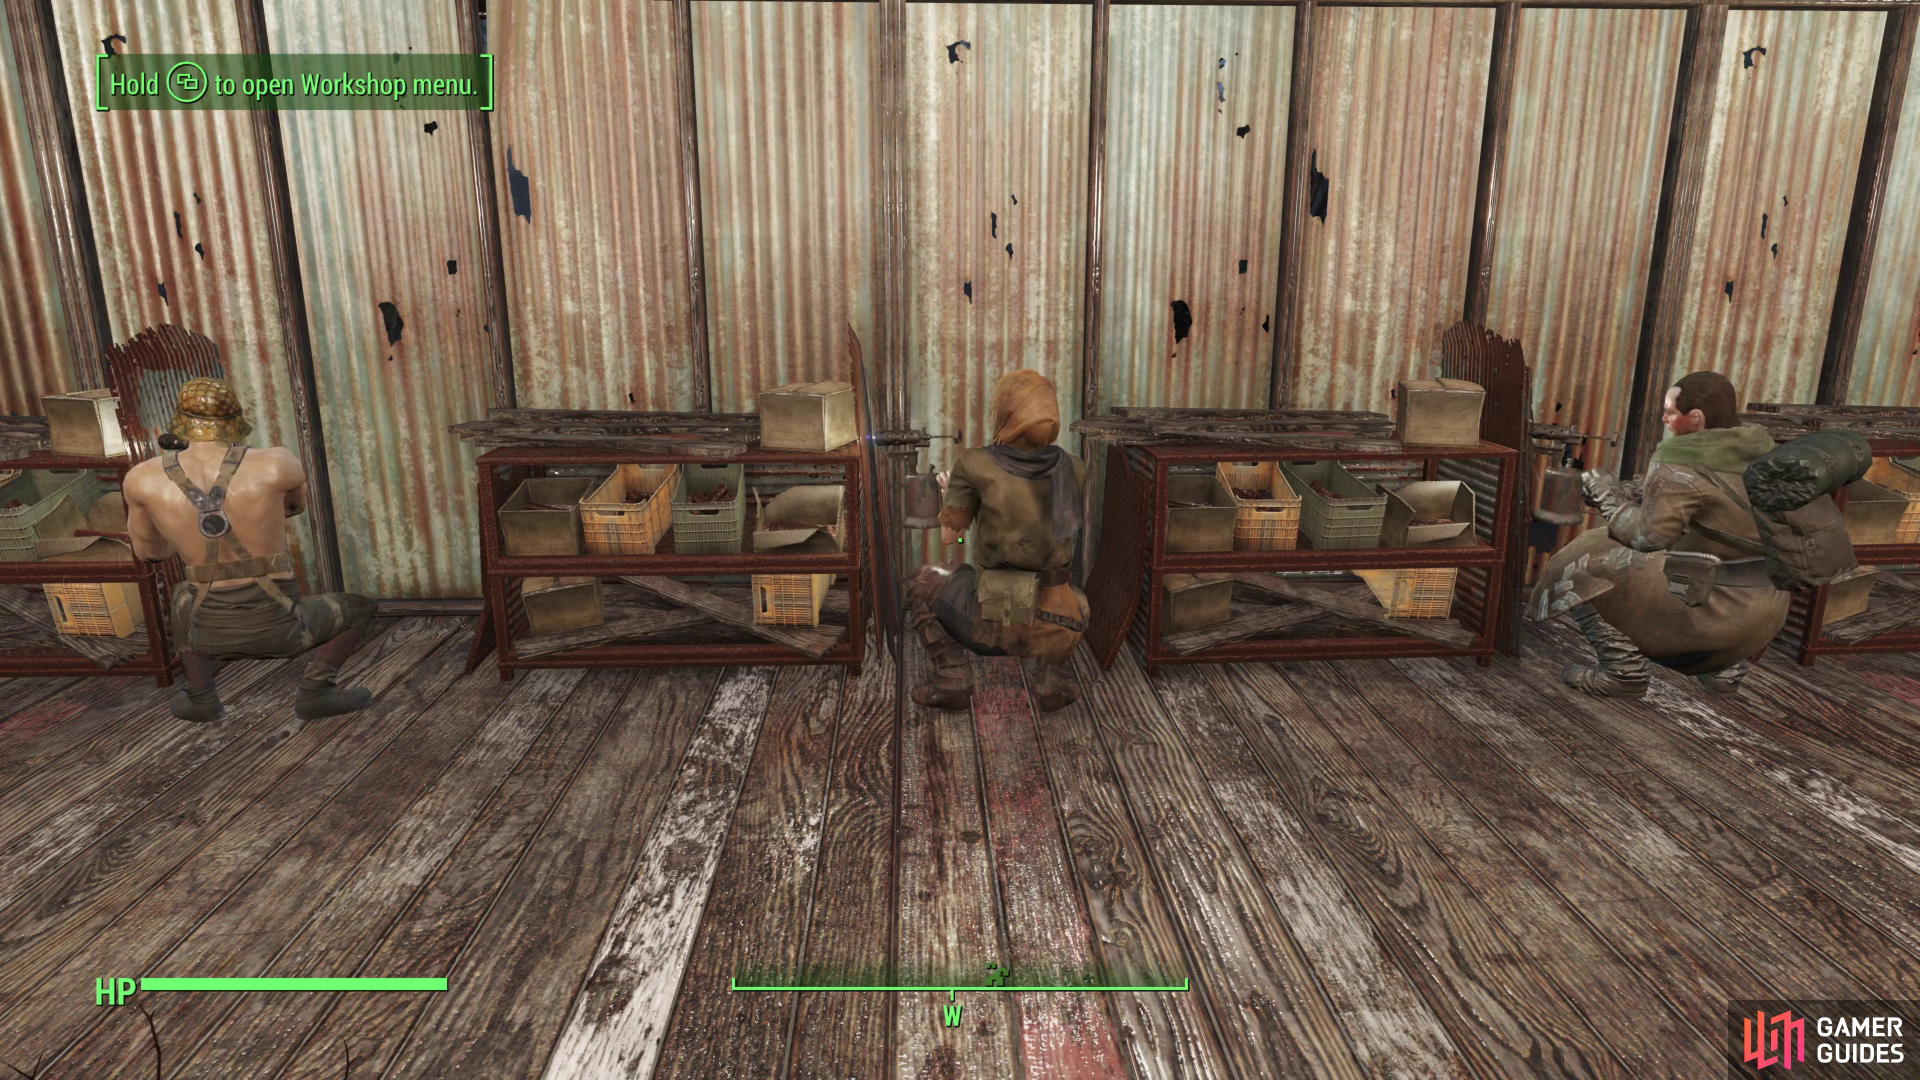
Scavenging Station: When assigned, a settler will generate various resources for you, depositing them in the Workshop over time. The resources gathered are generally junk or raw materials, some of which can be somewhat rare and expensive (like Ballistic Fiber). If you want a constant, diverse influx of scrap, setting up a few Scavenging Stations isn’t a bad idea. Also note that this assignment does not actually put your settler at risk - the adventures into the wasteland are merely implied.
-
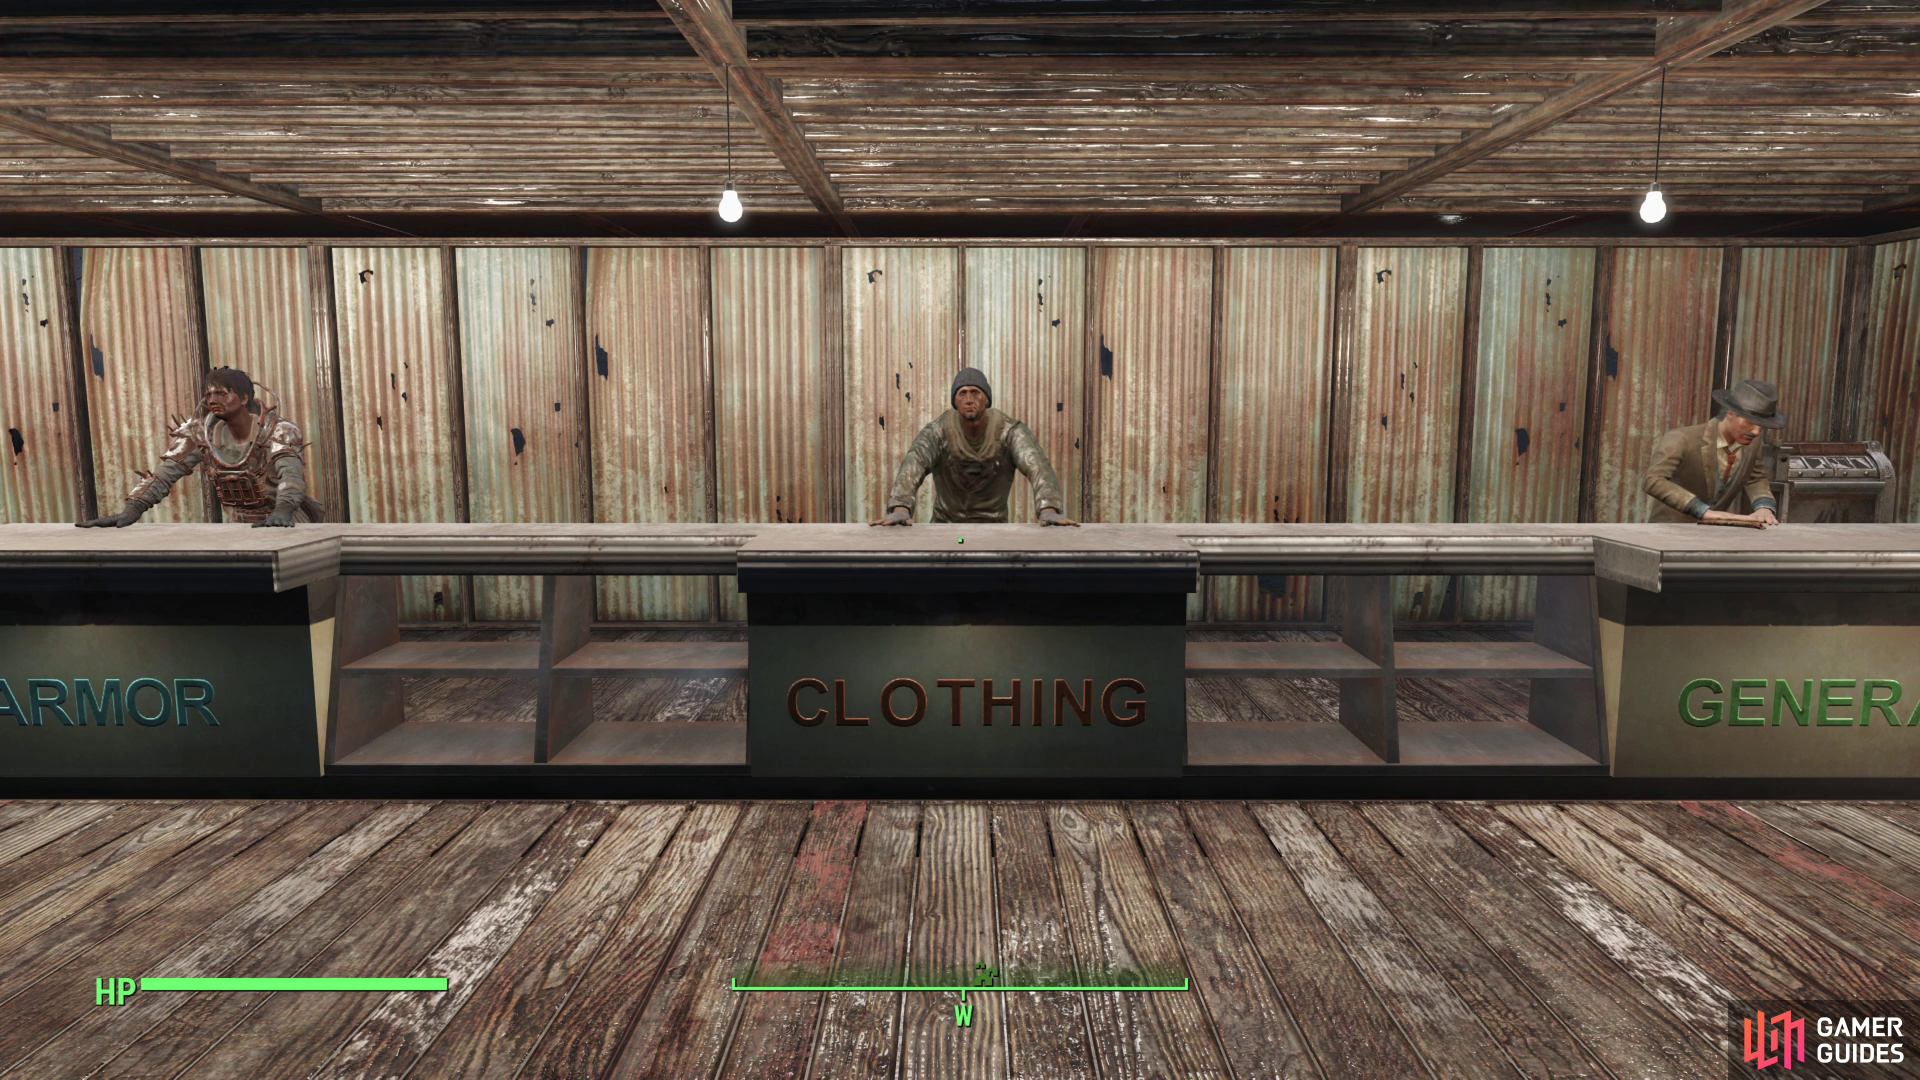
Shops: If you have two ranks in Local Leader (Charisma 6) you can build shops and assign settlers to act as merchants. Most shops generate Happiness for a settlement, and, through the magic of capitalism, will generate regular profits, which will be stashed at your Workshop. Shops largely function autonomously from the player, replenishing their stock (and store of available caps) on a regular basis regardless of the player’s actions. Shops of the same type across various settlements seem to share stock, but the profits earned stack, so while you can’t, say, stock up on shotgun shells at every weapon shop you establish (depleting the stock in one will deplete the stock in all), you’ll still earn caps for each shop you establish.
Caps will be earned and deposited in your Workshop over time, and while this isn’t a terribly fast process, while you’re out exploring you’ll be earning passive profit from every shop you’ve established. Over the course of a few in-game weeks this can add up to hundreds of caps per settlement (assuming six functional shops - one of each type - per settlement), and with around twenty-eight potential settlements in the game, this can end up being one of the best ways to earn caps in the game. With enough settlements established, you can literally just fast travel between them, collect caps, and have more money ready at the first settlement by the time you’ve traveled to and plundered the last. Excessive? Unnecessary? A lot of trouble to set it all up? Sure, but the results are basically infinite caps.
All in all, People - your settlers - are a valuable resource you can use to generate food, caps and scrap, if you’re willing to invest the time, perks and resources into building them a proper settlement.

 Sign up
No Comments