

S-Rank Requirements
| Time Limit | Phantoma | Casualties |
|---|---|---|
| 30:00 | 135 | 0 |
1 - Sri Raja Cliffs 1F
The mission starts off rather easy, with nothing but Petrifeyes flying about in this first area. Slice their wings and continue via the exit with the marker.
2 - Sunlit Atrium 1F
There’s a Wingvern here, as well as a few Pricklepedes, which are nothing more than the Hundlegs you’ve encountered earlier in the game. Since the Wingvern is the more dangerous of the two, defeat that first. You can cross the bridge in the middle of the room to get to the next section.
3 - Sri Raja Cliffs 2F (1)
Not much can be found here, except for a few Pricklepedes and Cryonades. Follow the objective marker on your map to the east.
4 - Sri Raja Cliffs 2F (2)
Upon entering this area, you will see a Demonicorn and some Pricklepedes in front of you. Defeat them all and go across the bridge to find some more Pricklepedes, then take the marked exit.
5 - Sunlit Atrium 2F (1)
The air in this area is filled with poison, meaning your characters will be inflicted with it as long as they are here. So, you’ll want to limit how long you are in the area. After dealing with the flans, hurry to the next area.
6 - Sunlit Atrium 2F (2)
Thankfully, the poison from the previous area is gone upon entering this area, so you don’t have to worry about getting rid of it. You will encounter another Wingvern here, as well as some Petrifeyes.
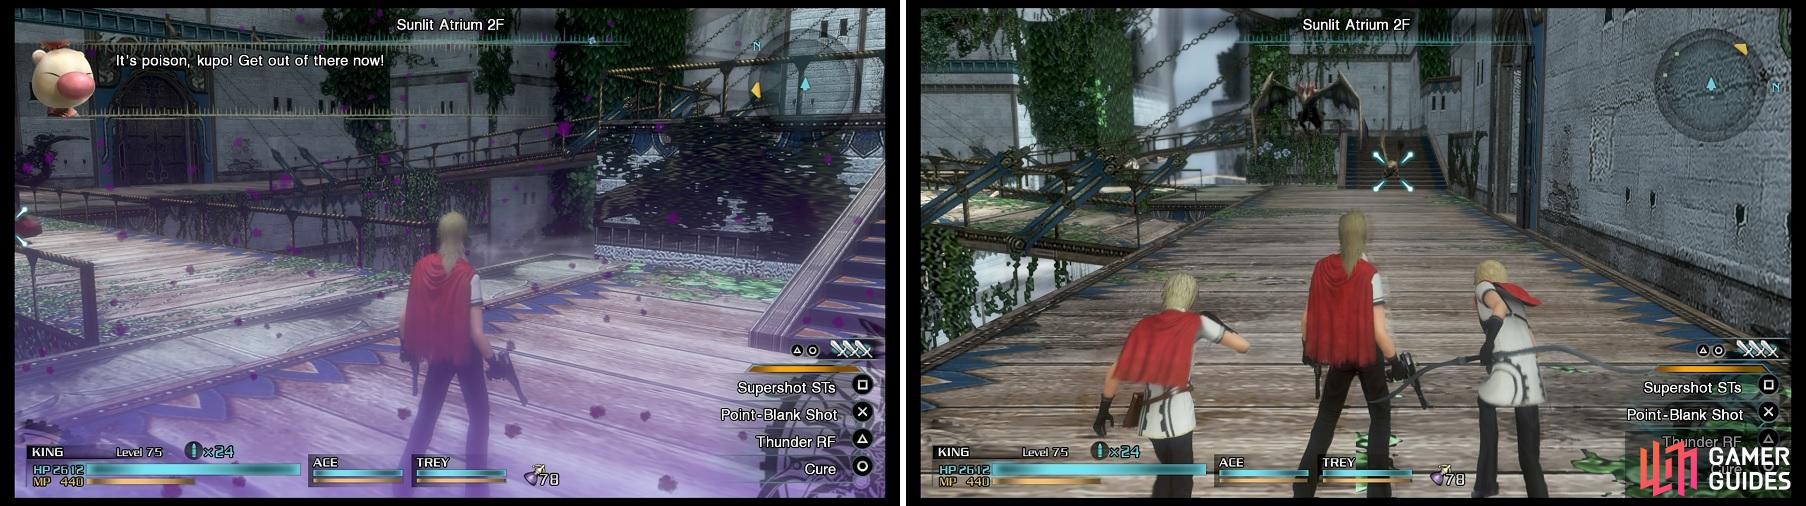
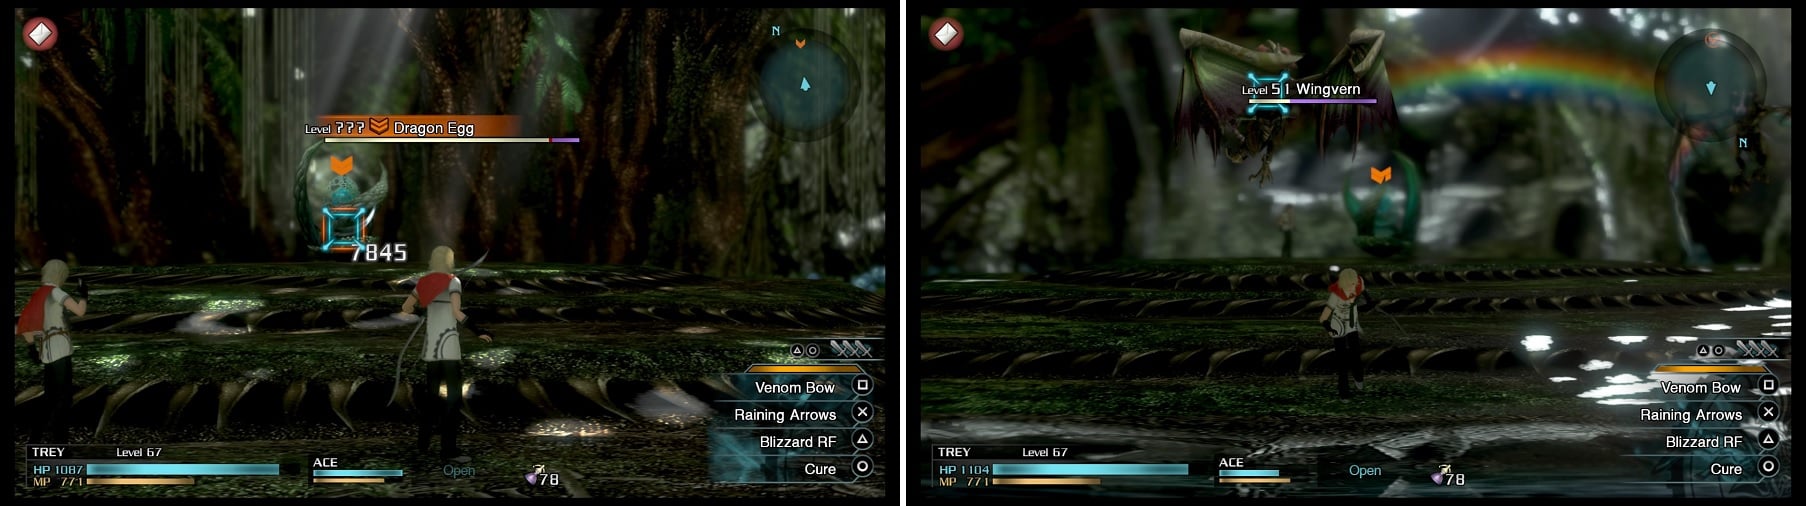
This area is filled with poison, making you lose damage whenever you move (left). Upon leaving, you will be back to normal (right).
7 - Sri Raja Cliffs 3F (1)
As with previous areas, there’s not a lot of enemies in this one, with just a single Demonicorn and a few Galvanades to help with your Phantoma farming.
8 - Sunlit Atrium 3F (1)
There will be two Wingverns flying about, causing all kinds of problems for you in the limited area you have. In addition to that, there’s also a few Pricklepedes up the stairs to your right when you enter. However, they aren’t the problem, as you should focus on the Wingverns before anything else. As you can see from your map, there’s multiple exits, but you can only reach one, due to the bridges being busted, the exit of which is by the Pricklepedes mentioned before.
9 - Sri Raja Cliffs 3F (2)
This is another easy room, due to you encountering nothing but a few Petrifeyes and some Pricklepedes. Take the path going north.
10 - Sunlit Atrium 3F (2)
There’s nothing but a single Wingvern here, so it should be easy if you know how to deal with it. Basically, wait for its elemental orbs and hit it when its Breaksight appears, grounding it and letting you likely defeat it before it gets a chance to take off again. You should be back in Sunlit Atrium 3F (1), where you can continue to the next floor.
11 - Sri Raja Cliffs 4F (1)
Nothing will appear where you first enter, but there will be some Agave Syrups (lightning Flans) across the small bridge. Since they are all in the same area, concentrate on thinning them out by targeting the Killsight that appears when they miss their attacks.
12 - Sri Raja Cliffs 4F (2)
While you might think it’s relatively safe here, with only Pricklepedes, there is a Snowsquatch in the second section of this area. They’re the same as their wild counterparts, so you should remember that a Breaksight appears after they miss their wide swinging attack. Continue by going east.
13 - Sri Raja Cliffs 4F (3)
This is another poison-filled area, so you will have to be quick in defeating all of the enemies. Luckily, there’s only a few Pyronades, as well as a single Demonicorn.
14 - Sunlit Atrium 4F (1)
Just defeat the few enemies here (Petrifeyes and Pyronades) and continue west.
15 - Sunlit Atrium 4F (2)
If you ventured here before, you may have realized that this northern section was blocked off because of the broken bridges, so you may or may not have any enemies waiting. Should this be the first time, you will find some Pricklepedes and Agave Syrups to defeat. Continue west.
16 - Sunlit Atrium 4F (3)
Similar to the poison-filled areas, this one appears to cause extreme heat, making your HP go down whenever you move. Defeat the enemies and move onto the next floor.
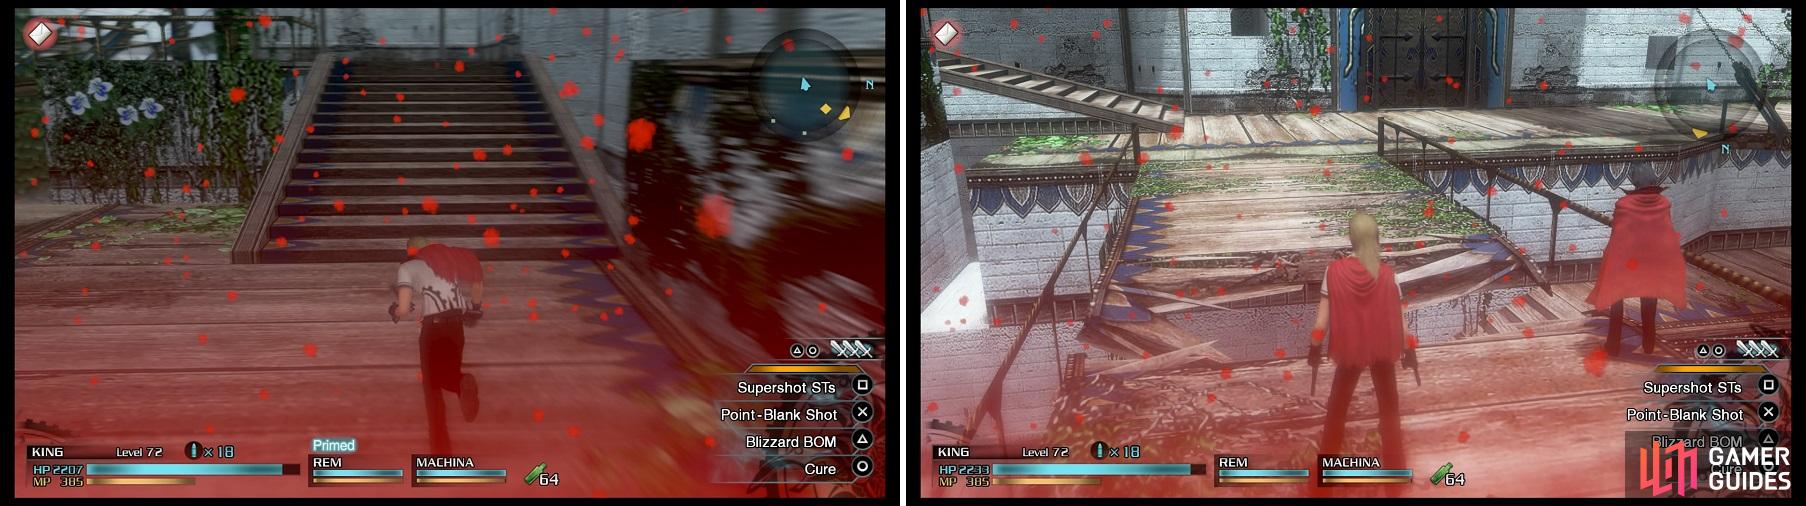
As with the poison area earlier, your health will go down as you move, so stand still to let it fill back up on its own.
17 - Sri Raja Cliffs 5F (1)
If you need to refill HP/MP/AG, then you will find a Recovery Portal before crossing the bridge. The only enemies you will find here are two Toxifeyes and one single Snowsquatch.
18 - Sunlit Atrium 5F (1)
This area can be a bit dangerous, only because the Creme Brulees like to do their collapse/spring attack often, which is troublesome when combined with the Wingvern here. Luckily, only one Brulee should be within reach, so either quickly defeat it, letting you concentrate on the Wingvern or vice versa. You cannot reach the marked exit from here, so head east.
19 - Sunlit Atrium 5F (2)
There’s nothing but Pricklepedes and Toxifeyes here, so take them out and go through the only exit you can going south.
20 - Sri Raja Cliffs 5F (2)
Just some Pricklepedes and Cryonades here, so go east after you’re done.
21 - Sri Raja Cliffs 5F (3)
You do not have to bother with the Creme Brulees here, but feel free if you’re up to getting some Phantoma. Go through the next two areas (you may have cleared them before) and up to the next floor.
22 - Sri Raja Cliffs 6F (1)
Fight the Pricklepedes and Snowsquatch and continue.
23 - Sri Raja Cliffs 6F (2)
This will probably be your first encounter with Blancmanges in the mission, but they’re the same as all of the other flans.
24 - Sri Raja Cliffs 6F (3)
The Toxifeyes in the beginning portion aren’t too bad, but be careful of the Wingvern in the second section. The easy way to get rid of it is to hit a Breaksight if it’s flying over the abyss, causing it to fall to its death.
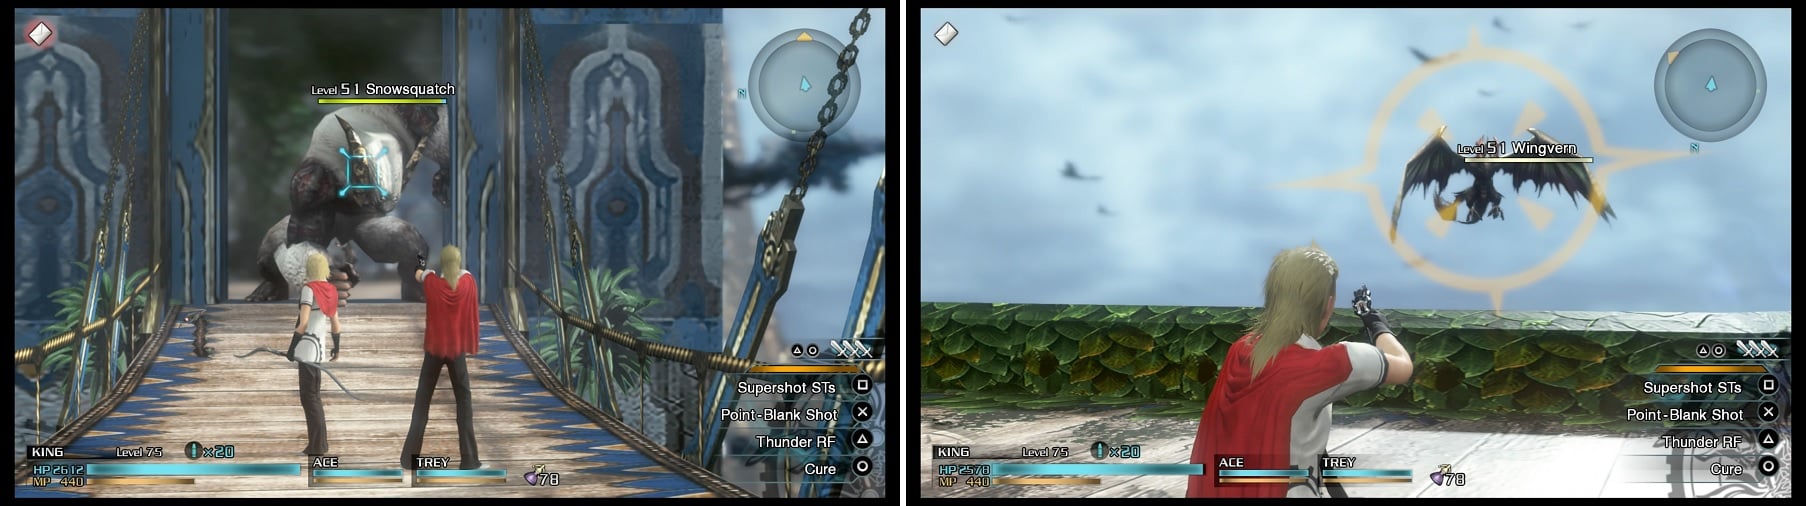
You will encounter a lot of monsters in this mission, including Snowsquatches (left). Try to hit a Breaksight on a Wingvern when it’s not flying over anything, making it fall down to its doom (right).
25 - Sri Raja Cliffs 6F (4)
Similar to the previous area, except replace the Toxifeyes with Galvanades. You still have a Wingvern to worry about, but it can be dropped in the same fashion. Take the first exit going north.
26 - Sunlit Atrium 6F (1)
Defeat the Pricklepedes and Blancmanges and use the marked exit to continue.
27 - Sunlit Atrium 6F (2)
Some Galvanades and a Wingvern will be your obstacles here, so get rid of them and use the marked exit.
28 - Sunlit Atrium 6F (3)
Ignore the Blancmanges across the broken bridges, clip the Wingverns’ wings and go up to the next floor.
29 - Sri Raja Cliffs 7F (1)
You’re getting closer to the top of whatever tower you’re climbing, so either fight the Galvanades/Snowsquatch or ignore them, moving to the next area.
30 - Sunlit Atrium 7F (1)
Of course, as you will see the exit to the next floor close by, you won’t be able to reach it due to the bridges being broken. Fight the Vilifeyes/Wingvern, then go south for now.
31 - Sri Raja Cliffs 7F (2)
Not too much will be here, as there’s just a few Vilifeyes.
32 - Sunlit Atrium 7F (2)
Remember that room earlier where you moved and your health slowly went down? This room is the same, so quickly take out the Wingverns and Pricklepedes, cross the middle bridge and head east. Use the Recovery Portal and then up to the 8F with you.
33 - Sri Raja Cliffs 8F (1)
The good thing is that there’s nothing but Pyronades here, but the bad news is that you can’t head directly north, so go east for now.
34 - Sri Raja Cliffs 8F (2)
Defeat the Pricklepedes and Demonicorns here, then use the marked exit on the far side to go north.
35 - Sunlit Atrium 8F (1)
This should likely be your first encounter with Skyverns in this mission, which are similar to Wingverns, but their elemental shots slightly home in on you. Treat them the same as the Wingverns, then cross the bridge on the eastern side, using the marked exit to head west.
36 - Sunlit Atrium 8F (2)
Before you can head up to the last floor, you will actually be required to defeat the Skyvern here, who is accompanied by a Wingvern. While the Wingvern is normal, the Skyvern has a lot more HP than usual, so you’re going to be fighting it for a good time. The only problem is that your fighting area is kind of small, so use the Breaksights to your advantage to lessen the damage done to you.
37 - Sri Raja Cliffs 9F (1)
You’re finally on the last floor and there’s only a little bit more to go before you’re finished with the mission. However, you’ll be going on a slight detour to snatch the only SO in this mission, so take down the Pricklepedes and Wingvern here, then go east.
38 - Sri Raja Cliffs 9F (2)
Feel free to take out the Demonicorns here and then go north to the Botanical Gardens.
39 - Botanical Gardens
| Objective | Time Limit | Effect | Reward |
|---|---|---|---|
| Defeat all dragons | 5:00 | Aura 0:30 | Hypno Crown |
This is the only SO in this mission and it will be a toughie. You have five minutes to defeat all of the dragons here, though there are only three of them. You have a Brontovern and two Skyverns to contend with, all of which have a lot more health than usual. Since the Brontovern is the biggest threat, you want your biggest damage dealer to concentrate solely on that, especially to skip its second phase, the lightning one.
If you can get past the lightning phase, then you will be much better off, since that’s the most difficult part. Defeat the Brontovern and then concentrate on each of the Skyverns, exploiting the Breaksights to ground them, immobilizing them for a short period. Remember that you can activate the SO when only one is left, making it so you can defeat the other two at your leisure.
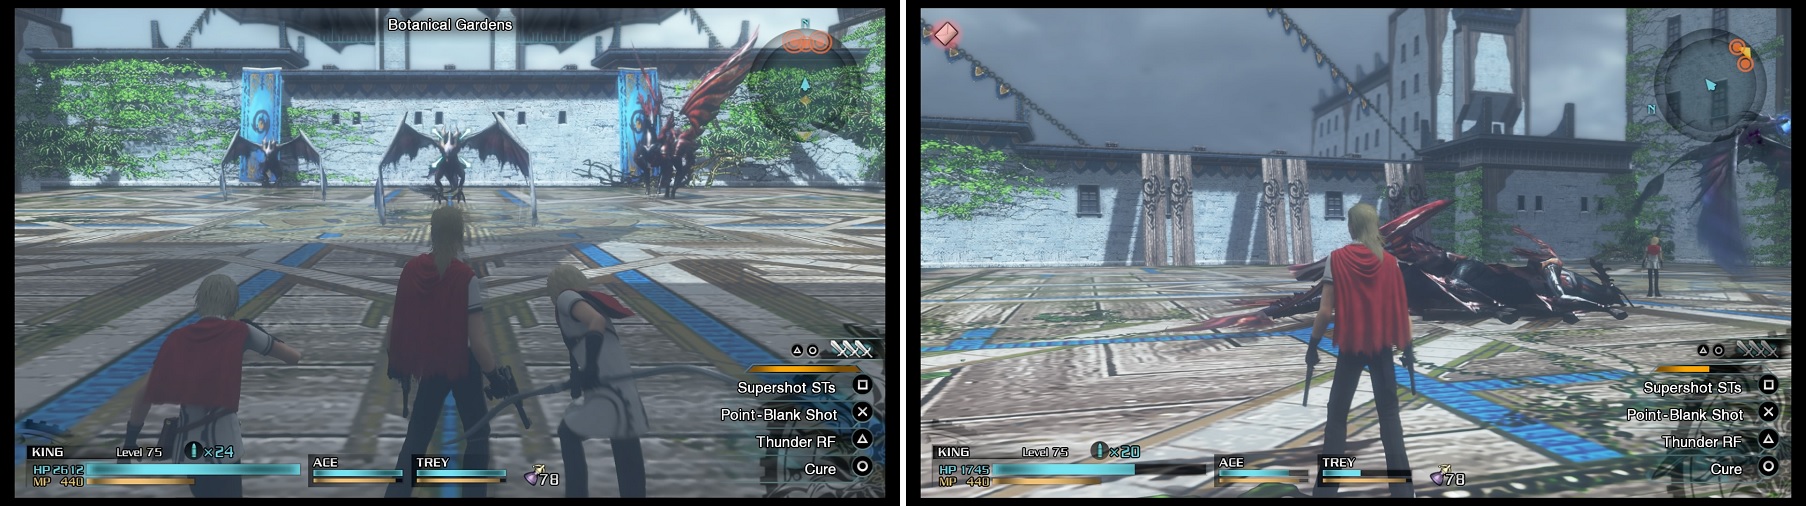
You will face off against three dragons here (left), all of whom have a lot of health. It might be wise to take out the Brontovern first (right), to avoid the annoying weather changes and its attacks.
40 - Sri Raja Cliffs 9F (3)
Return to the previous room and go east to arrive here. The marked exit is to the east a bit and you will need to defeat the Snowsquatch to dispel an energy wall, so fight the Demonicorns on the way.
41 - Sunlit Atrium 9F
Luckily, none of the bridges are broken and you get a straight shot to the next area, so down the Skyvern and Wingvern and carry on.
42 - Sri Raja Cliffs 9F (4)
Another area with two Demonicorns and a Snowsquatch, with the latter required to dispel another wall. The next area is a safe spot, with the Dragon’s Nest beyond that.
Boss - Dragon Egg
Yes, this is the final battle in this mission and it’s against an…egg. Remember to never judge a book by its cover, as this fight is quite challenging. One of the first things you will notice is that the egg has a lot of health, even to the point that it gets a little absurd.
The second thing you’ll notice is that the Dragon Egg will constantly summon a Wingvern and Skyvern into the arena whenever both have been defeated, sometimes when there’s only one. You want to keep an eye on them, but you also don’t want to focus your attention on them. It’s important to leave their bodies alone, as harvesting their Phantoma will just make the egg bring more in to harass you.
The Dragon Egg is not a difficult boss, but it has a TON of health (left). It will continually call in a Wingvern and Skyvern (right) every time you defeat them.
The egg does have a single offensive maneuver, a kind of pulse it emits, although it doesn’t seem direct contact with it does damage. The important part is to keep moving and you shouldn’t have any trouble avoiding its attacks.
As for damage, you want big guns whittling away at it because regular attacks will have you here for an hours or so. An Eidolon, like Neo Bahamut, should you have it, will make quick work with its Giga Flare maneuver; just make sure you have Rem with Undying Wish to counteract the death from summoning. Another way to deal with the Dragon Egg’s huge HP count is to use either King or Trey, who have high-damaging moves. Once the egg is done, the mission will be over. Phew!

 Sign up
No Comments