

S-Rank Requirements
| Time | Phantoma | Casualties |
|---|---|---|
| 25:00 | 90 | 0 |
Notable Special Orders
| Objective | Time Limit | Effect | Reward |
|---|---|---|---|
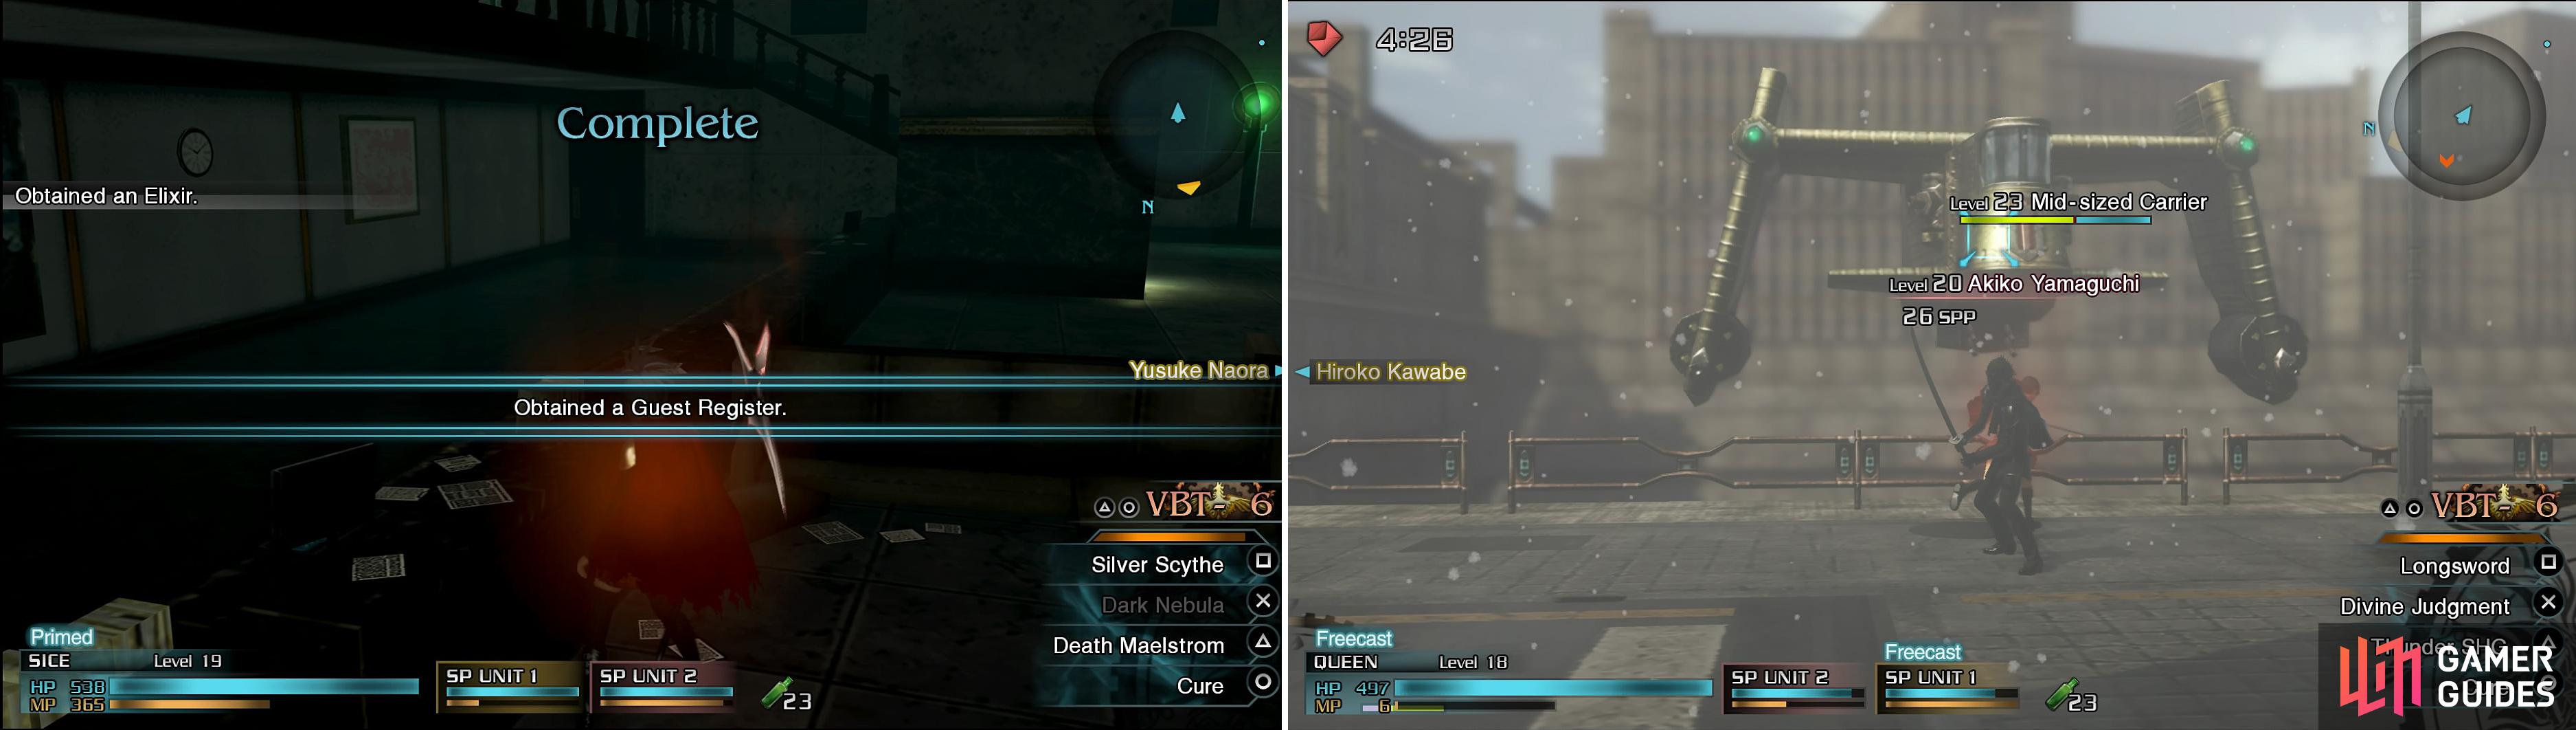
| Procure two Hotel Guest Registers (Area 1) | 2:00 | Haste 0:45 | Elixir |
| Defeat Corporal Evans (Area 2) | 2:00 | Protect 0:45 | Vitality Apparatus |
| Harvest three Phantoma (Area 3) | 2:00 | Haste 0:45 | Elixir |
| Take down mid-sized carrier with leader (Area 4) | 5:00 | Freecast 1:00 | Blizzard ROK-II |
| Score three Breaksights on a Colossus (Area 5) | 4:00 | Protect 0:45 | Rune Rapiers |
| Find and collect three Army Notebooks (Area 7) | 4:00 | Haste 0:45 | Elixir |
| Monitor the freak Akkad (Area 8) | 1:00 | Regen 0:45 | Platinum Piccolo |
| Harvest three Phantoma (Area 9) | 2:00 | Invincible 0:30 | Phoenix Down |
| Score a Killsight on one Imperial Trooper (Area 10) | 2:00 | Aura 0:30 | Elixir |
| Defeat Lieutenant McKean (Area 12) | 5:00 | Aura 1:00 | Megalixir |
| Objective | Time Limit | Effect | Reward |
|---|---|---|---|
| Strike Akkad with three spells (Area 12) | 5:00 | Haste 1:00 | Phoenix Pinion |
| Score three Breaksights on Akkad (Area 12) | 5:00 | Invincible 1:00 | Buster Hammer |
| Defeat Akkad (Area 12) | 99:59 | Haste 1:00 | Ribbon |
| Collect three Railway Maps (Area 13) | 4:00 | Freecast 1:00 | Stormwyrm Amulet |
| Collect three Formation Charts (Area 14) | 2:00 | Haste 0:45 | Rune Daggers |
| Take down three Imperial Troopers (Area 15) | 2:00 | Protect 1:00 | Icewyrm Amulet |
| Score two Killsights on Imperial Troopers (Area 16) | 2:00 | Protect 0:30 | Firewyrm Amulet |
| Avoid taking any damage (Area 18) | 1:00 | Haste 1:00 | Argentic Ring |
| Attack Vajra until it escapes (Area 18) | 7:00 | Endure 1:00 | Fulgur Essentia |
| Score two Breaksights on Snow Giant (Area 20) | 2:00 | Endure 0:45 | Gold Bracelet |
| Objective | Time Limit | Effect | Reward |
|---|---|---|---|
| Find two Supply Slips (Area 23) | 4:00 | Invincible 0:30 | Rune Saber |
| Defeat 2 Snow Giants with leader (Area 22) | 1:30 | Aura 0:30 | Thunder ROK-II |
| Score two Breaksights on the Behemoth (Area 24) | 2:00 | Protect 0:30 | Ignis Tertius, Vol. II |
| Defeat the Behemoth (Area 24) | 0:30 | Aura 1:00 | Feathered Cap |
| Harvest three Phantomas (Area 25) | 2:00 | Haste 1:00 | Aegis Secunda, Vol. II |
| Attack Vajra until it retreats (Area 25) | 7:00 | Quick 1:00 | Elixir |
| Deal damage to enemy with fuel tank (Area 26) | 1:00 | Quick 1:00 | U1-Shock Damper |
| Retrieve two Drill Manuals (Area 26) | 3:00 | Regen 1:00 | Elixir |
| Take down two missiles (Boss) | 8:00 | Haste 1:00 | Silver Gloves |
| Land 30 hits on Vajra (Boss) | 3:00 | Quick 1:00 | Silver Bangle |
1 - Grand Foyer
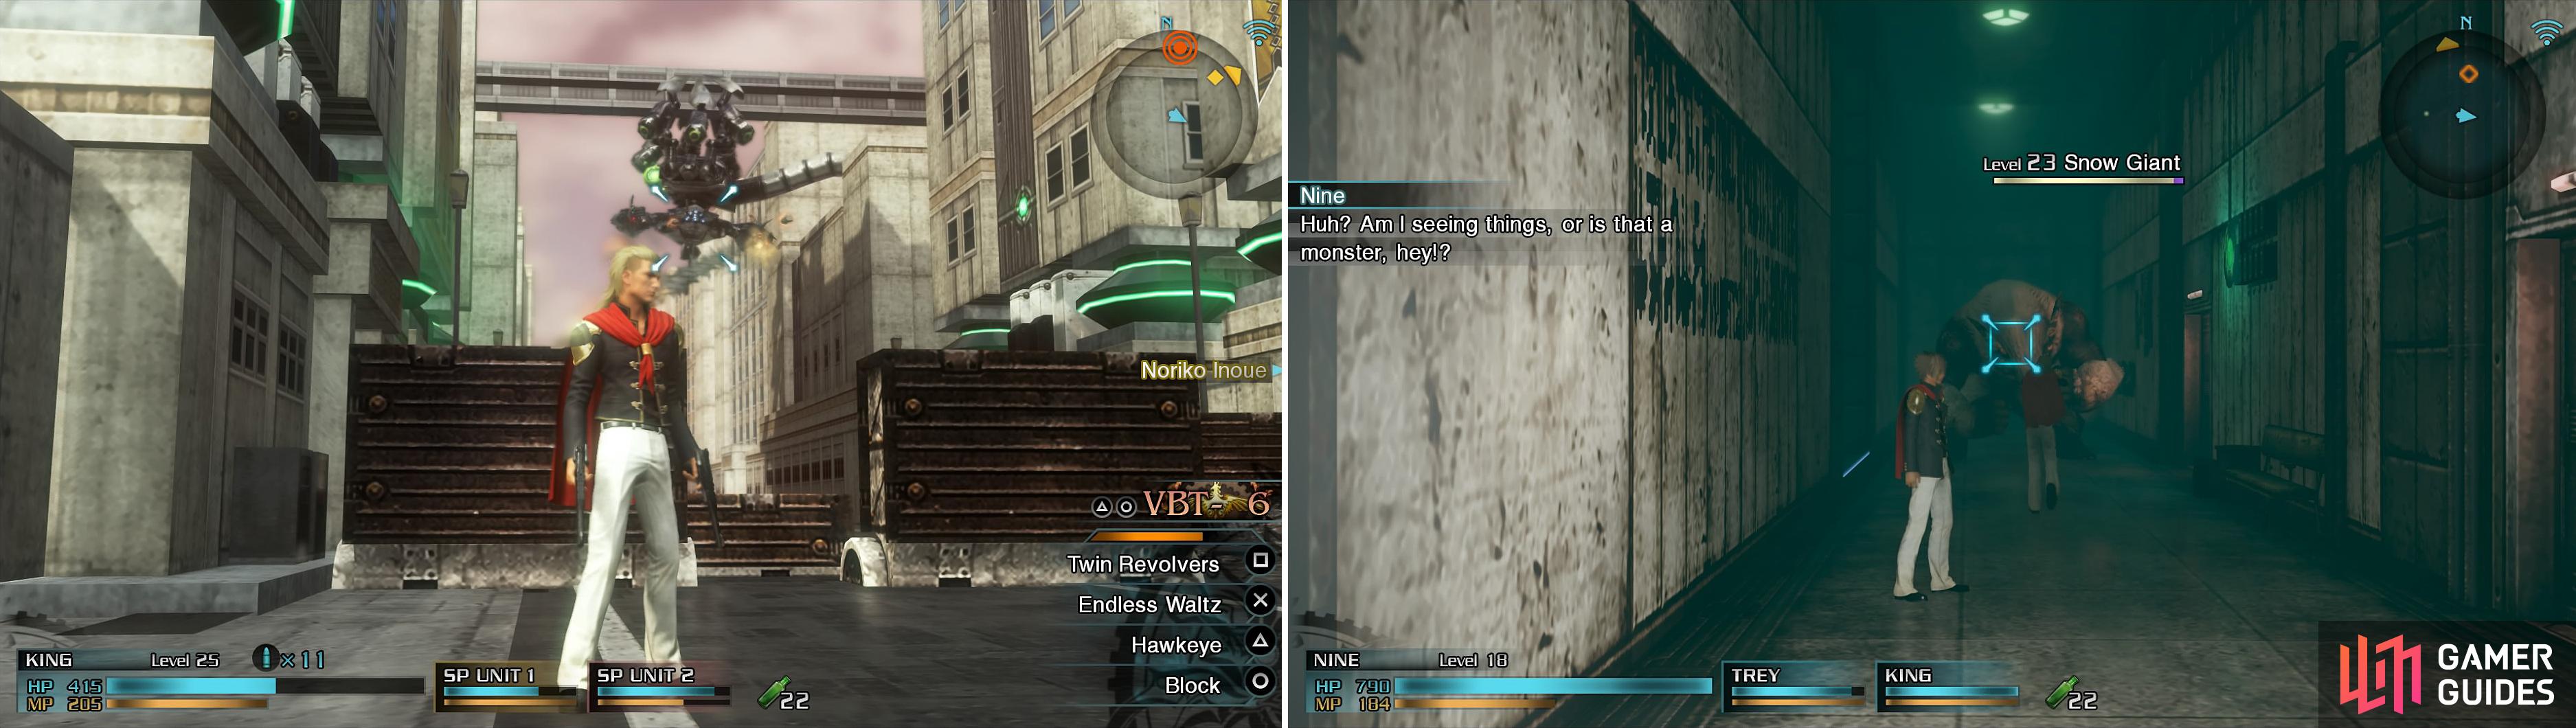
You will start inside the hotel, where you’ll be fighting some Imperial Troopers. At first, it will just be the normal ones, but as you move through the area, there will be a few RPG Gunners. If you want to complete the one SO, there are two Registers at the front desk of the hotel, near the exit to the next area.
2 - Hotel Armada
As soon as you step outside, you’ll find yourself in some bad weather with reduced visibility. This means that it will be harder for you to lock onto enemies unless you’re closer to them, which is a problem with RPG Gunners on the roofs of the trucks. In addition to them, there’s a few Imperial Troopers on the ground, as well as an enemy commander and two more RPG Gunners near the exit.
You can find the Hotel Registers at the front desk (left). Watch out for mid-sized carriers (right) later on in the mission.
3 - District 0709
You will be facing off against three Shock Troopers, as well as Piett (another enemy commander). Note that if you want to complete the SO here, which is to harvest three Phantoma, you’re going to need to leave Piett alone until you defeat the other enemies, as he will leave once you deal enough damage. This is troublesome, as the Shock Troopers will surrender once Piett leaves.
4 - District 0711
Upon entering this area, a mid-sized carrier will fly in and drop off some Imperial Troopers, then it will fly off to the side and start attacking you. If you wish to complete the SO here, then you’ll want to have a ranged character with you or some ranged magic. After defeating all of the enemies, an enemy CO will show up, as well as another Imperial Trooper.
5 - District 0714
As with the areas before, there will be more Imperial Troopers here, but just around the corner will come a Colossus. Take them out and move towards the exit to have another Colossus, piloted by an enemy commander, appear.
6 - District 0722
There’s nothing here at first, but as you move further into the area, a train will roll in and drop off some soldiers. There will be a few Imperial Troopers at first, then yet another enemy commander will come into the fray. Defeat them all and move on to the next area.
7 - District 0723
This is a big open area, with some train cars littered about. Note that the SO in this area requires you to find three items (all Army Notebooks ), so it’s best to save it until after you defeat all of the enemies. Speaking of those, you will have some Colossi, one of which is piloted by an enemy commander, as well as Imperial Troopers.
8 - District 0724
As soon as you step into this area, you will witness a cutscene where a lumbering, freakish giant with a massive sword begins to follow you. This is Akkad and it’s best to leave him alone, as he has a lot of health, deals high damage and has high defense. There are a few SOs in the mission that revolve around him in subsequent areas (there’s one to observe him in this spot), one of which involves killing him. Since you can ignore Akkad, kill the Imperial Troopers in the area, then move on.
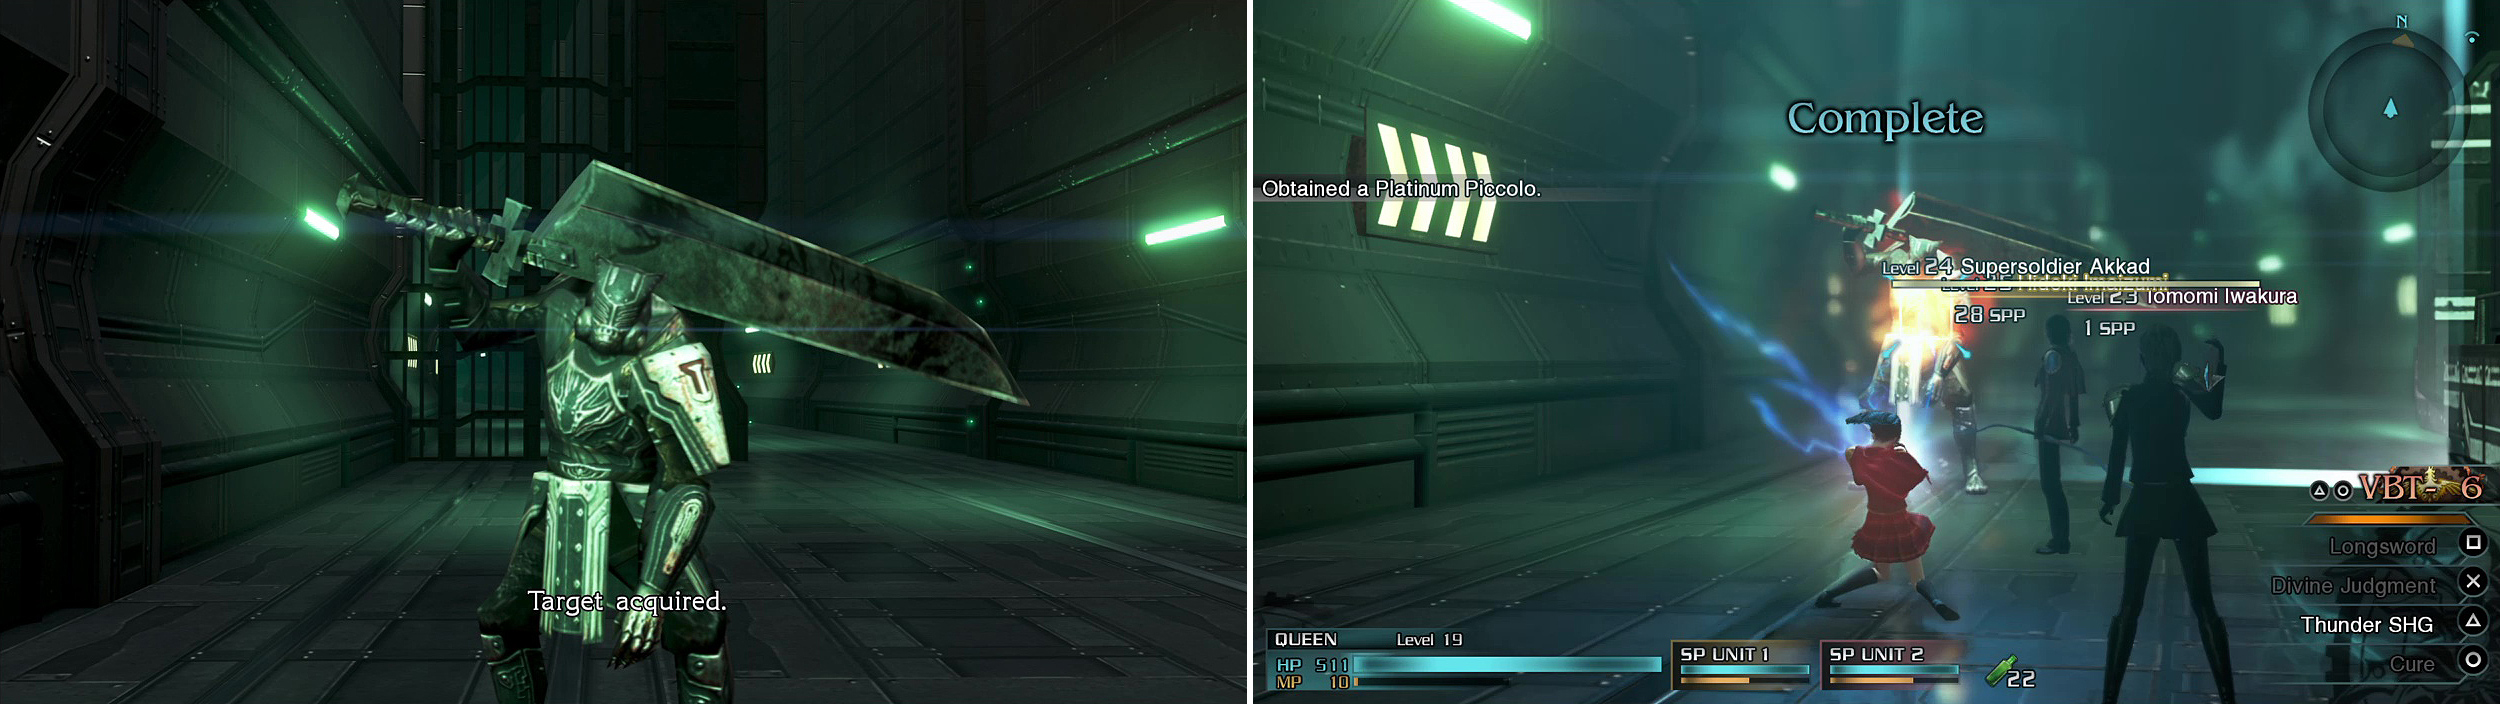
Akkad is strong and tough, so it’s best to leave him alone on a first playthrough, or just ignore him altogether. For the monitor SO, just wait till the timer runs out (right).
9 - District 0725
Note that Akkad will continually chase you through this area and the following ones, so always keep an eye on him, especially if he gets close enough. Thankfully, he is painfully slow and has to be up close to deal any damage. Defeat the Imperial Troopers and enemy commander here, then move on to the next area. Make sure you go after the Troopers first if doing the SO to harvest three Phantoma.
10 - District 0726
Just a lone Imperial Trooper (hit with Killstrike for SO) and a Colossus will be in this area. Avoid Akkad, defeat the other two and continue.
11 - District 0727
Upon entering this area, you will see an enemy commander run past you to go to another area. Unless you can defeat him, ignore the commander and concentrate on the other two enemies here, which are Imperial Troopers. Go to the far end of the area to find a switch, but it won’t work. It seems that the enemy commander that ran off might have the key, so chase after him. Akkad blocks the exit you need to get to so dodge past him on your way.
12 - District 0726
Returning to this area will have you facing off against an enemy commander, who is piloting a Colossus. There’s an easy SO here that simply asks you to defeat the commander with your party leader. When he’s been defeated, head to the next area.
13 - District 0728
The fleeing enemy commander from earlier can be seen running up a ramp as soon as you enter, with some Imperial Troopers blocking your way. He will continue running until he stops at the dead end or until you manage to defeat him. You will gain the Gate Key upon defeating him, allowing you to go back to the locked gate you encountered before.
14 - District 0730
Stepping into this area will start a timer of three minutes, with your sole objective being to get on top of the train shown to you. There will be some Imperial Troopers at the beginning and when you get to the end of the path, Akkad will bust through a wall and begin harassing you yet again (provided you didn’t bring him down earlier).
The problem is that the path leading to the top of the train is blocked by a barrier, which will dissipate upon defeating the enemy commander. Make your way around and defeat the CO standing on a platform above, then follow the ramp up to get on top of the train and leave this area (and Akkad) for good.
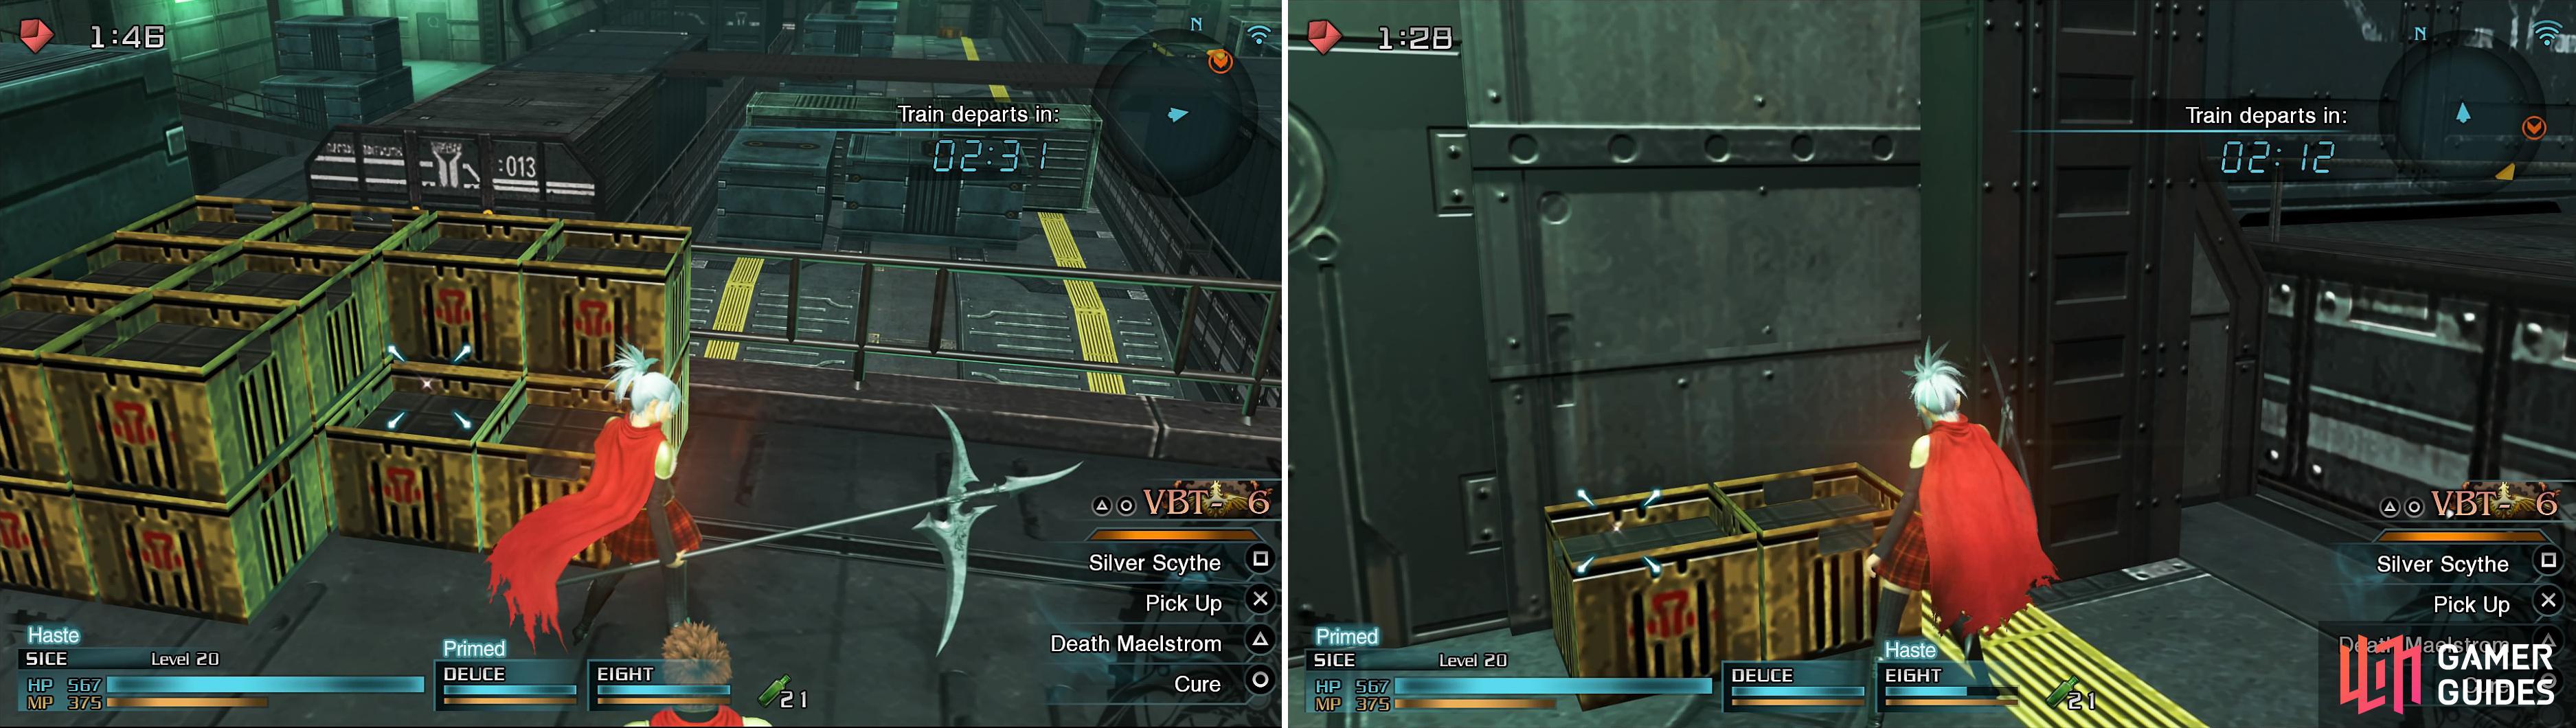
There is an SO to find three items in this area before the train leaves. You can find two in the locations above.
15 - Tiger Liner 703A
You’re now riding on top of the train, with enemies fast approaching you. At first, there will be some Imperial Troopers and an Airborne Trooper. These enemies, as their name suggests, are small flying mechs that can either fire missiles at you or do a flamethrower attack, if up close.
After taking care of them, keep moving up the train until you come to a spot with an RPG Gunner. Nearby is a platform that you can interact with (yellow icon if close enough) to drop it, allowing you to cross. Do that and more Troopers, as well as another Airborne mech, will spawn (the SO to defeat three Imperial Troopers will pop here). Defeat them all and the train will stop.
Watch out for the Airborne Troopers (left). To get around the train, look for the yellow marker (right) that allows you to build platforms across.
16 - District 3348
Back in the city, some soldiers will be closing in on your position from far away, so take them out, harvest their Phantoma and go up the stairs. Some trucks will drive in, bringing more soldiers for you to take down, causing an enemy commander to appear after that.
17 - District 3349
When you first appear here, some Troopers will call in Coeurls to join them in the fight. As you approach the exit, the gate will close and an enemy commander will fly in on one of the mechs from before, with three more Imperial Troopers helping him out.
18 - District 3350
Upon entering this area, you will see a big blip on your mini-map and, as you turn the corner, you will find a big machine on a building in the distance. This is the Vajra and it will be coming your way, trying to crush you with its initial attack. You won’t be able to defeat it at the moment, so just attack the machine until it retreats to one of the buildings.
Once it does, it will begin firing missiles at you (SO here to avoid all damage). In order to progress, you will need to lure the Vajra’s fire to the truck blocking your way, then you’ll need to do it once more. Upon destroying the second truck, you will be able to do one of two things. Another SO will pop up, in which you need to keep attacking Vajra until it retreats, but you’ll need ranged characters for that. If you want to continue with the mission, you can go inside the building to the right of the second truck.
19 - A-13 Building
It seems that the Vajra just won’t leave you alone, as it will keep slamming against the building, although it doesn’t do anything. However, when you see it climb to the second floor, it will rain a barrage of missiles inside which you should dodge and then when it stops, you will be able to move onward.
Vajra (left) makes its appearance here. Wait for it to destroy the blockage in front of you. Later, you will have your first encounter with a Snow Giant (right) in a tight corridor.
20 - A-13 Building 2F
There’s nothing here until you get to the end of the hallway, where a Snow Giant comes climbing into the area via the ceiling. These enemies usually have three distinct attacks, although for some reason, the one here only does two of them. For one, they will run up to you and try to “hug” you by bringing both of its fists together.
The other attack that the Snow Giant does is bring its one arm back and take a wide swing at you. Whether it hits you or not, the Snow Giant will fall down and a Breaksight will briefly appear. Note that there’s an SO that appears here to Breaksight the Snow Giant twice, so you might want to hold off on attacking it until you do this.
21 - A-13 Building Basement
As you’re going down the hallway in the previous room, you should see an opening on the left side, which leads to this area. Go down the stairs and you’ll eventually run into some Bat Eyes, which are nothing more than the flying eyeball enemies you’ve been fighting throughout the game; they can poison you, so watch out for that.
22 - Underground Storeroom
You might have seen them briefly while fighting the Bat Eyes in the previous room, but if not, you’ll be fighting against two of the Snow Giants. The plus side is that you’re in a much bigger room than before, so you don’t have to worry about space.
The bad side is that you’re fighting two of them and they have access to all three of their moves. In addition to the two mentioned previously, they will also raiseon of their fists and then hit the ground, causing ice to form slightly around them. Besides that, they’re the same as the last Snow Giant you fought.
23 - Supply Route
Go all the way back to the hallway with the first Snow Giant and take the designated exit to reach another area with more flying eyeballs. There will be a few at the beginning, then a few more as you get closer to the exit of the room. For the SO that requires you to find two items, one is right by the entrance and the other is by the white crates near the claw marks on the wall.
24 - Elevator Lobby
As you saw right before you entered the room, you will be fighting a Behemoth in a tiny room (well, it looks tiny with a giant monster in it). There are three main moves to watch out for, one of which is the Behemoth taking swipes at you with its tail if you decide to spend some time behind it. Note that this move and the other two all have a Breaksight after them, making it easy to try and complete the first SO.
The second move from the Behemoth is two swipes with its paws, one from each of them. For the third move, the Behemoth will do a complete 360 spin. After completing the first SO, another one will appear that asks you to defeat the Behemoth with your leader; this doesn’t show unless you complete the first one. Upon defeating the Behemoth, Piett (the enemy commander from early in the mission) will pop in to say hello, in rage mode. Defeat him to be able to move on to the next section.
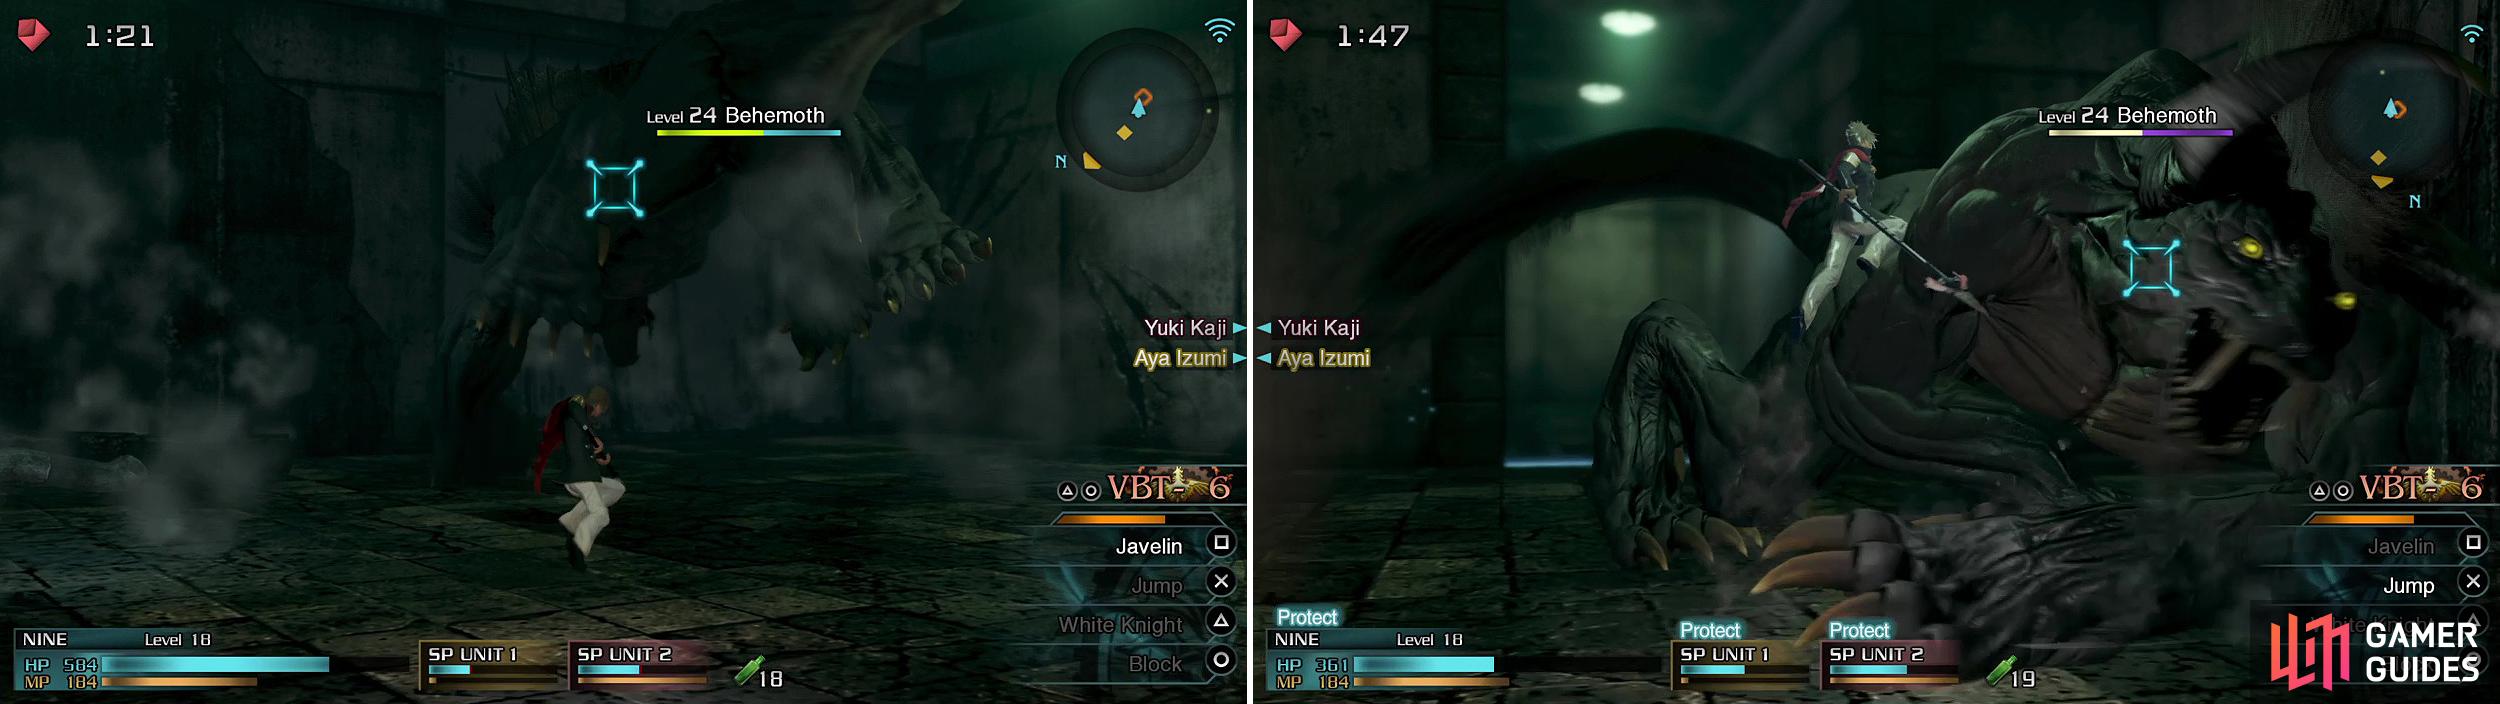
The Behemoth can do a 360 spin (left) to send you all flying. After an attack, you will always get a breaksight opportunity. Jump is excellent if timed correctly (right).
25 - Emergency Stairs
Go down the stairs and you’ll run into a few Imperial Troopers, so take them out and head to the end of the area, where you will see some more Troopers in windows on the opposite building. However, an old friend (Vajra) pops up, clinging to the side of the building firing missiles at you.
Attack it until it moves and if you don’t have any other SOs active, there will be one that says to do the same as above (attack Vajra until it moves). As with the earlier one, you’ll need some long-ranged attacks here, as the mech is on the side of a building, out of reach of most attacks. It shouldn’t take much to make it move, though, and all you will get is an Elixir . Anyway, you’ll run into some more Troopers on ground level, by the exit.
26 - District 3352
Upon entering this area, you will find two Supersoldiers waiting for you and then two Colossi that come in as you approach the exit, one of which is an enemy commander. The first SO that pops up will be to damage an enemy with one of the fuel tanks (there’s two), so wait until the Colossus nears it before hitting it. For the other SO, you’ll require the Trunk Key from the enemy CO, as both items you need to find are in the backs of the trucks.
BOSS - Vajra
This boss is fairly easy, as you will have seen most of its attacks already. There are the missiles it shoots, as well as its melee attacks, which it will try to do as it chases after you. Once it gets lower on health, it will begin chasing after you while its feet are electrified, meaning it will hurt whenever you touch the machine.
It can also do a charge straight across the screen and will sometimes hop onto the wall, where it shoots missiles. The boss can jump around and shoot missiles while in the air, as well as plant itself on the ground to fire even more missiles. At lower health thresholds, it will shoot a bigger missile or electric ball at you at the same time. Once its health reaches a certain point, it will move towards the wall and begin climbing it, then it will stick its tail into the wall and begin recovering some health.
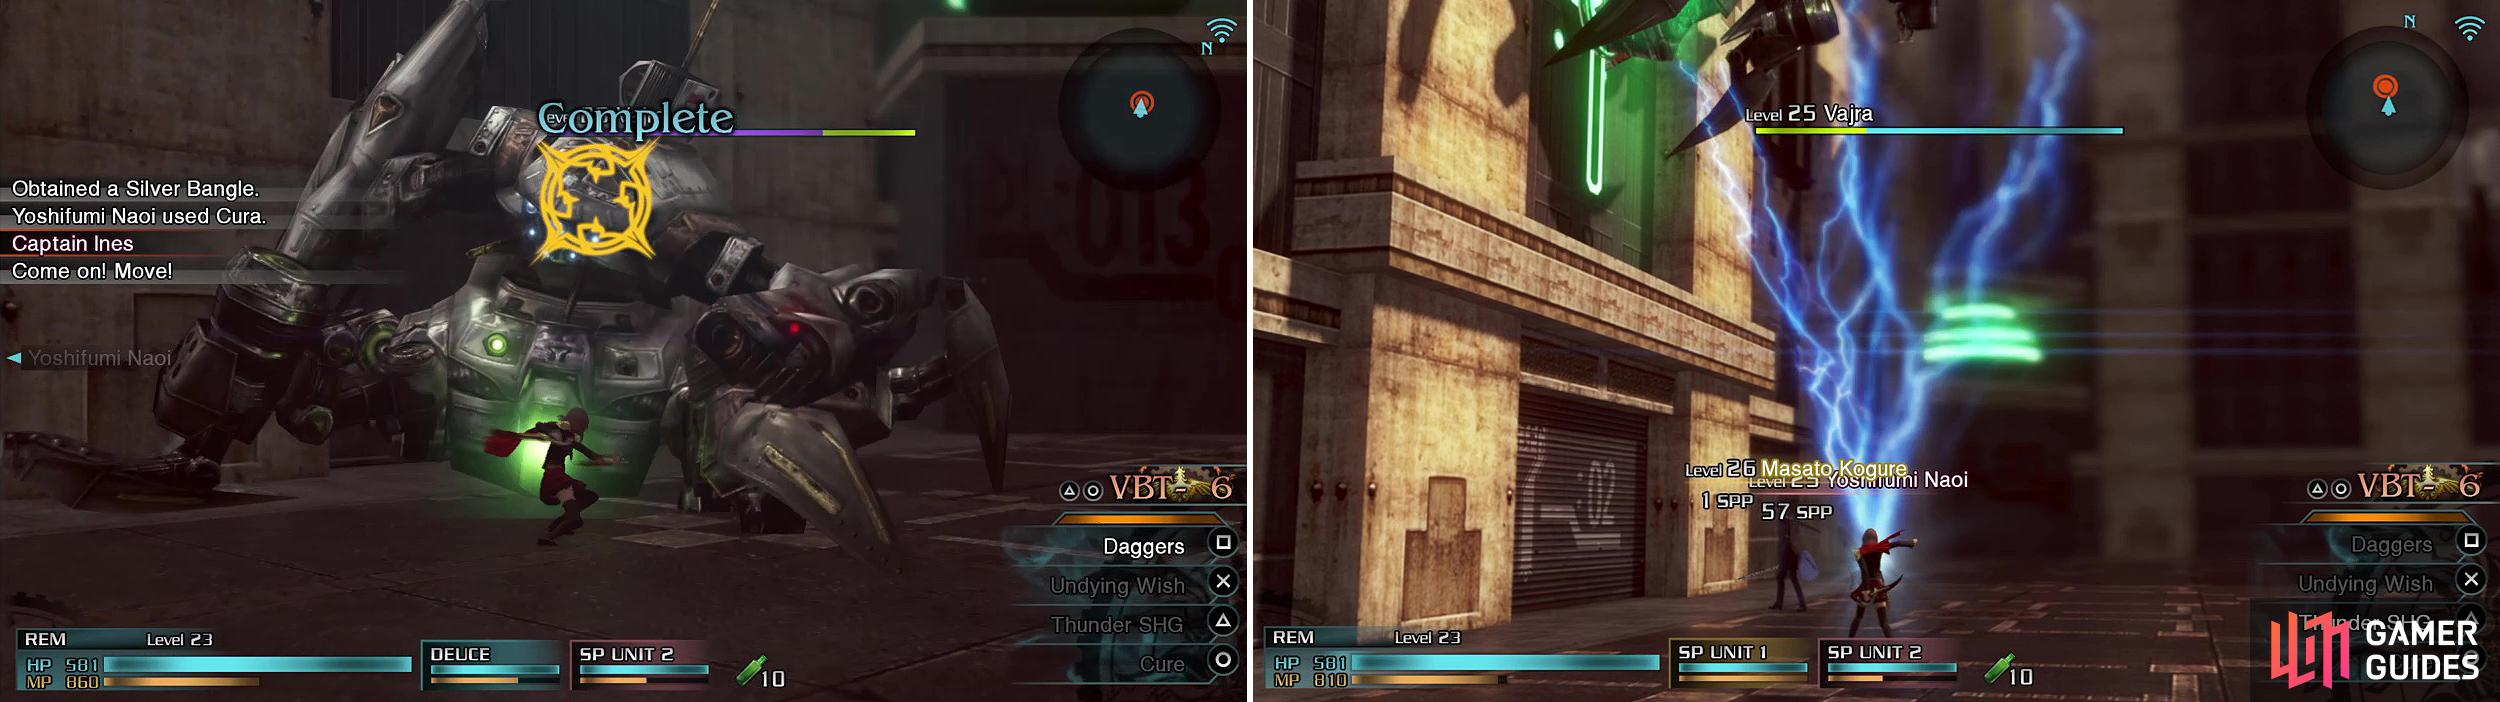
If you inflict a Breaksight or two, you will get repeated Breaksight opportunities (left). When Vajra is on a building, used ranged attacks like Thunder (right) to knock it off.
Luckily, the boss has a lot of Breaksight opportunities after almost all of its attacks, including when it’s recovering health, in which it will fall and you can inflict major damage with repeated Breaksights. When its health is empty, you’ll have to attack it once more when the Killsight appears, but be aware of electric balls it shoots from its tail, as well as the electrified sections when the tail hits the ground.

 Sign up
No Comments