


| Items In This Area |
|---|
| Bronze Helm • Headgear • Silken Shirt |
Stockade
Watch the scenes that follow your “escape” from Garamsythe Waterway, after which Vaan will wake up in Nalbina Dungeon. Balthier explains their predicament and offers some advice, which, of course, Vaan doesn’t heed. Balthier may be content to sit around while waiting for Fran to find a way out, but Vaan clearly isn’t - and who can blame him? It’s not like things have gone smoothly since associating with the two sky pirates, has it?
Go and wander about and talk to your fellow inmates, most of whom will talk about the perils of prison life. A few will even mention one Daguza, who seems to be the local strongman down here. Other than chat with other prisoners, there’s little to do down here besides loot the odd chest, which will either contain a pittance of Gil or the odd Knot of Rust. Do what you will, then head to the Save Crystal along the northern end of the level, which is near an area transition.
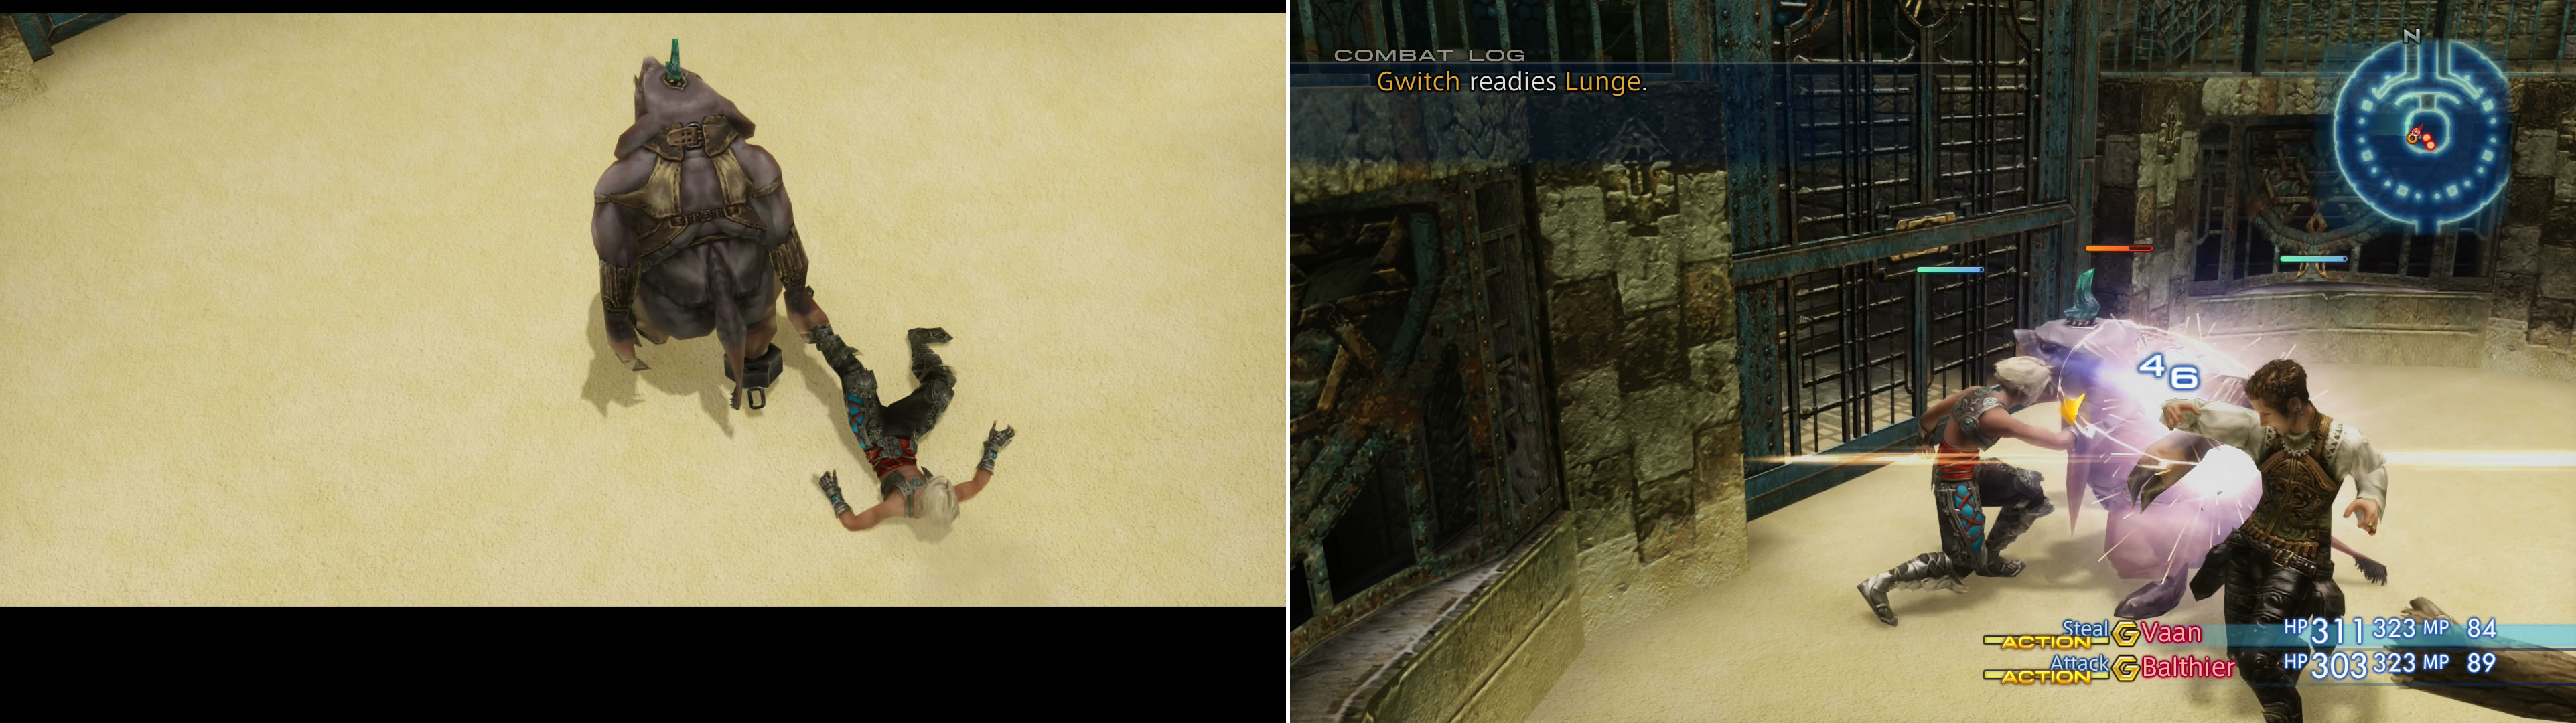
Vaan’s first day in prison doesn’t get off to a good start (left), but fortunately Balthier will show up and help you fight off your attackers (right).
Arena - Battle with Daguza
Head on to the next area - the Arena - where Vaan will once again find a way to get himself into trouble. This all ends with a bout of fisticuffs in a small, sandy arena, Vaan and Balthier on one side, Daguza and his Seeq brethren, Galeedo and Gwitch on the other. All in all, these Seeq aren’t too tough, which is good considering your limited options. Daguza comes with the Protect status, but it doesn’t really matter what you do; this fight is nigh impossible to lose. They’re weak to Fire, if you’re capable of utilizing it, and you can steal basic curatives or Gil off of them, which probably isn’t worth your time.
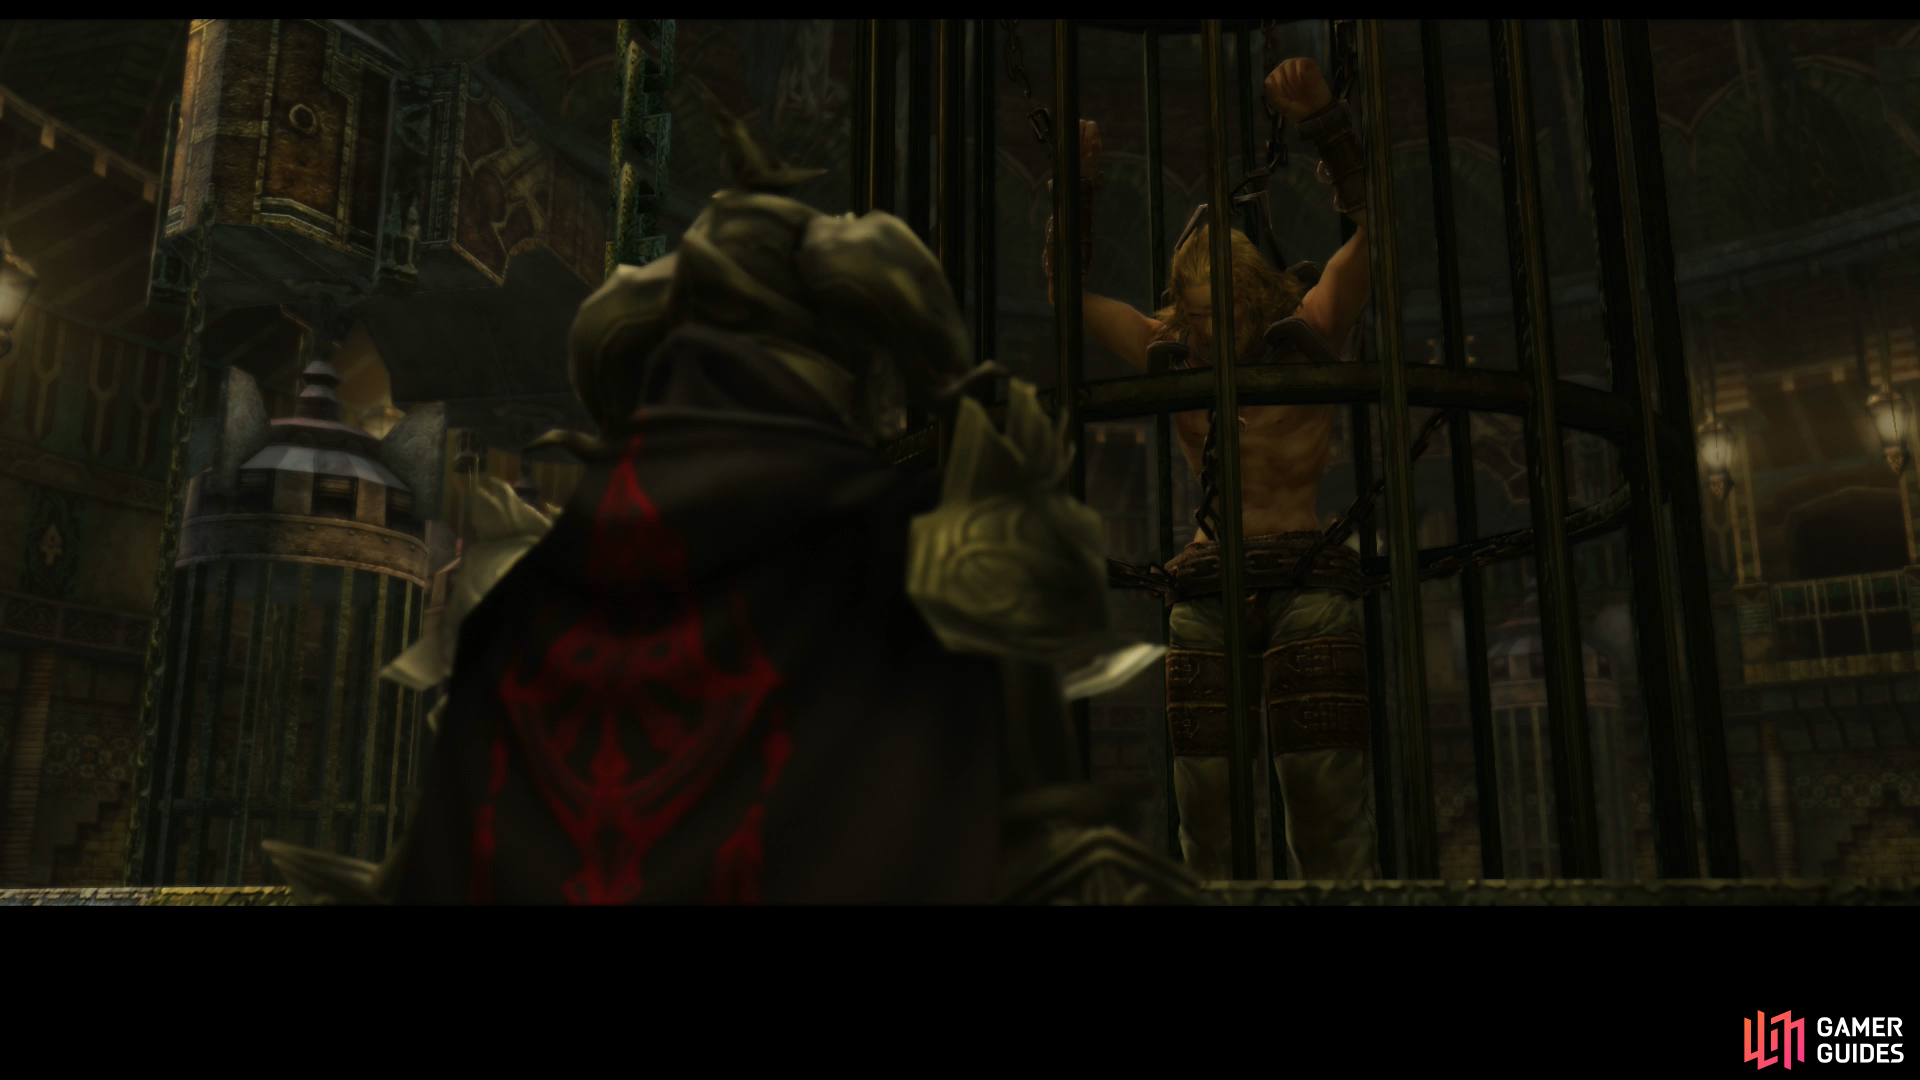
After the fight some Imperials will show up, and you’ll be introduced to the elite of the Archadian army - the Judges. In addition you’ll get to see more of this Bangaa bounty hunter that’s apparently after Balthier, whom you’ve seen bits of in cutscenes before. Apparently this Bangaa - Ba’Gamnan - is working for the Archadians, which plausibly makes Balthier their enemy, too. The enemy of your enemy?
The Confiscatory
Whatever the case, Balthier and Fran are still on your side, and the Viera is quick to rejoin the party and report the fruits of her scouting. After all the chatter the reunited party will find itself in The Confiscatory area, where, in a room across from a Save Crystal, you’ll find your gear as well as a map of the Nalbina Dungeons . After your loot has been regained note the two chests in the room. One will gift you with a Tourmaline Ring , another with an Orrachea Armlet , while a third imparts 428 G . Presumably you’re taking the possessions of other prisoners now, but hey, you are thieves, after all. Leave the room, save your game then continue east to the next area.
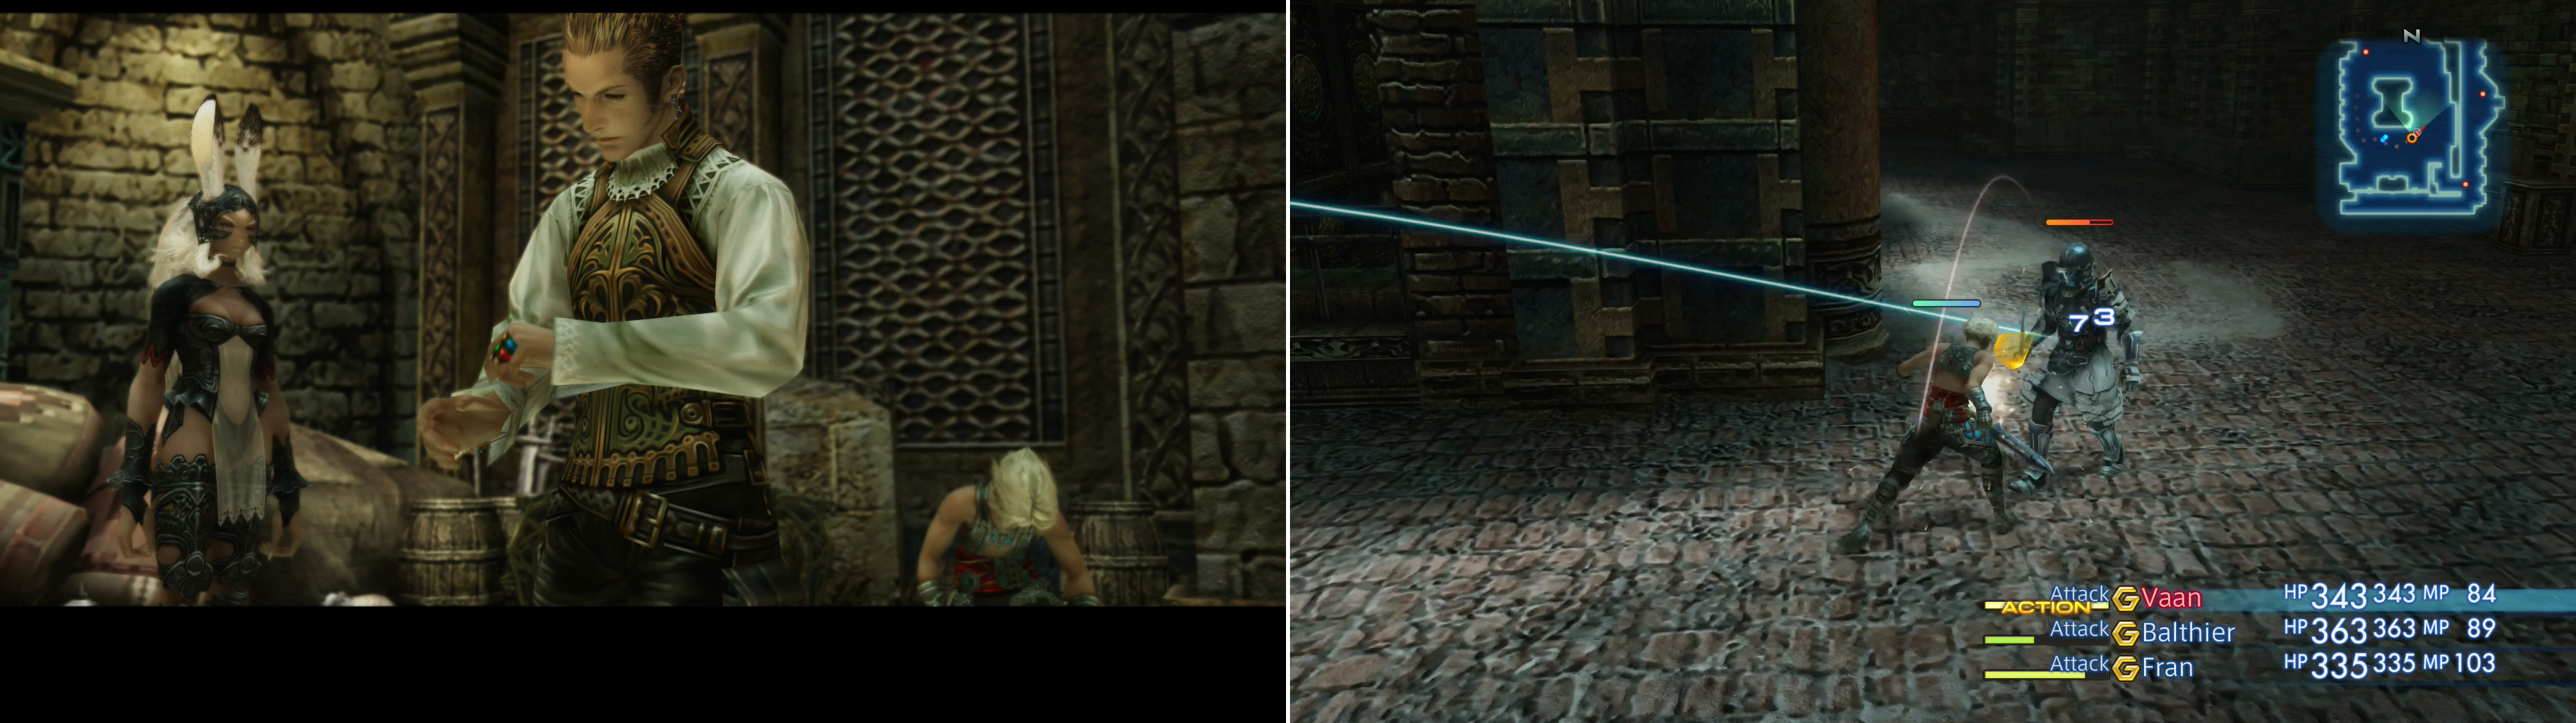
After defeat the Seeq you’ll reacquire your gear (left), enabling you to fight the Imperials visiting the prison (right).
The Black Watch
Things have been relatively easy up to this point, but the next area is crawling with Imperials. Despite what Balthier says, there’s no stealth function - if you want to continue, you’ll have to fight your way through them. There are four types of Imperials in this area, Imperials Hoplites (although they have neither spear nor the shield from which the term derives its name, so what exactly makes them a ‘hoplite’ is anybody’s guess), Imperial Swordsmen, Imperial Marksman and Imperial Magi. The Hoplites can cast Protect, while the Magi can cast basic elemental black magicks, Blind and Cure. The Marksmen do considerably more damage (at a range no less!) than the others. All in all, they shouldn’t really provide much trouble, especially since you shouldn’t have to fight more than three or four at a time.
There’s also an abundance of treasure lying about, which you can see to once you’ve fought off the Imperials. In the northwestern corner of the ground floor you’ll find a chest that can contain an Aero Mote (area-of-effect damage like the other motes - this one does Wind damage). You can find another mote - an Aquara Mote - if you head upstairs and search a dead-end corridor to the southwest.
To get at the better loot you’ll need to make your way to the northwestern section of the level, which can be done by heading west through a doorway on the northwestern end of the lower room you started in (near the chest with the Aero Mote), or by heading upstairs and making your way west. Both paths will see you fighting Imperials, and ideally you should sweep the rest of the level before fixating on the loot.
For the sake of argument make your way west through the doorway on the lower level and loot a chest in the corner, which can contain some Headgear . Continue west and search an alcove with a fountain in it to find a chest, which may yield a Bronze Helm (Heavy Armor 1). From this fountain make your way north across the chamber to reach another fountain-bearing alcove, then turn east and head up some stairs. Once atop the stairs make your way west along a railed walkway near the stairs, at the end of which you may find a chest which can be plundered for a Silken Shirt. Note that all of these chests have a chance to not spawn at all, and can give Potions or Gil instead of the aforementioned equipment. You can also only get one try at these, since you can’t zone out and return later.
There are other chests but they’ll offer up only Ethers, Phoenix Downs or Hi-Potions and the Imperials lurking about are easily dispatched. When you’re done with this area make your way to the north-central end of the northwestern part of this level where you’ll find an area transition to the south. Thankfully some Imperials are on hand to open the door for you. When you’re ready to move on - and never return - pass through the area transition and watch some scenes.

 Sign up
No Comments