


| Bestiary |
|---|
| Aeros (Rare Game) • Chocobo • Bull Croc (Rare Game) • Hybrid Gator • Mesmenir • Viper • Wu • Zaghnal • Zu |
| Items In This Area |
|---|
| Ashura (Poach from Aeros) • Bronze Mace (Drop from Mesmenir) • Chainmail • Chopper • Demon Mail (Drop from Bull Croc) • Feathered Cap (Steal from Red Chocobo) • Golden Helm (Steal from Ozmone Hare) • Heavy Coat (Drop from Zaghnal) • Heavy Lance • Iron Hammer (Steal from Hybrid Gator) • Kogarasumaru (Drop from Wu) • Long Bolts • Mage’s Hat (Poach from Wu) • Parallel Arrows • Poison Bombs • Serpent Rod (Drop from Viper) • Silent Shot • Slasher • Tourmaline Ring • Traveler’s Vestment • Wizard’s Staff (Drop from Zu) |
Field of Fallen Wings
The lush, green flowing fields of the Ozmone Plain are a far cry from the climatically challenged areas around Rabanastre, and it’s a nice change of pace. With new terrain comes new monsters, however, several of which you’ll encounter in this area, the Mesmenir, the Ozmone Hare, the Viper, the Zaghnal and the Zu.
Ozmone Hare:
This cute critter shares a bestiary entry with the Giza Hare, both of which are listed in the Clan Primer as “Happy Bunny”. There are differences, naturally, but both are docile, and will happily heal you if you stand near them while injured. The Ozmone Hare has more HP and can inflict Sap, but it’s not much of a combatant. They can drop Braid Wool, Water Magicite, a Teleport Stone or an Aero Mote, you can steal Water Magicite, 150 Gil or a Golden Helm , and they can be Poached for Braid Wool or a Balance Mote. They are weak to Fire.
Zaghnal :
Bearing an appearance very similar to the Werewolf, these critters may have given you a bit of a start on first sight. Never fear, however, you’re far stronger now than you were when those beastly bipeds originally terrorized you in the Giza Plains. Their level tends towards the mid-twenties, as should yours about now, and they boast over 3,000 HP. This makes this quite a bit sturdier than most enemies you’ll encounter on the Ozmone Plain, but their numbers make them a fine baseline monster for this zone. If you can kill them with ease, the rest of this area will give you little trouble, if not… you might want to harvest some better gear, level up, and purchase more licenses.
As for combat, they’re not terribly dynamic foes, mostly sticking to melee attacks or Ram, neither of which should be overly concerning at this point in the game. They can drop Earth Magicite, Quality Hide, a Warp Mote or a Hi-Potion, you can steal Earth Magicite, a Gemini Gem or a Heavy Coat . Finally, they can be Poached for Quality Hide or a Tanned Giantskin. They’re weak to Wind, so the Gladius will help chop them down with speed.
Zu :
While they might appear similiar to the Dive Talon at a cursory glance, these creatures are much, much weaker, being around half the level, having half the HP, and uncannily enough, almost half the Attack Power. Simply put, they’re nowhere near as strong. They are flying beasts, however, so you’ll need a character equipped with a pole/spear, ranged weapon, the Telekinesis technick, or magick to harm them. Their hits can inflict Slow, and they can perform that ever-annoying Kamikaze technick when pressured. They can drop a Large Feather, Wing Magicite, a Wizard’s Staff or a Remedy, you can steal Wind Magicite, a Larger Feather or an Aero Mote, and they can be Poached for Large Feathers and Giant Feathers. They are weak to Earth.
Mesmenir :
A palette-swap of the Sleipnir, these beasts are twice as strong as the strongest of their lesson cousin, bearing more HP and Attack Power. Otherwise, however, they’re pretty unimpressive foes, performing only melee attacks, a Kick attack, and rarely their Spike Cutter technick, which is a slight damage spike - even that’s not very impressive, however. They can drop an Iron Carapace, a piece of Storm Magicite, a Bronze Mace or Echo Herbs, you can steal an Iron Carapace, Storm Magicite or an Aries Gem, and they can be Poached for an Iron Carapace or a Destrier Mane. They are weak to Ice.
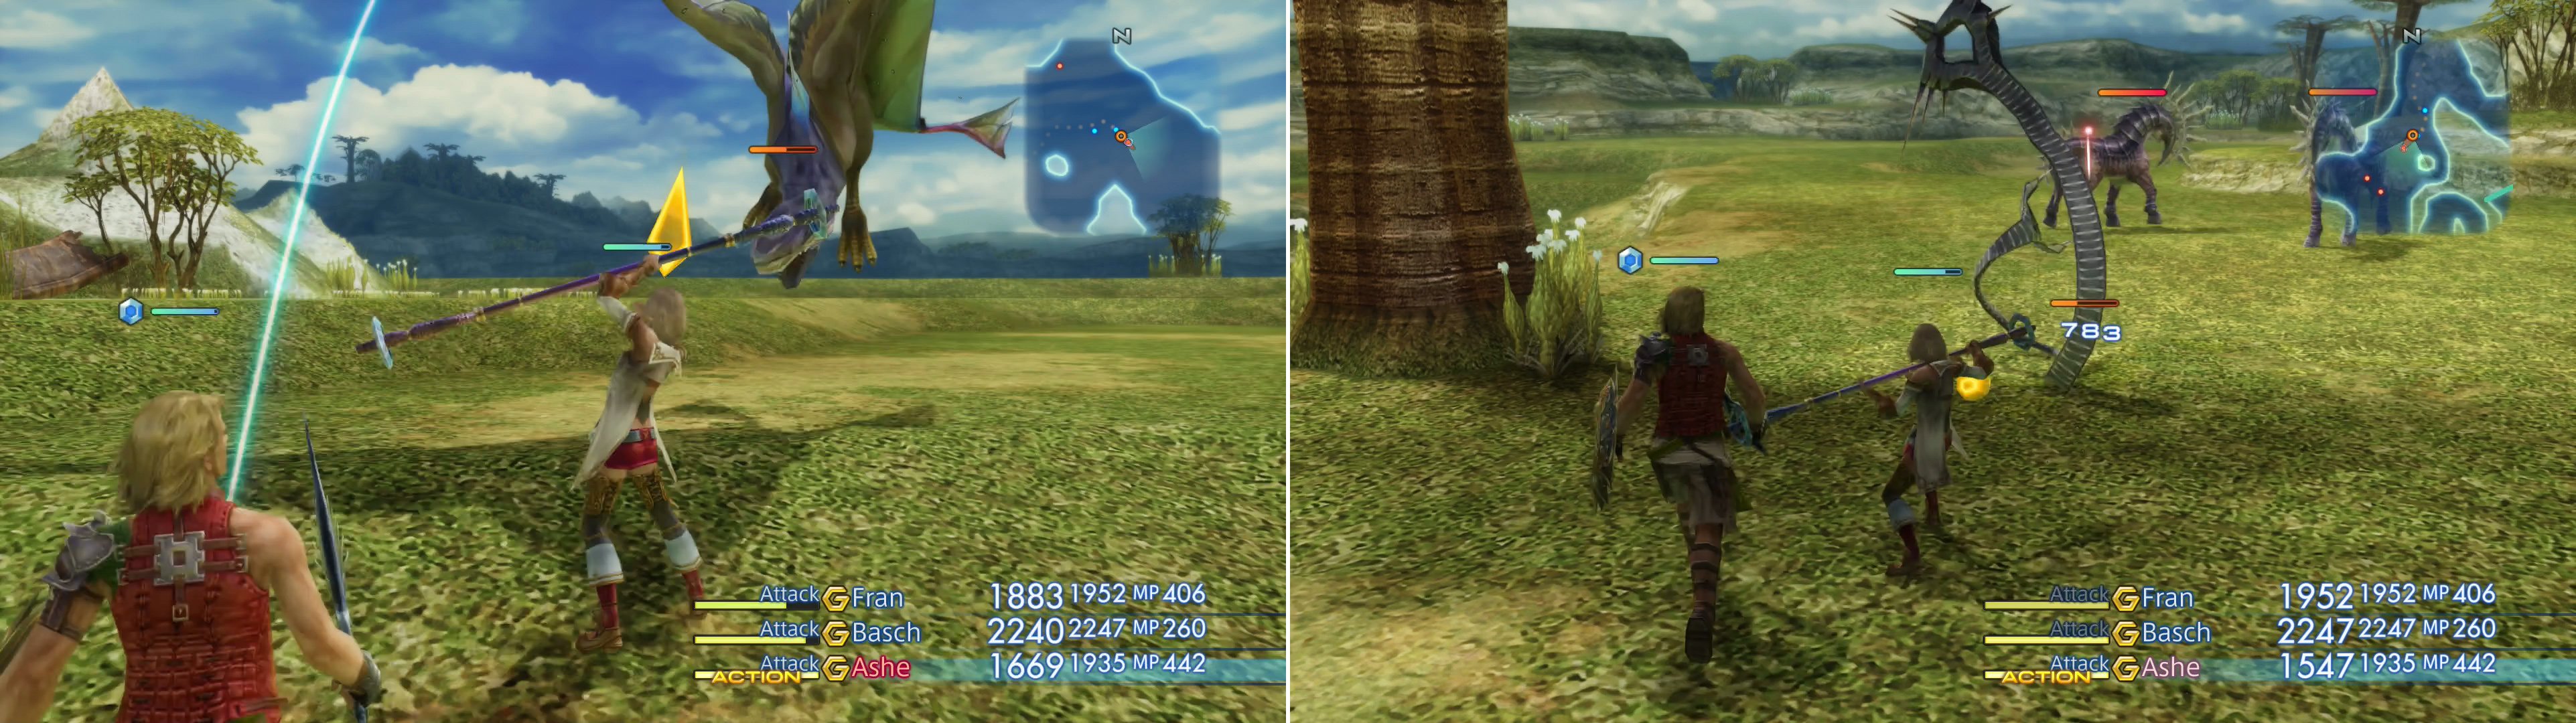
New enemies in the Ozmone Plain include the flying menace, Zu (left) and the sneaky Viper (right).
Viper :
Appearing identical to the Wildsnake, the Viper is far less elusive, and considerably more powerful. Despite that, they’re probably the weakest critters on the Ozmone Plain, capable only of weak melee attacks, Gnaw, and the Spiral Cut technick, the latter of which is a bit of a damage-spike, area-of-effect attack, but still nothing worth worrying about. They get a bonus to their evasion rate when their HP are below half, but this will only delay the inevitable. They can drop a Tanned Hide, Dark Magicite, a Quality Hide or a Serpent Rod, you can steal Dark Magicite, an Alarm Clock or an Aries Gem, and they can be Poached for a Tanned Hide or a Hi-Potion. They do not inflict Poison, as you may expect, and they are weak to Holy - although not being undead, they are not hindered by curatives.
Now that the monsters are covered, onto the loot. If you indulged in the previous loot sprees (Estersand, Barheim Passage, Giza Plains), you’re certain to be disappointed with the loot in the Ozmone plain, as it’s both scarce and inferior in quality. If not… well, some of it may well be an upgrade. The two loot items worth mentioning in this area are on opposite ends of the zone. Along the western end of the area, on the ledge overlooking the lower land in the northwestern corner, you’ll find an urn which may contain a suit of Chainmail . Grab it, if you care, then make your way to the eastern end of the area to find a narrow passage that begins with a trap and ends in an area transition to the Dagan Flats area. At the mouth of this passage, north of the trap, you may find an urn containing a Heavy Lance .
Dagan Flats
Take the area transition near the aforementioned passage along the eastern end of the zone to reach the Dagan Flats area. This place is exclusively occupied by Zaghnals and Zus, and has absolutely no loot worth mentioning. There are two area transitions, however, one on the western end of the area (to The Switchback zone) while the other is to the east. Take the latter to reach the Field of Light Winds area.
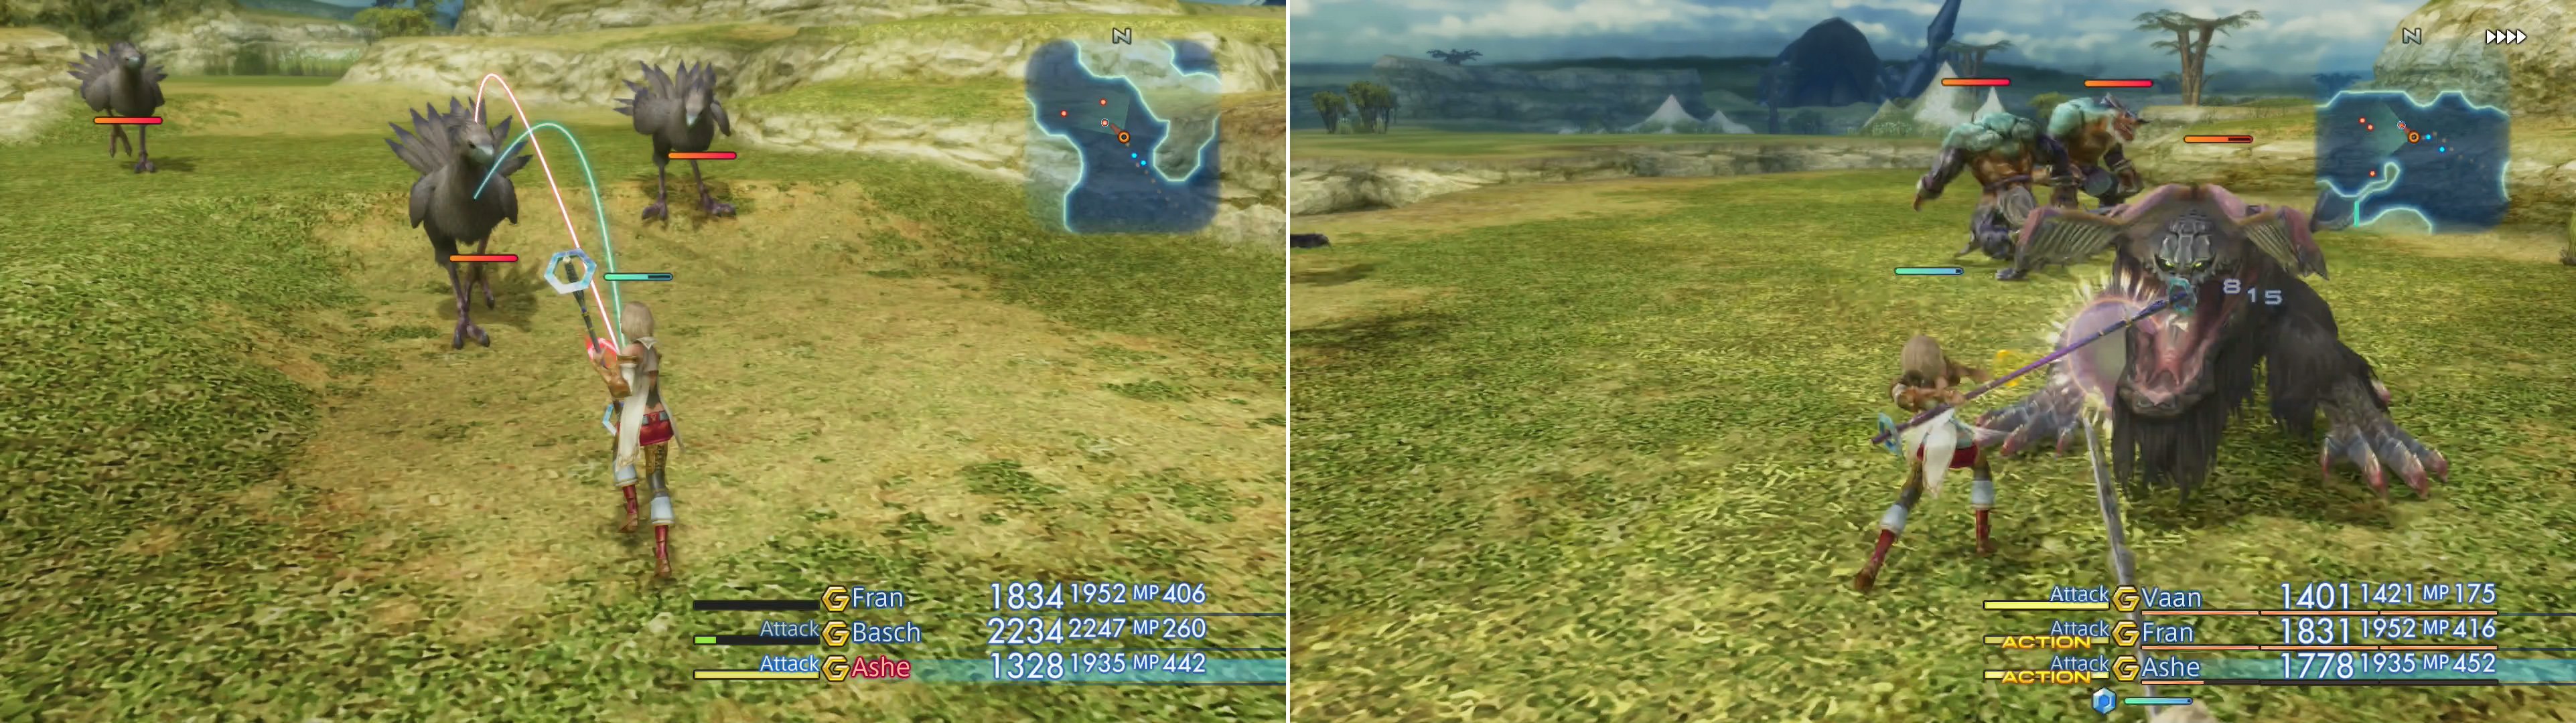
Not all Chocobos are friendly, as evidenced by the specimens on the Ozmone Plain (left). The elusive Hybrid Gator appears in different locations depending on the minutes on the game clock (right).
Field of Light Winds
This tiny area is populated by Zaghnals and two new foes, the Black Chocobo and the considerably more elusive Hybrid Gator. This is worth going over in a bit, but first note that there are three area transitions in this area, the easternmost of which leads to a small area on the edge of the Golmore Jungle - the Sunlit Path. There’s not much to see in this zone, but there is a Save Crystal, should you need the refreshment. To the south, on the other hand, you’ll find The Greensnake area, which is your future destination.
First, however, search the area for loot. There’s not much, but both of the urns in this area can contain note-worthy treasure. Near the eastern passage that leads to the Sunlit Path zone, south of the entrance to this passage, you’ll find an urn containing a Slasher . To the north of this passage, on the other hand, you’ll find an urn that may forfeit a Traveler’s Vestment .
Black Chocobo:
Fighting Chocobos?! Unthinkable! Well, these birds are aggressive, and as much as everybody has come to view these Final Fantasy icons as cute little beasts of burden, Phorusrhacidae were a thing, so you need not wonder whether a giant, terrestrial bird could be a threat in combat. That said, these critters are incredibly weak, having around 1,100 HP and average Attack Power. Otherwise, their attacks include a standard physical attack, a Lunge attack and a Spin Kick technick, which can hit all nearby characters. They can drop Dark Magicite, a Chocobo Feather or Gysahl Greens, you can steal Dark Magicite or a Chocobo Feather, and you can Poach a Chocobo Feather or Gysahl Greens. They are weak to Lightning damage.
Hybrid Gator:
This beast is elusive enough that you might mistake it for Rare Game. It can spawn in four areas, the Dagan Flats, the Field of Light Winds, The Greensnake, and The Switchback, and where you’ll find it depends entirely on the game clock. Just press the [Triangle] button to open the Party Menu and gander at the lower-right edge of the screen to spot the clock, specifically the minutes. Its location will vary depending on the minutes you’ve played, as follows:
| Area | Minutes Played |
|---|---|
| Dagan Flats | 16 - 30 |
| Field of Light Winds | 31 - 45 |
| The Greensnake | 46 - 00 |
| The Switchback | 01 - 15 |
Like Rare Game, once you’ve slain a Hybrid Gator, it won’t respawn until you’ve left the Ozmone Plains and returned. This makes the Field of Light Winds zone the ideal spot to encounter the monster, just make sure your minutes played are between 31 minutes and 45 minutes. The hours don’t matter, but if you missed the window, you may have to wait up to fourty-five minutes to encounter another one in this zone. Why is this area ideal? Because after killing it you can head east to the Sunlit Path, then continue northeast through the zone to the Golmore Jungle. Zone out, then return to the Field of Light Winds to respawn the Hybrid Gator.
As for the beast itself, despite its rarity it’s nothing special, either combat-wise or in terms of loot. It has over 2,000 HP and deals a bit more damage than most other creatures in the Ozmone Plains, especially if it employs its Sonic Fangs technick. The only reason you’d care to farm them is to fill out your bestiary, as it only drops a piece of Fire magicite, a Gold Needle, Braid Wool or Fine Wool, you can steal Bacchus’s Wine, an Aries Gem or an Iron Hammer, while it can be Poached for Braid Wool or Fine Wool. It’s weak to Water.
The Greensnake
When you’re done in the Field of Light Winds area, make your way to the southern area transition to reach The Greensnake, which presumably gets its nape from the winding, grassy nature of the zone. Despite the area’s name, there’s not a single Viper to be found, instead the place is populated with Wu. Other than that, there’s not a single bit of noteworthy loot, but there are two new area transitions, the one to the west leading to The Switchback area, while the one downhill to the east leads to the northern half of The Shred.
Wu :
The third palette swap version of the Urstrix and Bagoly, the Wu has few new things to show you, largely being little more than higher stat version of their aformentioned kin. They are less keen on magick, mostly refraining from its use entirely, but a few will protect themselves with Protect and Shell. Otherwise, most will content themselves with physical attacks, including the Wing Spear technick, which does a bit more damage than their normal attacks. They can drop a Large Feather, Earth Magicite, Eye Drops or a Kogarasumaru , you can steal 40 Gil, a Large Feather or an Aries Gem, while they can be Poached for a Large Feather or a Mage’s Hat . They are weak to Wind.
The Shred (North)
When you’re done picking on Wu, make your way down the winding path along the southern end of the level and follow it as it turns back north and eventually leads to an area transition. Beyond this area transition you’ll find The Shred zone, the northern half of it, at least. This section is a small, apparently uninteresting area occupied by Wu with a few urns scattered about. If you head south from the area transition you’ll find a short ridge - just enough to retard your progress and force you to walk around it, though. On the eastern side of this ridge youll find two urns, the southern-most of which can contain Long Bolts . While not better than Onion Bolts damage-wise, they can inflict Slow, making them a worthy upgrade for any Crossbow-weilders you may possess. What’s not immediately apparent, however, is the fact that this zone is the home of two Rare Game, the Bull Croc and the Aeros. The former of which needs to be smote to lure out the other one.
Bull Croc:
This monster has a 20% chance to spawn upon entering The Shred, and even then it seems unwilling to show up unless the Wu in the area are disposed of first. So clear out the area and zone in repeatedly until it show up. The Bull Croc is fairly sturdy, with 14,000~ HP, and its Attack Power eclipses the normal monsters in the Ozmone Plain. It can cast Reflect on itself to bounce back magicks and its physical attacks are quite diverse, including a basic attack, Ram, Sonic Fangs (high damage, can inflict instant-KO), and Screwtail (massive damage, area of effect attack), and its physical attacks can inflict Poison. It can also use the Flash technick to inflict Blind on your party. There are some noteable damage spikes (particularly with Screwtail and Sonic Fangs), but nothing that Cura can’t handle, althought note that it’ll get an attack boost when it’s low on HP. It can drop Braid Wool or Demon Mail , while you can steal Blood Wool from it (rare), and it can be Poached for a Pebble, or a Broken Sword. It’s weak to Earth, but absorbs Wind, so keep that Gladius at home.
Aeros :
After the Bull Croc falls, heal yourself and wait around, as Aeros isn’t far behind. You should see it fly towards you from the south, apparently eager to avenge the death of Bull Croc… or perhaps just disturbed by the noise your rumble raised? Either way, it boasts over 12,000 HP and hits a bit harder than Bull Croc with its physical attacks (which can inflict the Petrify Status - make sure you have Gold Needles before fighting this beastie), Ram and Sonic Fangs. It can also cast Aerora, dealing appreciable damage to your entire party, and when its HP are low it can use Breath, an area-of-effect attack that deals about twice as much damage as Aerora. Cura will likely be necessary at times.
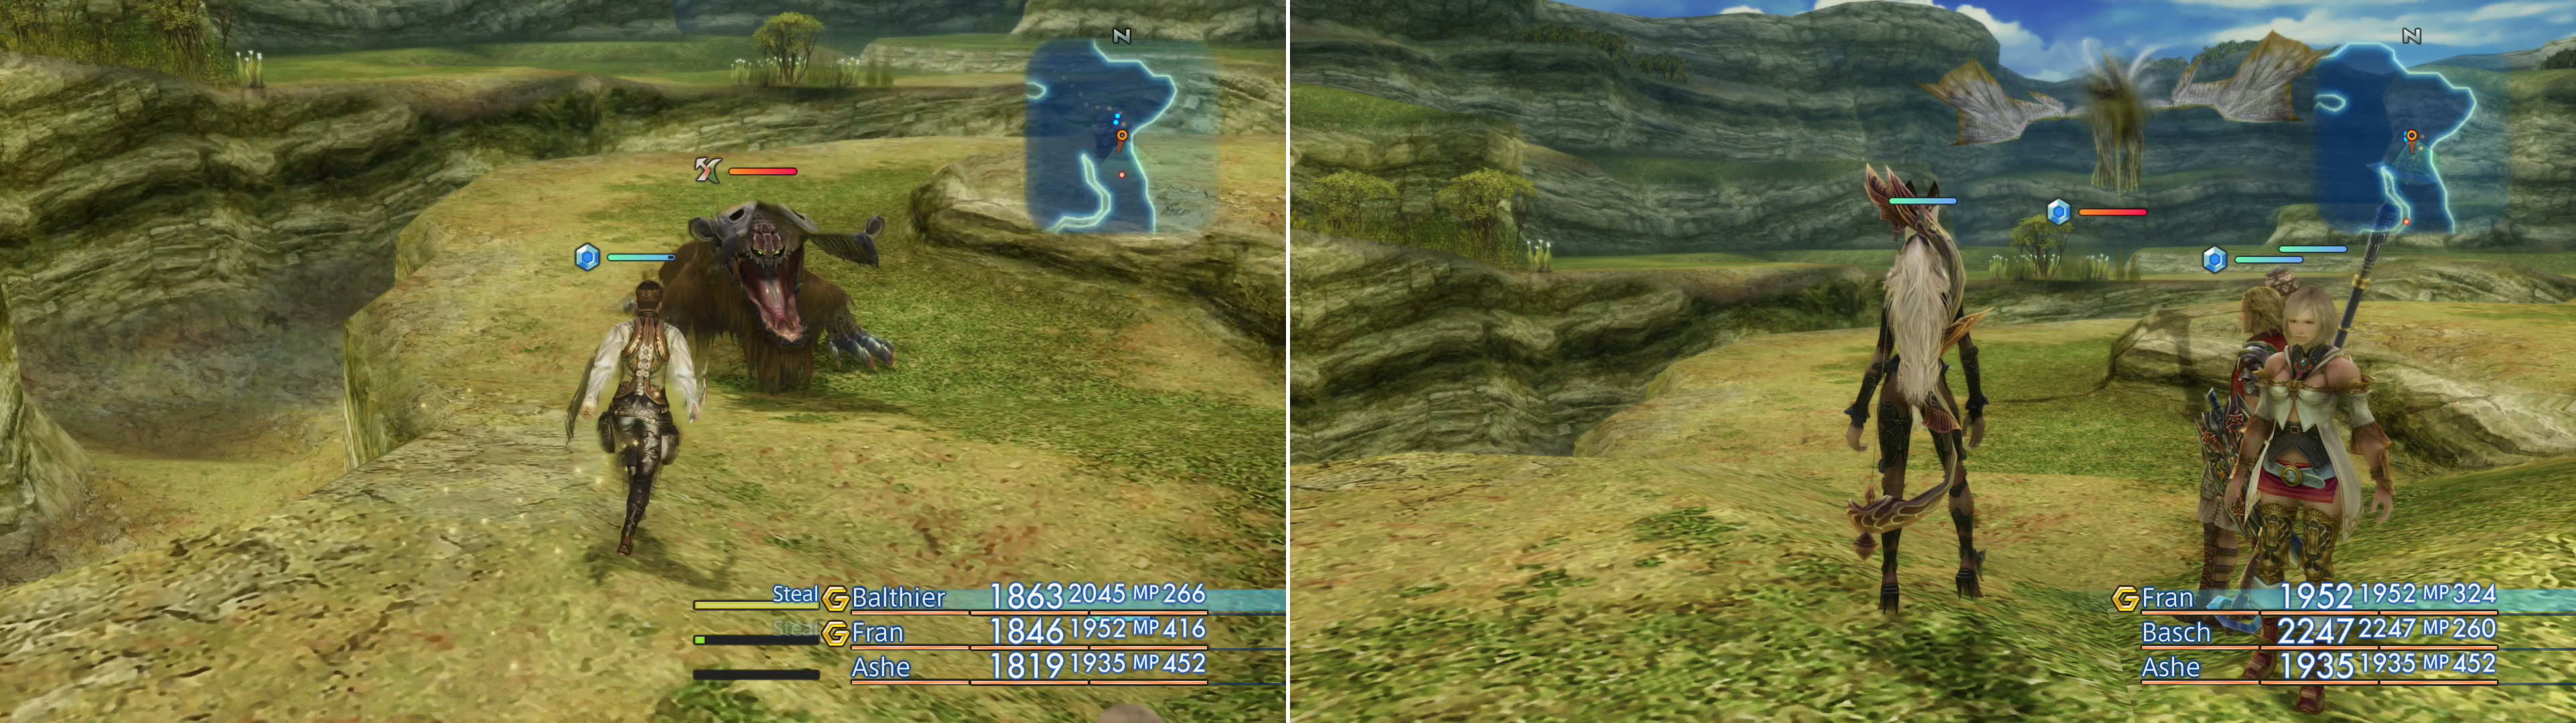
Defeat the Bull Croc (left) and Aeros will fly over (right).
It’s worth putting up with the abuse, however, as you can steal a Wyvern Wing (rare) from Aeros, a much easier feat here than from the Wyvern Lord, as it only has that one item to steal. Since it’s rare, it may take a while, but if you persevere, you’ll get it. If you can lay your hands on two of them (to respawn Aeros you’ll have to leave the Ozmone Plain, return, and kill Bull Croc again) they’re part of a very nice Bazaar bundle.
Also noteworthy are its Poach-able items, which include an Ashura (Ninja Swords 1). This entry-level Ninja Sword has a respectable Attack Power of 72 and can inflict Blind on hit, making it a wonderful weapon for your Shiraki - more potent in practice than pretty much anything else you can get right now. It’ll take a while, however, as 95% of the time Aeros is Poached it’ll yield a Pebble. If you put in the time, however, you may find it a worthy power-boost, and it’s at least worth a try when you’re going for those two Wyvern Wings. Setting the Gambits “Foe: HP > 30% -> Attack” and “Foe: status = HP Critical -> Poach” should work fine. Once it’s at around 30% of its life, perform the next attack or two manually to get it into HP Critical state, as setting the Gambit “Foe: HP = 10% -> Attack” might cause you to accidentally kill the beast.
In addition to all that it can drop a Crooked Fang or a Wyvern Fang, neither of which being terribly impressive. It’s weak to Lightning, but absorbs Ice. Inflicting Immobilize, Slow and Blind will make it somewhat less difficult to subdue.
The Switchback
Once you’re done farming Bull Croc and Aeros, return west to The Greensnake zone, and from there climb back up the winding path and continue west to The Switchback area. Here you’ll encounter Mesmenirs and Vipers, making the area relatively unintersting, from a monster standpoint. The area is wider on its western side than its eastern side, and in the center you’ll find a jagged strip of high ground, beyond (west of which) you’ll find a depression. The winding path that gives the area its name can be found leading to the bottom of this pit, whereupon you’ll find an area transition leading to the Zertinan Caverns. Those are some extensive caverns, indeed.
On the eastern ledge overlooking the switchback (just west of the spikey rock formation in the center of the level) you’ll find an urn that may contain Poison Bombs . Follow the switchback down and, on the last turn running north to into the Zertinan Caverns you’ll find another urn, which may yield a Chopper . This entrance to the Zertinan Caverns itself leads right to some high level beasties, which you’re better off avoiding.
The Switchback likely won’t entertain you for long, and when you’re ready to move on, return to the area transition to The Greensnake on the eastern end of the level. From there turn southwest and follow the cliffs that form the boundary of this zone until you reach another area transition, this time leading to the Haulo Green.
Haulo Green
The foes in this part of the Ozmone Plain currently consists of Black Chocobos (or Red Chocobos), Mesmenir and Vipers, making it hardly any more interesting than the last zone. Ther are three terrain features that stand out, a ridge of spikey rocks along the eastern edge of the area, two impassible depressions in the center and center-south of the area, and along the southwestern edge of the zone is a linear passage that leads to Jahara.
Red Chocobo:
In place of any Black Chocobos in the Ozmone Plain you may instead rarely counter Red Chocobos. They share the same bestiary entry (under “Chocobo”) and have identical stats, but their loot is a bit different. Red Chocobos can drop Fire Magicite, a Chocobo Feather, Gysahl Greens or a Taurus Gem, you can steal Fire Magicite, a Taurus Gem or a Feathered Cap , while they can be Poached for a Chocobo Feather and Gysahl Greens. They are weak to Water.
As for loot, there’s a bit of it to be found here. From the area transition to The Switchback, follow the boundary cliffs to the southwest, then south to find an urn near some foliage, inside of which you may find a pouch of Silent Shot. Along the western side of the spikey rock formation you’ll find two urns, the southern-most of which may forfeit some Parallel Arrows or a Tourmaline Ring , making it a rare early chest that can possess two items of value.
With that, you’re done in the Ozmone Plain. Make your way to the southwestern corner of the area and follow the linear path to reach Jahara.

 Sign up
No Comments