


| Bestiary |
|---|
| Blood Gigas • Crystalbug • Darkmare • Dragon Aevis • Ghast • Matriarch Bomb (Rare Game) • Negalmuur (Rare Game) • Oiling |
| Items In This Area |
|---|
| Battle Harness • Countdown • Demon Mail (Drop from Darkmare) • Ice Shield • Golden Staff (Drop from Oiling) • Shell Shield • Sword of Kings • Tourmaline Ring x2 • Viking Coat (Poach from Blood Gigas) |
Vayne Solidor has mastered the Archadian Empire, removing any possible senetorial checks on his power. Now he steers the Archadian war machine to the peril of all Ivalice, and while his fleets are mighty, the true danger lies with his Nethicite. The power of Nethicite was aptly - if unintentionally - demonstrated by Judge Ghis aboard the Leviathan, to the ruin of the Imperial 8th Fleet. A possibly counter supposedly lies in the depths of the Stilshrine of Miriam, the Sword of Kings, which may possess the power to sunder Nethicite itself.
This being the case, make your way through Paramina Rift, traveling south through the Freezing Gorge, then taking the southwestern exit in the Frozen Brook area to reach the Path of the Firstfall. Save your game here if you wish, then continue on to the Spine of the Icewyrm, cross the bridge to the south and enter the southern half of the Silverflow’s End zone. From here you need merely continue south to reach the first area of the Stilshrine of Miriam - the Walk of the Sky.
Walk of the Sky
Head upstairs to reach the exterior of the Stilshrine of Miriam, where you’ll see a long bridge running to the south. Before you cross it, head down the curved paths to the southeast and southwest to find two chests, both of which contain a Tourmaline Ring . They always spawn, but will not respawn after being looted. Loot them, then return to the bridge and cross it, after which ascend some stairs only to be confronted with a third chest, this one always yielding a Battle Harness. Like the previous two chests, however, it will not respawn after it’s plundered.
Walk of the Mind
Continue south to the next zone, the Walk of the Mind, which, despite its name has nothing requiring mental exercise within it. There is, however, another chest ahead which surrenders an Ice Shield, again, always giving you this prize and then never again spawning. Other than that, the only feature of note in this area is a Gate Crystal. Save your game, then continue south to find an “Ancient Door” leading to the next area. Talk to the Kiltias standing about to hear some babble about the Sword of Kings and worthiness, then head on through the door.
Ward of Measure
This area, while large, is basically just a hub area. On the northeastern and northwestern ends of the chamber are stairs leading down to locked doors, and at the southern end of the area is a deactivated Way Stone. As far as enemies go, the area is populated by Redmaws, Seeker palette-swaps which you already encountered aplenty in the Henne Mines. These ones are somewhat stronger, but you should be, too, making them just as trivial here as they were back there.
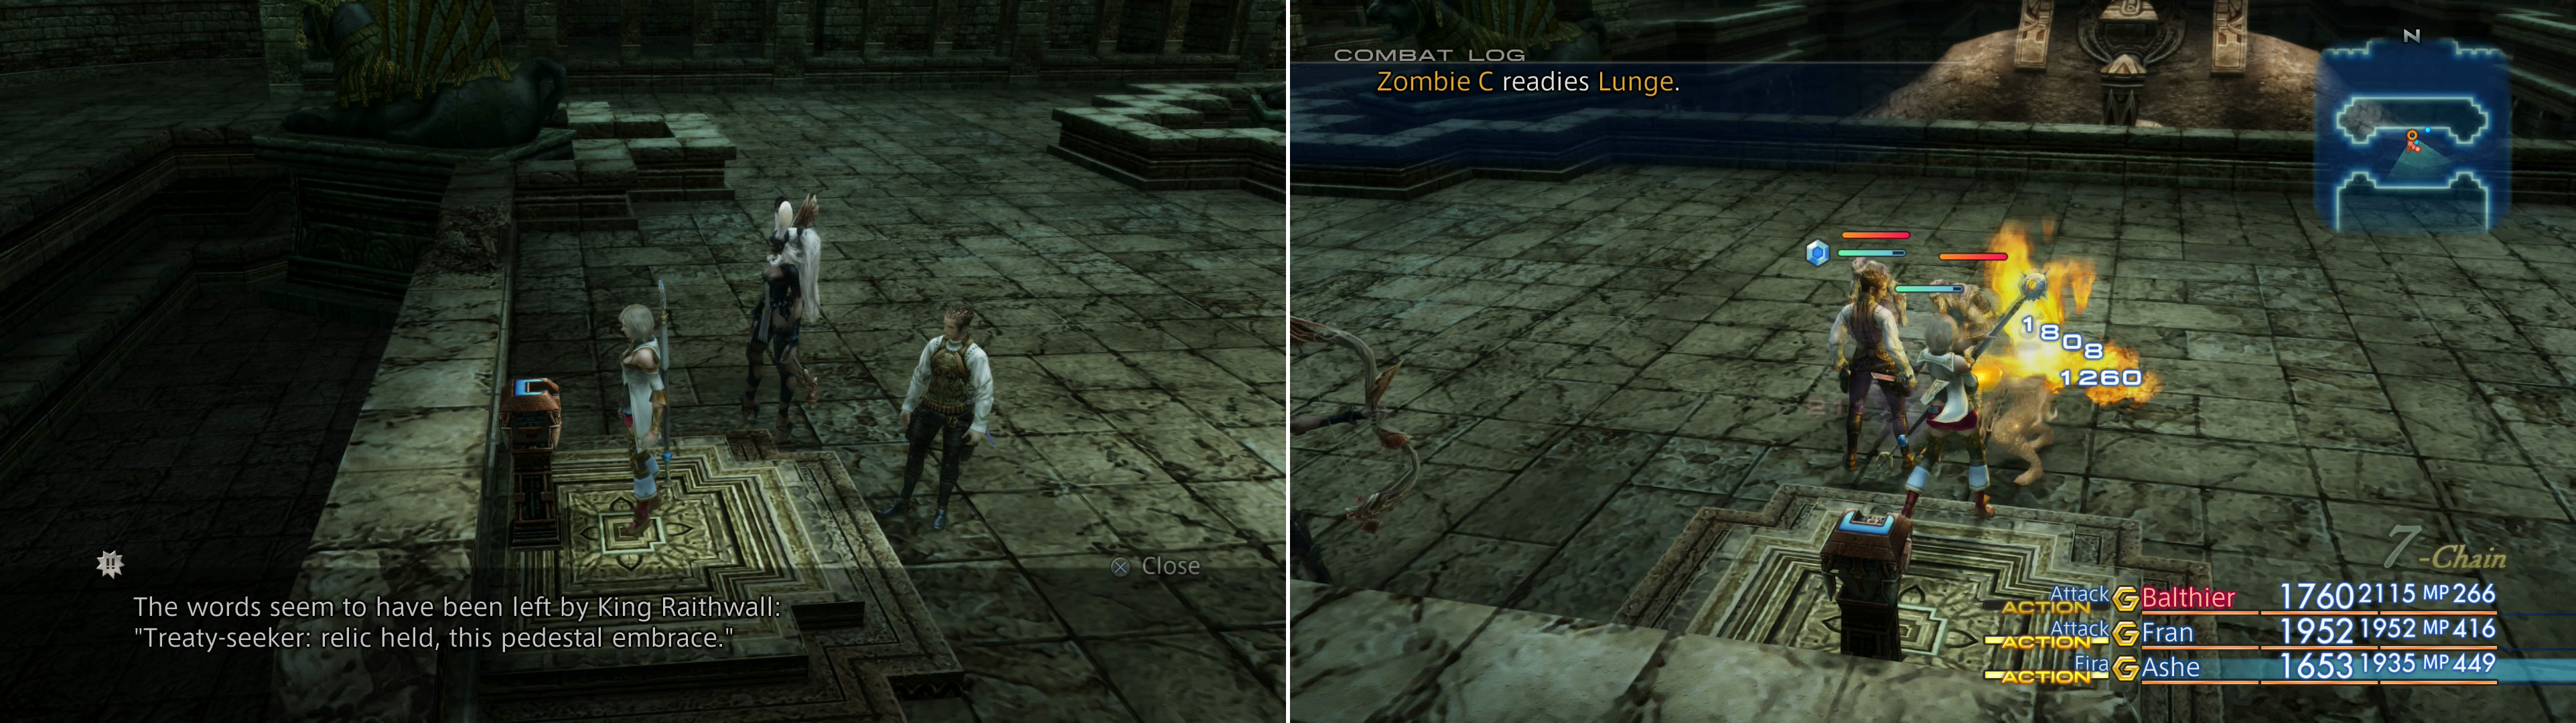
As the inscription states, make sure you have the Dawn Shard equipped (left) or you’ll have to fend off some Zombies (right).
With the doors locked and the Way Stone unresponsive, you have little choice but to head to a bridge south of the entrance, whereupon you’ll find a “Pedestal of the Dawn”. Interact with the pedestal (perhaps after reading the inscription, if you wish) and you’ll get swerved. Instead of opening the way forward, the tricky button summons a trio of Zombies. Sneaky Raithwall! Again, you’ve already faced Zombies, but these ones are quite a bit stronger than those in the Tomb of Raithwall, and their drops are somewhat different. They can drop a Dark Stone, Foul Flesh, Dark Magicite or Festering Flesh and you can steal Dark Magicite, 2 Gil, or 50 Gil.
Zombies are the penalty for not following the inscription’s instructions. If you wish to avoid them and actually progress through the Stilshrine you’ll need to equip the Dawn Shard (yes, reducing your MP to 0 in the process), then interact with the button. Equip it on a character who isn’t terribly hindered by low MP (Knight/Bushi, Shiraki/Foebreaker come to mind), then use that character to interact with the pedestal and you’ll be teleported away.
Ward of Velitation
When you reappear you’ll find that your presence has disturbed a statue from its slumber, and the construct seeks to vent its fustration by pummeling the nearest meat-bags - which would be your party.
Miriam Guardian:
Constructs peculiar to the Stilshrine of Miriam, these golems have a fair amount of HP (6,827), but are otherwise unremarkable. They can cast the magick Dark, otherwise being content to smash you with their stony appendages. They drop nothing, have nothing to steal, and cannot be Poached. They are weak to Wind. The Miriam Guardian does not have a bestiary entry.
After the construct has been reduced to rubble, venture west through a doorway to meet a new foe - the Dragon Aevis. Brush them aside with Ice magick, then note a chest sitting out in the open, right on a trap. Don’t fear the trap, as it’s a rejuvenation/manafont trap, and instead boldly stride upon it to recieve the healing that is your due, then loot the chest to score the Countdown magick (Time Magick 6). Countdown inflicts the Doom status… and why they didn’t just call the spell Doom is a question worth considering. Be that as it may, you should know how it works by now, as a few enemies have been able to afflict it - cast it and the critter will get a timer over it, which ticks down as time passes. When the timer expires, so will the creature afflicted. Neat. Venture west to find a corridor leading to some stairs, which in turn lead to the next area. As you approach, however, a new foe will appear to challenge your passage - the Miriam Facer.
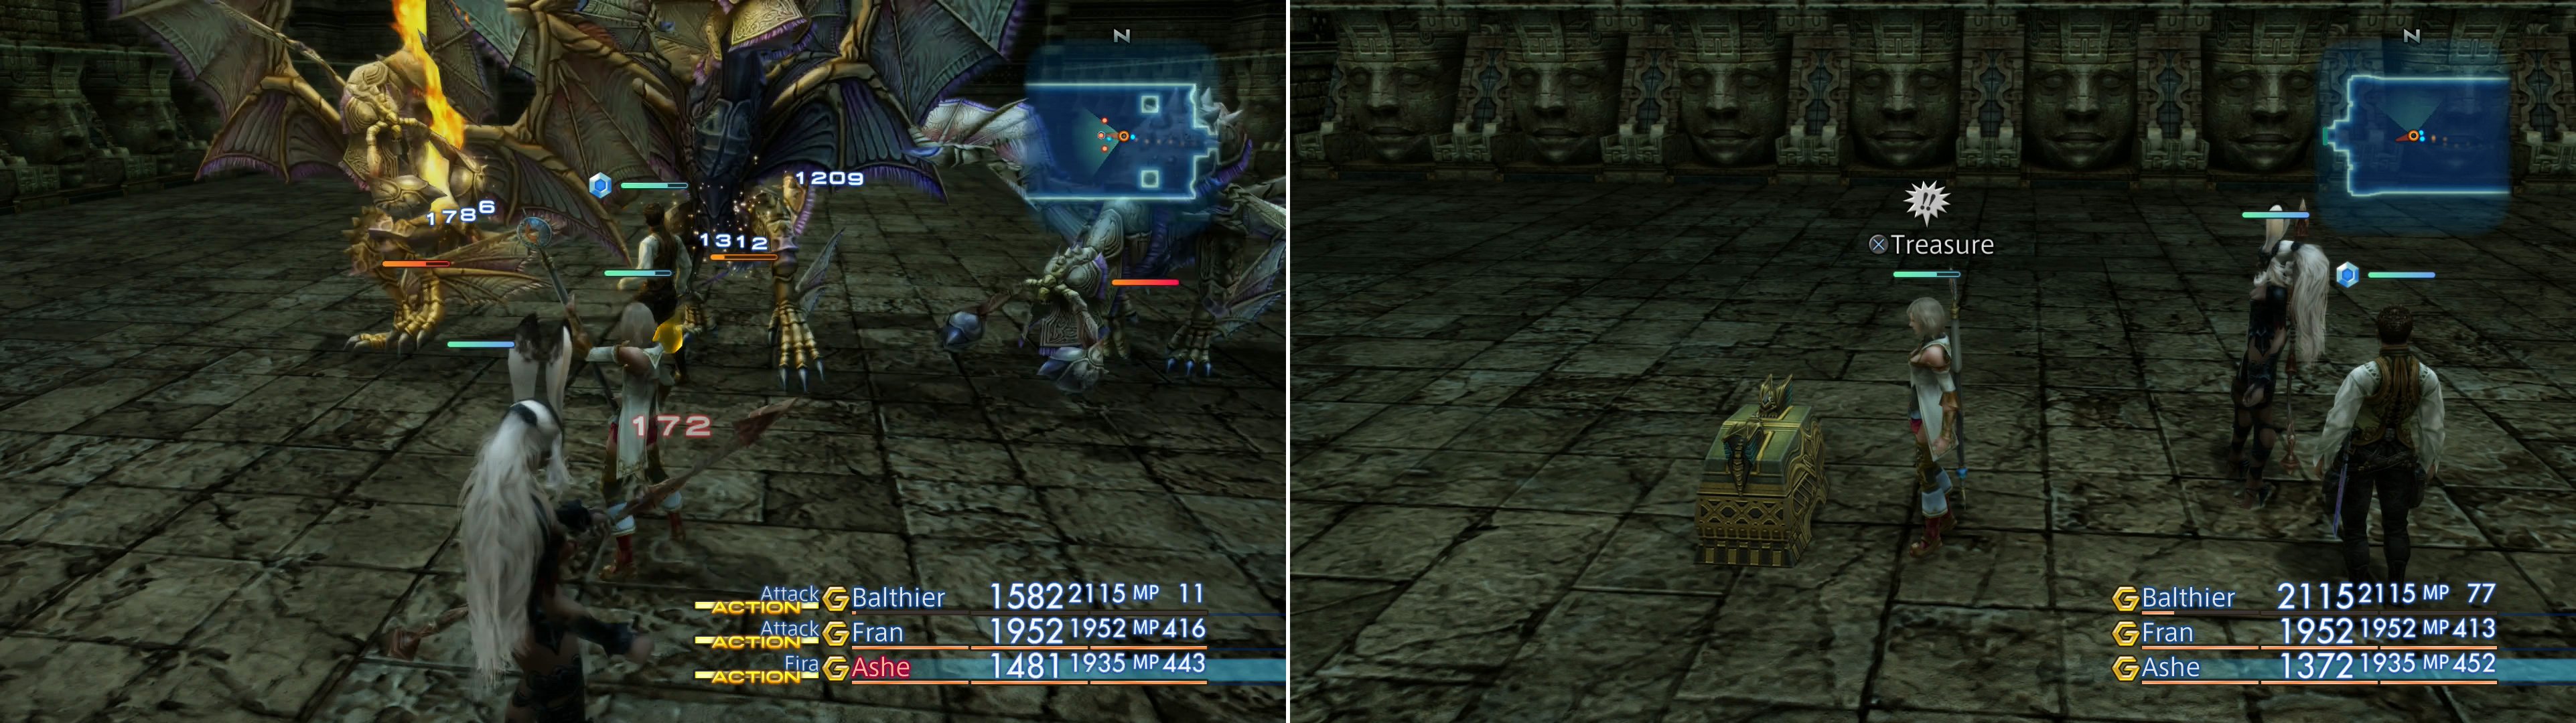
Defeat the Dragon Aevis foes (left) then loot the urn they were guarding to gain the Countdown technick (right).
Dragon Aevis:
Having just encountered the Twintania not too long ago, it may seem premature to be facing a slightly superior palette swap, but here you are. The Dragon Aevis has more HP (around 5,500 - 6,000) and noticeably higher Attack Power. Despite that, their powers are less impressive, if anything, as they possess no magicks and the same Bile and Lunge technicks as their kin in the Paramina Rift. They can drop a Wyrm Carapace, Storm Magicite, an Antidote and a Goggle Mask , you can steal 30 Gil, Echo Herbs or a Leo Gem, and they can be Poached for a Wyrm Carapace or a Battlewyrm Carapace. They are weak to Ice.
Miriam Facer:
Essentially an upscaled version of the Ragoh which is unique to the Stilshrine of Miriam, the Miriam Facer is not to be confused with the Facer enemies you’ll encounter in the Stilshrine of Miriam. Like the Miriam Guardian, these foes are rare, will only be encountered a few times in the Stilshrine of Miriam and nowhere else, and are not counted in your bestiary. They have a static 5,540 HP, drop nothing, have nothing to steal and cannot be Poached. They, too, are weak to Wind.
With that, you’ve killed everything there is to kill and looted everything there is to loot in this area, right? Well… not quite. There are two more chests here that have a very low chance of spawning, but which may contain some interesting treasure. It will almost certainly (unless you’re one of those ridiculous individuals blessed with uncanny fortune) require quite a bit of zoning in and out to get, however. In the eastern-most chamber in the Ward of Velitation zone (the room you teleported into) you can find two chests in the central niches, one to the north and one to the south. The northern chest has about a 5% chance of spawning, and when it does spawn, it’ll contain a Potion 95% of the time. When it contains Gil, however, it may yield a whopping 60,000+ Gil. Still, that’s one in four hundred odds, so you’ll have to consider strongly whether it’s worth your time. The southern chest, on the other hand, almost always contains Gil - usually a pittance of about 1G - 200G or so. When it has an item, it can either be a Potion or a Megalixir. The Megalixir is an Elixir that affects the whole party, fully restoring HP, MP and removing negative status effects. It’s the best healing item in the game, not to be squandered trivially.
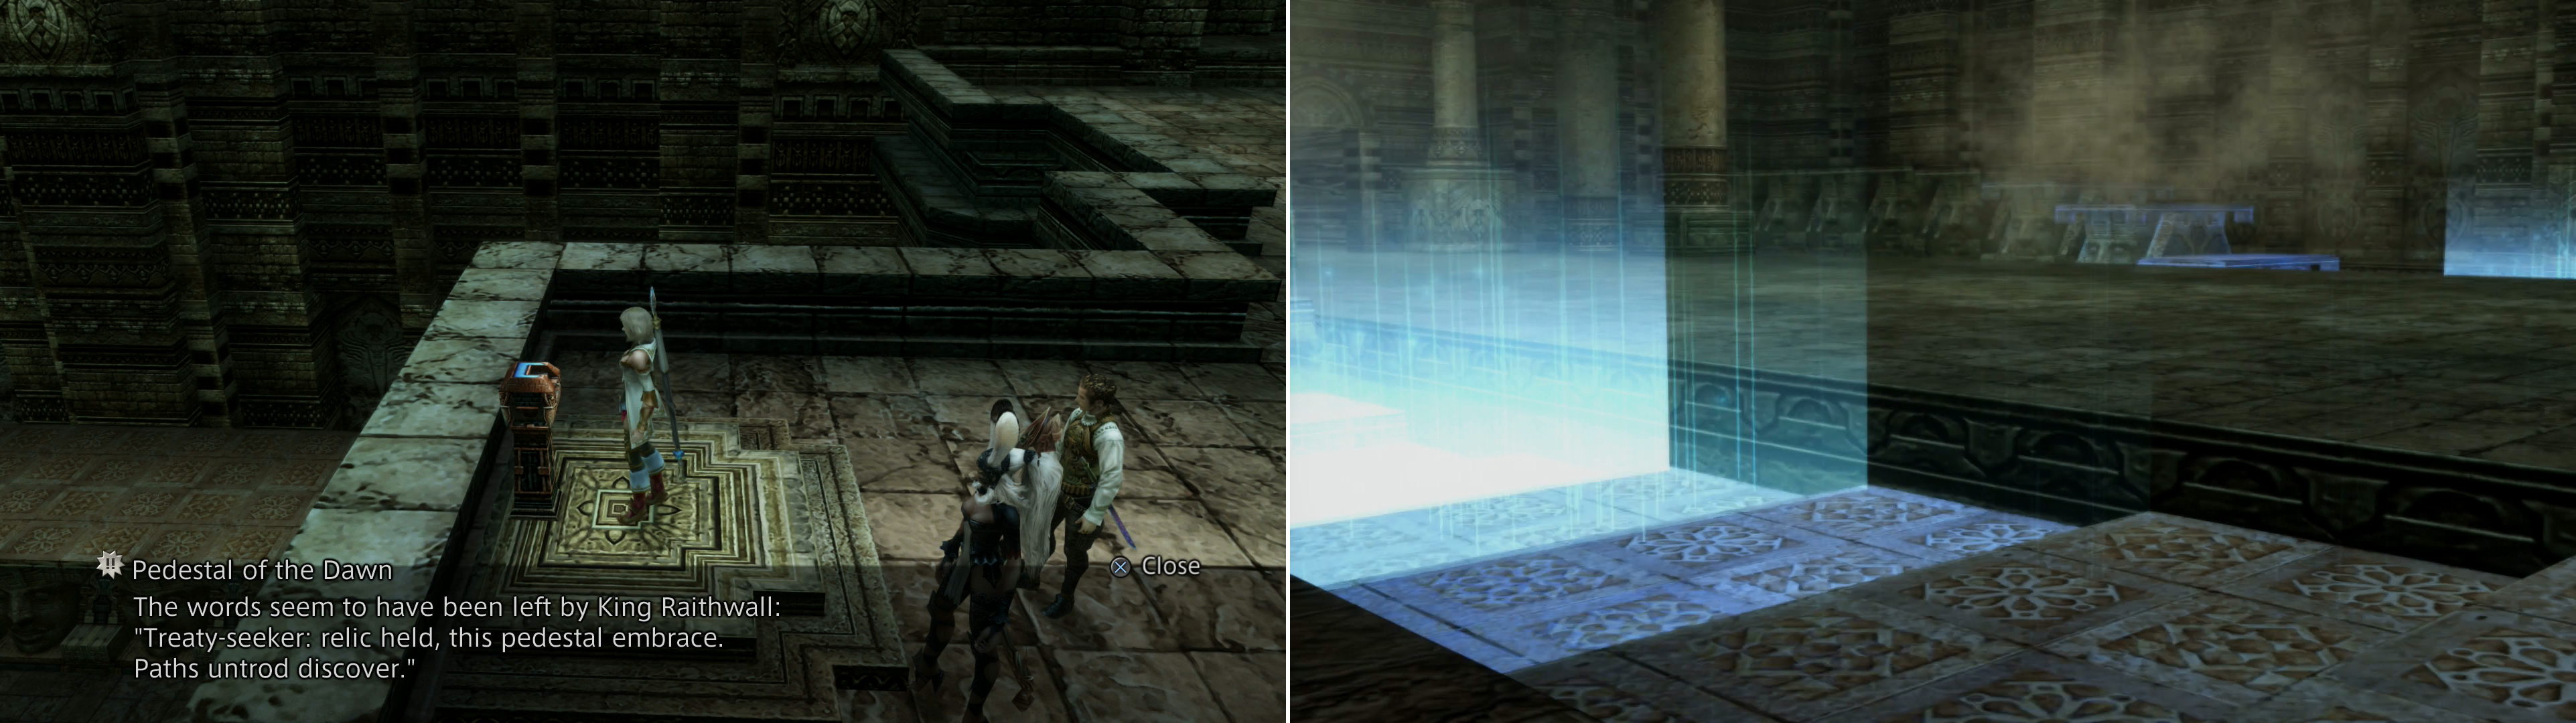
Again, make sure you have the Dawn Shard equipped (left) and you’ll be able to deploy some stairs and continue deeper into the Stilshrine (right).
Walk of Torn Illusion
When you’re done fishing for treasure, make your way west to the next area, the Walk of Torn Illusion. Head up some stairs and you’ll be pestered by a Miriam Facer, then go up another, shorter flight of stairs to the north or south and work your way around either walkway to reach the eastern edge of the level, killing two Miriam Guardians along the way. At the eastern-most end of the area you’ll find another Pedestal of the Dawn, with the same inscription as before. Strap on the Dawn Shard again, then use that character to interact with the pedestal to reveal a hidden path.
Return to the Ward of Velitation area and enter the larger, western chamber to find two stair cases have formed from the sequentially depressed floor tiles along the northern and southern ends of the room. Both lead to the same area - the Walk of Revelation.
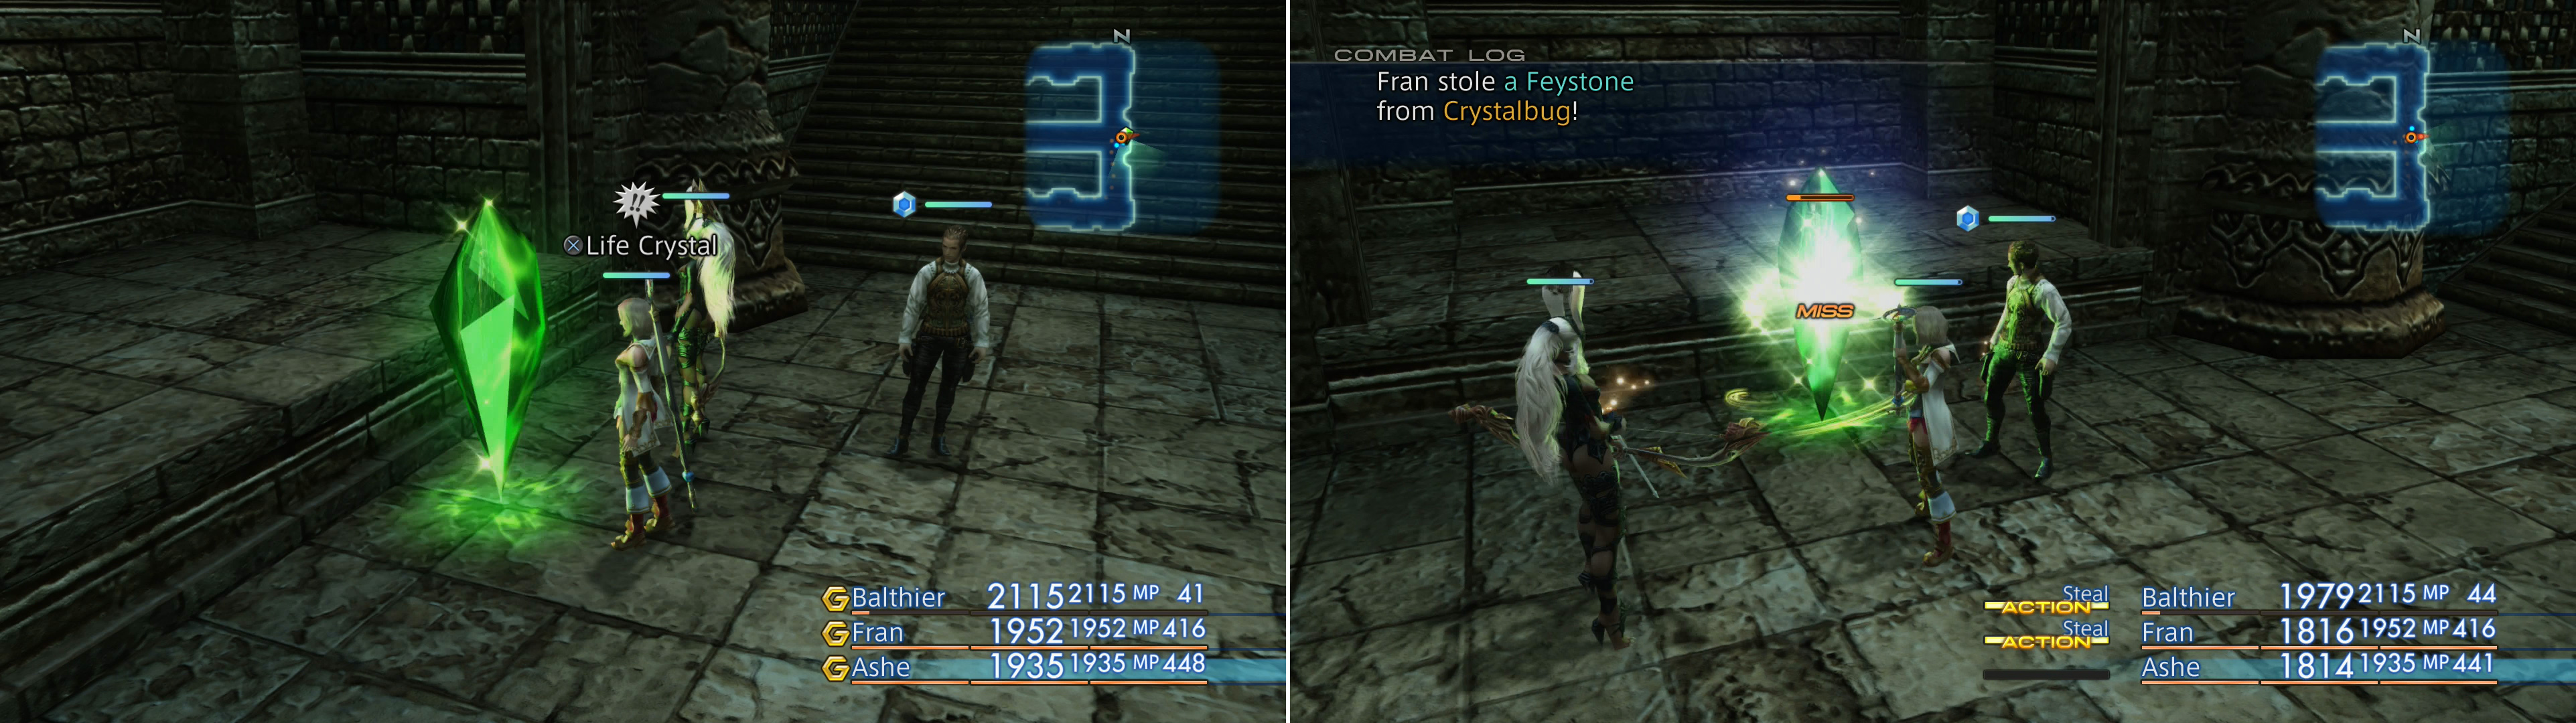
What appears to be a normal - albeit oddly-colored - Save Crystal (left) turns out to be a Crystalbug in disguise! Take the opportunity to steal a Feystone from it (right).
Walk of Revelation
Head down whichever set of stairs you prefer and work your way around to the eastern end of the level, then head down some stairs to find… a green Save Crystal? If you interact with it, you’ll find that this is no Save Crystal, but a monster in disguise!
Crystalbug (Green):
Treacherous duplicity! This foe - well worth smiting for its deceptive camouflage, mimics a Save Crystal, but doesn’t quite have the color down… In any event, it’s not a terribly powerful foe, but is capable of attacking with most forms of elemental magick (Aerora, Aquara, Blizzara, Fira and Thundara) while resisting half damage from all elements in turn. Physical attacks are the way to go, and it’s not terribly well-shielded from them, possessing a mere 3,000~ HP or so. It can, however, use Restore to heal itself, and will do so repeatedly, so you’ll need to keep up the pressure. You can steal a Feystone or an Ether from it, and fortunately the former is the more common steal. Make an attempt at it, as it’s a valuable crafting component. Best of all, you really only need one.
Defeat the Crystalbug and it’ll transform into a proper Save Crystal… but the trust between player and crystal that once was can never be restored. Oh well, start attempting to rebuild the sundered bonds of trust by restoring yourself and saving at the Save Crystal, then head down the stairs to the west to find an area transition.
Ward of the Sword-King
From where you enter this level, proceed west and fend off a new enemy - the Blood Gigas, of which there are two. Further west, at a three-way fork you’ll find a Miriam Guardian waiting to ambush you. The way north ends in a sealed door, so turn south, instead, and kill two more Blood Gigas foes hiding in alcoves, then continue south to find a room guarded by a Darkmare. Kill the teleporting ghost-horse (which is totally NOT a Firemane) and head downstairs to find two more Blood Gigas fores guarding a massive “Sword of Judgment” stone sword. Inspect it and it’ll mention three guardians, which presumably need a bit of smiting. Ancients sure did love trial by combat, didn’t they? On the plus side, the door to the north of the earlier three-way fork will now open, allowing you to backtrack and progress beyond the formerly sealed door. Beyond this door lies a Way Stone, which promises to advance your progress through the Stilshrine… before you go, however, there’s a bit more to do in this area…
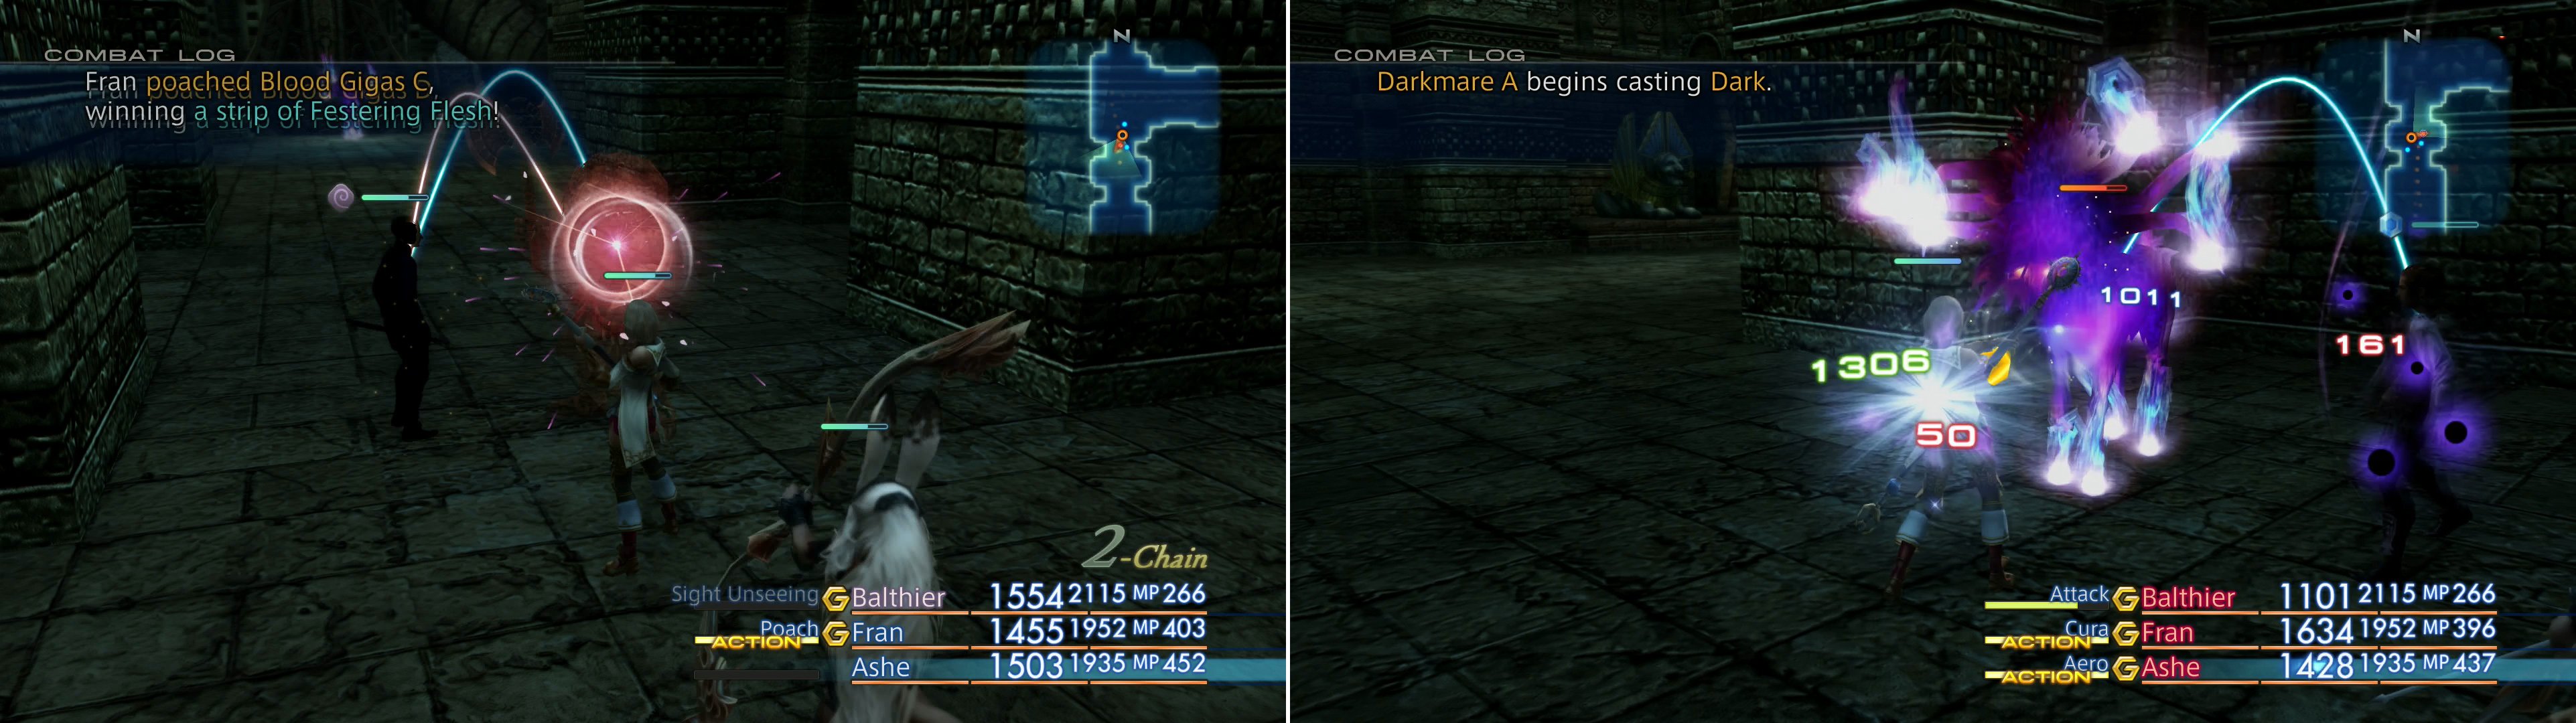
Blood Gigas foes can be Poached for Festering Flesh (left). The Darkmare is an elusive beast, which only spawns in the Ward of the Sword-King zone (right).
Blood Gigas:
If this monster looks familiar, that’s because they’re a palette-swap of Anchag, the Rare Game in Paramina Rift. Blood Gigas are significantly weaker, however, having only 2,500~ HP, although they hit harder than many common foes you’ve faced so far. Their attacks are simple, however, including the common Lunge, the Blast Wave technick (a weakish area-of-effect attack) and Tri-Attack, which can do a hefty bit of damage when they use it. They can drop Earth Magicite, an Antidote, Festering Flesh or a Gemini Gem, you can steal Earth Magicite, a Phoenix Down or a Gemini Gem, and you can Poach them for Festering Flesh or a Viking Coat . They are weak to Wind.
Darkmare :
This elusive beast is one of the rarer foes in the game, as only one will spawn, and only in this area, and it will not respawn unless you leave the Stilshrine entirely… or reload the game. Thankfully there’s a Save Crystal in the adjacent area, so it’s not too painful to kill the eight or so required to fill out your bestiary.
That out of the way, the critter has just over 14,000 HP, making it a particularly resilient foe. That said, its Attack Power isn’t anything special, although it does have a slew of magicks at its disposal, including Blind, Dark, Poison and Slow, which its technicks include Rush and Snake Lash, the latter of which is an area-of-effect attack that can inflict Poison. It can drop a Grimoire Togail, Dark Magicite, a suit of Demon Mail or a Chronos Tear, you can steal Dark Magicite, a Grimoire Togail or a Scorpio Gem, while you can Poach it for a Grimoire Togail or a Grimoire Aidhed. The Scorpio Gem is a relatively rare component required to make a potent weapon, but harvesting the four Scorpio Gems required from Darkmare is too much of a chore - you’ll find other, better opportunties later. Darkmare is weak to Holy.
Negalmuur and the Infinite Grind
There’s a Rare Game in this area, and this one is more interesting than most for reasons that’ll soon be detailed. To spawn this Rare Game, Negalmuur, you simply have to waste time. Thirty minutes to be precise, and this cannot be expedited with Speed Mode. Once you’ve spent thirty minutes in the Stilshrine and killed Darkmare, Negalmuur should spawn in the three-way fork in the Ward of the Sword-King zone. Of course, this timer is reset every time you load the game, so if you were hunting Darkmane and Poaching Blood Gigas, you may have a bit of a wait ahead of you.
After the alloted time, Negalmuur should spawn, appearing much like the Mark Ixtab, and like that beast Negalmuur can cast a variety of nasty spells, including Confuse, Blizzara, Fira and Thundara. Obviously Confuse is the nastiest of its magicks, and you’ll want a White Mage standing by (and at distance) with Esuna ready to go. In addition, it can attack physically (possibly afflicting Disable with its melee attacks) and use the technicks Doom (applies the status effect of the same name), Annul (reduces a character MP to 0) and Necromancy.
The last ability is the interesting bit, as it’ll use this ability sparingly to summon a Ghast. It does this regularly, so you can - if you’ve got an eye to level without clicking many buttons - target these Ghasts to level up indefinitely. Of course, you’ll need to keep Negalmuur alive while you do this, and keep yourself alive amidst Negalmuur’s best efforts to effect the opposite. If you’ve been keeping up with your Gambits, you should have plenty of tools at your disposal for this task… although your gear might be wanting, and the abilities required will limit the characters you can utilize somewhat.
First, you’re going to want a White Mage to counter Negalmuur’s constant status effects - particularly Confuse. The Ghasts can also use the Stone Touch technick, which inflicts Petrify, as well as Scream, which can inflict Silence and Blind, all of which can be cured with Esuna. You’ll also need somebody to raise the fallen after he uses Doom, at which the White Mage excels. Speaking of which, Confuse may be its most dangerous attack, but Doom is the technick that’ll interfere with this easy-leveling scheme the most, as you currently have no way to cure it save with Rememdies, and even then, only the Archer, Machinist and Shiraki have access to the Remedy Lore 3 license, which is required if you want to cure the Doom status. If it afflicts anybody but your White Mage, peachy, they’re just a single cast of Raise away from being back in action. If Doom targets your White Mage, however, things can get messy. The danger here isn’t necessarily a party wipe, your Red Battlemage and White Mage should both have access to Raise, after all, and Phoenix Downs are a fine substitute, but ideally your White Mage will be your party leader, and if the party leader falls the game will pause until you select a new one, breaking the flow of the auto-leveling scheme.
The answer is simple: Decoy, which can be cast by every sort of mage (Black Mage, Red Battlemage, Time Battlemage and White Mage), but since the goal is to get Negalmuur to target anybody BUT your White Mage, they should refrain. Since this could go on quite a while you’ll need to keep your MP at a safe level, and this is easily done with the Charge ability. Sure, it’ll drop you at first, but if used constantly via a Gambit, it should give you enough MP to cast whatever you need at the time. Finally, to ensure you don’t hinder Negalmuur don’t use any area-of-effect attacks (no Aero, Aquara, Blizzara, Fira, Thundara, etc.) and make sure you’re not targeting Negalmuur with any other attacks. Fortunately, Negalmuur has far more HP than the Ghasts he summons, so a simple low HP targeting Gambit should work fine.
With all that in mind, here as some Gambit setups that provided good results:
White Mage:
-
Ally: HP Cura
-
Ally: status = KO –> Raise
-
Ally: any –> Esuna
-
Self: MP Charge
-
Foe: HP Attack
*) Ally: [White Mage] –> Remedy
Other Mages:
-
Foe: HP Attack
-
Self –> Decoy
-
Self: MP Charge
*) Ally: [White Mage] –> Remedy
*Only assign this Gambit to a character with Remedy Lore 3. Applicable jobs include Archer, Machinist and Shiraki. Ideally a combination of White Mage/Machinist or Red Battlemage/Archer would be ideal. The target should be whichever character [insert appropriate name via Gambit] you picked as your White Mage.
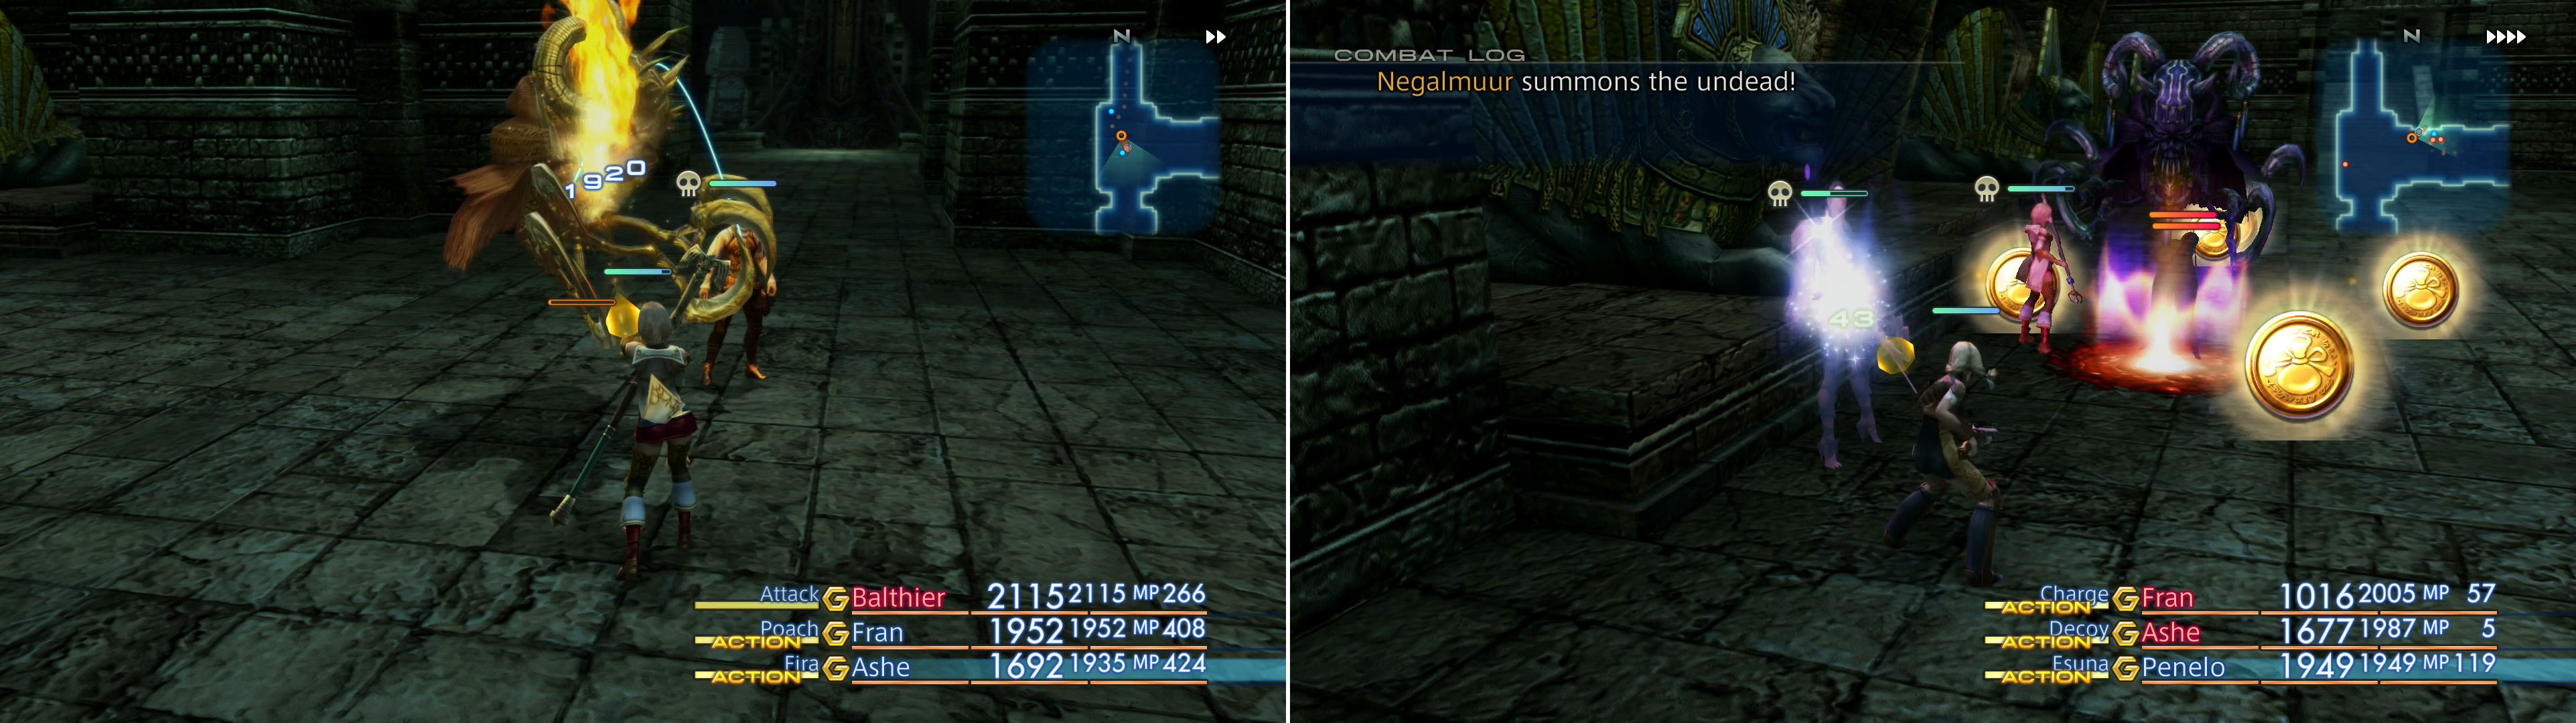
Negalmuur is easy enough to defeat via conventional methods (left), but if you keep him alive, he’ll summon an infinite swarm of baddies for you to dispatch (right).
If your party is decently powerful already, you should have no real trouble with this setup. Three mages with around 2,000 HP each, and decently up-to-date weaponry (Betelgeuse, Burning Bow, Glacial Staff and Obelisk were the weapons used by the test characters) should do fine. When you come back, worst case scenario your party leader/party will get wiped and the game will pause until you select a new one. Best case scenario, the struggle will be ongoing and you’ll have earned quite a bit more XP. Using Speed Mode will obviously speed up the process dramatically.
It should be noted that this is not a fool-proof, or fully AFK method. The Zodiac Age version of the game limits your jobs, and hence, what licenses each character has access to, so not everybody can do everything. The more mages you have casting Decoy, the better odds you’ll have of pulling this off for a long time, and not everybody will be able to cast Esuna or use Remedies to cure Doom. That being the case, there’s a good chance that, eventually, your party leader will get hit with Doom. This is more likely to occur later, after Negalmuur runs out of MP, as at this point he won’t be able to use Blizzara/Fira/Thundara or Confuse, and instead will more frequently resort to Doom, which is a technick and costs no MP.
It’s not all bad, however, as this also means Negalmuur will no longer cast Confuse, making you less likely to suffer from status effects, especially if your party can quickly kill Ghasts. If you want to further automate things at the expense of your stock of Remedies, set a character up with a Gambit targeting your White Mage (if your White Mage was, say, Penelo, the Gambit would be Ally: Penelo –> Remedy, or, depending on the jobs assigned to your White Mage, possibly even Self –> Rememdy). If you want to be further proof against random status effects that may spoil the grind, you can equip your White Mage with a Bowline Sash accessory (immune to Negalmuur’s Confuse magick) or a Nishijin Belt (immune to the Disable status caused by Negalmuur). The former will be more useful early, until Negalmuur runs out of MP, while the latter will be useful afterwards.
Furthermore, if you’re willing to pay even a little bit of attention you can score some loot while you grind, just move your party leader around and pick up all the items the Ghasts drop, which include Dark Magicite, Festering Flesh, Teleport Stones and Float Motes. If you didn’t bother grinding Blood Gigas for Festering Flesh, this is another, quicker way… albeit with a good bit more setup required. You can sell Festering Flesh for 542 Gil each, 99 of them will sell for a total of 53,658G, making this a fine way to earn Gil as well as XP, LP and CP.
With a party consisting of a Red Battlemage/Archer, Black Mage/Monk and White Mage/Machinist, using the aforementioned Gambits, you can expect to earn roughly 400,000 XP, 1,500 LP and 350,000 CP per hour (with Speed Mode x4, so about four hours of game-time). In the process, around ten Remedies were expended, and really, Remedies are the fuel required to promote full autonomy in this grind. Obviously the rewards stated earlier can be increased further by equipping characters with accessories like the Embroidered Tippet (doubles XP earned) or the Golden Amulet (doubles LP earned) If you find yourself in any way under-prepared for this grind, you can, of course, correct your deficiencies and return at a later date.
Negalmuur :
Despite all that info above, it’s still worth giving this poor, abused ghost its own bestiary entry, for a more condensed version. Negalmuur is higher level and has a higher Attack Power than most critters in the Stilshrine, not to mention its nearly 19,000 HP. It has a wide array of magicks and technicks, including Confuse, Blizzara, Fira and Thundara (magicks) and Annul, Doom, Necromancy and Ram (technicks). In addition, it can inflict Doom with its melee attacks, making Negalmuur a rather obnoxious purveyor of status ailments. It’s Necromancy ability allows it to summons Ghasts, and give rise to the (near) infinite grind mentioned above. Annul will reduce the MP of its foes to 0 and Confuse and Doom inflict status effects of the same name. It also has the “Ignore Vitality” augment, and since Vitality is a key stat that determines whether a character will be debilitated by status effects… well, yeah, you’re going to be debilitated.
Negalmuur can drop a Book of Orgain or a Vanishga Mote and you can steal a Capricorn Gem. It can be Poached for a Peeble or a Book of Orgain-Mille. It’s only immune to Disease, Petrification, Poison and Sleep, giving you many options to reduce its effectiveness (Blind and Silence being particularly useful for grinding purposes). It is weak to Holy and absorbs Dark.
Ghast :
The minions summed by Negalmuur, you can also find them later on in this area as stand-alone foes. They’re exactly the same either way, and there’s a good chance you’ll kill more than your fair share when going after Negalmuur. Their HP and Attack Power are nothing special, but offensively they’ve got a few nasty tricks up their rotten sleeves. Their sole magick is Reflect (which is why it’s a good idea to avoid using offensive magick in the Negalmuur grind), and their technicks include Lunge, Scream (can inflict Blind and Silence) and Stone Touch (inflict Petrify). They can also use Aquara Motes to cast Aquara.
When defeated, they may leave behind Dark Magicite, Festering Flesh, a Teleport Stone or a Float Mote, you can steal Festering Flesh, Nu Khai Sand and a Paramina Crossbow , while they can be Poached for Foul Flesh or Festering Flesh. They are weak to Holy and absorb Dark.
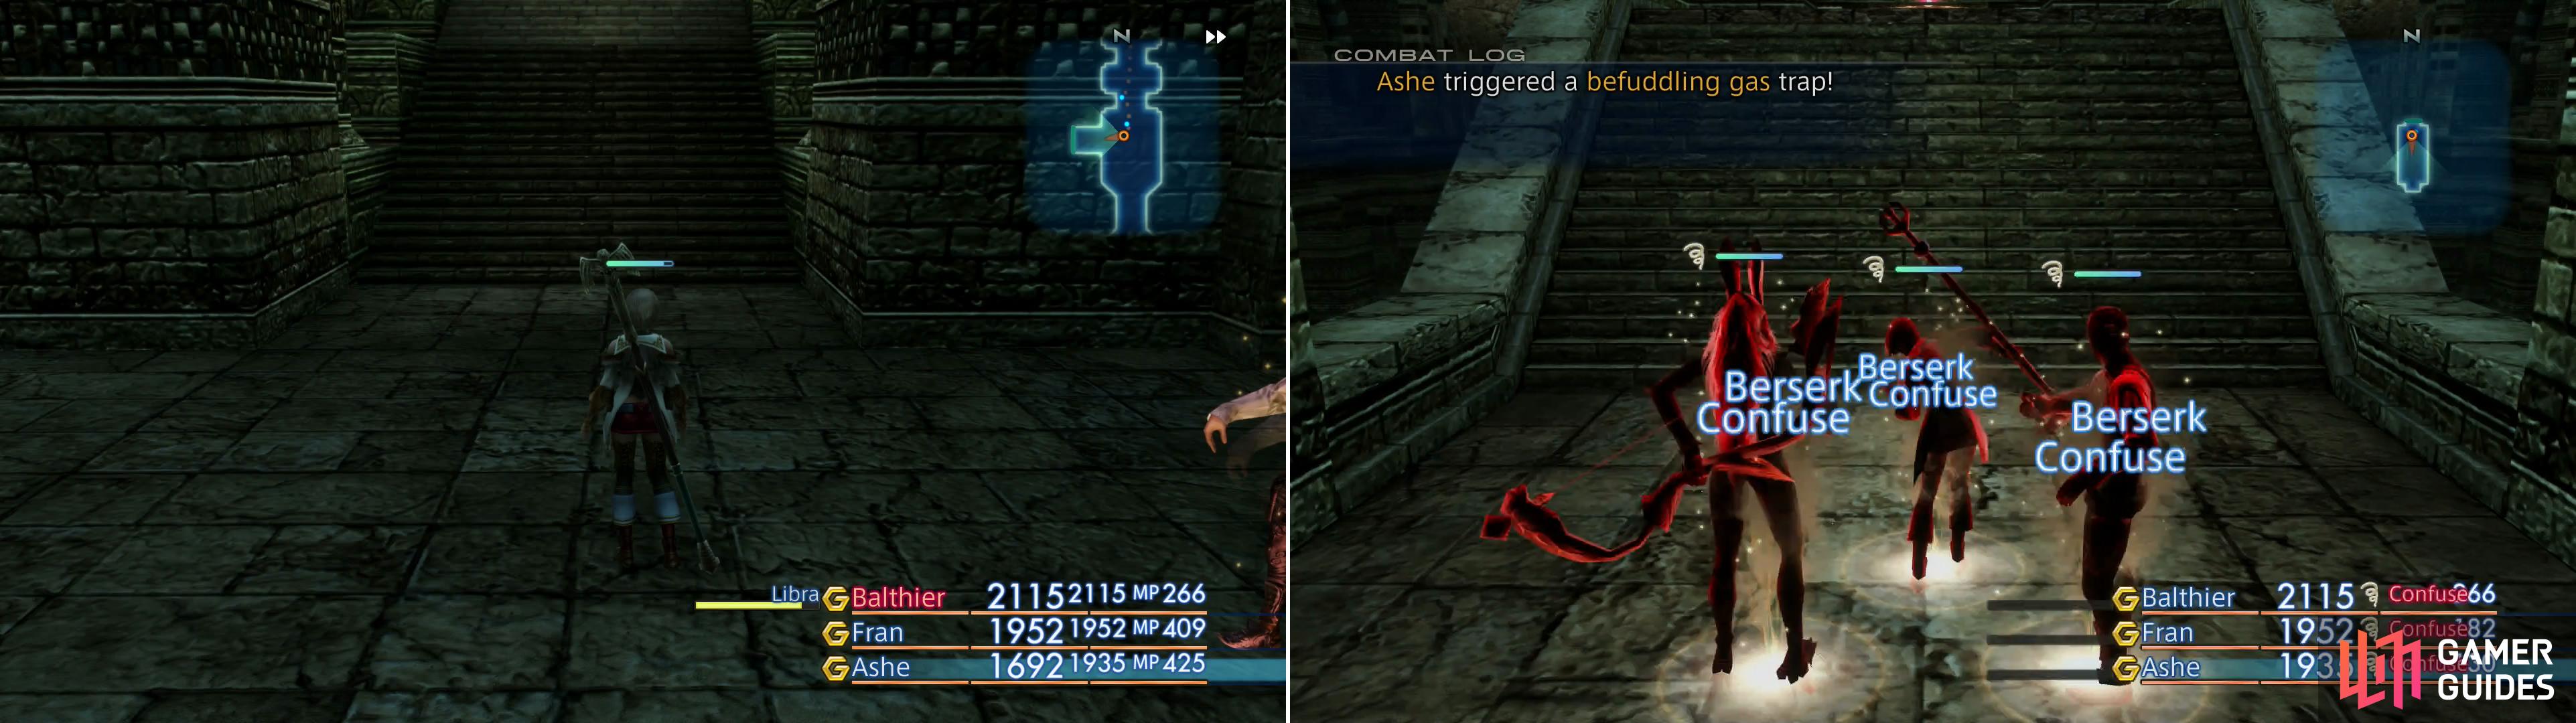
North of where the Darkmare initially spawns you can find an illusory wall (left). Be wary of the traps beyond, as they can easily wipe out an entire party with one misstep (right).
Ward of the Sword King - Secret Area
Whew, well, that was a rather involved bit of business, wasn’t it? And you’re not done with this area yet! This place is full of secrets, it turns out. To discover this one, make your way back to where you fought Darkmane and search the wall here to the west, running against it for good measure until a section of the wall vanishes, revealing some stairs leading to an area transition beyond. Head up the stairs to reach this new area, which is technically off the map, then continue upstairs until you reach another area transition, which is also off the map.
Before you pass through this area transition atop these stairs, you’ll need to take precautions against traps, are there will be some nasty ones immediately upon stepping foot in this area, quite unavoidable, as you’ll spawn on top of them. Either equip Steel Polyns on every character in your party, or use Float Motes on them, as Float gives you the ability to evade traps. Negalmuur’s Ghasts are capable of dropping Float Motes. Otherwise, you’ll have to just take the effects of these traps and Raise and heal your character(s) later. The trap at the beginning of the zone inflicts both Berserk and Confuse, forcing your characters to rapidly attack each other. This will result in a party wipe (if you’re unlucky) or merely everybody whacking each other once before standing around, Berserk, with no way to vent their anger. If you don’t have a wait to avoid the traps, you sitll have options; either send in one character alone and when they fall, add in more characters and raise the brave trap-triggerer, or equip them with a Bowline Sash so they merely suffer from Berserk, which can be removed with a good casting of Dispel.
After you’re past the traps (one way or another), whereupon you’ll be ambushed by a new foe - the Oiling. Defeat them, then be wary of another Berserk/Confuse trap under the chest they were guarding. For all this trouble you can plunder the chest and walk away one Shell Shield richer. Fortunately your way back through this area will not be as uneventful as your first trip through was, as more Oilings will spawn to contest your passage as you head downstairs and back to the Ward of the Sword-King zone.
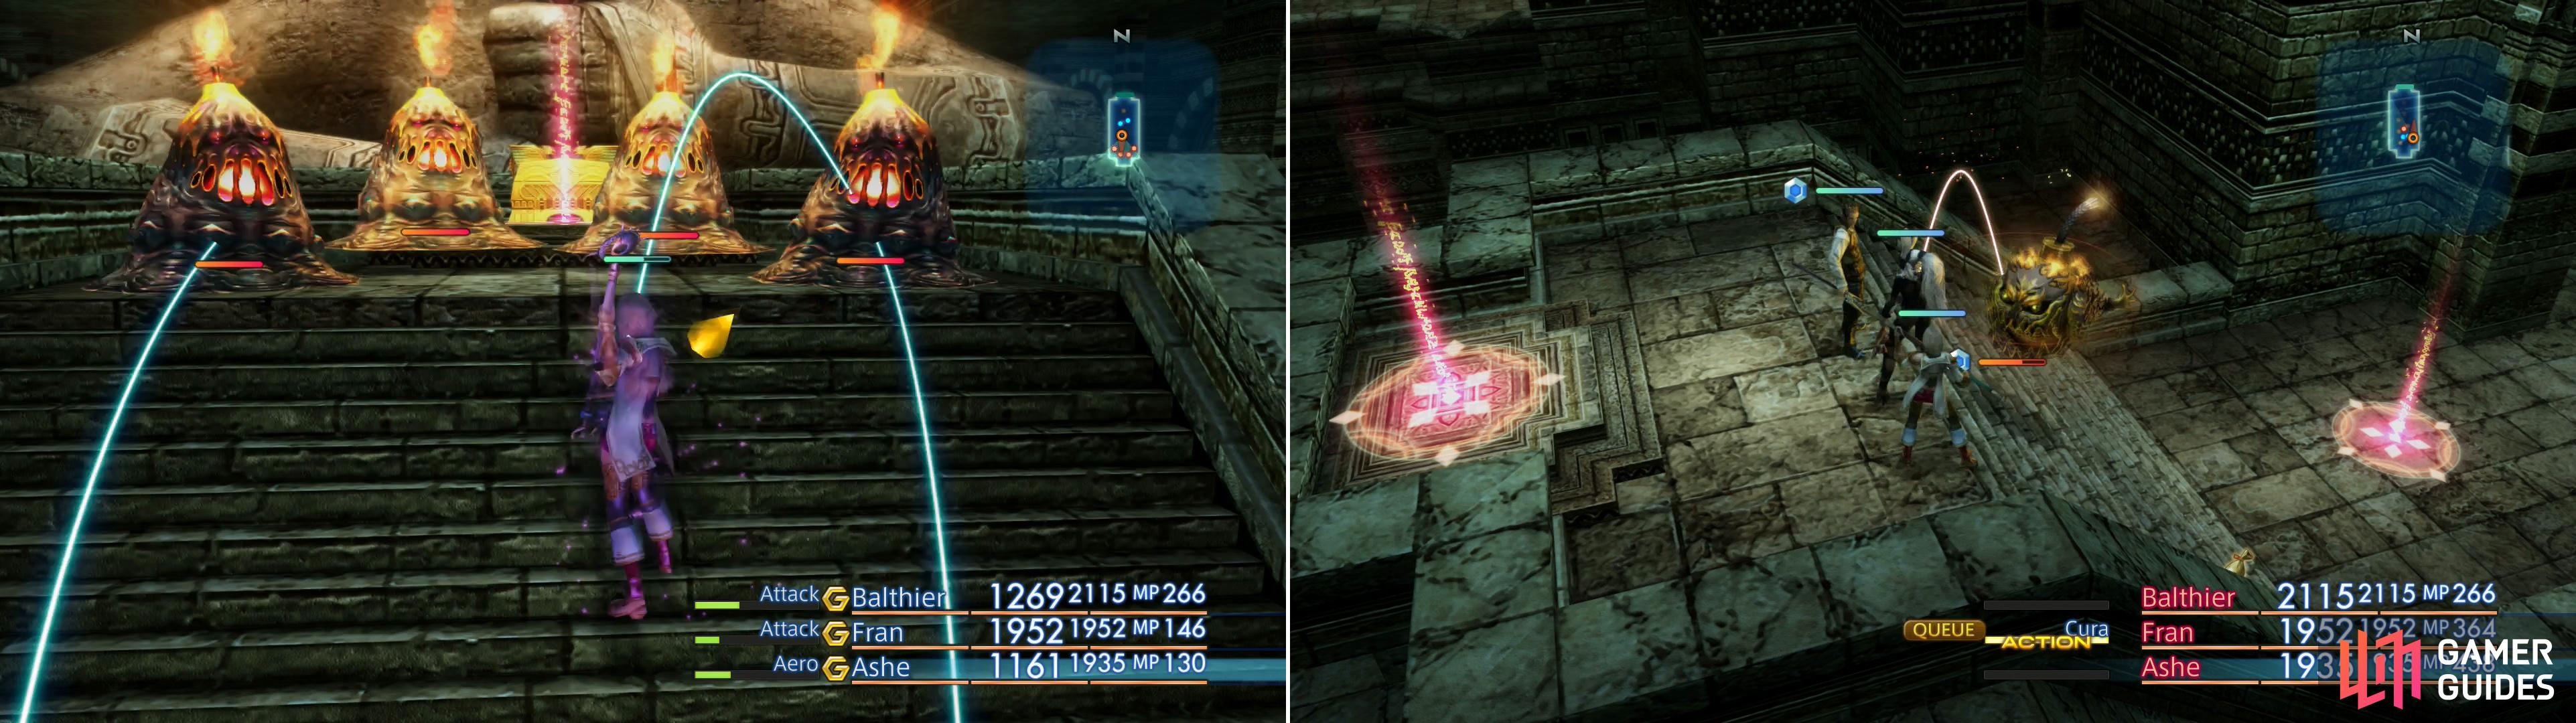
Get past the traps and you’ll be met by a host of Oilings (left). In addition, the Matriarch Bomb has a chance to spawn in this area, as well (right).
Oiling :
More potent verions of the Flan and Tallow enemies you’ve encountered before, the Oiling, as its name implies, has a pretty straight-forward goal; to inflict the Oil status upon you (its melee attacks have a chance to do so), then pelt you with Fire. The overall effectiveness of the strategy leaves much to be desired, since they’re stuck with such basic magicks, only possessing Fire and Silence. To enhance their offense some they also have access to the Phantasmal Gaze technick, which can inflict Confuse on all characters within a cone area. When pressured in combat they can also use Divide to perpetuate themselves via a clone. They can drop Yellow Liquid, a Handkerchief, a Teleport Stone and a Golden Staff , you can steal Fire Magicite, Yellow Liquid or a Sagittarius Gem and they can be Poached for Yellow Liquid or Silver Liquid. They absorb Fire, and are weak to Water.
Matriarch Bomb:
As if this area wasn’t busy enough, there’s a chance that the Matriarch Bomb Rare Game may spawn in the area with the Shell Shield, joining the Oilings in their assault. Unlike some Bomb-type foes you’ll meet shortly, Matriarch Bomb can both inflict Oil with her melee attacks and take advantage of your handicap by blasting you with Fira. Other than that, her only noteworthy ability is the Greater Barrier technick, which she’ll use when her HP are low to reduce further damage. Unlike most other Bombs, the Matriarch Bomb does not possess the Self-Destruct technick or related technicks.
You can steal Bomb Ashes or a Bomb Shell from her, you can steal a Scorpio Gem and she can be Poached for a Pebble or a Bomb Fragment. She’s a much more reliable source of Scorpio Gems than Darkmare was since she’s guaranteed to forfeit one if you merely attempt to steal enough, but she’s a hassle to farm. Since you need to kill her once to satiate your bestiary, however, make sure to grab one Scorpio Gem while you’re here. She absorbs Fire and is weak to Water.

 Sign up
No Comments