


| Bestiary |
|---|
| Doctor Cid (Boss) • Hecteyes • Imperial Armament (Boss). |
| Items In This Area |
|---|
| Claymore • Giant’s Helmet (Poach from Blood Gigas) • Gil Toss • Lab Access Card. |
Watch the scenes showing (if not detailing) your infiltration, whereupon the party will be surprised at the lack Imperial response to their infiltration. After Balthier wisely rejects Vaan’s naive optimism you’ll finally be left to the task at hand.
To Cids Office
From where you start out, head west through a doorway then north down a hallway to find out what happened to the Imperials. Better them than you. Talk to the one surviving Imperial if you wish, although he has little of immediate, intelligible interest to say. Continue north, then east through a doorway to reach a small chamber off which two paths branch. Ignore the eastern route, as there’s nothing there for you yet and instead continue north down another hallway until you reach a small junction where you’ll find another wounded - but living - Imperial lies. Ignore his pleas and turn east to reach a chamber wherein you’ll find the a Direct Lift along the northern end of the room. Utilize the North Lift Terminal near the lift tube and set as your destination the 67th floor, to which you’ll be promptly delivered.

Locate the door to Doctor Cid’s office (left) inside of which Balthier will find the Lab Access Card (right).
From the lift, make your way east past another surviving soldier who either misidentifies you, or takes exception to your opportunistic intrusion. When you run out of east, turn north to find another live Imperial lying near a “C.B.D” door, who warns you against Doctor Cid. Righty-o. Open the door to reach Cid’s office, wherein you’ll be treated to a scene. Looks like you’re not the only ones after the good doctor, and the familiar - albeit messy - office lulls Balthier into reminiscing. After he’s interrupted by a commotion he’ll take charge in a manner befitting the leading man and resolve to use the confusion of the moment to his advantage, swiping a Lab Access Card and a map of Draklor Laboratories in the process.
With this you’ll finally be able to properly explore the Draklor laboratories, but the Imperials are now responding to the attack with gusto… even managing to clean up the bodies during your brief stay in Cid’s Lab! Efficient tin-heads, gotta give them that. Expect to be able to explore more freely, find loot, and fend off foes from here on out… just like a proper dungeon!
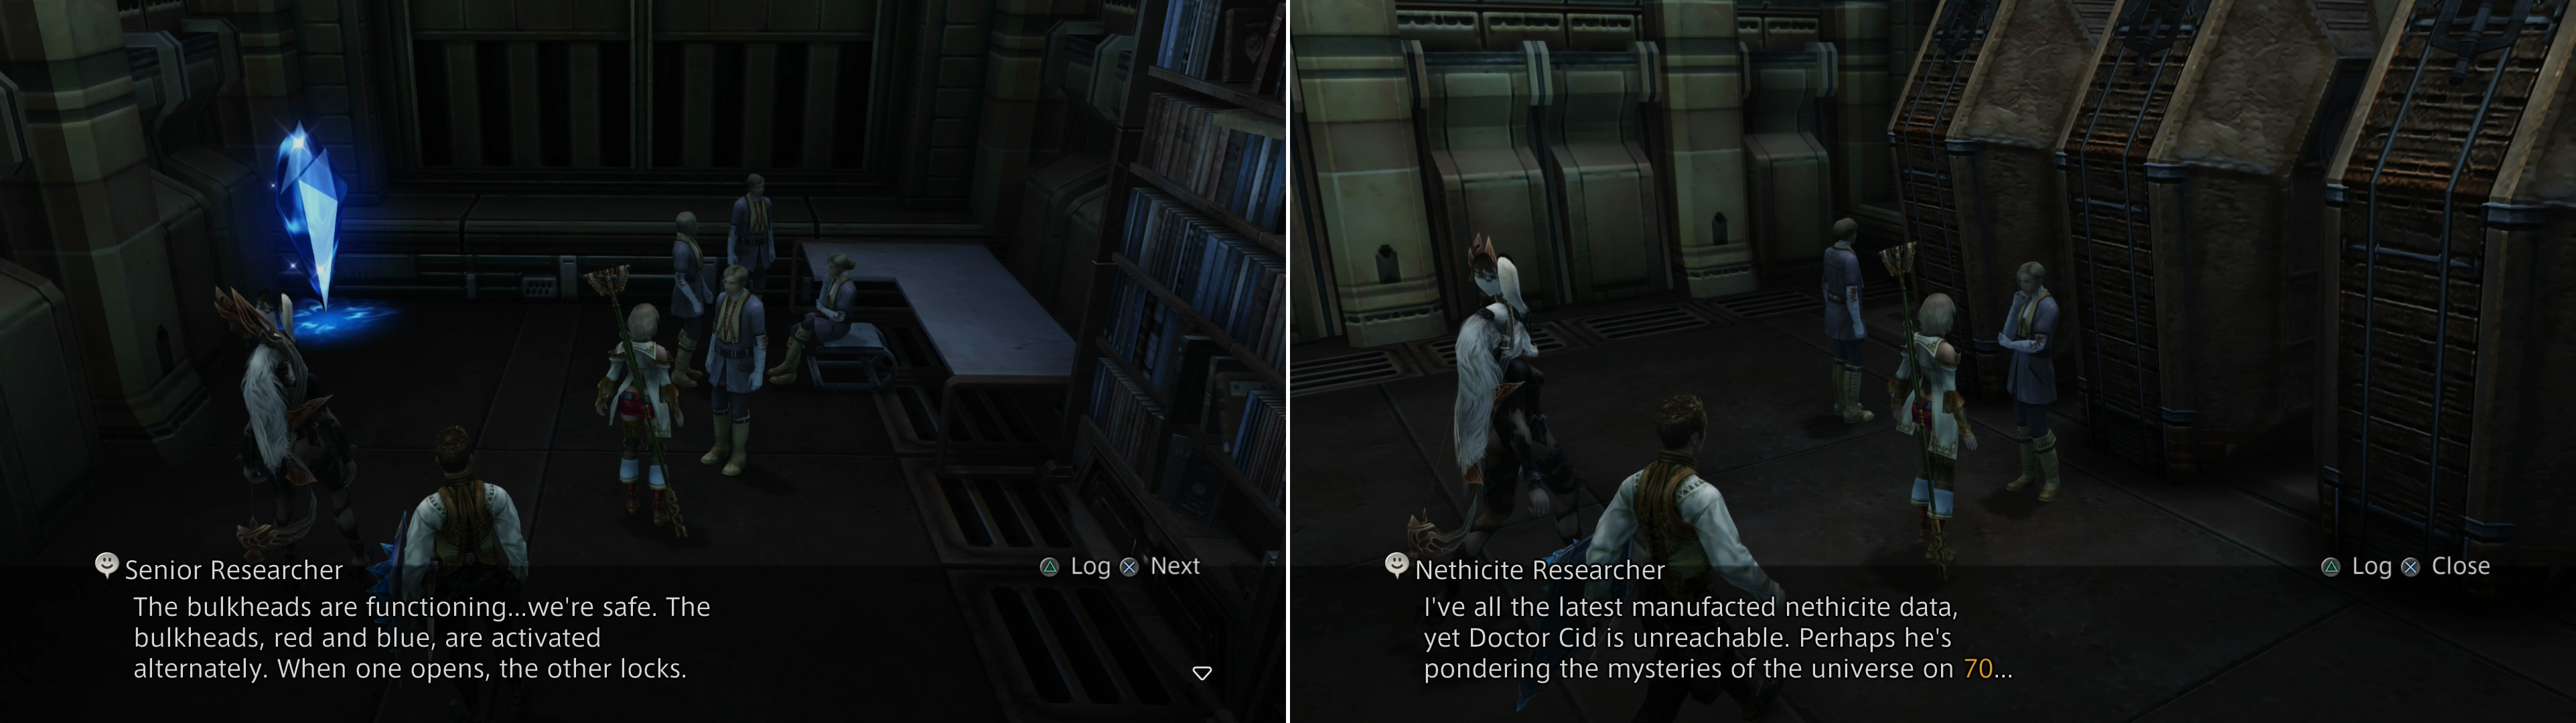
Talk to a Senior Researcher to learn how the bulkheads work (left), while another will unintentionally point you in the direction of Doctor Cid (right).
67th Floor
Exit Cid’s lab and continue south, noting as you go that the mini-map will be erratic and distorted (although the pop-up map and full map works fine), a phenomenon which usually signifies high levels of Mist about… which in turn usually means nasty monsters, perhaps even an Esper. Nothing you can do about that yet, as you go south search the first door to the west to reach the Rm 6704 East area. Talk to the Senior Researcher here and he’ll express confusion at the going-ons in Draklor Laboratory before explaining the bulkhead system. There are two colors of bulkhead in this place, red and blue. When one is open, the other is locked, so expect that tedious bit of puzzle-work to come up sooner or later. Make use of the Save Crystal here, then return back to the 67th Floor proper.
Continue south a short distance and ignore the next room to the west (Rm 6703 East) and note two doors to the south, one locked blue door to the west and one open red door to the south. That didn’t take long, did it? Keep heading south through the open red door until you find a door leading to Rm 6711 East, wherein you’ll find a Nethicite Researching going about their business in blissful ignorance. Fortunately he does pass on the info that Doctor Cid can be found on the 70th floor.
Leave this room and backtrack north to Rm 6703 East, inside of which you’ll find a Bulkhead Controls console. Activate it and return outside to find that the color scheme of the place has changed, the red door is now closed, and the blue door is open. As you exit you’ll be pestered by Imperials, including the typical Swordsmen, Pilots and Hoplites and perhaps the odd Judge. They’re stronger than previous Imperials have been, but aren’t any more dynamic as foes, and their loot is hardly any more interesting, consisting at best of higher-end curatives. It should be noted that Imperials will continue to pester you throughout Draklor, arriving, sensibly enough, via the lifts at regular intervals.
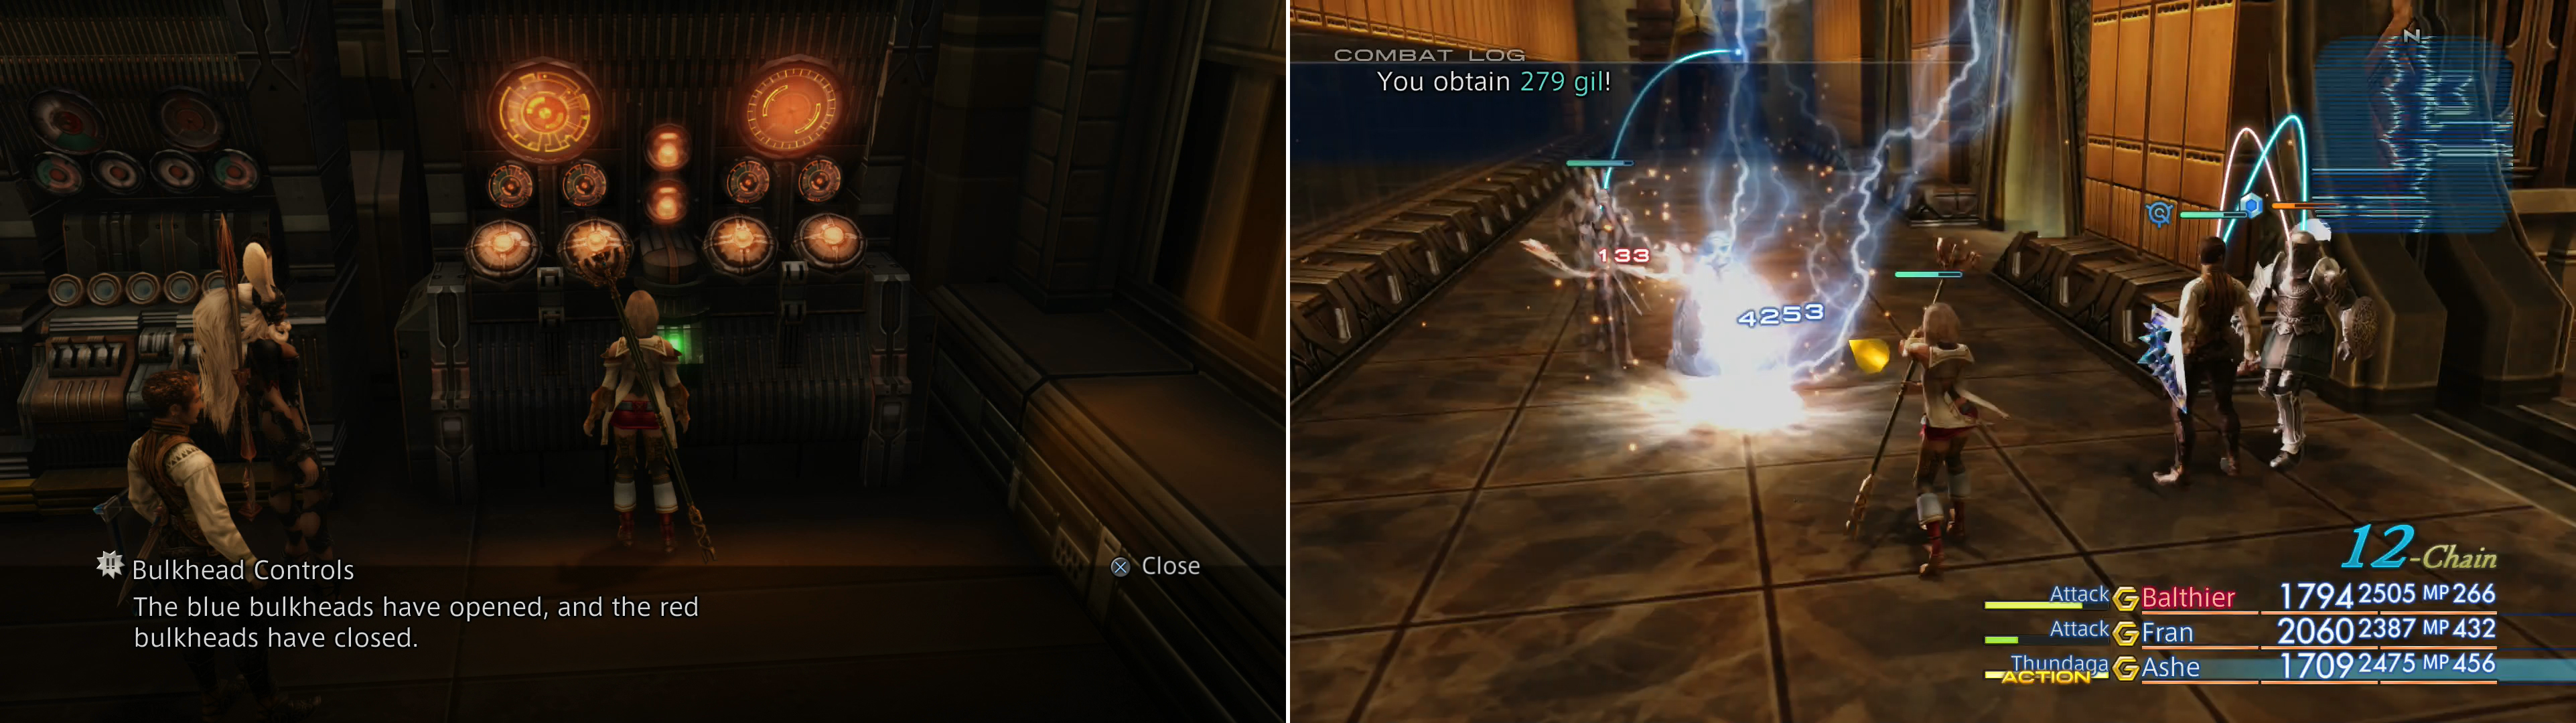
Find various Bulkhead Controls terminals scattered throughout the laboratory to toggle which bulkheads are closed (left). Be wary as you explore, however, as Imperial troops will regularly spawn (right).
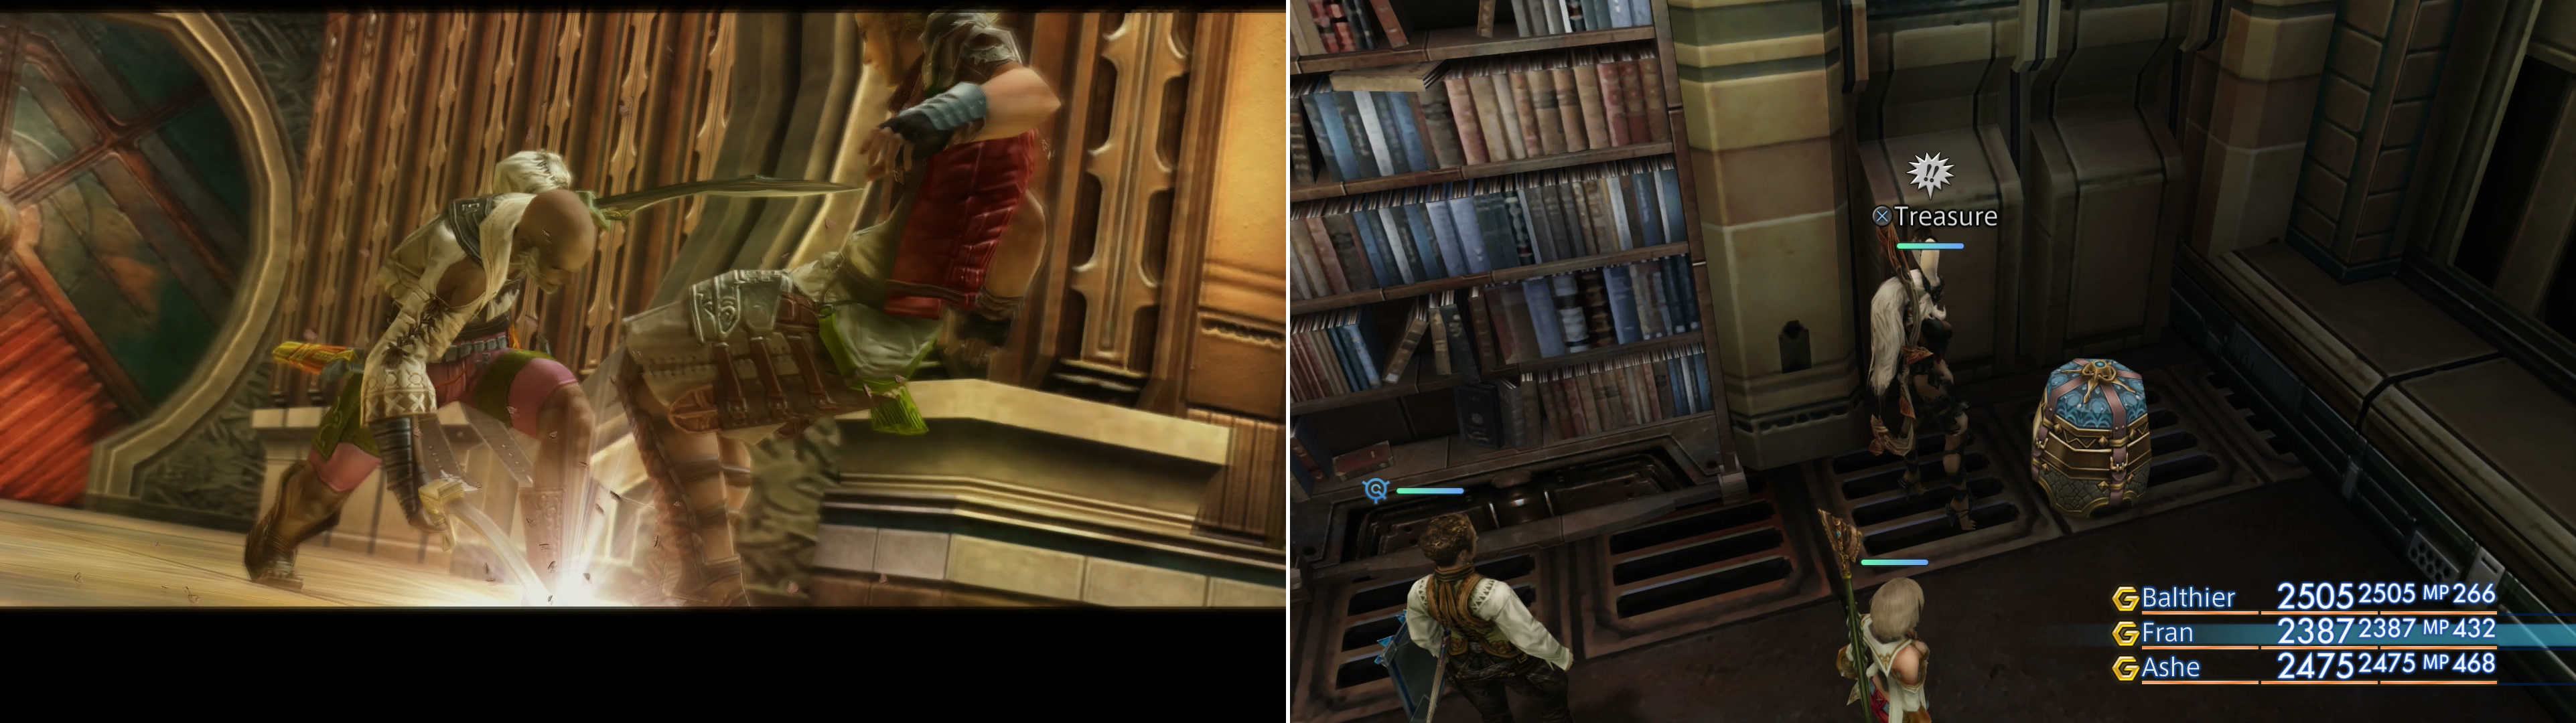
Continue west past the room with the lift and into the western hallway, at which turn north the enter a door to the east to reach Rm 6703 West, where another Bulkhead Controls console awaits. Switch back over to team blue to close the blue doors and open the red ones, then return outside and make your way south through a doorway. Turn west to find a now-opened red door, beyond which you’ll find a non-bulkhead door leading to Rm 6711 West. In here you may find two chests with motes in them as well as a chest with a Claymore (Greatswords 1) inside. Leave the room when you’re done looting, return to Rm 6703 West, flip the bulkhead back to red to open the blue doors, then decide where you wish to go.
You can return to the 66th Floor and explore the place fully, but there’s little in the way of loot, solely consisting of mote-bearing chests (find these in Rm 6613 East) return to the lift room and ride back down to the 66th Floor. Alternatively, you can ride up to the 68th Floor and continue your search for Doctor Cid. Both will be covered for the sake of completionism, so continue reading below whichever heading matches your destination.
66th Floor
Note that on this level, as on the 67th Floor, you’ll be constantly hounded by Imperial forces. With that out of the way, continue east from the lift room, pass through the small junction area and ignore the hallway to the south and continue east instead to reach four hallways forming a square. At this point turn south, then east to find a doorway to the north leading to Rm 6613 East. Inside this room you’ll find all three of this level’s chests, and since you can’t access any Bulkhead Controls on this level, nor can you use them on the 67th Floor and still reach the lift to return, that’s all you can really explore of the 66th Floor at the present.
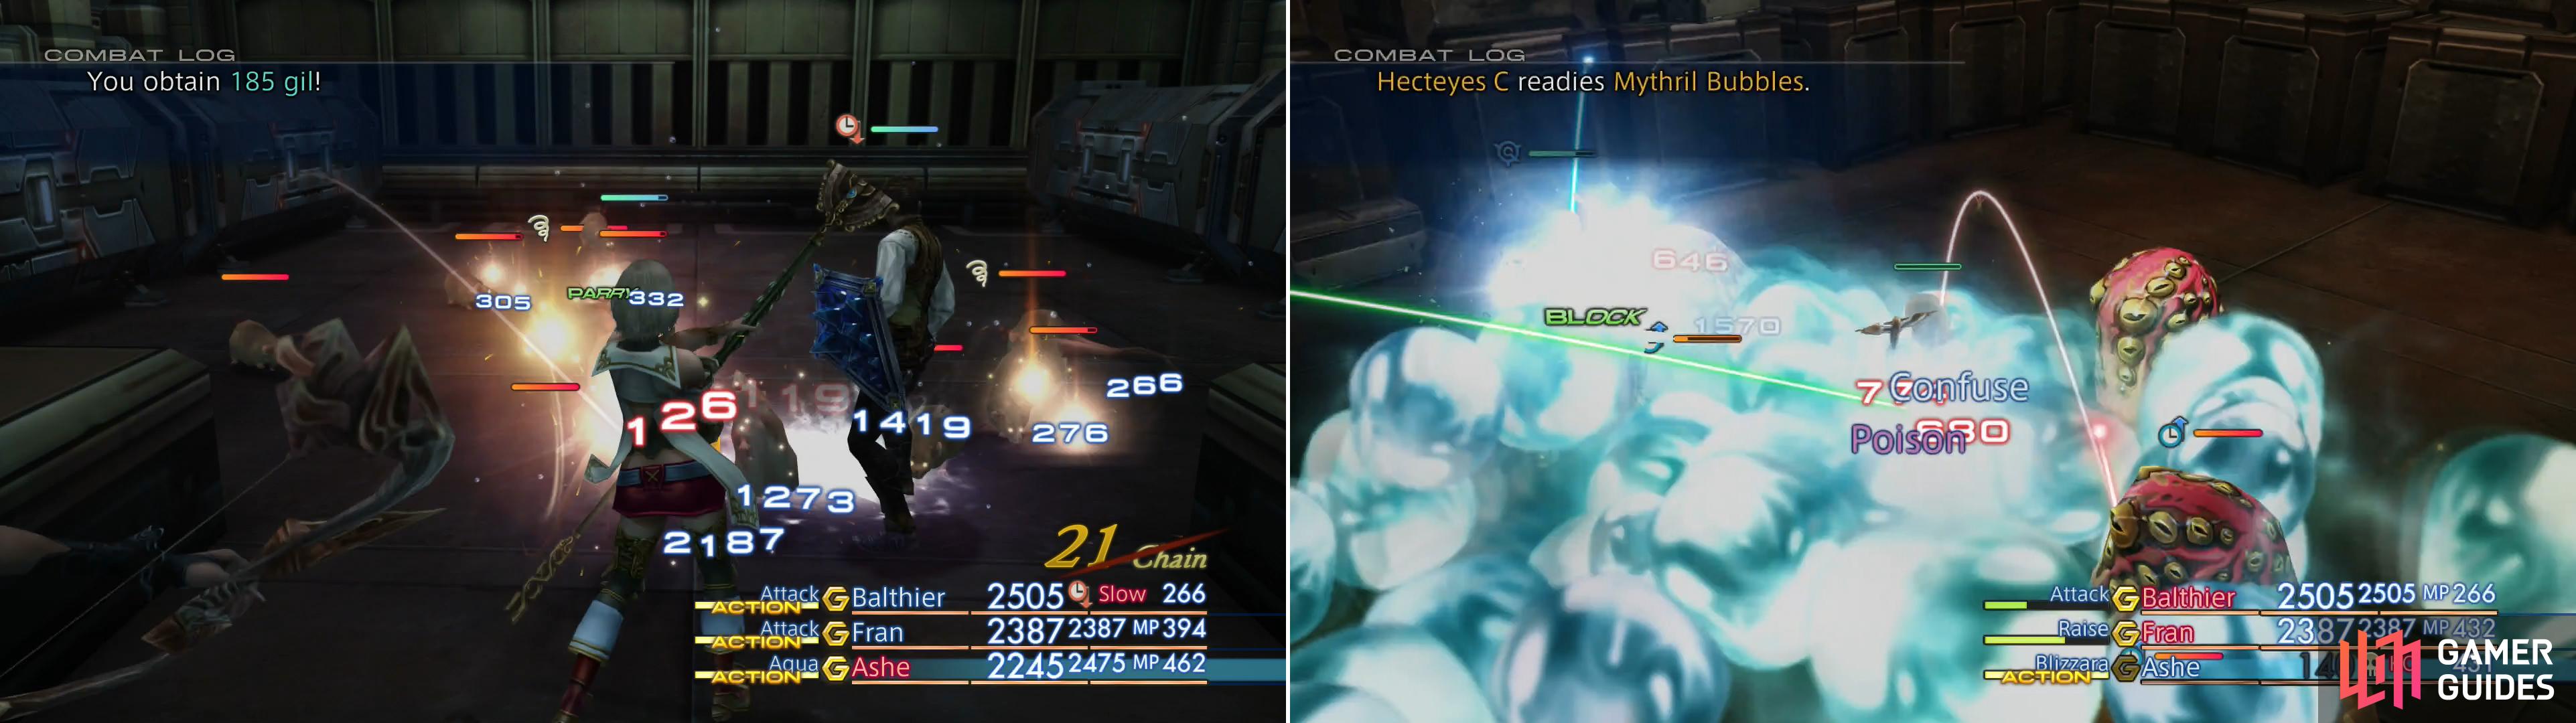
In one lab room you’ll find some Lab Rats (left) while another contains a more dangerous foe - the Hecteyes (right).
68th Floor
From the lift room head east down a short junction area and into a longer hallway running north/south. Turn north and enter Rm 6803 East, toggle a Bulkhead Controls console to turn it blue and open up the red doors, then return outside where you’ll be spoiled for choices. Start out by heading south through an open red door and into a hallway running east/west. Turn west, go through another open doorway to the south, then east and finally south down a long hallway running north/south. Enter Rm 6801 East to find a Bulkhead Controls console, which you should activate to open the blue doors outside. Leave the room and turn south through the newly-opened blue door, then turn east to find Rm 6811 East, inside of which you’ll find a new foe - the Hecteyes.
Hecteyes :
Nasty slime monsters with multiple eyes, these beasts are actually low-level specimens. Just because they’re not as strong as other Hecteyes, however, doesn’t mean they’re push-overs, as they possess all the attacks and augments of the higher-level foes, including Bleed (inflicts Sap), Flash, Mythril Bubbles (cone area of effect, can inflict Confuse and Poison), Phantasmal Gaze (inflicts Confuse), Pox (inflicts Disease) and Thundaga. That’s a lot of ways to inflict Confuse, which is deadly on its own, not to mention the potent Thundaga spell.
The Hecteyes drops Yellow Liquid, Silver Liquid, Slime Oil or a Sagittarius Gem, they can drop a Chronos Tear, 200 Gil or an X-Potion, while they can be Poached for Silver Liquid and Unpurified Ether. They are weak to Ice and absorb Lightning.
Leave the Hecteyes chamber and return west, then north to Rm 6801 East and toggle the bulkheads again, then continue north, east, then north through another doorway. From here turn west, then north through an open red doorway and run up the long hallway to the north, past Rm 6803 East until you reach a fork. At this fork continue through a doorway to the north then turn east to find Rm 6814 East. Inside this room you’ll find a host of Lab Rat enemies.
Lab Rat:
Basically just stronger Dire Rats by a different name, like Dire Rats they sometimes start out with the Confuse status on themselves and are weak to Water. Their drops are oh-so-slightly different, consisting of a Rat Pelt, Fire Stone, Antidote and a Rat Tail, you can steal a Rat Pelt, 1 Gil, or a Libra Gem, and they can be Poached for a Rat Pelt or a Rat Tail.
Leave the room and when you’re back in the hallway, return west, then south south through the doorway before turning west again down the hallway you previously ignored. Continue going west until you’re forced to turn south but look out for a door to Rm 6804 West to the east, where you can find another Bulkhead Controls console. You need not fiddle with it just yet, instead continue south through a doorway, turn west, then look for a door to the north which leads to Rm 6813 West where you’ll find a Judge waiting for you.
Kill the high-ranking Imperial and exit and note that if you head east and north through the previous doorway and immediately turn east again you’ll reach the lift room, which you can use to ride back down to the 66th Floor. Since the bulkheads are currently set to blue, all the red doors that blocked your way earlier will now be open, and if that appeals to you, continue on with the section “66th Floor - Continued”, otherwise skip down to “68th Floor - Continued”.
Talk to a Junior Researcher to learn about some monsters the Imperials were examining (left) which may refer to the Blood Gigas foes you find later on (right).
66th Floor - Continued
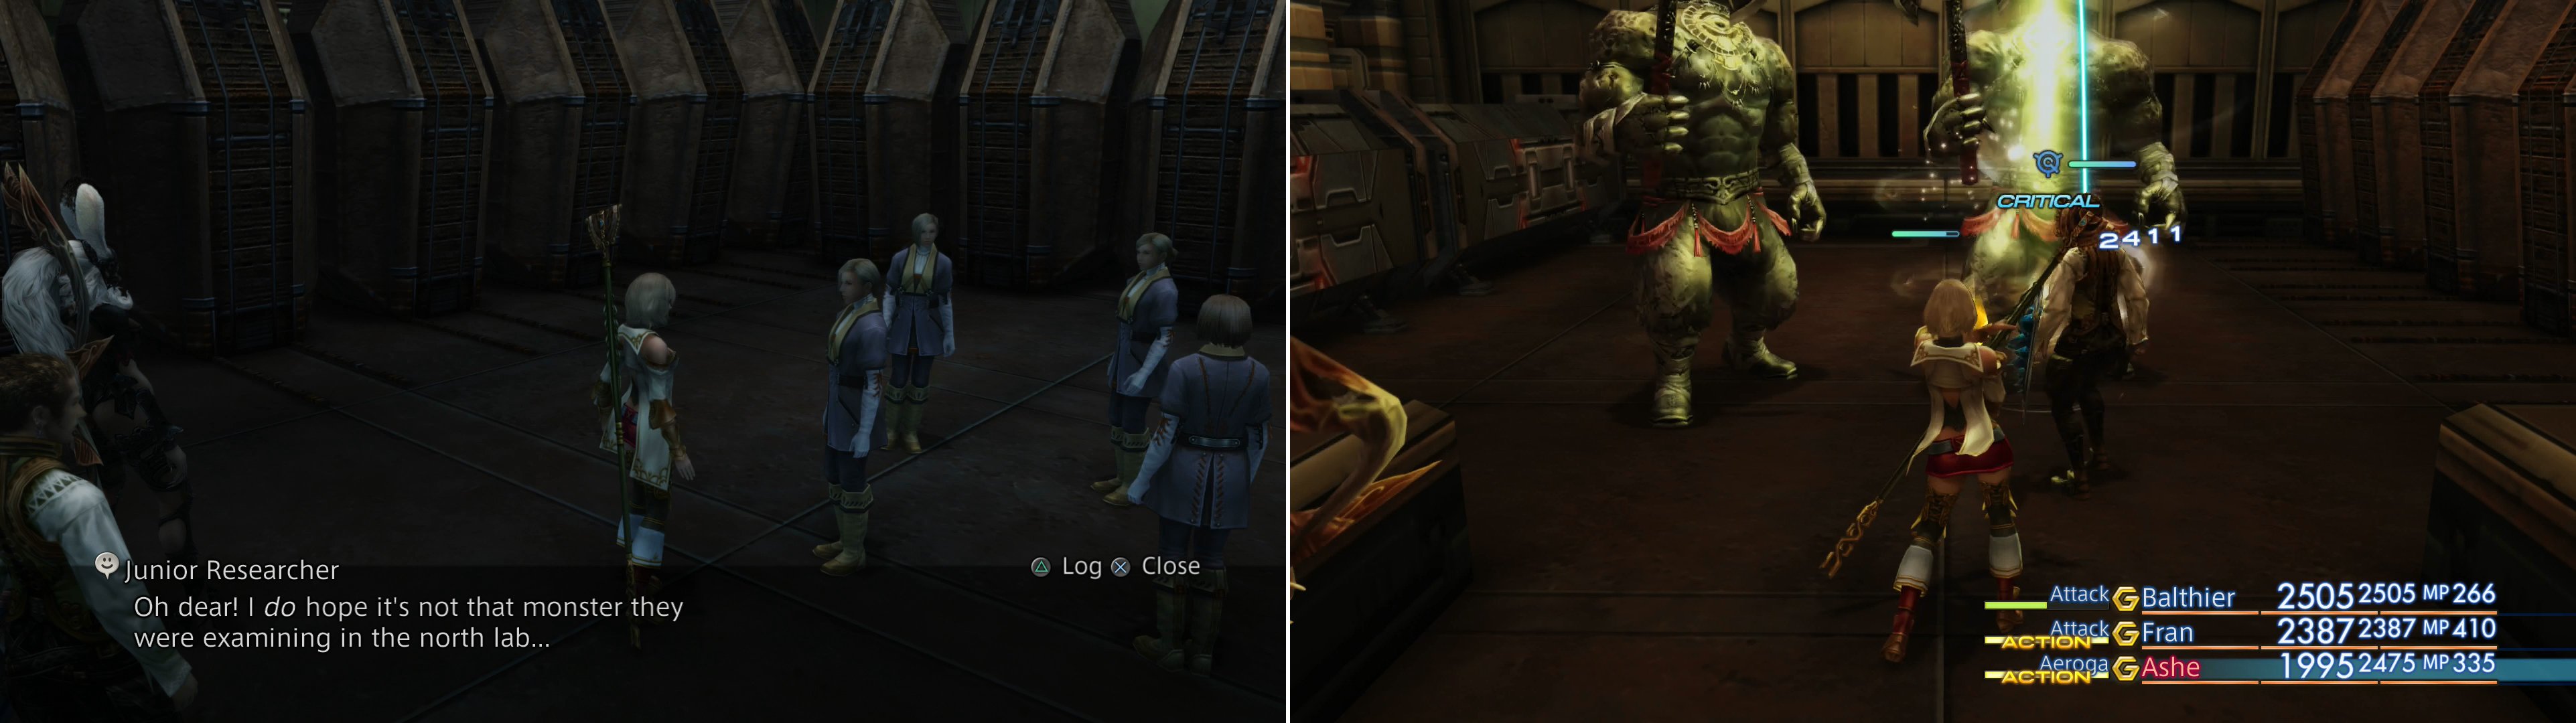
Ride back down to the 66th Floor and from the lift room head west through the previously sealed red door. When you reach the hallway beyond, turn south and search a note a room to the east (Rm 6601 West), inside which you’ll find another Bulkhead Controls console. Ignore it for now and continue south through a doorway and turn west to find a room to the north (Rm 6611 West), wherein a Researcher will worry about some monster kept in a lab to the north. Monster? Interesting…
Leave this room and return back north, again ignoring Rm 6601 West in favor of continuing north through an open red door at the end of the hallway. Once done turn west to find a room to the south, Rm 6612 West, which houses yet another Bulkhead Controls console. Use this console to close the red doors and open the blue, leave the room, then continue north through the blue door you just opened, opposite of which is Rm 6613 West. In this room you’ll encounter some Blood Gigas foes, your old friends from the Stilshrine of Miriam. They use the same attacks, but they’re much higher level, boasting over 8,000 HP. They have the same drops and you can steal the same loot, but their rare Poach is no longer a Viking Coat, but instead a Giant’s Helmet (Heavy Armor 9), which is a nice upgrade, but probably not worth going out of the way to get.
Return south to Rm 6612 West and flip the bulkheads again to turn the lights blue, opening the red doors and closing the blue ones, then return down the previous hallway to the south and enter the twice-neglected Rm 6601 West and use this Bulkhead Controls console to open the blue bulkheads back up. Leave the room again, turn south, then east and head in that direction to reach - and pass by - the area where you infiltrated Draklor Laboratories originally. In the southeastern rectangle of hallways you’ll find two rooms, Rm 6601 East to the north, and Rm 6611 East to the south, both of which contain a Bulkhead Controls console you can use. If you use the bulkhead controls in Rm 6611 East you can then circle around the eastern end of the area to return to Rm 6613 East, but unless you were just dying for motes, it’s hard to see why you’d bother… but hey, at least it’s all been mapped out, right?
Return back west, make sure the Bulkhead Controls console in Rm 6601 West is set to have the red doors open, and from there return north and east to the lift room and return to the 68th Floor.
68th Floor - Continued
From the lift room head down a hallway to the west to reach a longer hallway running north/south. Your goal is through a blue door to the south, but first head north to find Rm 6804 West and activate the Bulkhead Controls console to open the aforementioned blue door and others of its ilk. Leave the room and continue south through the now-open blue door, then turn west. Go through two doors to the south, then turn east to find Rm 6811 West, where you’ll find another Bulkhead Controls console. Use it to open the red door, then turn east and north, passing through the red door you just opened and continue north past Rm 6801 West until you find two more opened red doors to the east. Pass through them both to reach another lift room south of the one you used to reach this level. Access the South Lift Terminal, which you can use to reach the 70th Floor.
Upon reaching the 70th Floor, the party will recieve a rude reception, indeed (left). After the misunderstanding, search the area for a chest containing the Gil Toss technick (right).
70th Floor
When you arrive, Basch will be assaulted by a man with… unfortunate taste in leg attire. The encounter is brief, however, as a taunt from upstairs lures the man away. While you let them resolve their dispute, use the nearby Save Crystal to freshen up, then head through a doorway to the east, turn south, then enter Rm 7002 East. Inside of this small room you’ll find a single chest, which always contains the Gil Toss technick. Once that’s yours, there’s nothing left to do but return to the Save Crystal and ascend the stairs to the north.
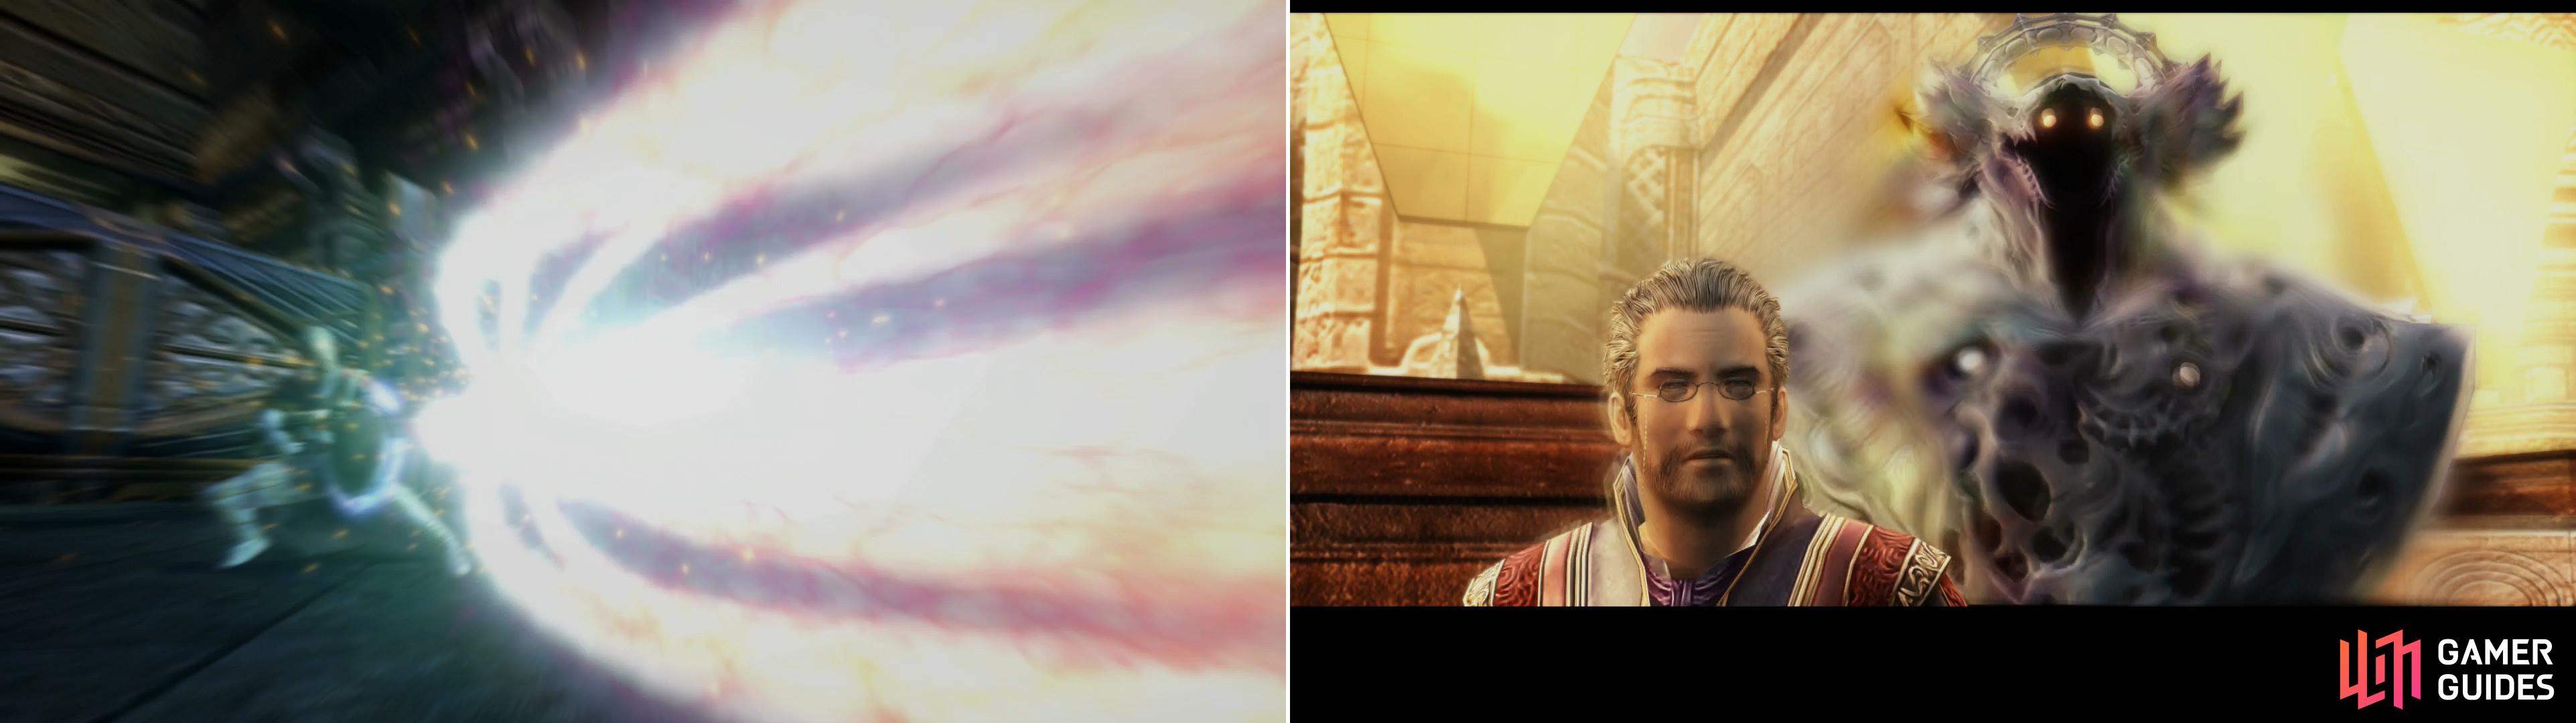
When you arrive in the next area (Energy Transitarium) you’ll find the man who attacked Basch confronting Doctor Cid, and Balthier is only too quick to provoke his father, too. After Doctor Cid apparently talks to himself for a bit and ogles Ashe, he’ll decide to test the Nethicite-hungry princess out, and with his inventions - including manufactured Nethicite - handy, he’s not the pushover you’d expect an egghead to be…
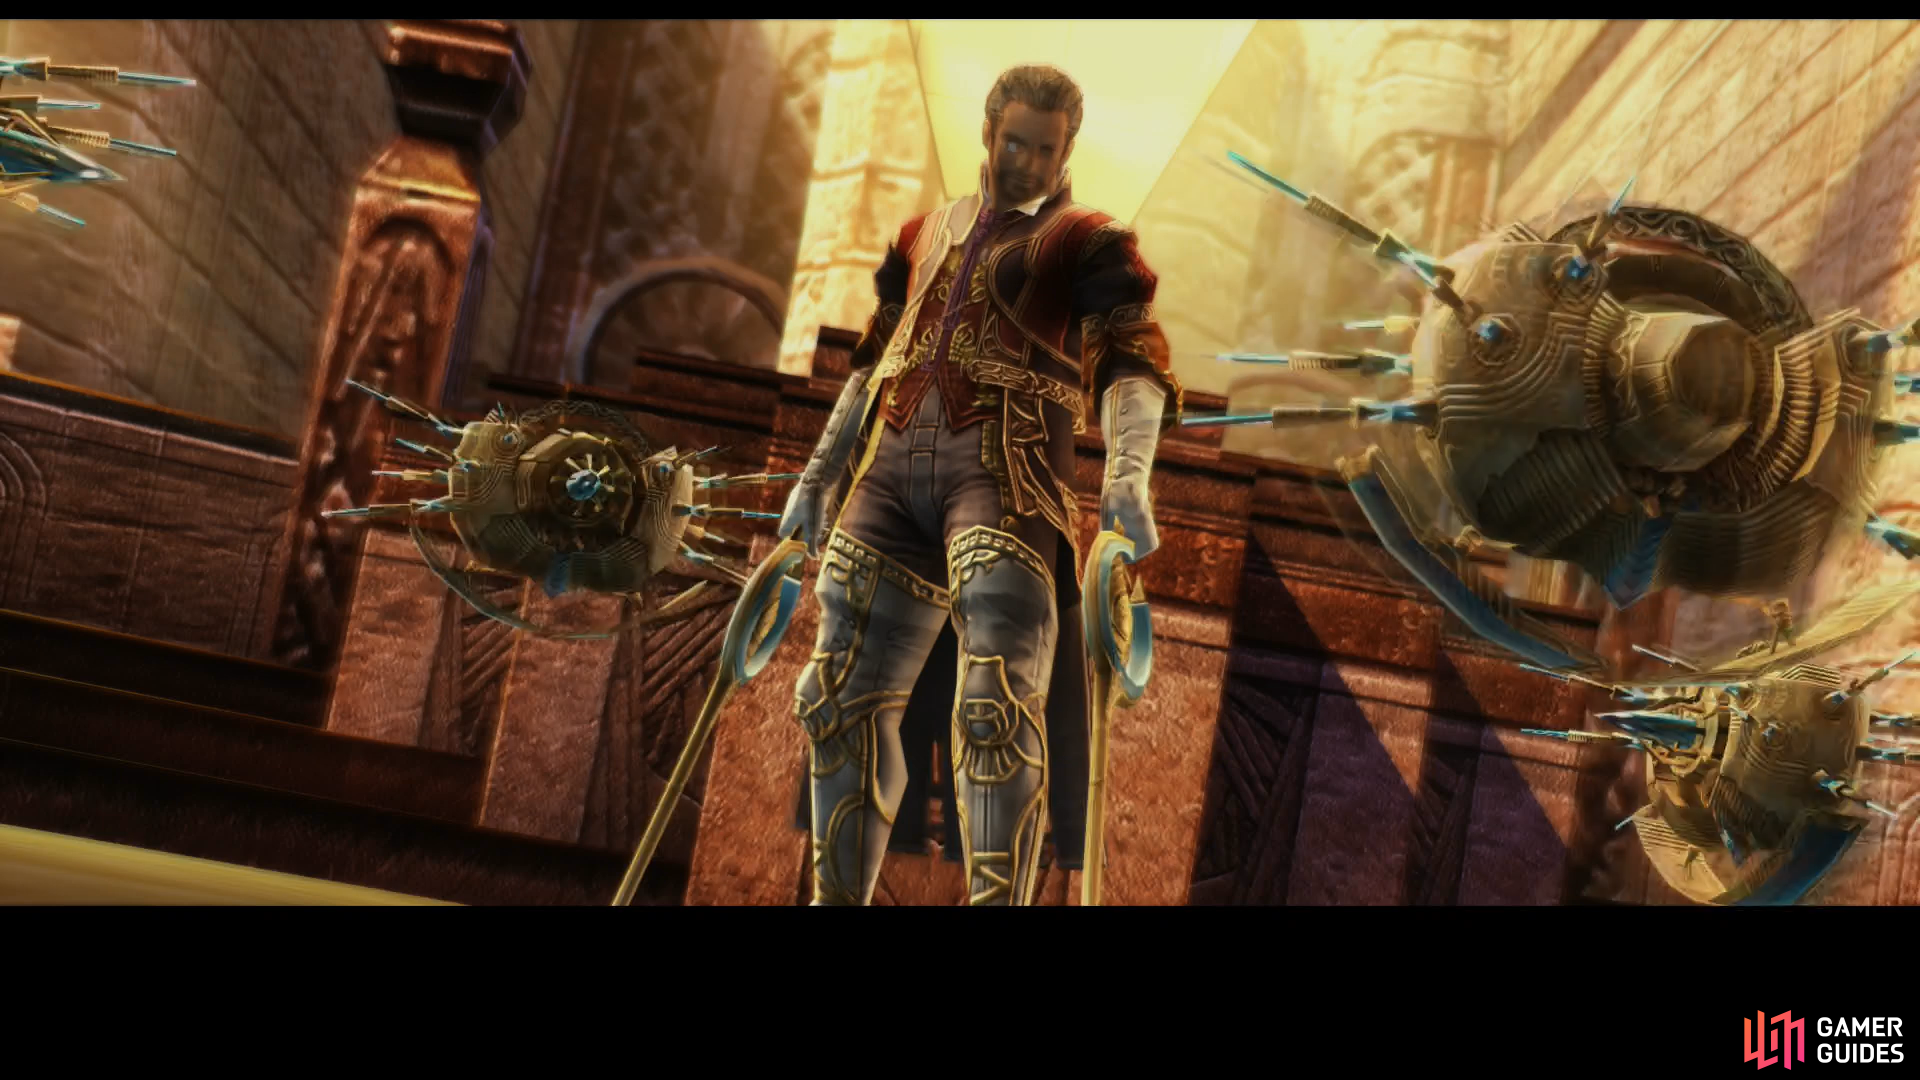
Boss - Doctor Cid
| Doctor Cid | . |
|---|---|
| Level | 40 |
| Weaknesses | Holy |
| Resistances | Dark (Absorbs), Earth, Fire, Ice Lightning, Water, Wind (Halves) |
| Immunities | Blind, Confuse, Disable, Disease, Doom, Immobilize, Oil, Petrify, Poison, Reverse, Sap, Sleep, Slow, Stop |
| Safety | Yes |
| Drop | N/A |
| Steal | Knot of Rust (55%), Hi-Potion (10%), X-Potion (3%) |
| Rook | . |
|---|---|
| Level | 38 |
| Weaknesses | N/A |
| Resistances | Dark, Earth, Fire, Holy, Ice Lightning, Water, Wind (Halves) |
| Immunities | Blind, Confuse, Disable, Disease, Doom, Immobilize, Oil, Petrify, Poison, Reverse, Sap, Silence Sleep, Slow, Stop |
| Safety | Yes |
| Drop | N/A |
| Steal | Knot of Rust (55%), Potion (10%), Hi-Potion (3%) |
…not that he’s particularly challenging, either. His Attack Power is low, although he uses guns, bypassing your defense, which means he’ll likely be doing around 400~ damage per shot. With over 70,000 HP to back him up… well, you’ve faced stronger, honestly. His attacks are few, including only normal shots from his guns and a special S-27 Tokamak maneuver (area of effect attack) which he’ll use once he’s significantly pressed. He can also use Greater Barrier to reduce the damage he takes, or erect a Paling to become utterly immune for a time. He’s resistant to all elements save Dark (which he absorbs) and Holy (which he’s weak too). Curious that. He’s also immune to all status effects save Silence, but since his magick is scarce (relegated only to Silence and Haste), taking away his magicks isn’t a high priority.
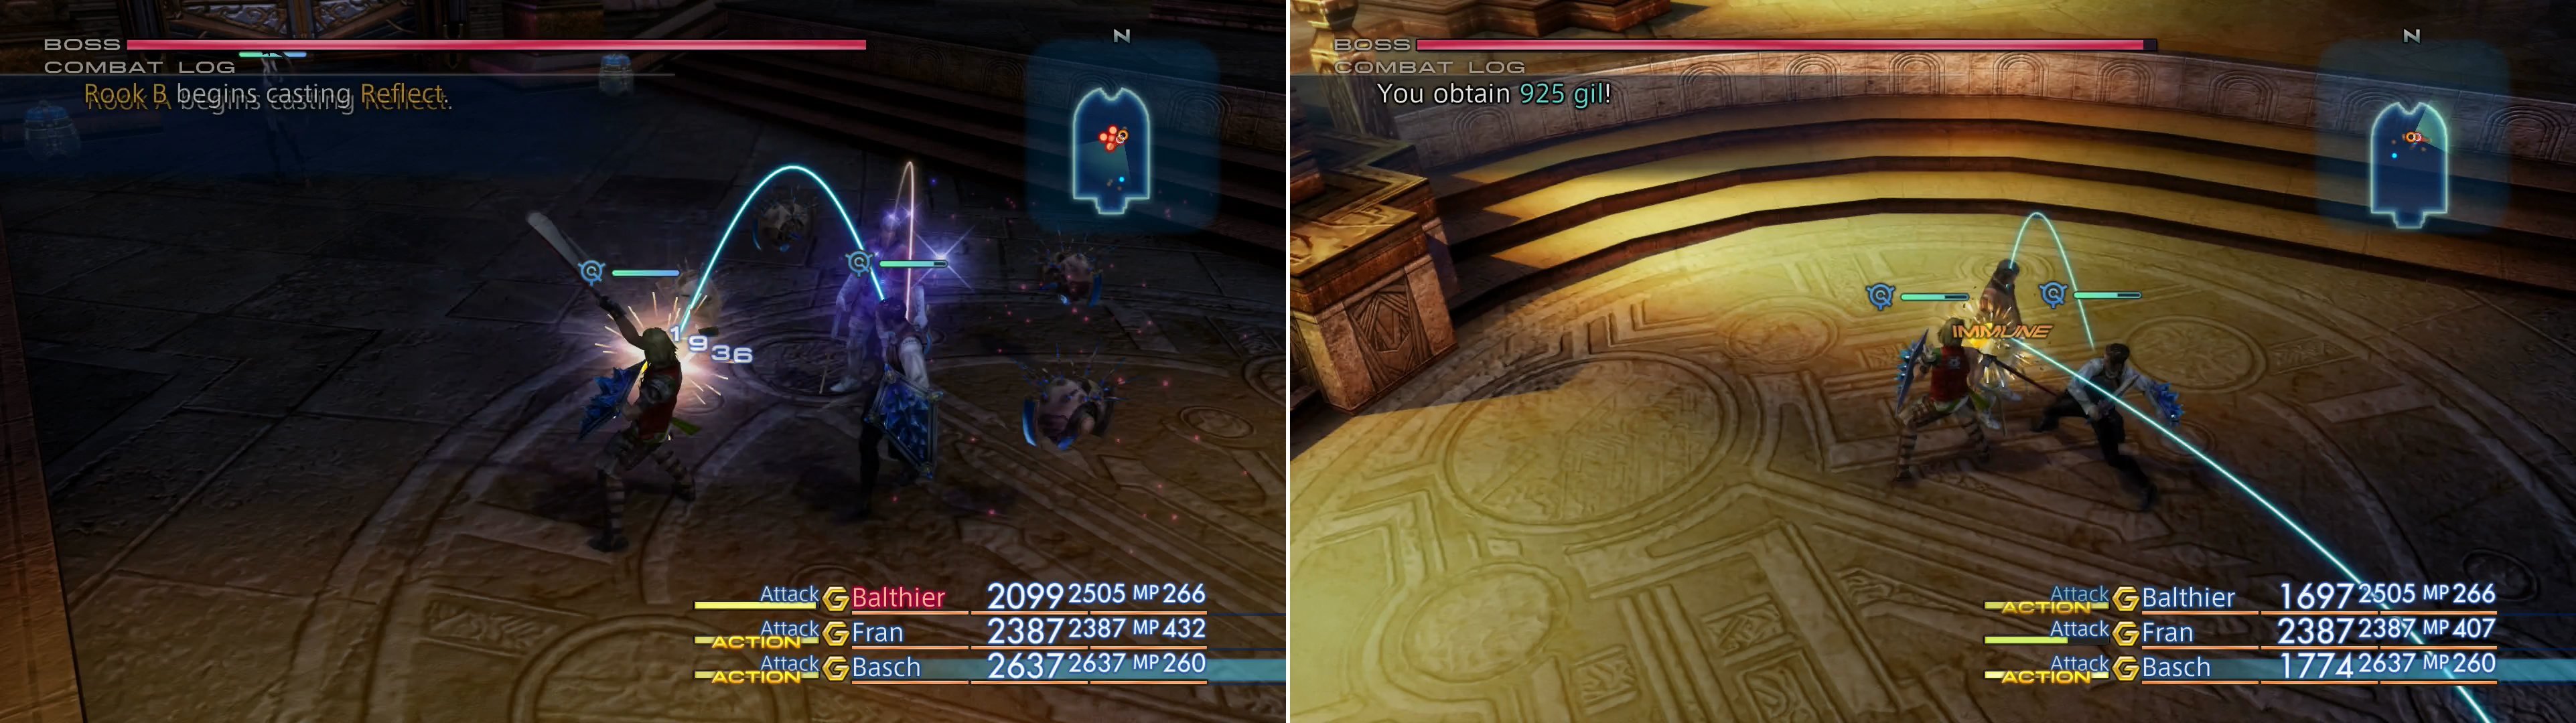
The Rooks will buff Doctor Cid, so focus on them first (left). In addition, Doctor Cid can erect a Paling to negate damge temporarily (right).
What makes this battle interesting are the four Rooks he’s surrounded with. These floating support bots will constantly aid Doctor Cid with magicks like Curaga, Protect, Regen, Shell, and they’ll also boost themselves with Reflect. Not that it matters much - they’re immune to all status effects and take half damage from all elements. They have about 10,000 HP each, and for all practical purposes you might as well consider Doctor Cid unassailable until they’re gone.
Given the enemy’s strengths and weaknesses, it should be clear that offensive magicks aren’t going to be of much use, so you can safely bench your Black Mage for this fight. Relying on physical attacks and coordinating your offense on the Rooks (the Gambit “Foe: lowest HP –> Attack” works well for this), taking them down one at a time is ideal. Any two powerful melee characters (Knight/Bushi, Shikari/Foebreaker) are ideal, along with a competent healer (White Mage or Red Battlemage) to keep them healthy. With this set-up you should be victorious in time, just eliminate the Rooks, then start whittling down Doctor Cid (after the Rooks are gone, be sure to hit him with Dispel to debuff him). Be wary when his HP reach around 50%, however, as he’ll start using his S-27 Tokamak technick.
When he’s wounded, he’ll start using S-27 Tokamak attack (left). After being nearly-defeated, he’ll reveal his trump card, then dare you to chase him to Giruvegan (right).
Once sufficiently weakened Doctor Cid will retreat, but not before revealing the being he was chatting with earlier, accusing Ashe of suffering from lusts he clearly shares, and ultimately daring you to follow him to Giruvegan. Afterwards, Lord shiny pink-pants Reddas will introduce himself, and you’ll be whisked to his domain, Balfonheim Port.


 Sign up
No Comments