


| Bestiary |
|---|
| Lindwyrm (Mark) |
| Items In This Area |
|---|
| Minerva Bustier • Rusted Scrap of Armor |
The next target is the Lindwyrm, so make your way to a Notice Board and pick up the contract for this Rank V Mark, the Petitioner for which can also be found in Archades. Return to the Alley of Muted Sighs area of Old Archades, where you’ll find Fermon on the north-central part of the zone, sitting on the ground as part of a circle of other, sitting Archadians. Talk to Fermon and he’ll tell you the story of the once bound wyrm, now broken free of its prison and poised to regain its ancient might and terrorize Ivalice… that is, unless some brave soul can head to the Tchita Uplands and dispatch the beast before it can become too powerful.
Accept the quest and head to the Tchita Uplands, but mind the weather. As old Fermon said, it’ll “only appear under cover of cloud”, so zone in and out of the Tchita Uplands until the weather is cloudy. The Tchita Uplands, in case you forgot, has three weather conditions - sunny, cloudy, and rainy. If you can see blue sky (albeit with a bit of cloud cover) it’s sunny, if almost the entire sky is covered in clouds, it’s cloudy, and rainy should be self-explanatory.
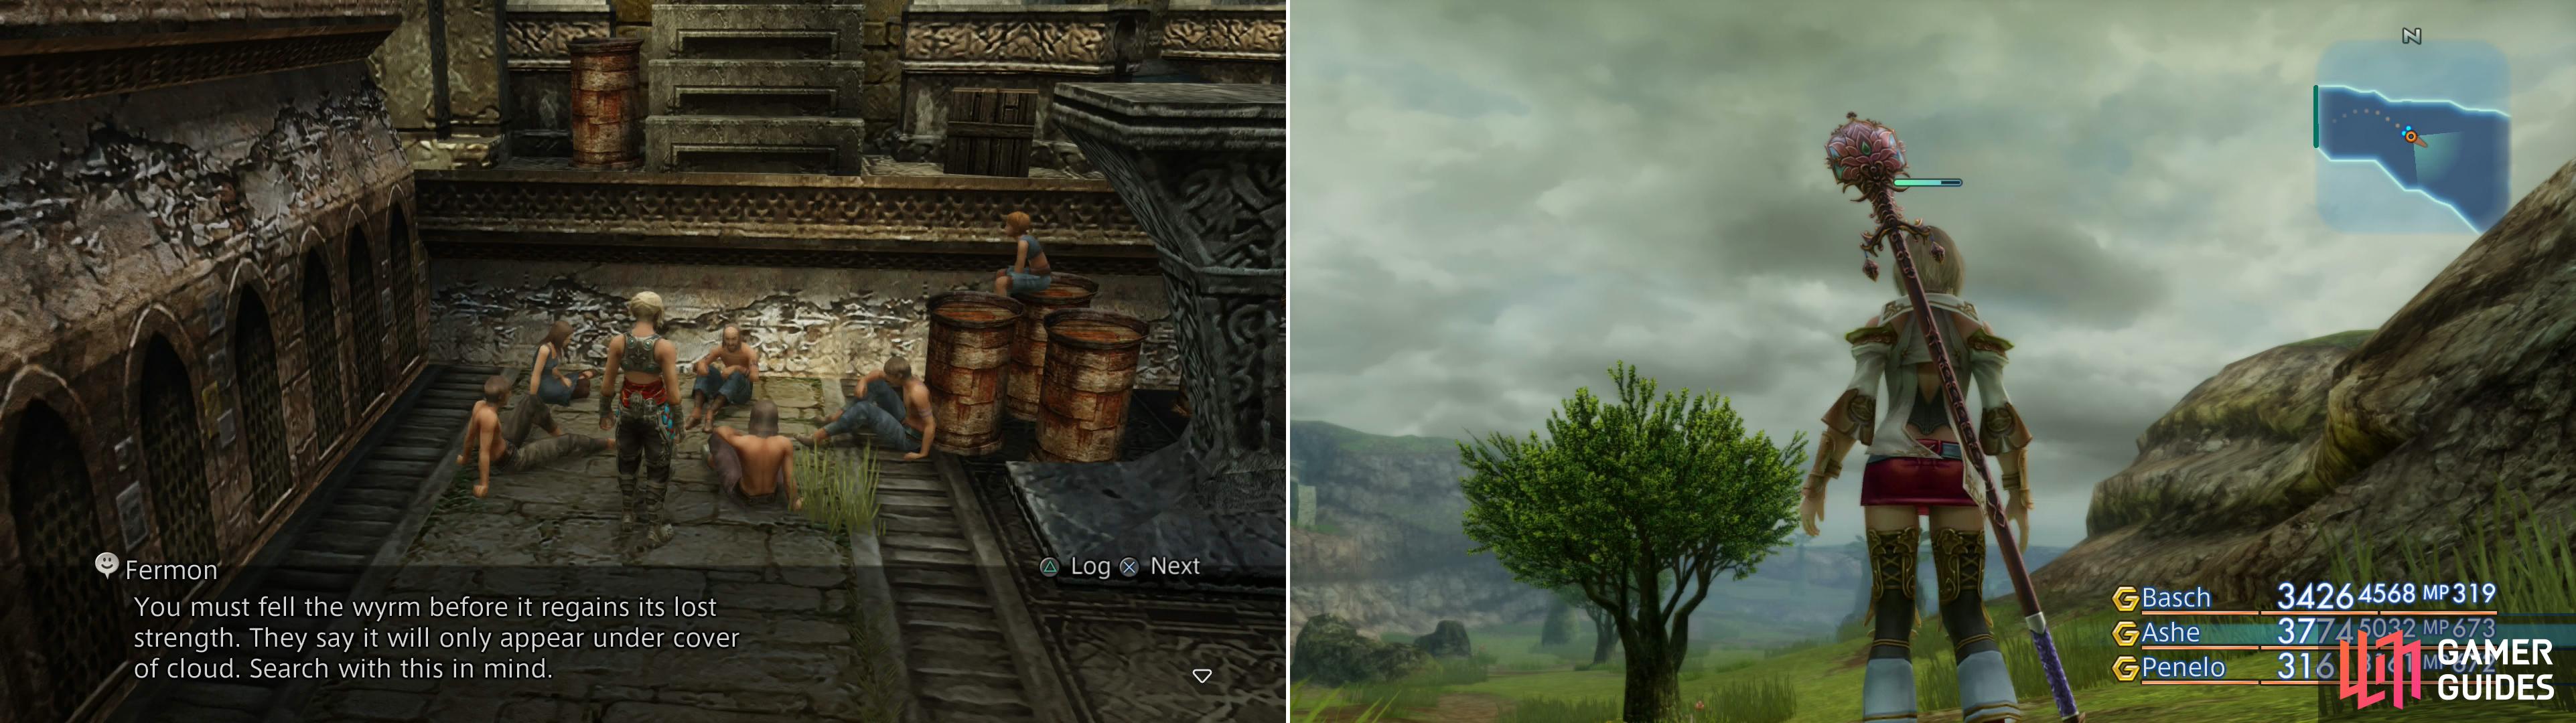
Talk to the petitioner - Fermon - to learn about the ancient threat now beginning to stir (left). Zone in and out of the Tchita Uplands until the weather is cloudy (right).
Old Legends, Decaying Bonds
Once the weather is right, your destination is the Garden of Circle’s Life. Fortunately along the way you’ll find the small area, The Nameless Spring, where you can find a Save Point. Make sure you’re in tip-top shape, then continue on to the Garden of Circle’s Life, where you’ll find the Lindwyrm east-of-center. Like with Darksteel, the normal denizens of this are have fled before so terrible a foe, leaving the two of you to match up without distraction.
| Lindwyrm | . |
|---|---|
| Level | 39 |
| Weaknesses | Wind |
| Resistances | Earth (Absorbs) |
| Immunities | Confuse, Disable, Disease, Doom, Immobilize, Oil, Petrify, Poison, Reverse, Sap, Stop |
| Safety | Yes |
| Drop | N/A |
| Steal | Pebble (55%), Ring Wyrm Scale (10%), Ring Wyrm Liver (3%) |
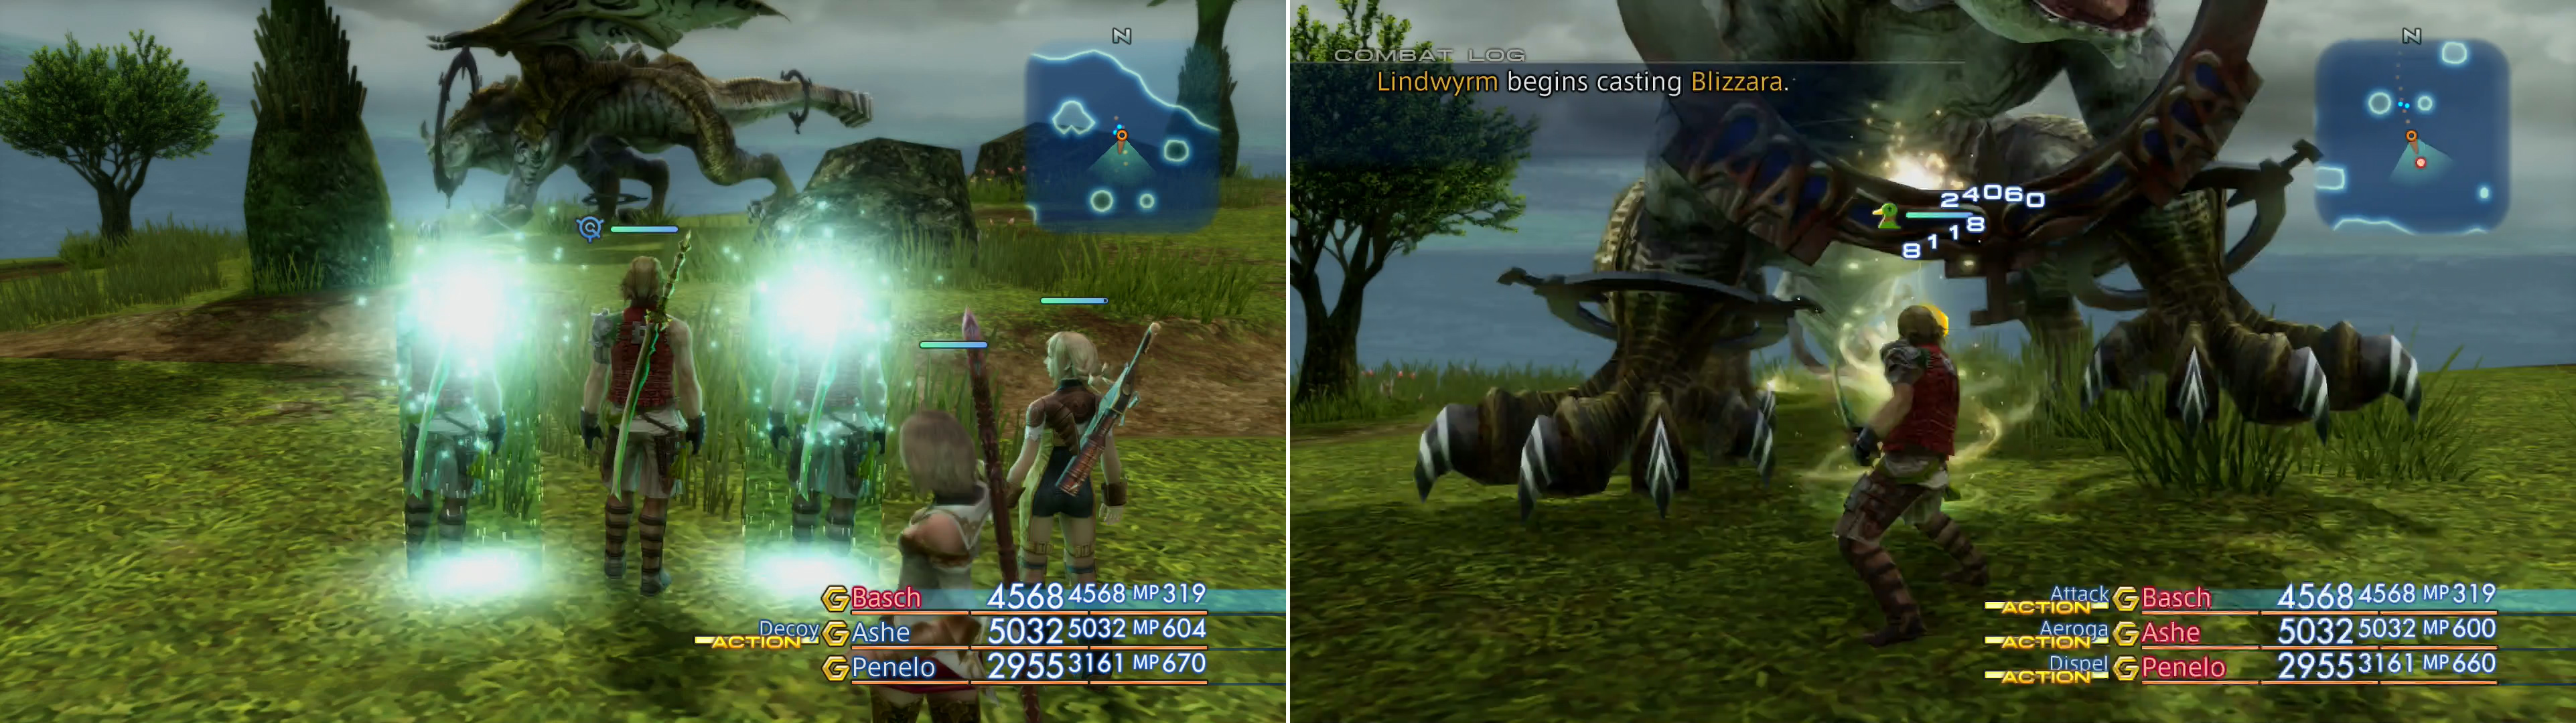
Cast Decoy on your tank (left) then engage Lindwyrm to draw its attention (right).
Whew. Ignore Lindwyrm’s level (39), as it doesn’t do the beast justice. Lindwyrm boasts nearly a quarter of a million HP, a high Attack Power, Magick Power and Vitality, making it potent on offense and resistant to physical attacks and status ailments. It can inflict Petrify with its physical attacks, and has a wide variety of magicks and technicks to use. Magicks include Bio, Blizzara, Fira, Fireball, Lv 2 Sleep, Lv 4 Break and Stone Breath. Many of them are familiar, and the sheer diversity of Lindwyrm’s offense means no resistance gear is likely going to sway the battle to such a degree as it did against Darksteel and Overlord. Furthermore, the new attacks (Lv 2 Sleep and Lv 4 Break) need to be discussed - the “Lv X” spells have been a long-running mainstay of the Final Fantasy series, and they affect characters of specific levels, namely levels divisible by 2 and by 4, in this case. Therefore, if a character’s level is odd they won’t be touched by this magick, but if it’s even (or divisible by 4, as the case may be), they will. You might want to adjust your levels accordingly before battle.
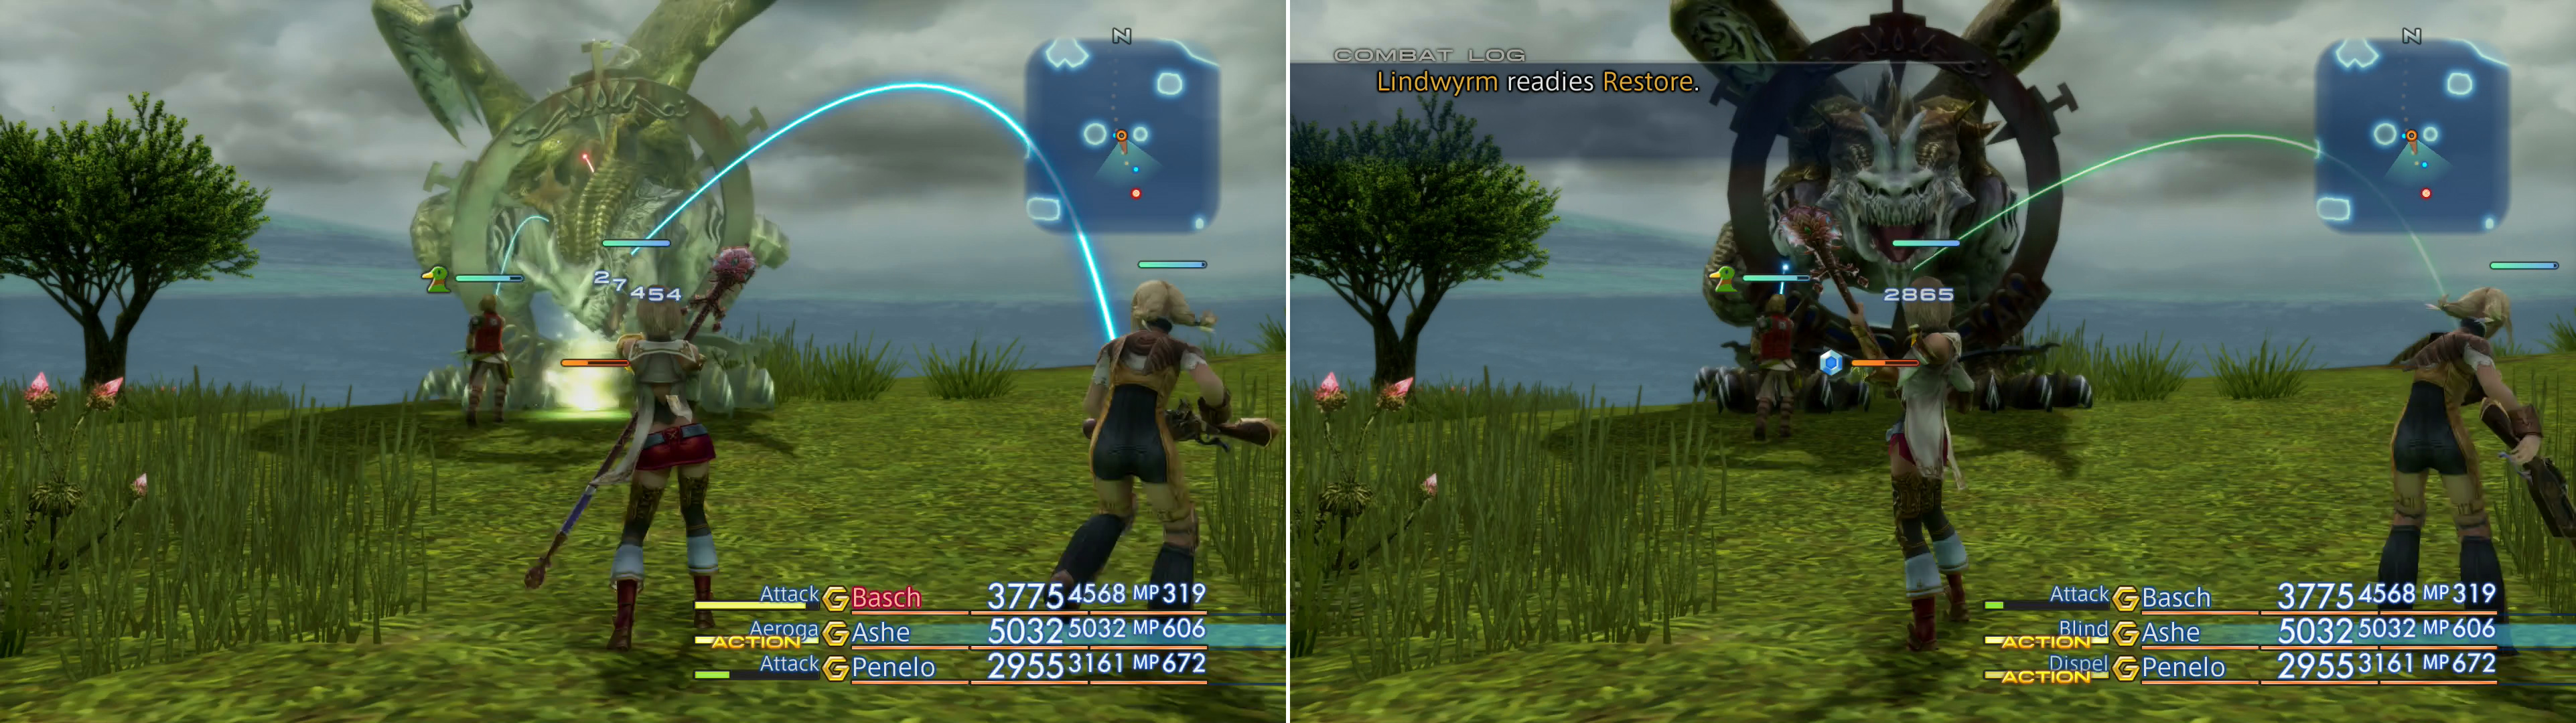
Aeroga can deal massive damage to Lindwyrm (left). Once it’s injured it may use Restore to rebuff and heal itself (right).
In addition the Lindwyrm has some choice defense technicks, including Restory and Greater Barrier. When sufficiently injured expect Lindwyrm to use Greater Barrier to resist damage, and Restore to heal itself, giving it a second wind, so to speak. Once it’s sufficiently weakened it’ll start ignoring your Evade rate, so you shouldn’t count on shields to mitigate damage.
Fortunately, Lindwyrm does have some weaknesses. It’s vulnerable to Wind, making several weapons attractive for this fight, namely the Ame-no-Murakumo (Bushi), Zephyr Pole (Monk), and Zwill Crossblade (Shikari), but above all, a potent Black Mage with Aeroga easily has the highest damage potential against Lindwyrm, especially if equipped with a Cloud Staff or Staff of the Magi. Unlike the previous two Marks, Lindwyrm isn’t resistant to other elements, either (save Earth, which is absorbs). It’s also weak to a variety of status effects, including Blind and Silence, which will mitigate its offense considerably. You can even inflict Sleep and go to work with Aeroga, just don’t expect Lindwyrm to slumber for long.
All in all, you may just want to forego Sleep and stick with a Bushi (armed with Ame-no-Murakumo), a Black Mage (spam Aeroga) and a White Mage (keep everybody healed). Start out the fight with Dispel to remove Lindwyrm’s buffs, then follow up with Blind, Silence and the aforementioned characters in the suggested roles, which should be sufficient to defeat Lindwyrm. Casting Decoy on your tank (Bushi) to distract the beast won’t hurt, and neither will Protect and Bubble.
When you smite the Lindwyrm, you’ll earn a “Rusted Scrap of Armor”, for what that’s worth. Return to the Tchita Uplands Gate Crystal and teleport to the Sochen Cave Palace (it’s faster to get back to Fermon from here than from the Archades Gate Crystal) and return to Old Fermon and tell him of your heroics, for which you’ll be properly rewarded. Fermon will comment on the scrap of armor you found, being the proof of the colossi that once kept the Lindwyrm in check, but… well, nothing comes of it. Oh well.
| Objective | Reward |
|---|---|
| For completing the hunt “Old Legends, Decaying Bonds” | 4,200G, Hi-Ether x1, Minerva Bustier x1 |

 Sign up
No Comments