


It’s important to note that the last bit of the story is now unlocked, which means you can head straight to the final boss. However, there is a bunch of extra content you can do, such as the Necrohol of Nabudis, the optional area of the Great Crystal and much more. The only problem with doing this is that the final boss might become a bit of a pushover, so if you want an actual challenge, it might be a good time to go and do that. The reasoning behind this is that entering the Bahamut is the point of no return, so you won’t be able to leave and the game doesn’t actually save anything once you go inside of it. You don’t gain or lose anything by going into the Bahamut and finishing the main story first.
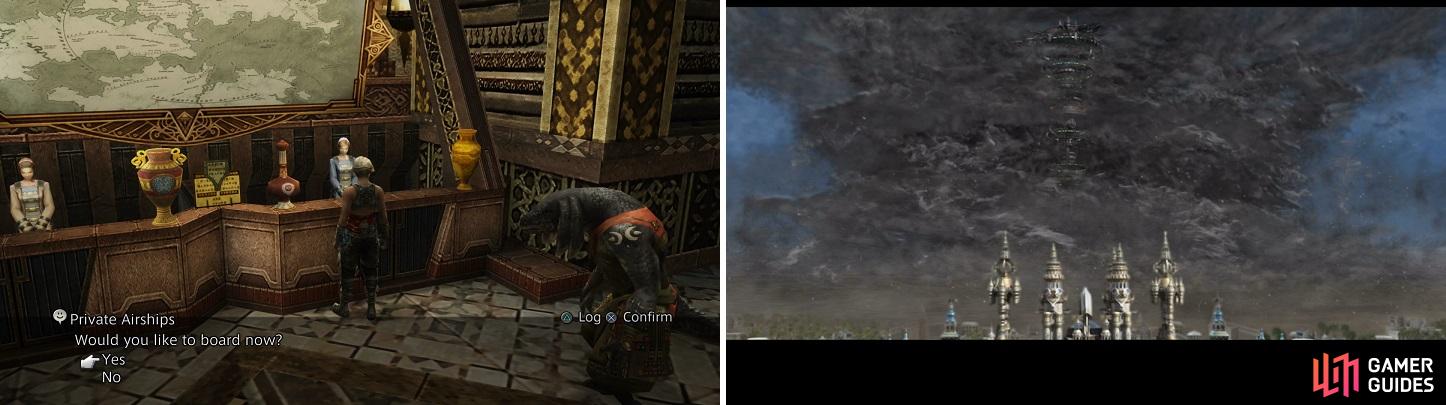
Use the private airship option at any aerodome to get to the final dungeon (left). The Bahamut is certain a very big ship (right).
To get to the Bahamut, you will need to get to any aerodome and speak to the receptionist for the private airship. This will let you choose any location for you to land the Strahl, and the Bahamut is one of these locations. The game will warn you that this is a point of no return, so choose yes when you’re ready. There will be a fairly lengthy cutscene here showcasing the battle between the Resistance and the Imperial forces. When you finally regain control, you will be inside of the Bahamut, in Antechamber - East.
Similar to your visit to the Great Crystal earlier in the game, your large map here in Sky Fortress Bahamut doesn’t actually show much of anything, but your mini-map does work. There are only four treasures in the Bahamut and they all spawn in the outer ring, in similar rooms to where you first appeared. In the very first room will be a Dark Matter and there will be two exits, one to the south and one to the north. The items aren’t really of any importance, so grab them at your own discretion. The enemies you will be fighting on the outer ring will simply be the Imperials you’ve fought thus far in the game. Unless you’re hurting for more consumables, that’s all you’ll get from them.
Follow the pathway to the north or south, ignoring the paths that head inward, collecting the loot in the smaller rooms. The northern room has an Elixir, the western a Hastega Mote and the southern a Bubble Mote. Note that if you have a Diamond Armlet equipped, you will either get an X-Potion or a Scathe Mote. When you’re ready, you can move into the inner ring, where the enemies you face will be tougher, with some of them being new. You will be fighting the normal Judges again, but it’s the Rooks that are the problem. Sphere-Rooks are round and use protective magicks (Haste, Reflect, Protect and Shell), Helm-Rooks look like large helmets and use Black Magicks (Fira, Firaga and the like) and Spinner-Rooks are the other things and use status ailments on the party - all of the Rooks take 50% damage from all elements. It’s best to just go straight to the exit in the middle of the catwalk, which will bring you to the central lift. Go over to the console and interact with the controls to see a familiar face…
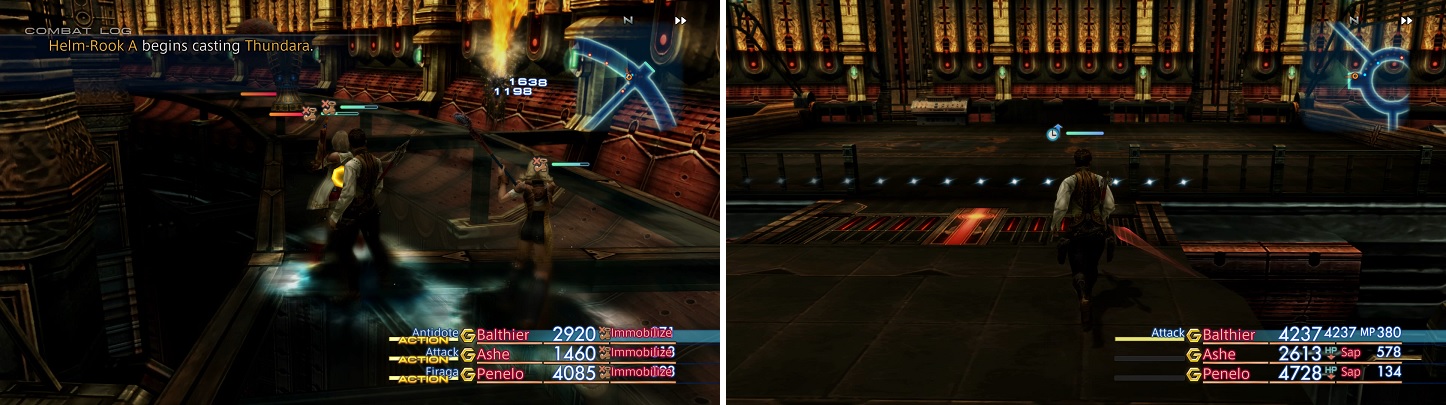
The enemies on the inner ring will endlessly respawn (left), so it’s easiest to just head straight to the next area (right).
Boss - Gabranth II
The rematch against Gabranth is not too different than the previous battle, as he retains the majority of the same moves from that fight. You will see him use Kick, Lunge, Circle of Judgement, Guilt and Sentence during the first half of the battle. Once he reaches 50% HP, there will be a scene (special one if Basch is in your active party), then he will use Renew to restore all of his health. Gabranth will start to use a new skill after the short cutscene, call Innocence. This move can hit multiple characters for some pretty good damage, so be prepared to heal in case.
As his health starts to dip lower and lower, he will trigger Enrage, making his attacks come out much quicker. This added with an improved ability to make long combos means that Gabranth will start piling on the damage, possibly KOing a character or two. Bubble and Decoy on your most defensive character will go a long way in this battle, as Gabranth will concentrate on that character with double HP. Luckily, you don’t have to worry about restricting your elemental usage, since Gabranth is susceptible to all of them, so a Black Mage will do good here
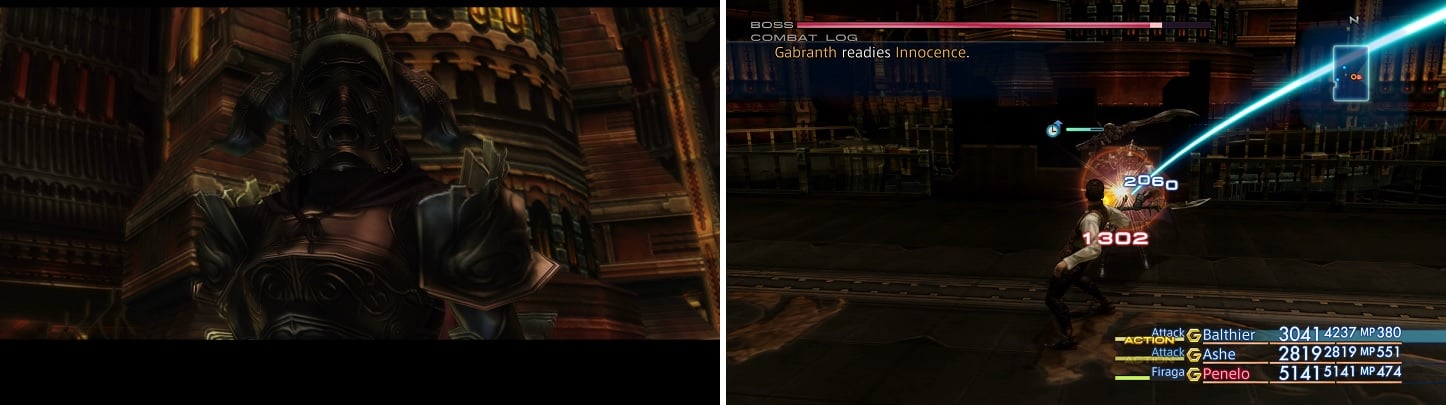
Look who it is again (left). The only new move he will do is called Innocence (right).
| Gabranth | . |
|---|---|
| Level | 49 |
| Weaknesses | None |
| Resistances | None |
| Immunities | Confuse, Disable, Disease, Doom, Immobilize, Oil, Petrify, Poison, Sap, Sleep, Stop |
| Safety | Yes |
| Drop | N/A |
| Steal | Hi- Potion (55%), X-Potion (10%), Elixir (3%) |
After the battle is over, you will witness another scene and you can finally access the console to start up the elevator. This will bring you to the main room, where you’ll find both Vayne and Larsa waiting for you. Vayne will get ready to do battle, but Larsa will oppose this and join your side, although he isn’t an official guest.
Boss - Vayne Solidor
For your first bout with Vayne, he can prove to be a little underwhelming, as all of his attacks are physical. With this in mind, Protect is a great buff to have on your tank, should you be using one in conjunction with Decoy to draw all of Vayne’s attacks. He will only use Lunge, Kick and Pummel until you get him to around 50% health. It is then that he’ll use Mach Wave, a very flashy skill that doesn’t really do too much damage. At 25% health, he will break out another unique move called Force of Will, which is another physical attack that only hits a single character. As already mentioned, Larsa will join you in the fight, but can be largely ignored.
| Vayne Solidor | . |
|---|---|
| Level | 50 |
| Weaknesses | None |
| Resistances | None |
| Immunities | Confuse, Disable, Disease, Doom, Immobilize, Oil, Petrify, Poison, Sleep, Slow, Stop |
| Safety | Yes |
| Drop | N/A |
| Steal | N/A |
Boss - Vayne Novus
The second form (yes, there is one more after this) involves Vayne hulking out with the help of some nethicite and he’ll have some extra help on his side, in the form of the swords flying around, which are called Sephira. Despite the cutscene suggesting a good number of them, there are only five of them present in the battle. You could try to target them, but they move very quickly and should be ignored for the most part, as you want to concentrate solely on Vayne Novus. Note that the Sephira only attack, but those normal attacks can inflict Immobilize, so it might be a good idea to equip Black Belts on your characters to avoid this.
Gabranth will join you in this battle, but much like Larsa in the first one, he doesn’t join as an official guest, so you can’t do anything but let him go. While the first form was more of a physical one, this one is more of a magickal form, with access to Aeroga, Blizzaga, Firaga, Aquaga and Thundaga. While these can be powerful, it is his unique skills that you need to be careful about, as they can put the hurt on your party. It’s not clear what Azura/Crimson Vortice does exactly, but these usually are used prior to the big attacks.
Contempt hits a single character for medium damage, Inviolable Will will hit the entire party for medium-high damage and Tree of Sephira - an attack he usually holds until he’s low on health, which can deal some big damage. As is the usual, begin with dispelling his buffs, then get to work on depleting his HP. When he gets to around 50% health, there will be a short scene and he’ll regain his buffs, so pay attention and dispel those again. He can erect a Magick Barrier, making him immune to magicks for a short period, so you’ll have to resort to physical attacks. Also towards the end, he will use Limit Break to make all of his attacks come out very quickly.
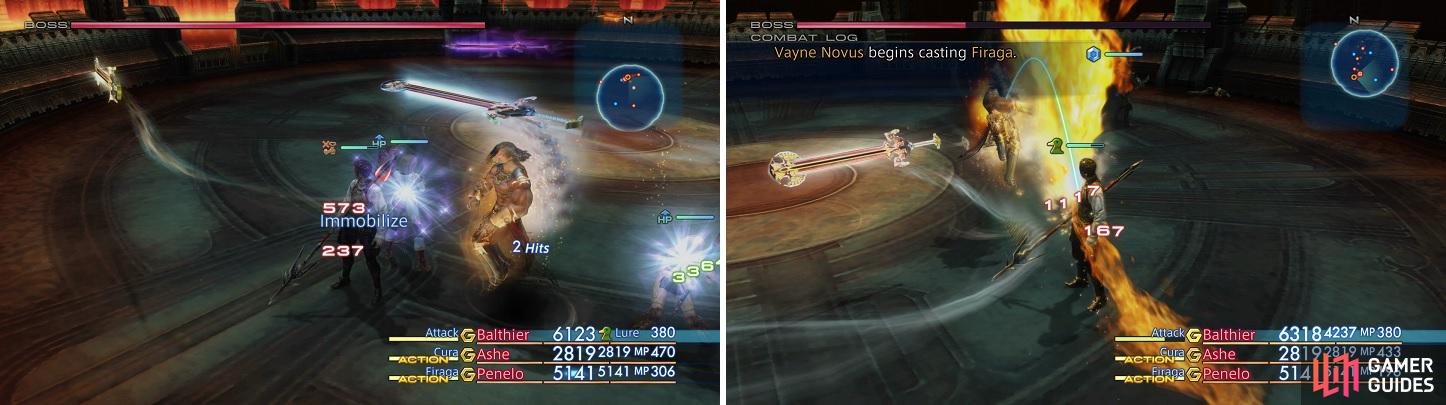
The Sephira are too fast to really bother with, so ignore them (left). Vayne Novus will use magicks during this phase (right).
| Vayne Novus | . |
|---|---|
| Level | 53 |
| Weaknesses | None |
| Resistances | Holy (Halves) |
| Immunities | Blind, Confuse, Disable, Disease, Doom, Immobilize, Oil, Petrify, Poison, Sap, Silence, Sleep, Stop |
| Safety | Yes |
| Drop | N/A |
| Steal | N/A |
Boss - The Undying
This is it, the true final boss of the game and the first thing you will notice is the absence of an actual life bar. Despite that, it can be easy to tell where The Undying’s health is situated by the palings he uses. He has around 228,000 HP and after losing 25% of his health, The Undying will toss up a magickal paling, then after 25% more, he will erect a physical one. When the boss only has 25% left, he will use Perfect Defense, which will make him immune to all damage for a full two minutes. You will need to adjust your battle strategy to accommodate for these palings.
As for attacks, The Undying has a lot of them. All of his magicks are piercing, so you won’t be able to reflect them at all. This includes Dispelga, Firaga, Blizzaga, Thundaga and Holy - while you can’t reflect them back, you can certainly equip items to negate some of the damage. You will also want to be on the lookout for buffs, as he starts out with Haste and can apply both Bravery and Faith, so be quick to Dispel them. Divine Sword targets a single character for medium damage and Megaflare can deal a good amount of damage to multiple characters.
Once the magick paling goes up, he will begin using Ascension, a flashy attack that deals medium-high damage to the entire party. When the physical paling is erected, he will begin using Gigaflare Sword, which doesn’t around the same damage as Ascension. The last special attack happens once he’s low on health and is called Teraflare, dishing out some very high damage, so be prepared for the worst with that one. Note that during the fight, he can use Chain Magick and Enrage to break out the attacks very quickly, meaning things can get hairy real quick.
One of the biggest problems with this battle is that The Undying moves around a lot on the outer ring of the arena, making it a bit annoying for melee attackers. Another problem lies in the fact that he can use Piercing Dispelga to remove all of your buffs, especially should you happen to cast them right in front of him. You might want to disable most of your buffs, other than maybe Protect and Shell to help with the damage output of The Undying. Get back to attacking after Perfect Defense drops and it shouldn’t take too much longer to finish him off for good. Don’t be cheap with your items here!
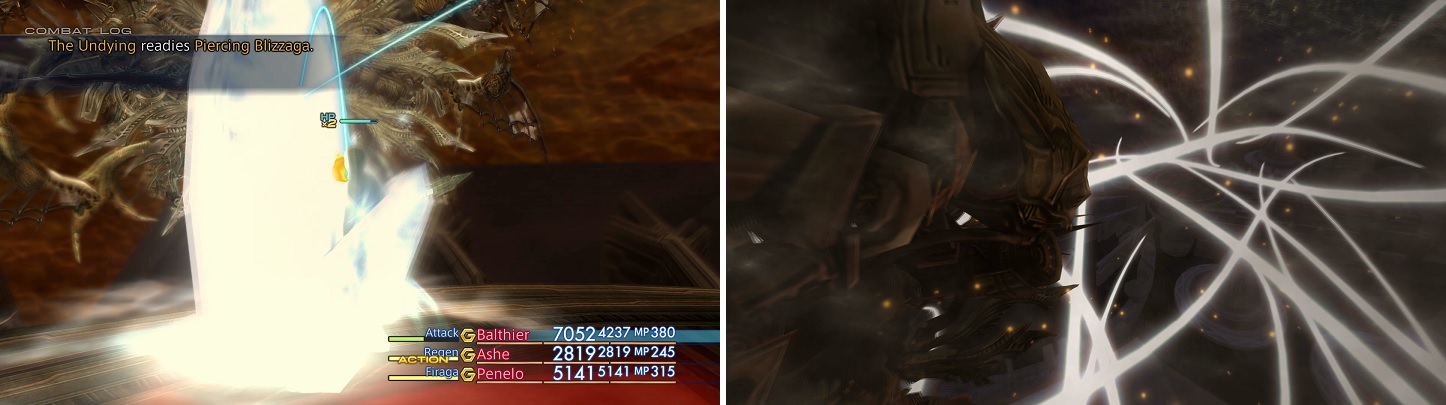
The Undying’s magicks will go through reflect (left). Teraflare will do some major damage to your party (right).
| The Undying | . |
|---|---|
| Level | 55 |
| Weaknesses | None |
| Resistances | None |
| Immunities | Confuse, Disable, Disease, Doom, Immobilize, Oil, Petrify, Poison, Sap, Sleep, Stop |
| Safety | Yes |
| Drop | N/A |
| Steal | Dark Matter (3%) |
With The Undying finally put to rest, a number of scenes will play out, depicting life after your little adventure has ended. You will see what happens to the party and their happenings one year later, which will bring you to the credits. After they are over, you will be given the option to start a New Game+. Sometimes called Strong Mode, choosing to start this will put all characters at level 90. Nothing carries over and this is your only opportunity to start a New Game+, so if you don’t pick it now, you will have to beat the final sets of bosses all over again to gain another chance. Choose no and when you load that save file, you will be right before the Bahamut, allowing you to continue exploring the world of Ivalice.


 Sign up
No Comments