

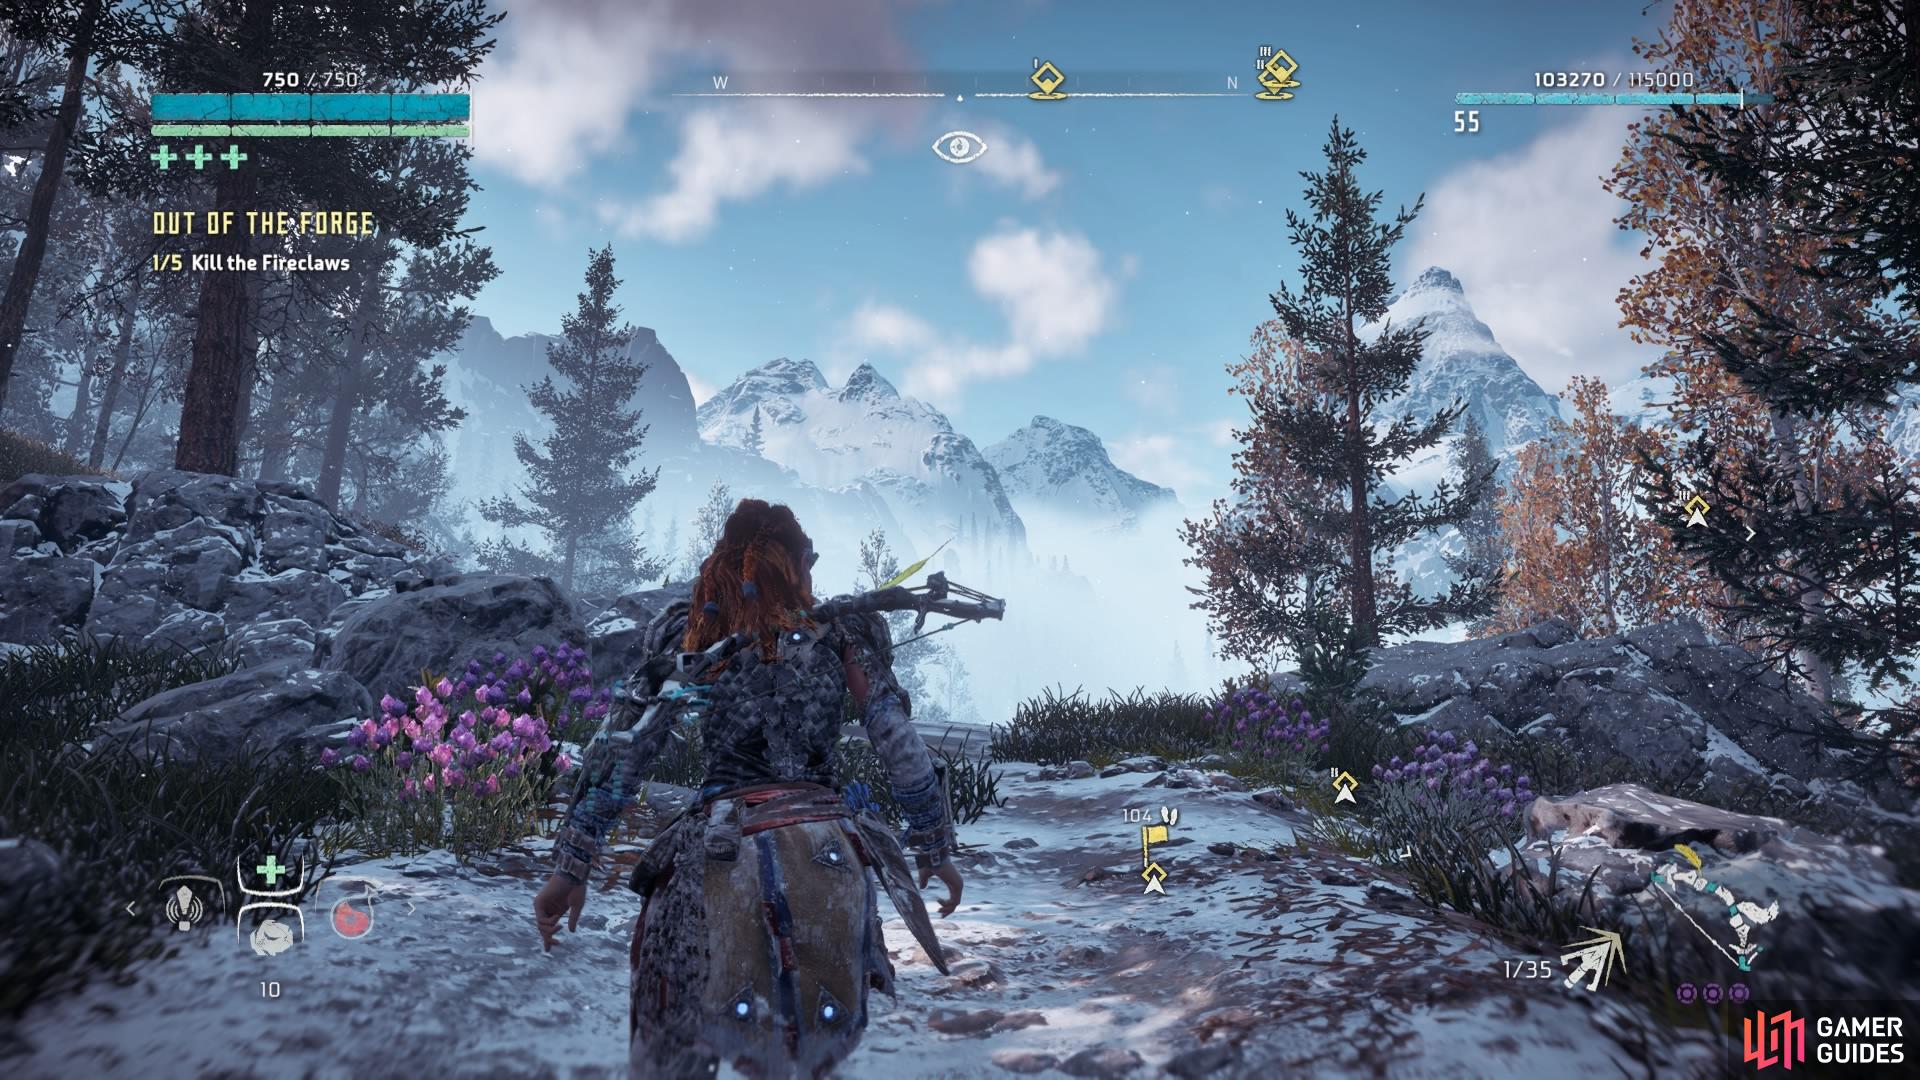
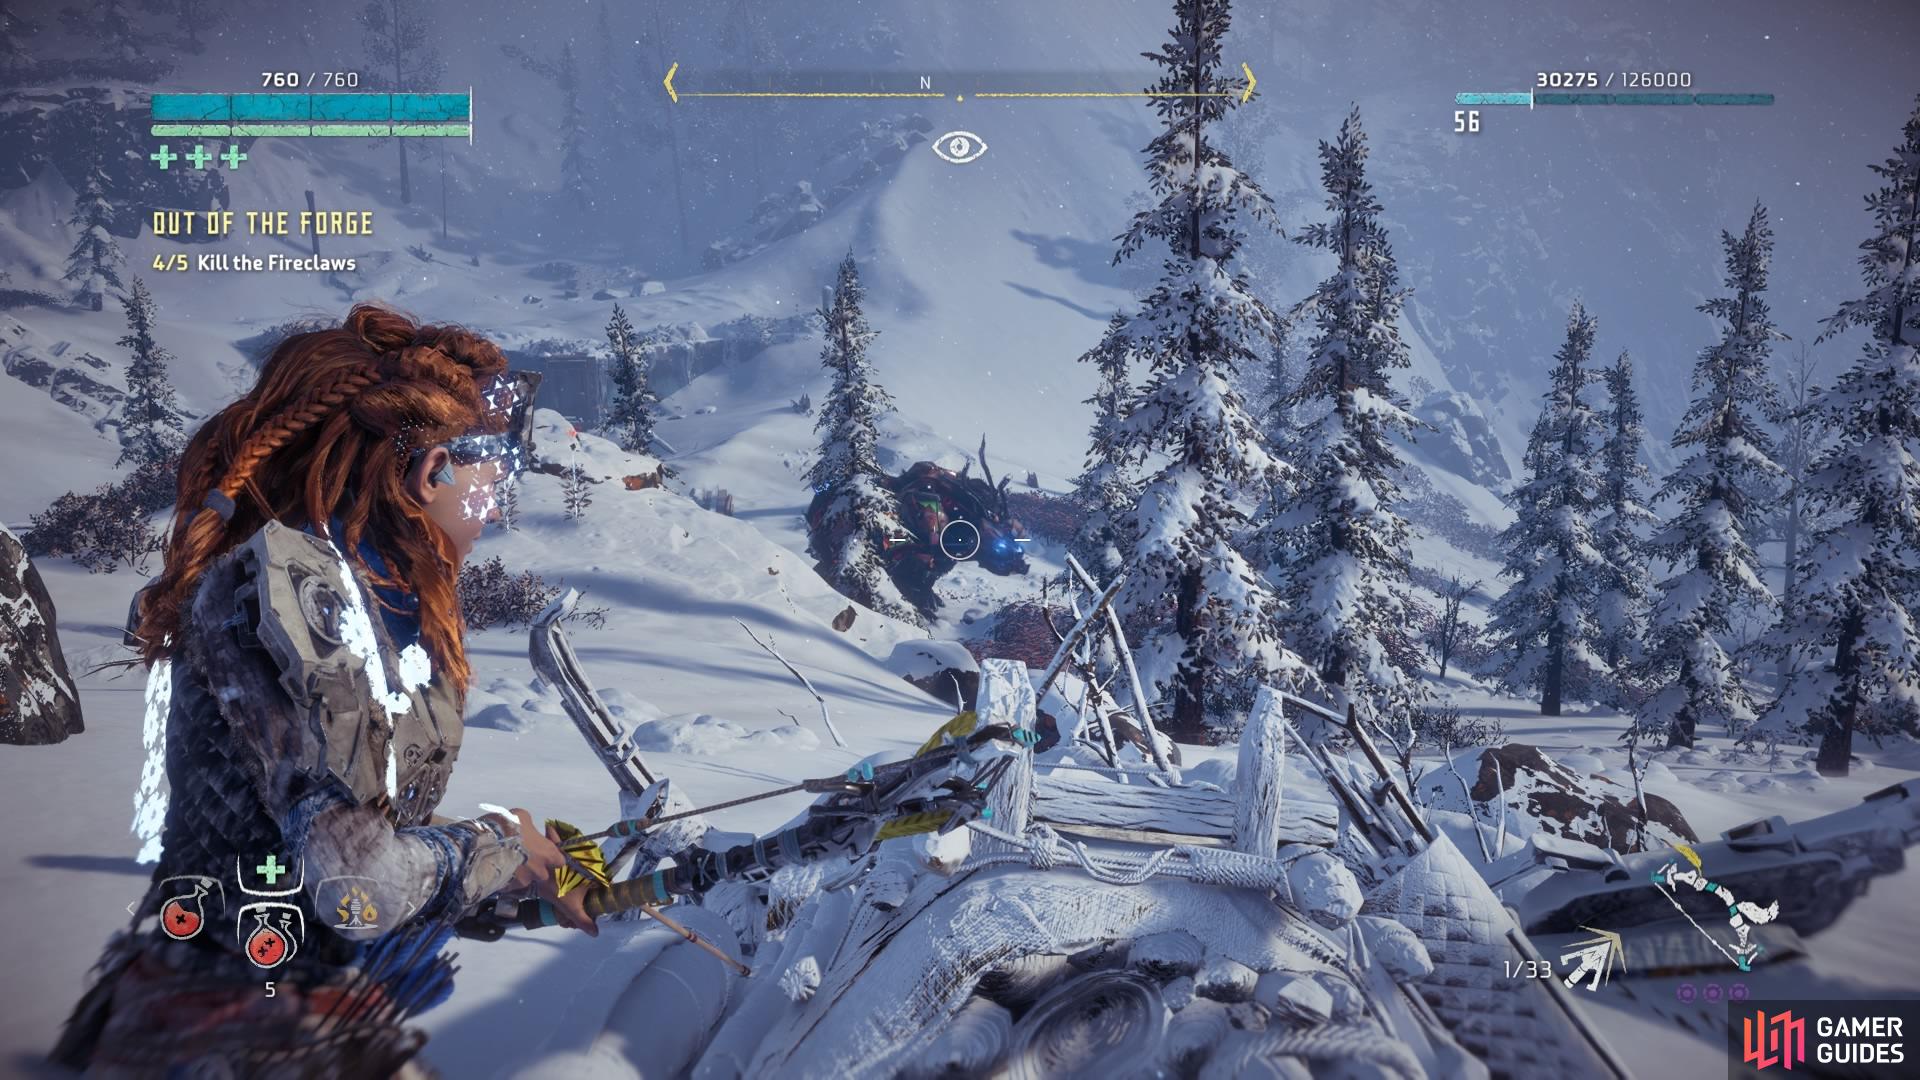
When you have completed The Forge of Winter, you’ll receive this errand to go on the hunt for the remaining Daemonic Fireclaw machines scattered around the Cut. There are only five, but as you’ll know from the Fireclaw you had to defeat in that last quest, they are no easy feat. There are certainly ways to make the fight easier – for example, if you’ve gone ahead and helped Varga in Longnotch to upgrade your Icerail weapon, that will come in real handy! If you don’t mind getting a little closer, that is.
All the waypoints will have appeared on the map next to the spotted Fireclaws but you can activate the errand from the quest menu to highlight them better. It’s up to you in which order you’d like to destroy them, but we chose to work our way up from the bottom of the Cut.
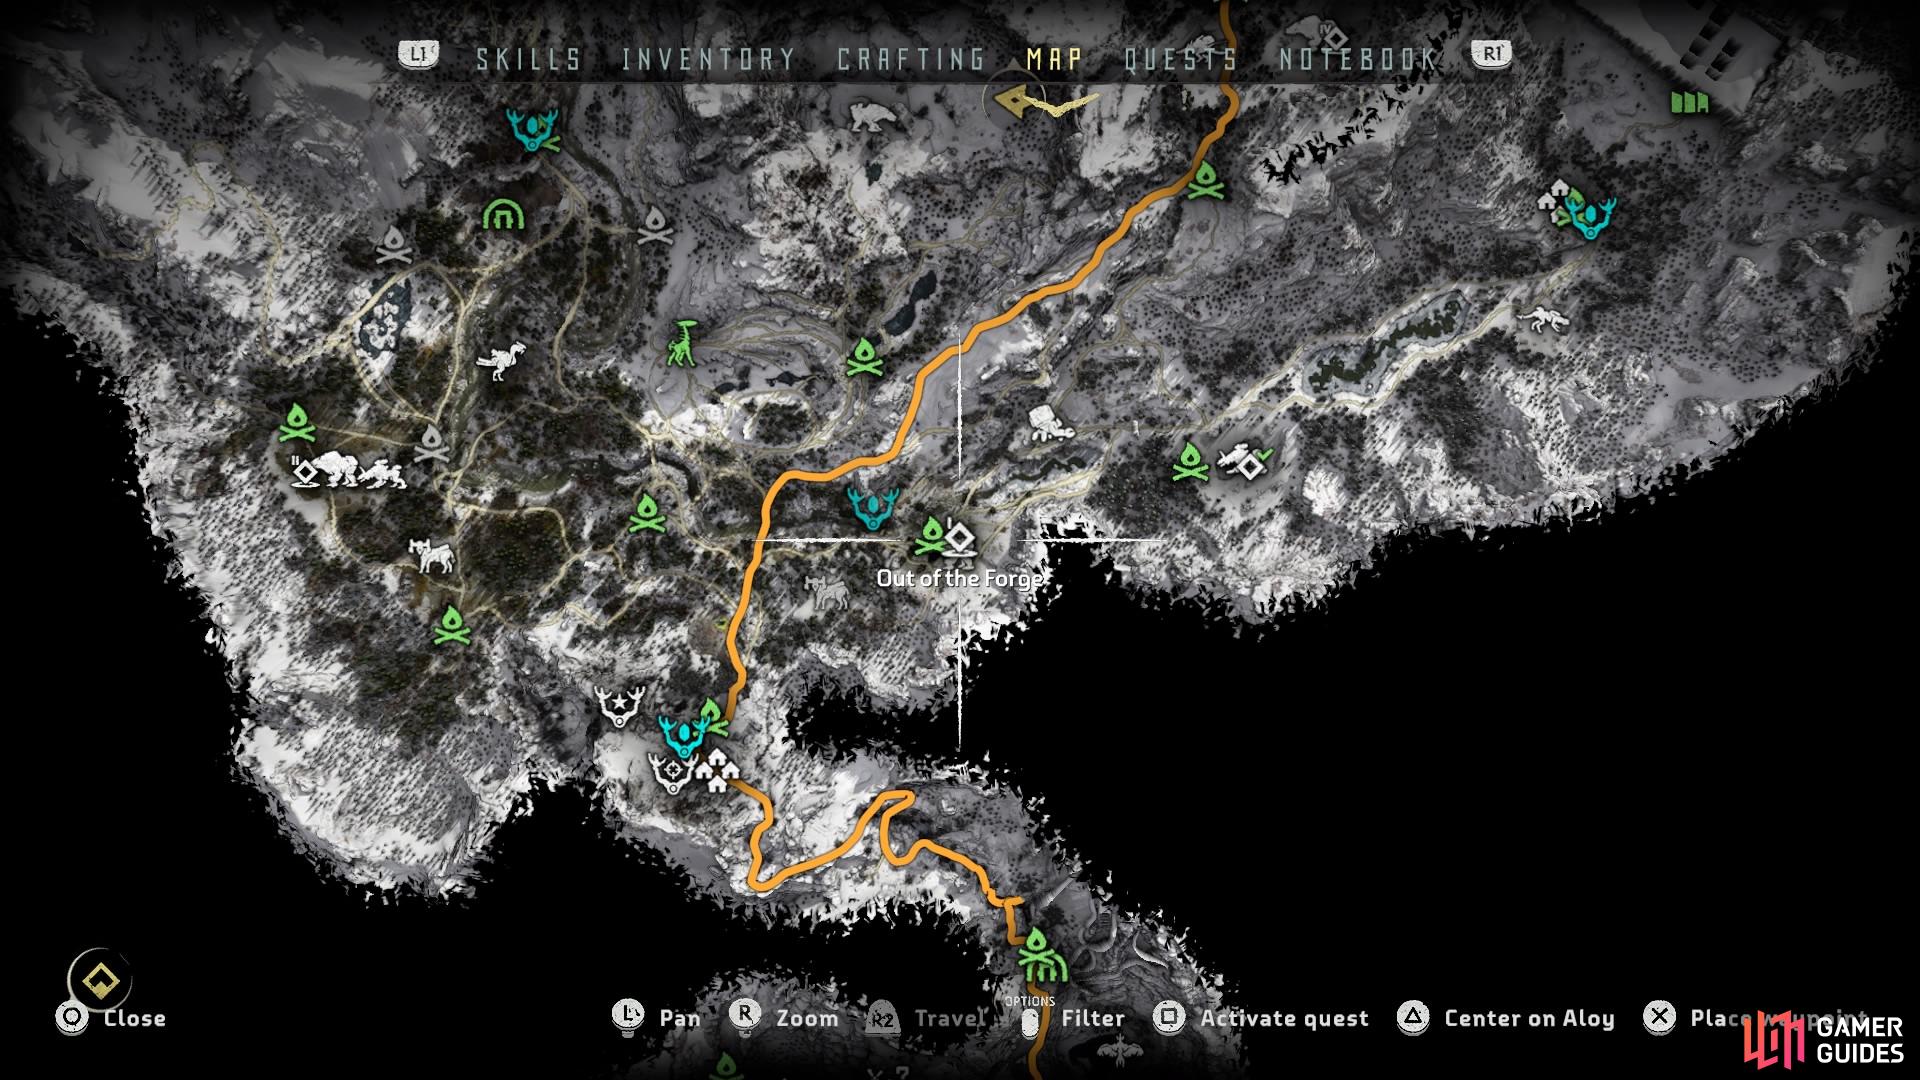
(1 of 2) The first Fireclaw site just above Song’s Edge
The first Fireclaw site just above Song’s Edge (left), The Fireclaw is accompanied by a Scrapper (right)
The first one waits in the south, just above Song’s Edge. It’s right next to a campfire (so be careful if you decide to fast travel in) with a Scrapper for company.
(1 of 2) The second Fireclaw site
The second Fireclaw site (left), Use the hill to defend yourself against the Fireclaw and its Trampler friends (right)
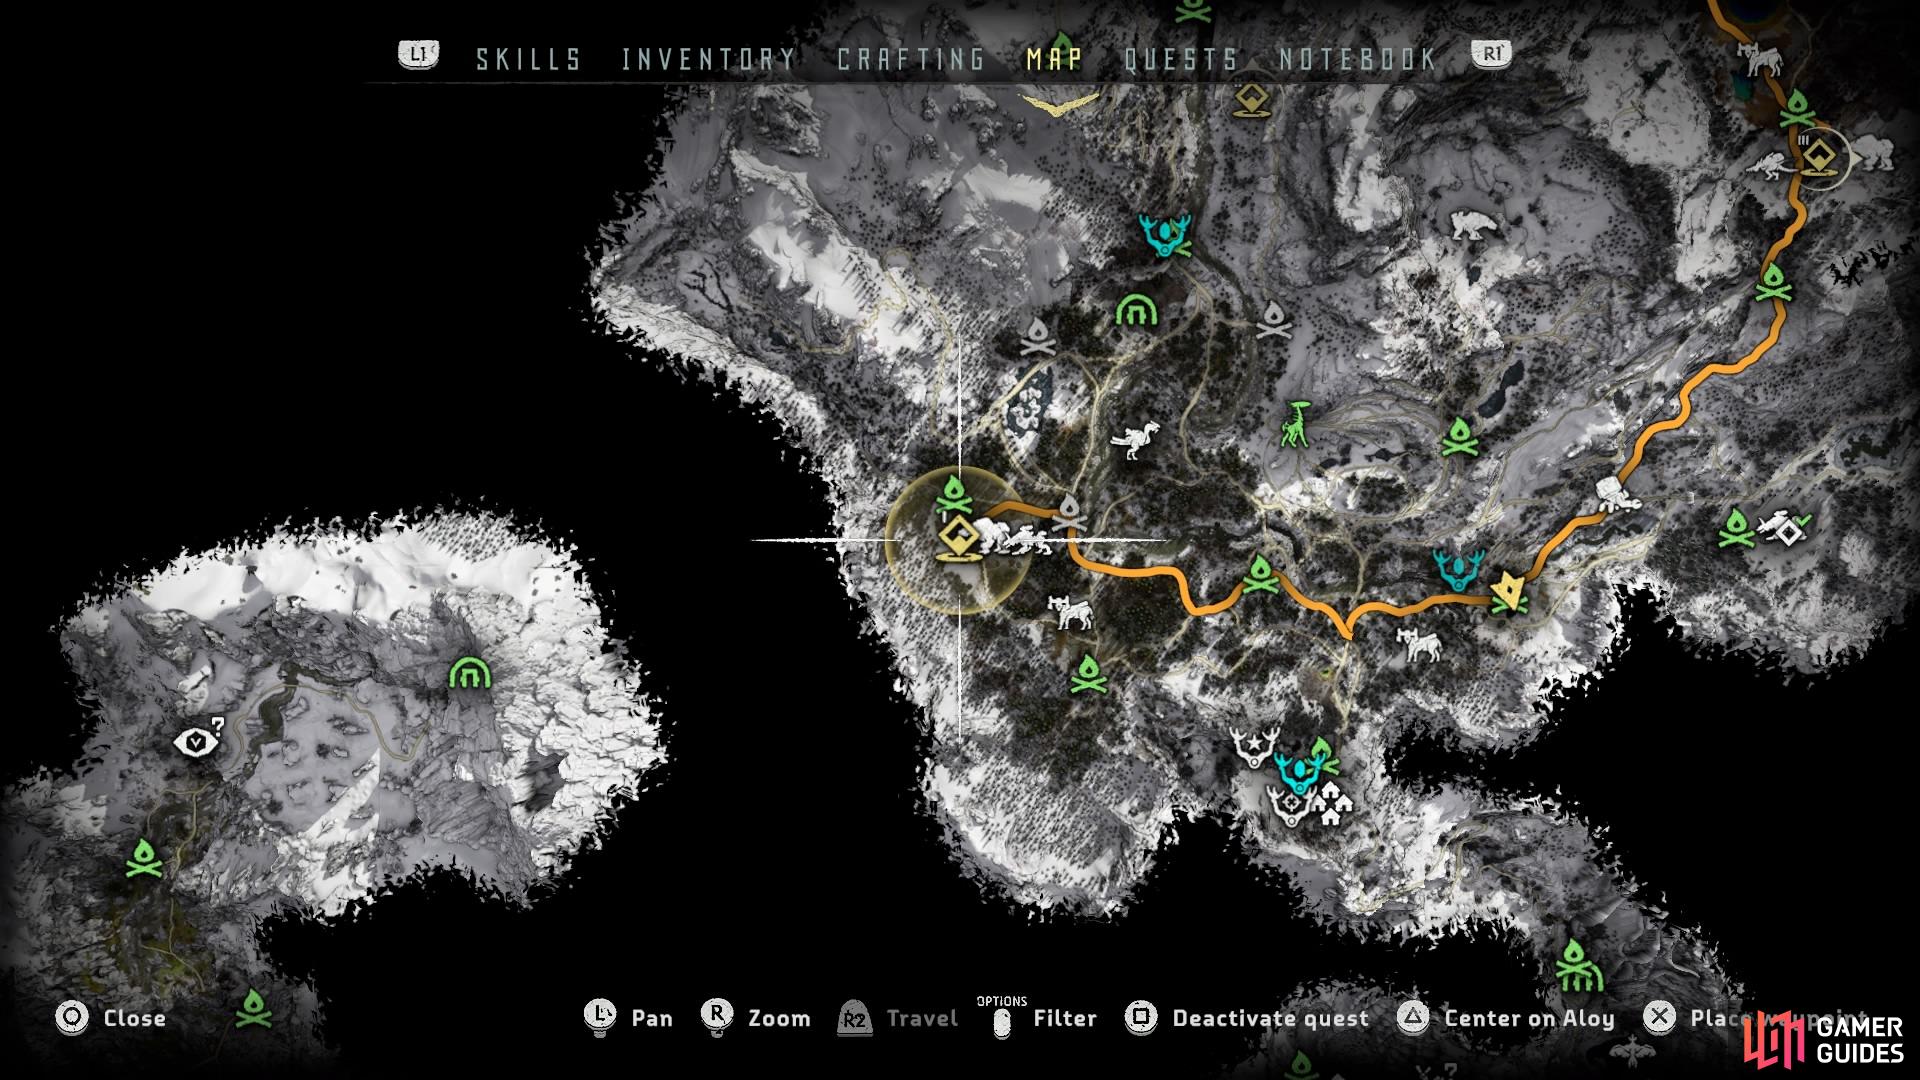
To the left of the map, southwest, is the second Fireclaw. It’s surrounded by three campfires and seems to have made friends with three Daemonic Tramplers. To top it off, there’s a Scorcher site to its right, but they shouldn’t become alarmed by the fighting so long as you stay away from that side. We chose to spawn in at the southern-most campfire – from this angle you can follow the path over an incline and use the hill as a defence whenever things get too dicey.
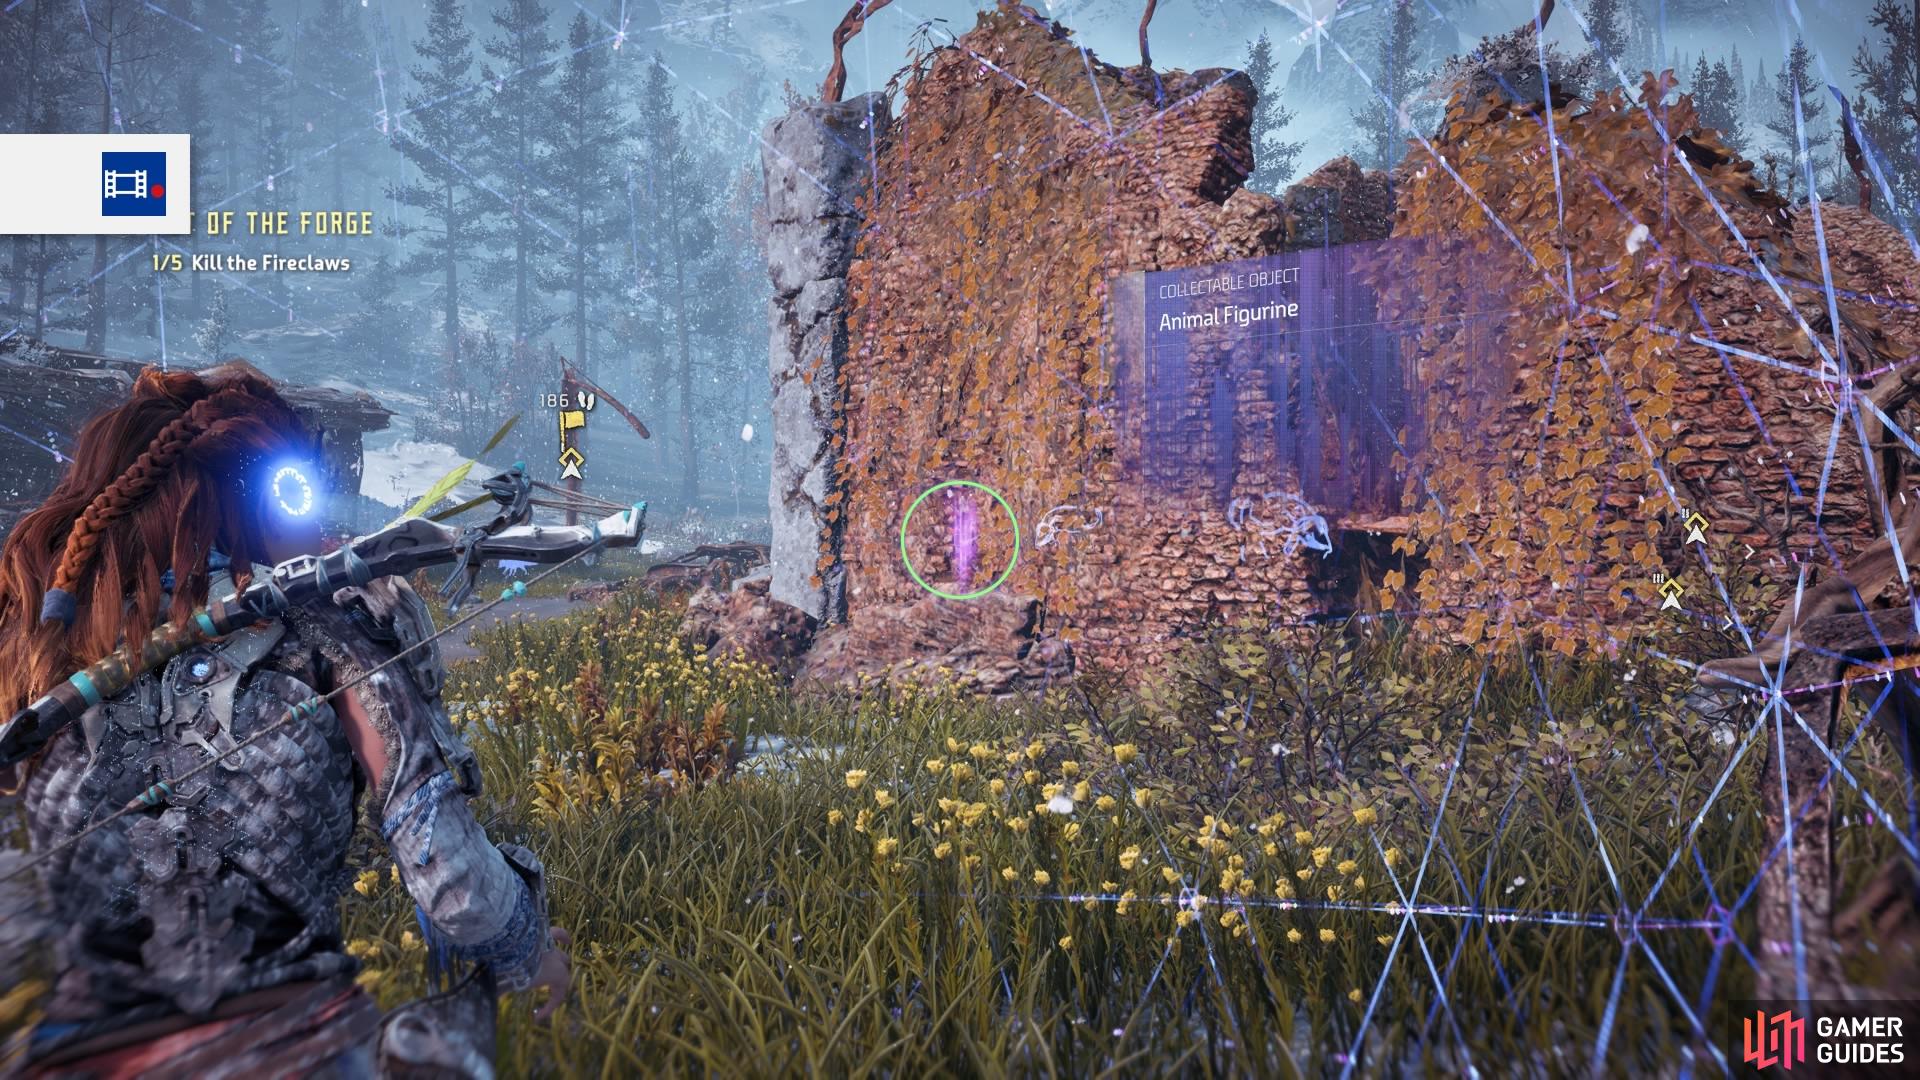
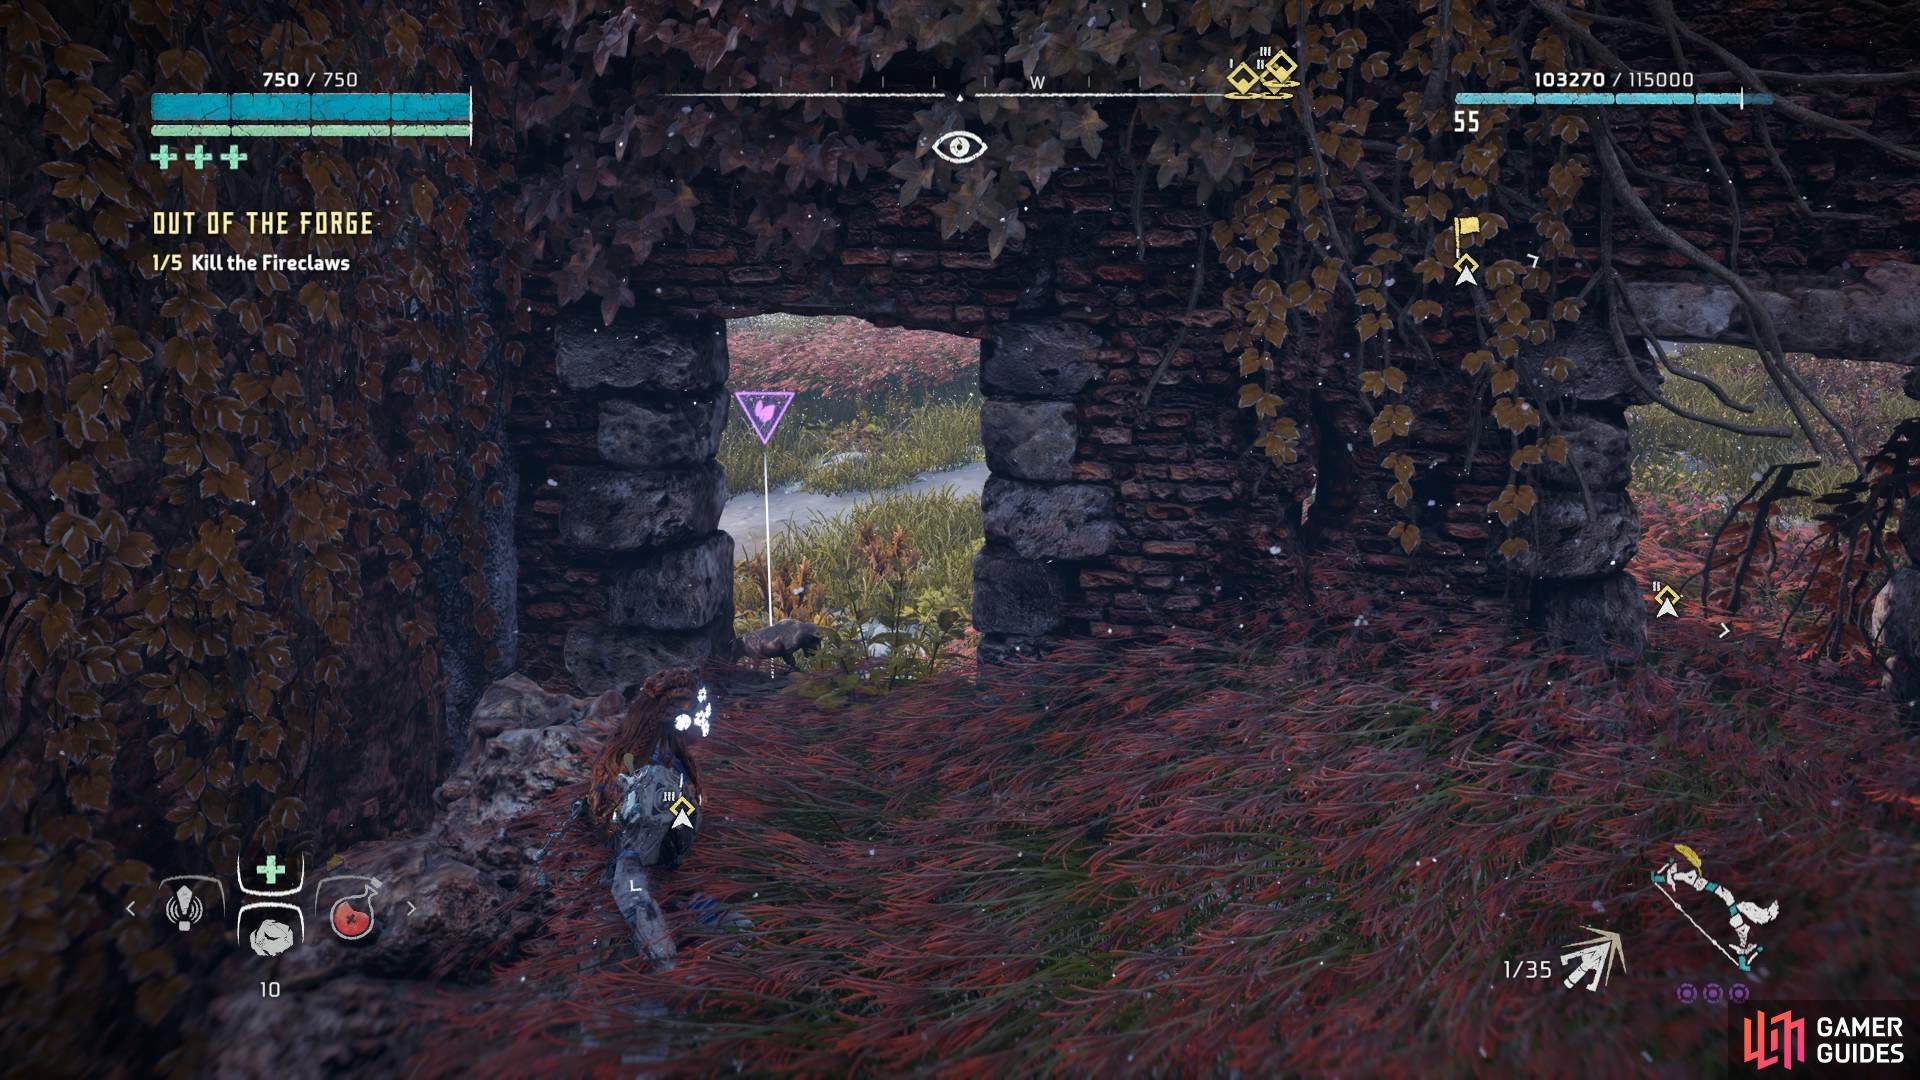
(1 of 2) Ruins at the second Fireclaw site
Ruins at the second Fireclaw site (left), Animal Figurine 3 (right)
Heading further up north, to the right side of the map, is where you’ll find the third Fireclaw site. As a little surprise you’ll quickly see that there are two of these massive machines prowling the area. This small valley is on the way to the Stone Yield bandit camp that you may have completed earlier in the quest line, so you’ll recognise the hot springs with a (hopefully disabled) control tower circled by Fire Bellowbacks. Try to avoid their attention so that you can remain focused on the Fireclaws.
(1 of 2) The third Fireclaw site
The third Fireclaw site (left), is inhabited by two Fireclaws this time (right)
Luckily, you won’t be doing this alone. Aratak joins the fray in a bid to help you destroy these beasts, and at the very least he provides a distraction that enables you to focus on just one at a time. When you’re done here, speak to Aratak for a small conversation.
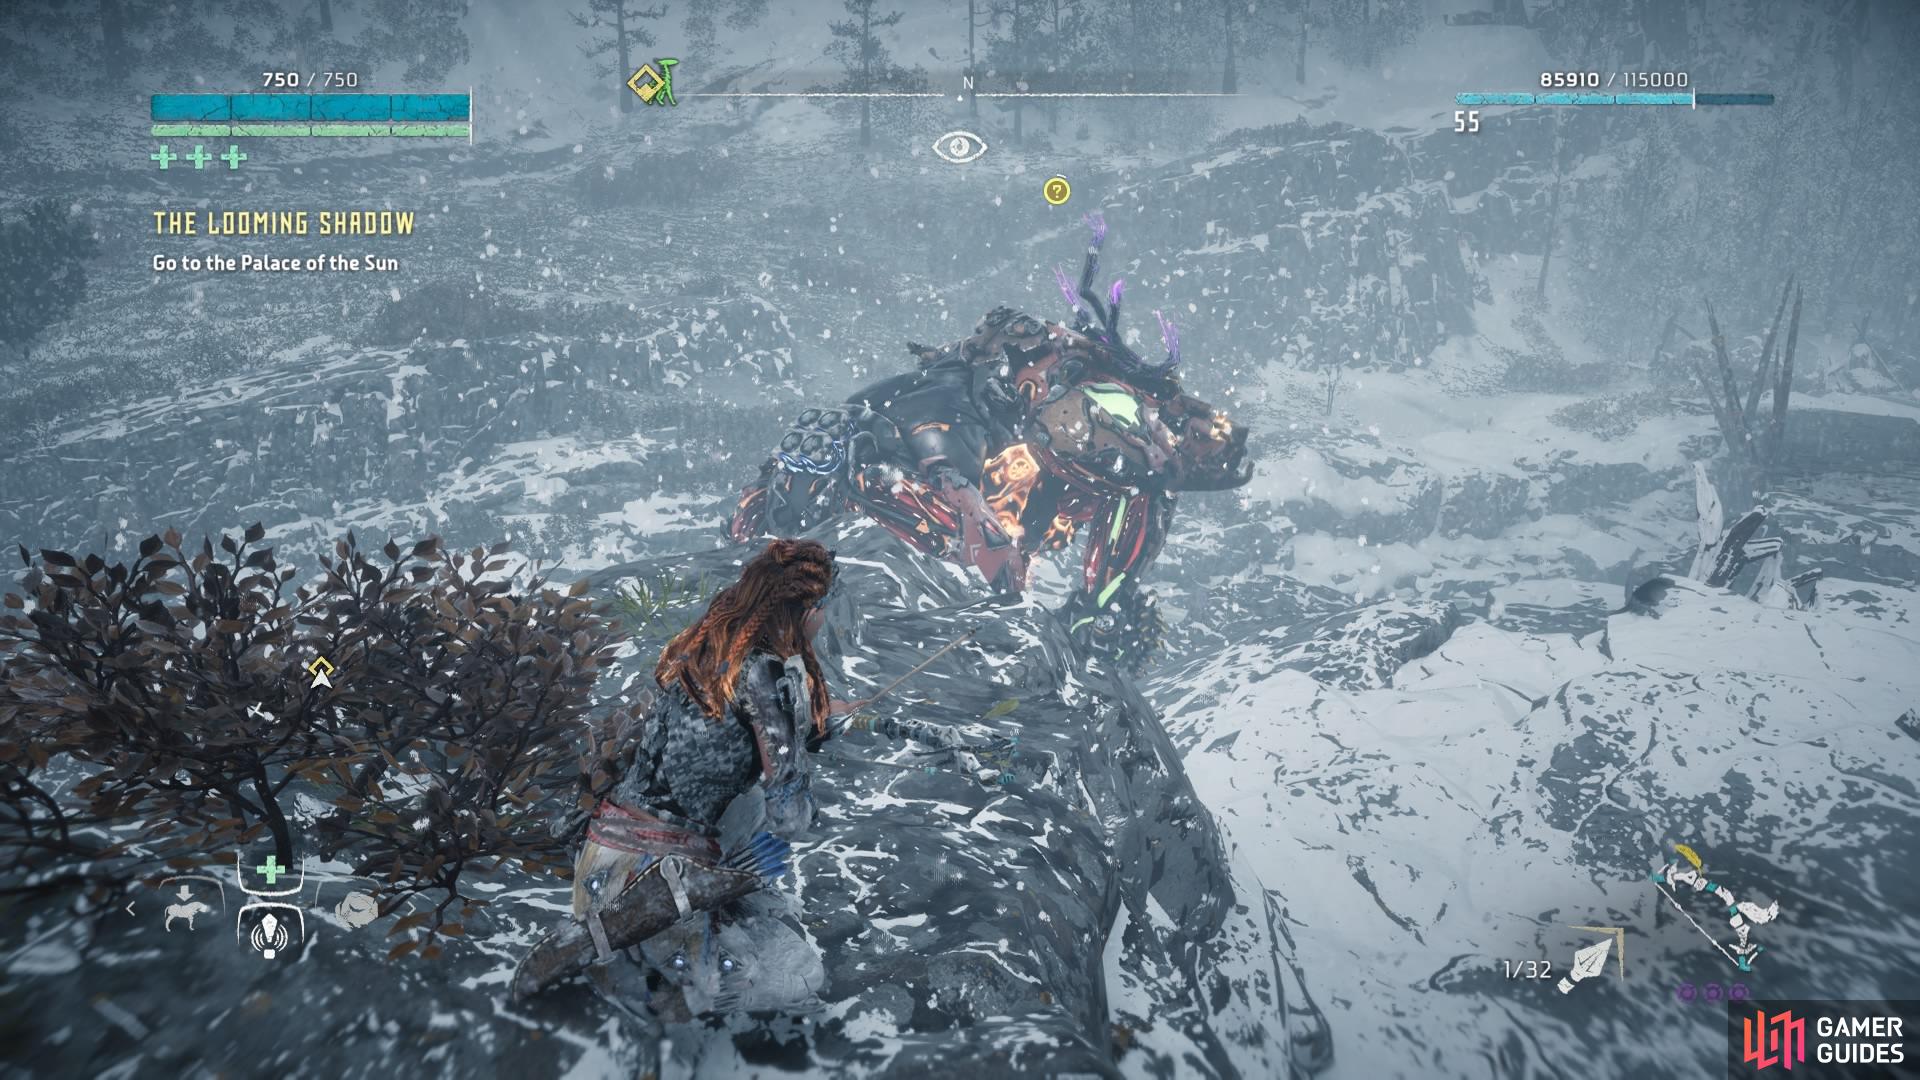
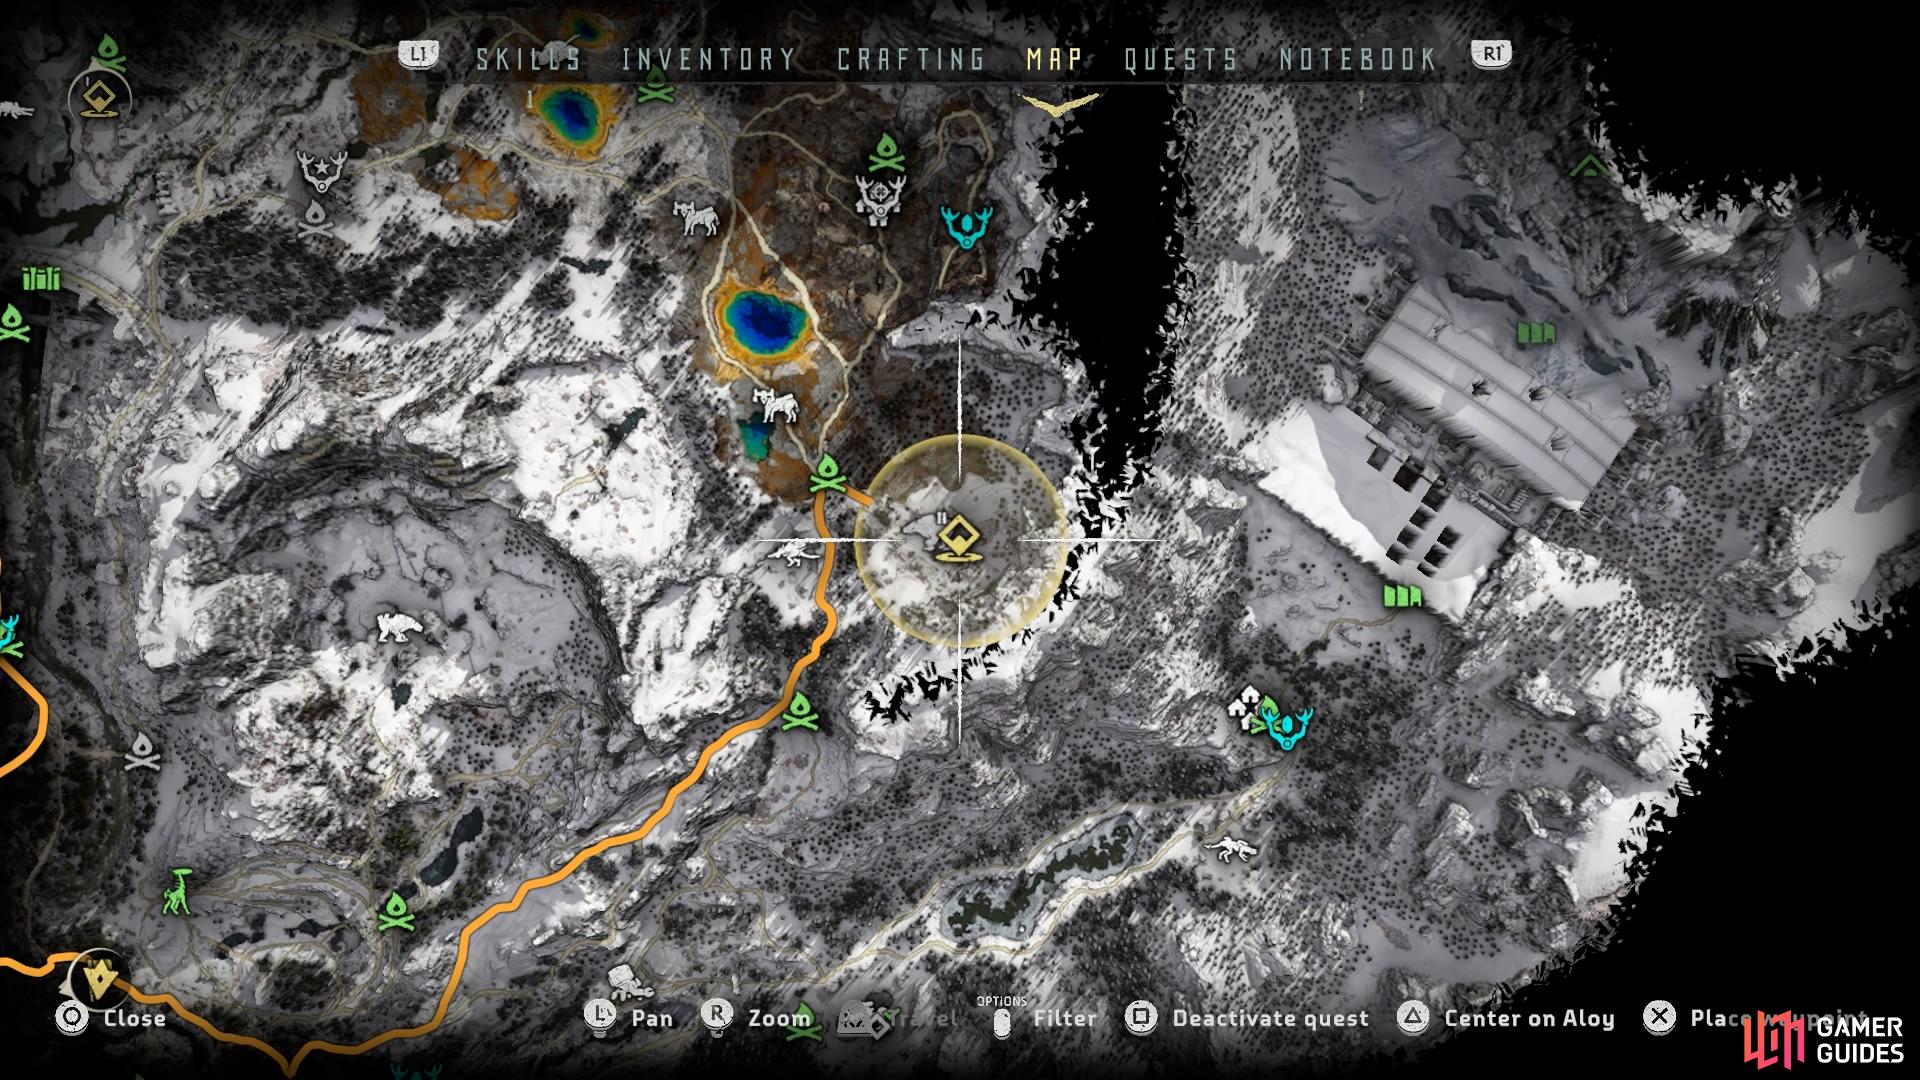
The final Fireclaw is far into the north just below the Drone Hangar on the very edge of the map. You can fast travel to a campfire below it at just around 200 feet away.

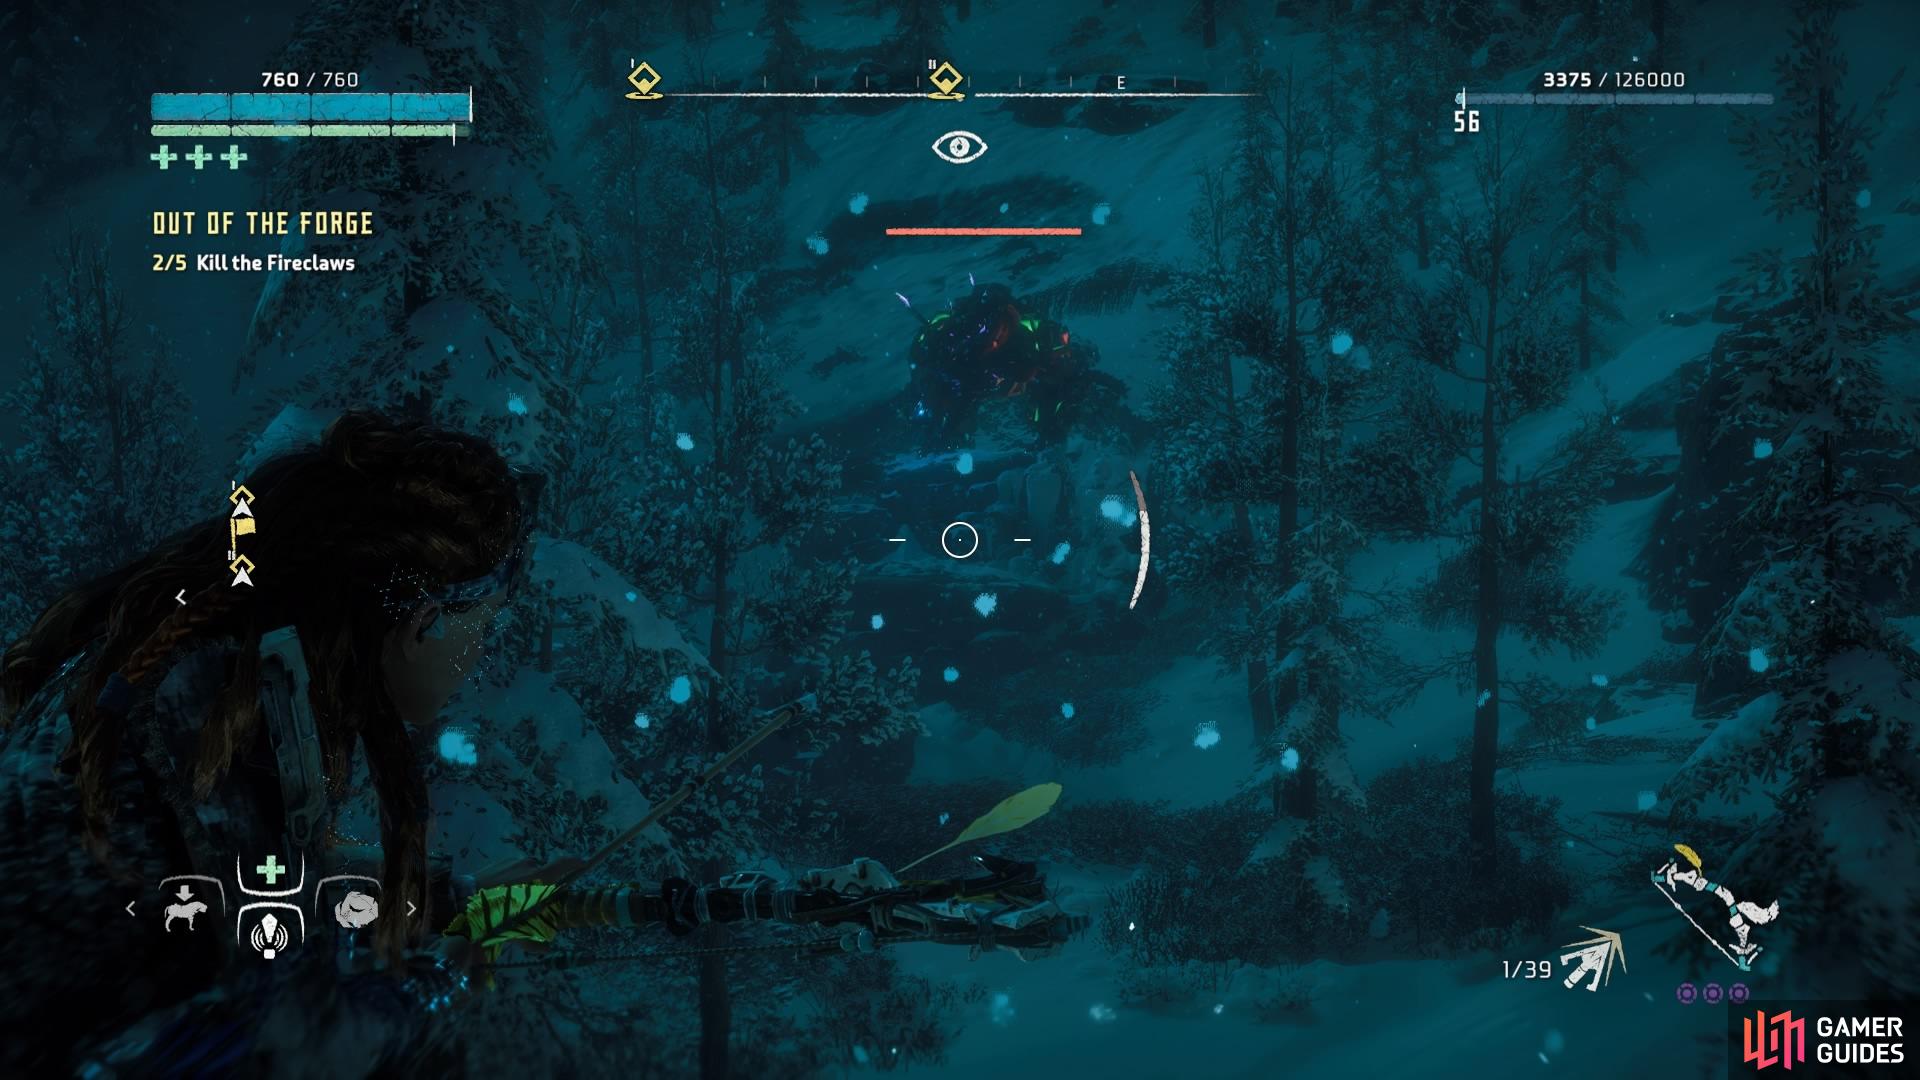
(1 of 2) The last Fireclaw site below the Drone Hangar
The last Fireclaw site below the Drone Hangar (left), and the final Fireclaw (right)
Once again, the Fireclaw is not alone – a Ravager is also wandering the site in circles. The good news here, though, is that you can blast off the Ravager’s cannon and use it against the huge machine for a bit of extra damage. Or you can use it against the Ravager if it still isn’t dead yet.
We found that one of the best weapon combo’s for defeating these machines was the Shadow Blast Sling’s sticky bombs and the upgraded Icerail from Varga. If you can keep a healthy distance and get a good angle, while also avoiding the Fireclaw’s lava attack, these two weapons inflict incredible damage, with the Icerail’s capability of freezing the machine altogether much quicker. Then we used a bunch of freeze bombs from the Shadow Sling when necessary, and repeatedly fired Hardpoint Arrows into its armour. Enough explosions from the sticky bombs will eventually stun it as well, just as an added bonus.
This method seemed most effective if only because it’s frustratingly time consuming trying to knock off all the machine’s armour before you can even touch the actual components.
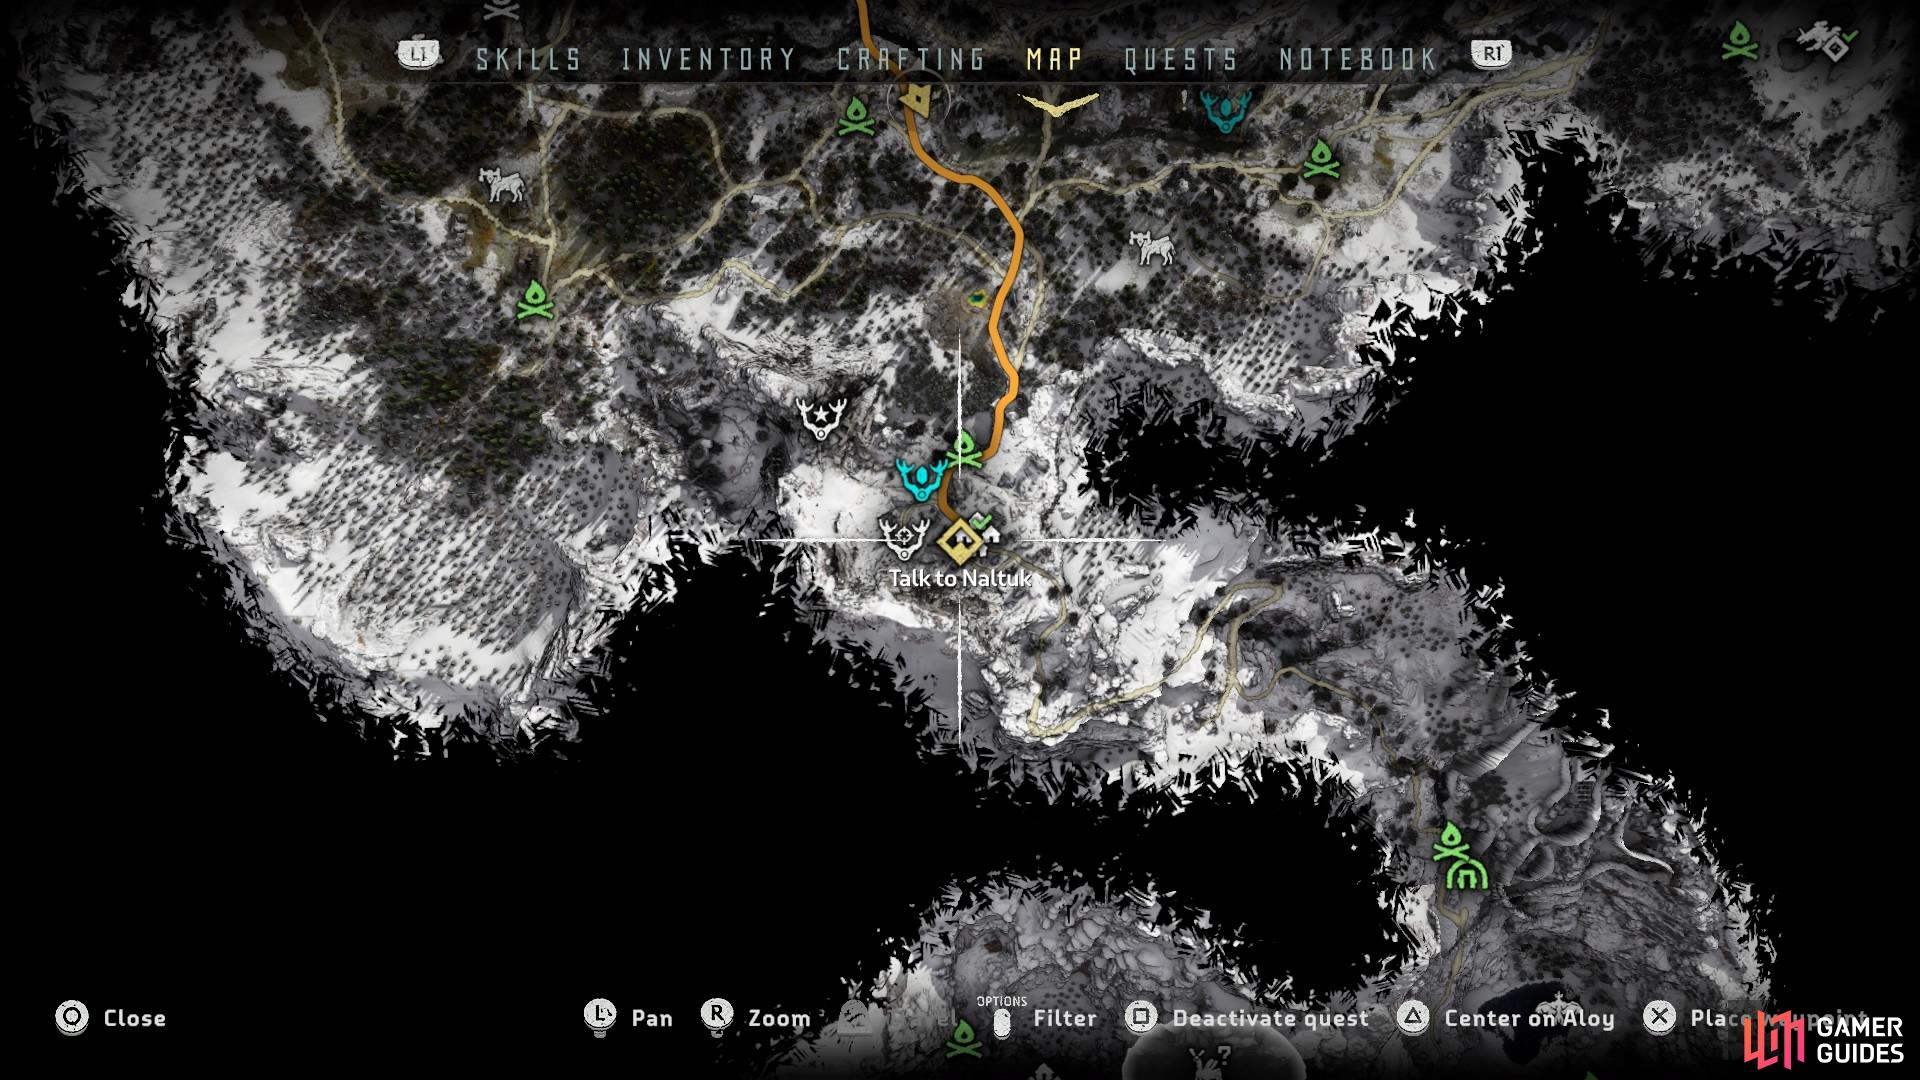
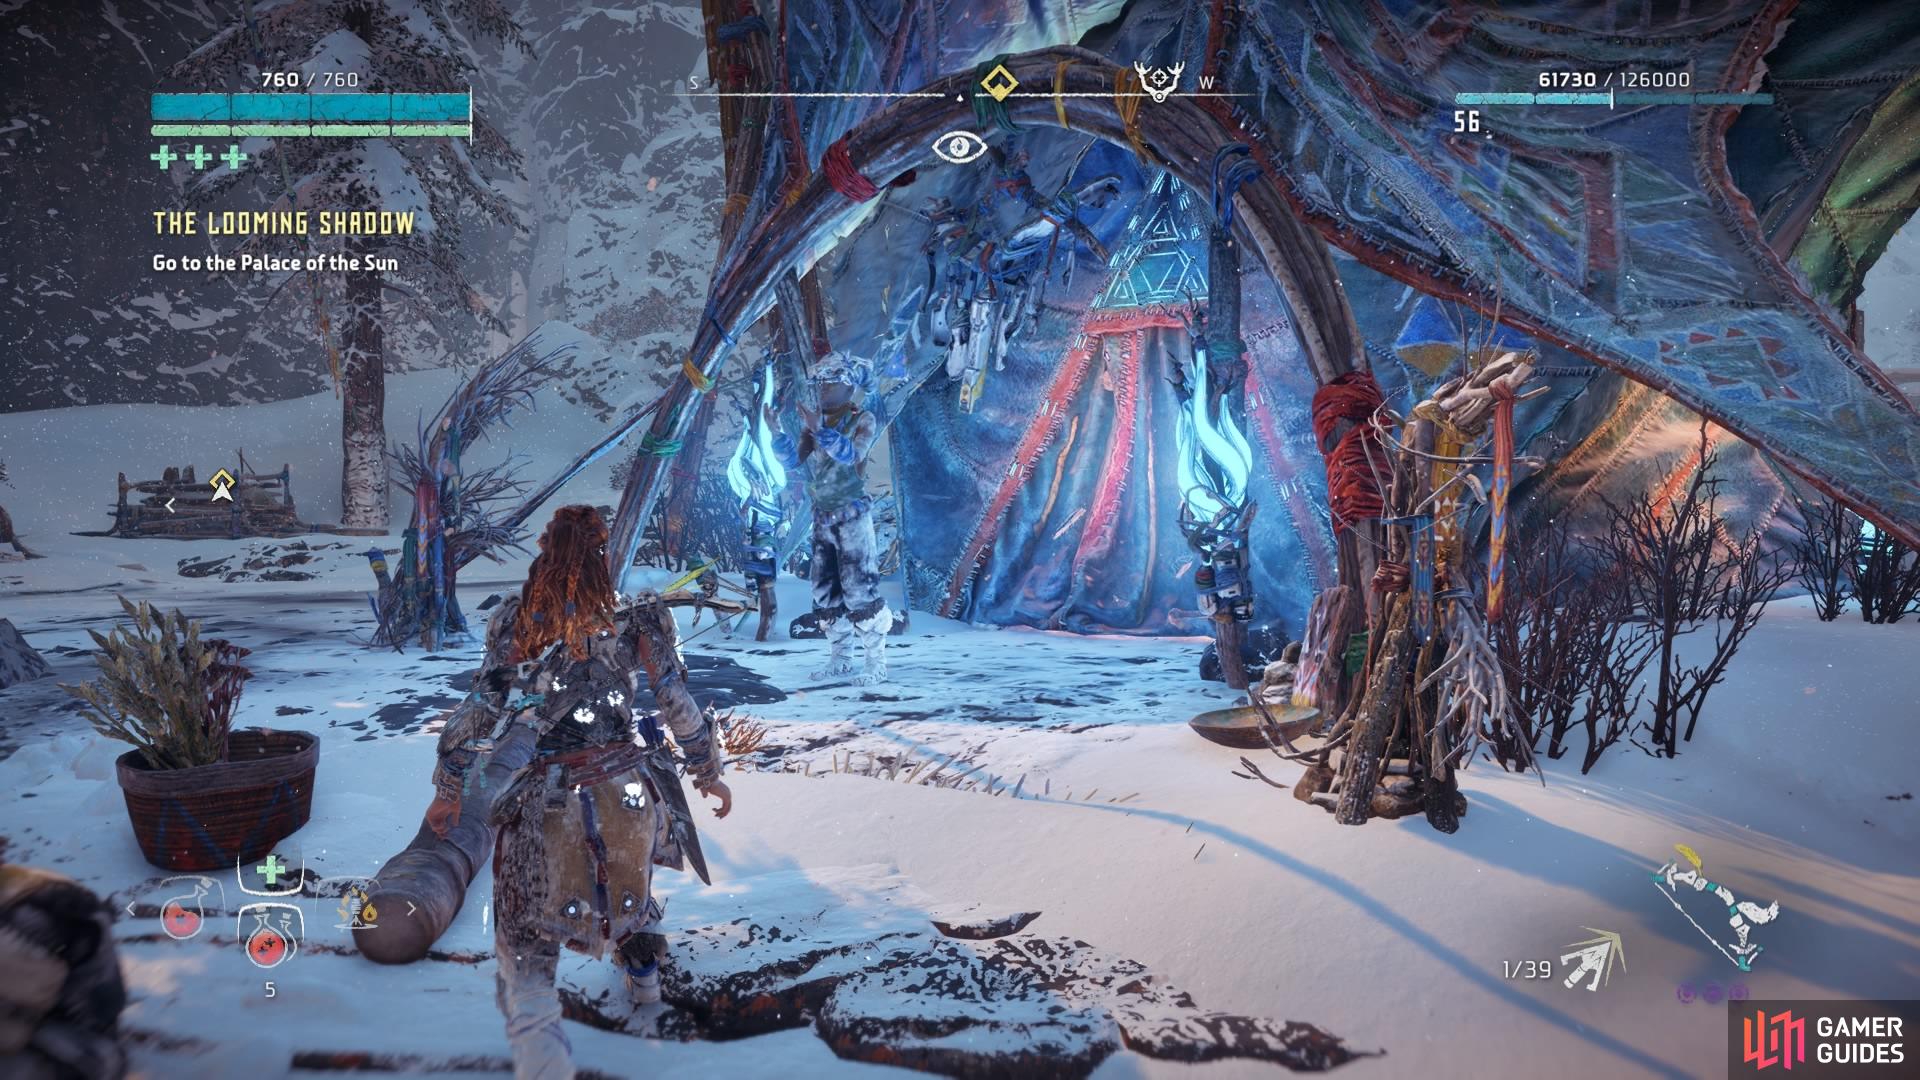
(1 of 2) Return to Song’s Edge
Return to Song’s Edge (left), and speak with Naltuk (right)
When the last Fireclaw has been defeated, you’ll be prompted to Talk to Naltuk, Ourea’s apprentice, back in Song’s Edge. Fast travel back there to inform him of your victory over the giant robo-bears.

 Sign up
No Comments