

Explore the Cut
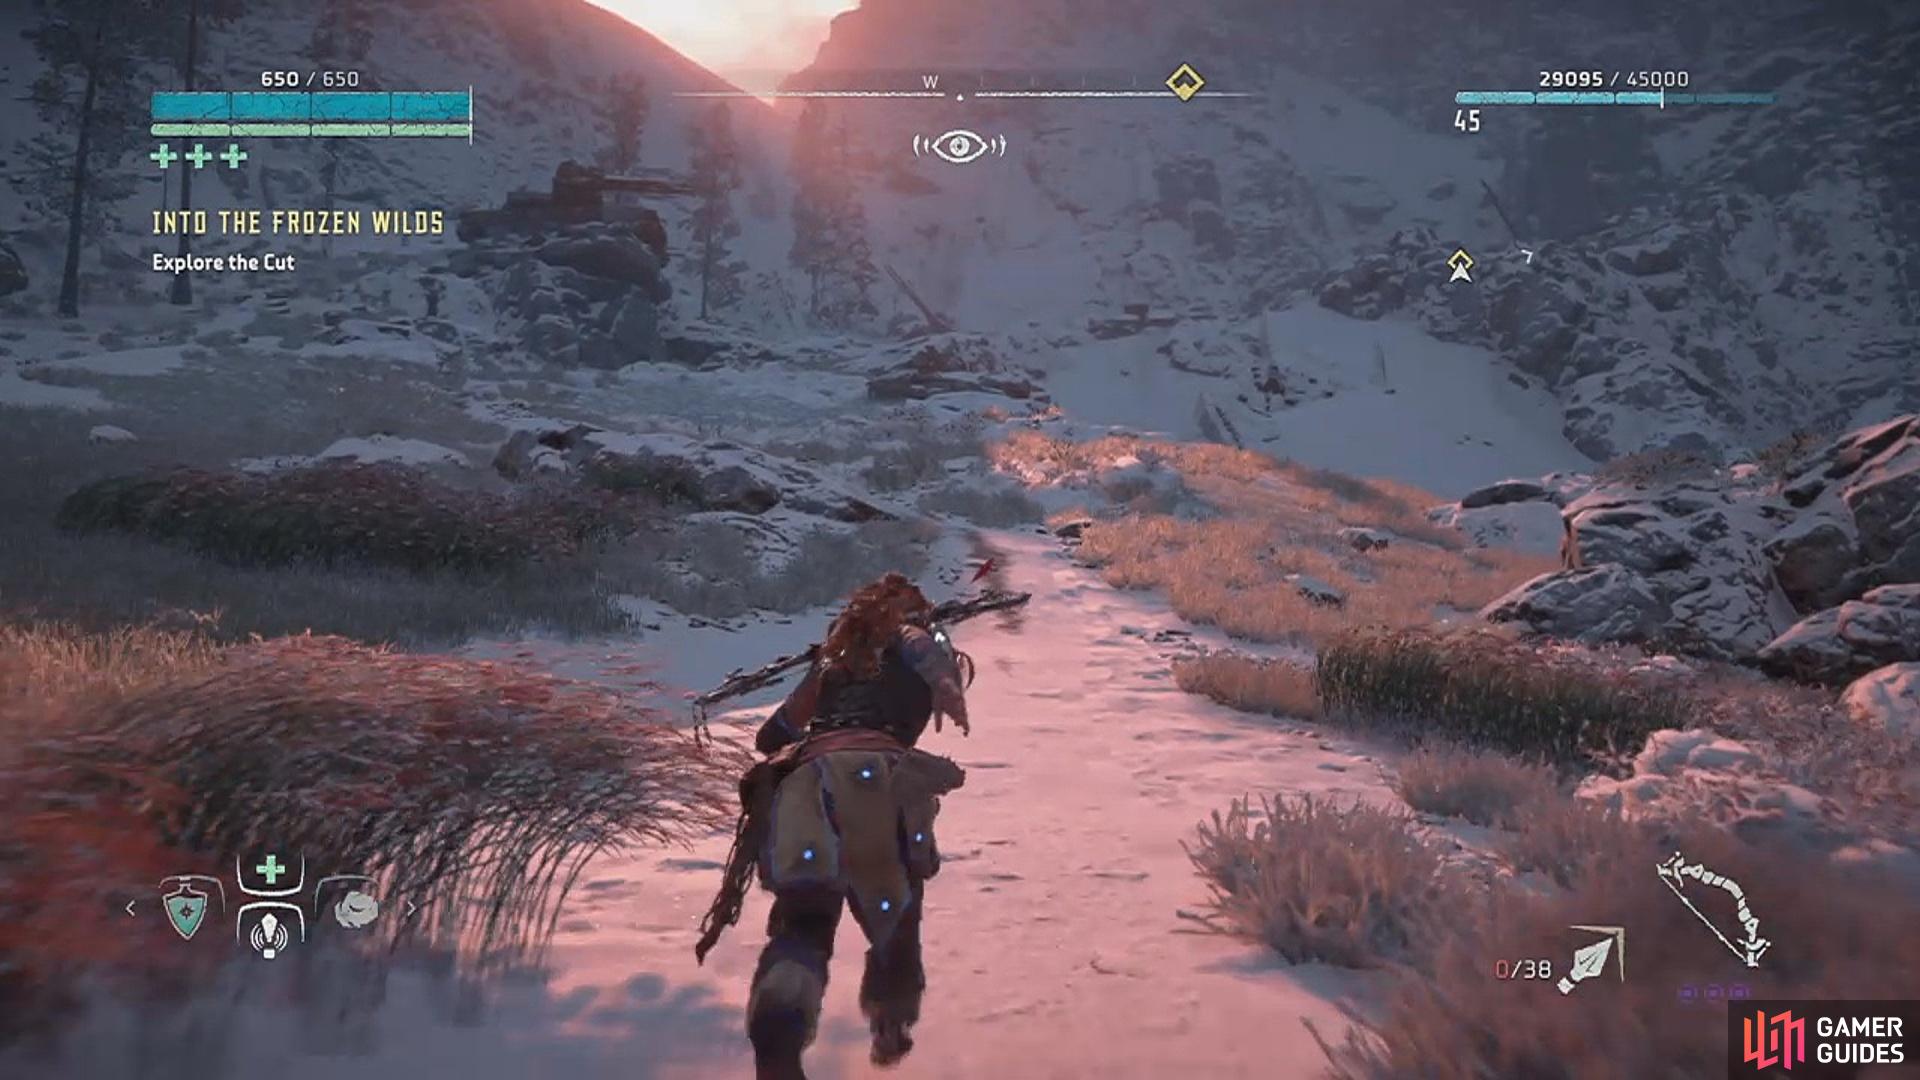
Travelling to the northern most part of the map, you’ll see a new and unexplored area covered with fog – this is the Cut, just beyond the Grave Hoard. If you’ve journeyed far enough there should be a campfire nearby that you activated earlier on in the campaign (fast travel here if you would prefer not to make the hike) followed by a short trail towards the mountain. Glinthawks inhabit this area, so watch out for those, and bandits will sometimes grace you with their volatile presence, too. If you would rather not fight either of them, sprint towards the snowy slope directly opposite the campfire you just spawned at.
Follow the path until you reach the entrance to the Grave Hoard, but instead of going down into the bunker, head left around the rusted tank. Straight ahead you’ll see a campfire and a rockface with blue, gleaming crystals travelling upward. That’s your way in. By using the handholds and the blue crystals to guide you in the right direction, you should be able to traverse the cliffs easily and quickly. If you like a little more direction than that, simply highlight the indicator on the map that leads you to your first task. Halfway up the cliffs, Sylens will chime in through your focus to scold you for going off-course from your main mission against the Eclipse, and Aloy will proceed to shrug him off.

(1 of 2) Start off at the snowy slope to get on the right path
Start off at the snowy slope to get on the right path (left), and follow the blue crystals. (right)
Once you reach the top, you’ll enter a clearing where you will encounter your first Daemonic machine – the Scorcher. Just as the name suggests, this machine has powerful fire attacks. Using your Focus to scan it will show it to be Lv 35 with two main components that you can aim to tear off. First is a Power Generator located above its hind legs, with the strength to break amour but a weakness to hardpoint arrows. The second component is made up of two Blaze Canisters just above the Power Generator – these are weak to fire and armour break. The Scorcher’s body is weak to Freeze, but its three biggest strengths are against Shock, Fire, and Corruption.
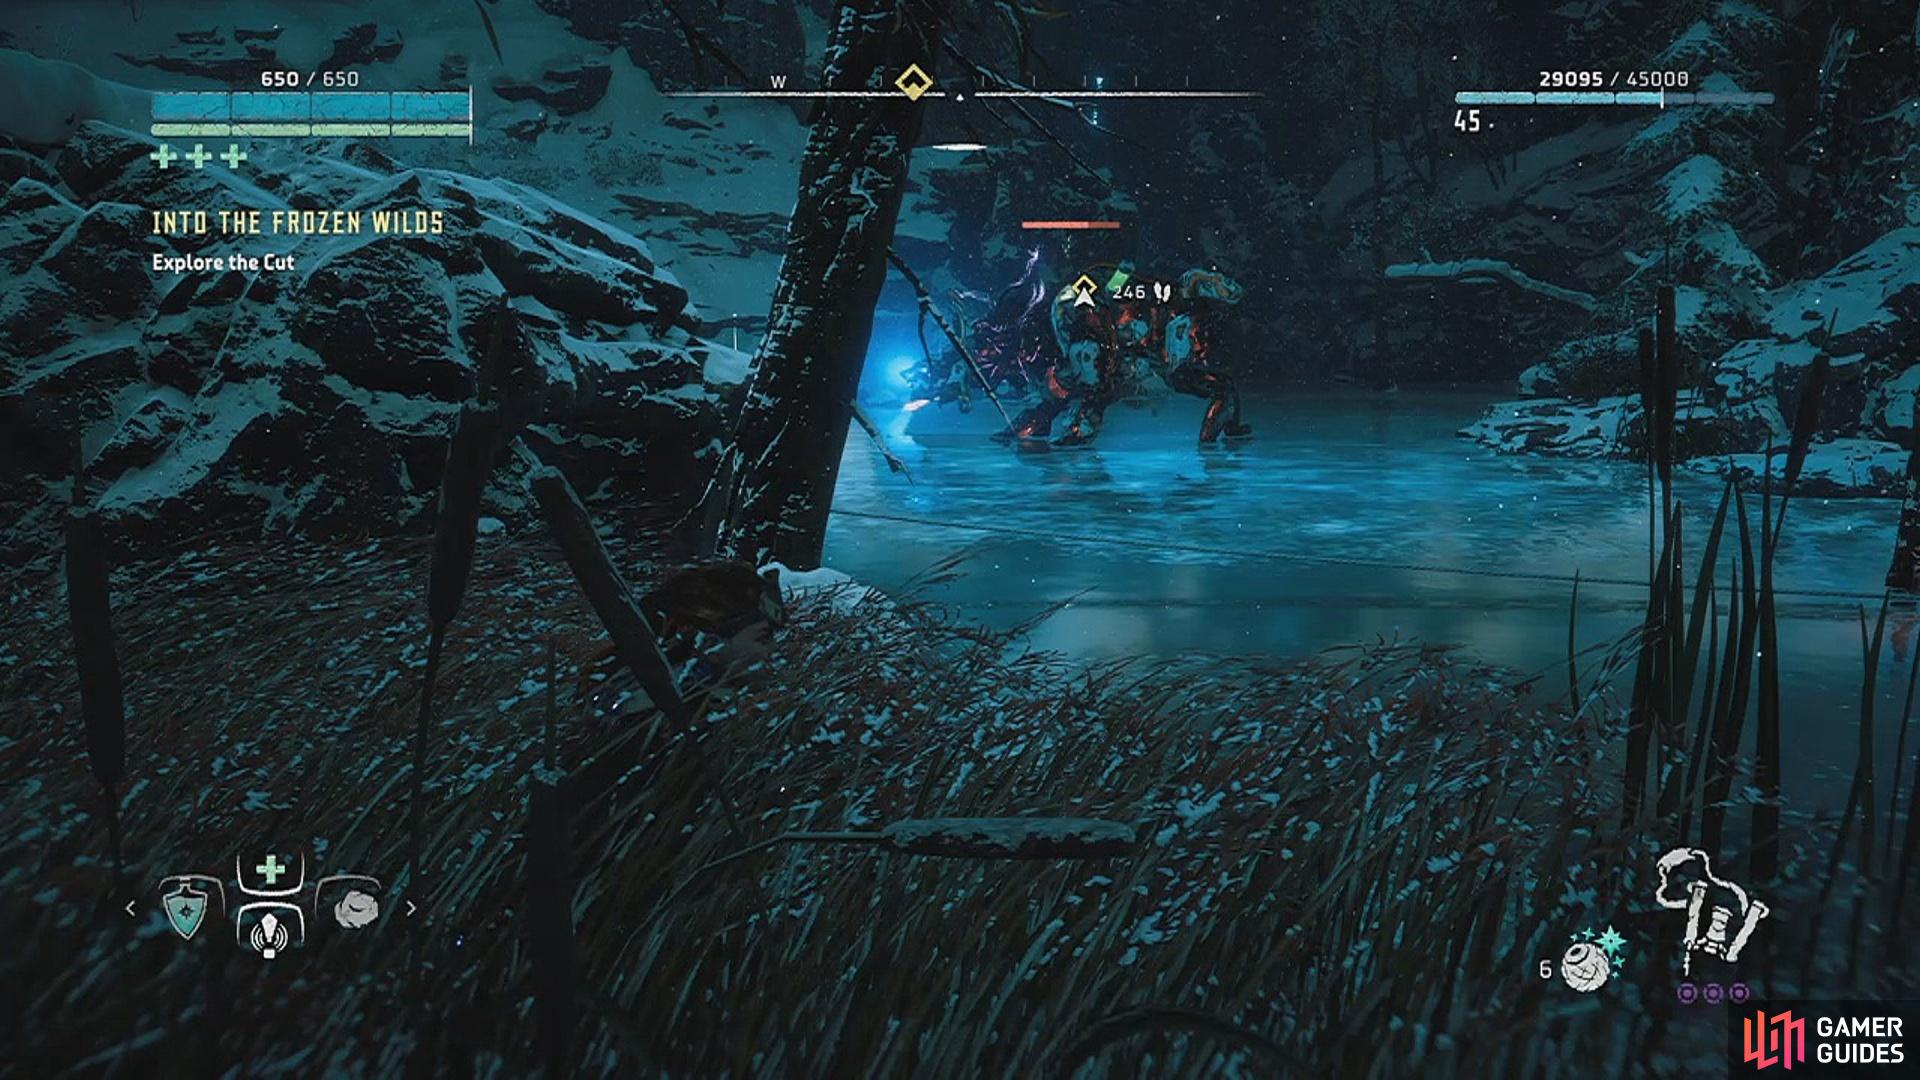

(1 of 2) New machine: Daemonic Scorcher
New machine: Daemonic Scorcher (left), scan the machine for weaknesses (right)
The Daemonic Scorcher is a tough opponent, which is why Aloy’s recommended level should be about the same or higher. It doesn’t feel the same as fighting other machines before this; it can deplete your health in seconds if you choose to face it head-on. Another strategy is to take your time with it and hide when necessary in order to get the upper hand. This should slowly but surely dwindle its health down. If you completed the quest to obtain the Shield Weaver armour, consider having it equipped for that extra punch of invincibility to stay alive longer. The Scorcher is not at full health when you find it – aim to destroy the generator on its back with Tearblaster and you can take off another good chunk that will slow it down.
Once you’ve taken down this machine, you can proceed on your way up the mountain. Head forward on to the next snowy slope and continue to follow the path and the blue crystals. Eventually you will reach a cave entrance and encounter the first few residents of the Banuk tribe – one of them will sound an alarm to let the others know that you’re coming, but they don’t intend to attack. Simply make your way through the cave until you reach the Banuk settlement on the other side known as Song’s Edge.
Investigate the Source of the Smoke
To your right, in the far landscape, is a volcano with black clouds of smoke rising out of it. Following the path through the settlement, or even the people themselves, will lead you to a cutscene of the Banuk tribe honouring their dead with an unusual ritual. There’s a campfire on the way, so be sure to light it to activate a new fast travel location. Here, Aloy meets Burgrend, who explains that this send-off takes place if the hunters fail to recover the bodies of their tribesmen. Aloy watches with fascination as three Glinthawks swoop down to carry away the armour of the lost Banuk hunters, and as the chieftain, Aratak, steps up to give a rousing speech about strength and unity.
When the speech has ended, you get to have an educational lesson from Burgrend and gather some information about the Cut. He’ll tell you that you should speak with the shaman, a woman named Ourea, if you wish to find out more about the Daemon, and this will be your next task. In order to do this, however, you’ll first have to seek out her apprentice, Naltuk.

 Sign up
No Comments