

Upon exiting Daytower to the west, you will happen upon the Greatrun Hunting Grounds not too far to the west. Get onto the main road just north of this place and go west to a fork, heading south from there. This will eventually lead you to another split in the road with a campfire; Cauldron Rho is just a bit southeast/east from that campfire. There are four Watchers patrolling the front door to the Cauldron, which can easily be dispatched from the tall grass.
Upon reaching the front door, you will see you can’t actually get to it and need to find another way inside. Off a little bit to the east is a ledge you can drop down to another ledge, leading you across a pipe acting as a bridge. Continue downhill to a rappel point, bringing you deeper into the cave system. Keep going deeper until you reach a familiar triangular door, which you can override and open to get inside of the Cauldron.
As soon as you enter, you will find a Watcher right around the corner, so sneak up and impale it with your spear. Just beyond the Watcher is a turbine that’s spinning and has a bunch of handholds on it, prompting an in-game tutorial telling you can shoot it to reverse its direction. Hit it in the center and when it reverses direction, hop on to have it carry you to the other side. Carry on through the path ahead, opening another triangular door, putting you in a big room with some Watchers and a Ravager. Use the vents to take out the Watchers, then knock off the Ravager’s cannon, using it to make short work of the machine.
With the coast clear, go to the southern side from where you entered to find another turbine. Shoot and ride it to the right side, then jump onto one of the moving containers as it passes to reach the opposing platform. Loot the supply crate and override the network uplink, then ride the next turbine to a field generator. This will disable some of the forcefield, but you will need to ride one of the containers you did before to get to the next area.
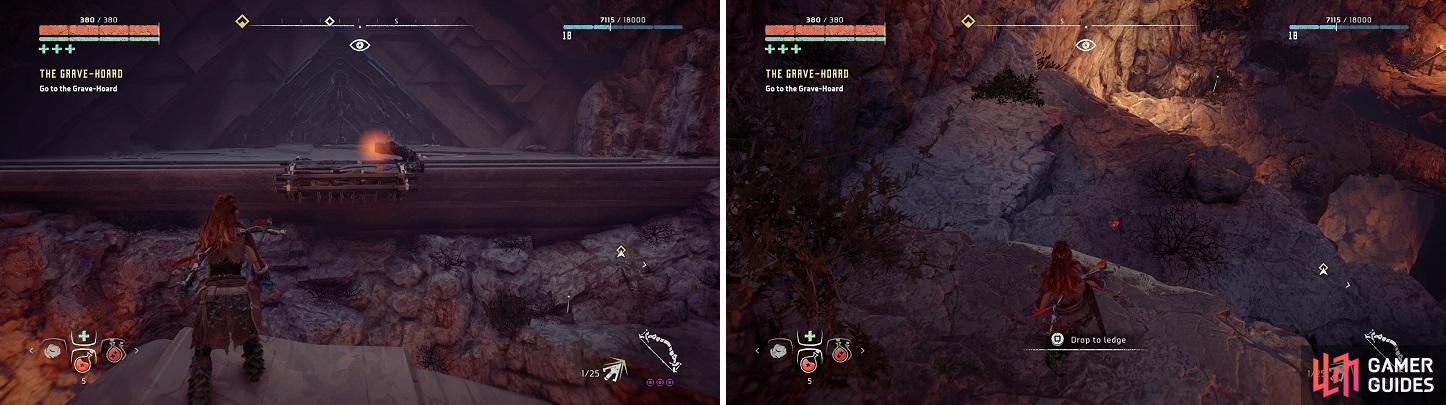
Hmm, seems the front door is not accessible (left). Look to the left of the front door to find a path leading below and inside (right).
So, take the last turbine you used, reversing its direction and get back to where you can grab one of the containers. Drop off over the platform and jump onto some crates to find a horizontally-moving turbine. You’ll need to shoot this one to make it go the other way, then hop onto it to reach a platform you couldn’t reach prior to this. In the next room will be some more Watchers, so sneak up behind the one near you to take it out, then follow this elevated section around to a ramp that brings you to the lower area with the other Watchers.
Ah, it’s always fun to kill Watchers. Back to the Cauldron, loot the supply crate on the ground floor, then return to the ramp that brought you down here to find a ledge you can grab onto, leading you to three more supply crates. Return to the previous room, where you can proceed in one of two ways. On the ground floor, on the western side, is a door you can override. However, on the northern side are some footholds that allow you to reach a ledge with two more supply crates (yay loot!) and an upper entrance to the same room as the override door.
The benefit of using the upper choice is that you can take potshots with your arrows at the machines below, which include some Watchers, Longlegs and even a Ravager. Longlegs and Ravagers both have power cells, so shock arrows to them will take a big chunk of their health. Just note that all of the machines do have ranged attacks, so if they become alerted to your position, duck back a little bit to make sure they can’t hit you. Once you’re finished with the machines, it’s time to find a way out of this room.
In the northeastern corner of the room is a turbine you can ride to a ledge with a supply crate, while the way forward is in the western portion of the room. Look for a network uplink that you can use to create a bridge towards the center, where you can override the contraption to create a way forward. The exit is to the north/northwest, with the ramp in that direction leading you to two turbines. Past that, look for a slope going down that you can jump across to a ledge you can grab on. Loot the supply crate and follow the path to another network uplink, creating a bridge that will eventually get you to what seems like a dead end.
Grab the ever so beautiful loot from the supply crate and look down over the ledge. What isn’t quite so clear is that there’s water below, so jump down into the murky liquid and enter the hallway to finally arrive at the core. As with the previous Cauldron, you will find a machine sitting in the center, with this one turning out to be a Snapmaw. Ignore it for now and hit the lovely bullseyes that are the Watchers’ eyes circling the central bubble… or just sneak up behind them to quickly perform a lethal poke with your spear.

Both the Ravager and Snapmaw are relatively weak to fire.
Before you unleash the Snapmaw, feel free to lay some tripwires around the central area as a welcoming party to your reptilian friend. When you’re ready, climb one of the discharge pylons and override it to begin the festivities. Unfortunate for you, the Snapmaw is joined by a lovely Ravager and their tag team prove to be a formidable battle. On the good side, both of the machines gunning for your death are weak to fire, so fire arrows will do wonders in making them scrap metal. Alternatively, you can shoot off the Ravager’s cannon and use that against them, but this leaves ample opportunities to whack you with melee attacks or their projectiles.
Once you finally dispatch both of the machines, override the Cauldron Core to learn new overrides. They are as follows: Trampler, Ravager, Shell-Walker, Snapmaw and Longleg.
| Rewards |
|---|
| 6,000 XP / +1 Skill Points |

 Sign up
No Comments