

| Banuk Figurines |
|---|
| Banuk Artifact - Mother |
| Metal Flowers |
|---|
| Metal Flower - Mark II (G) |
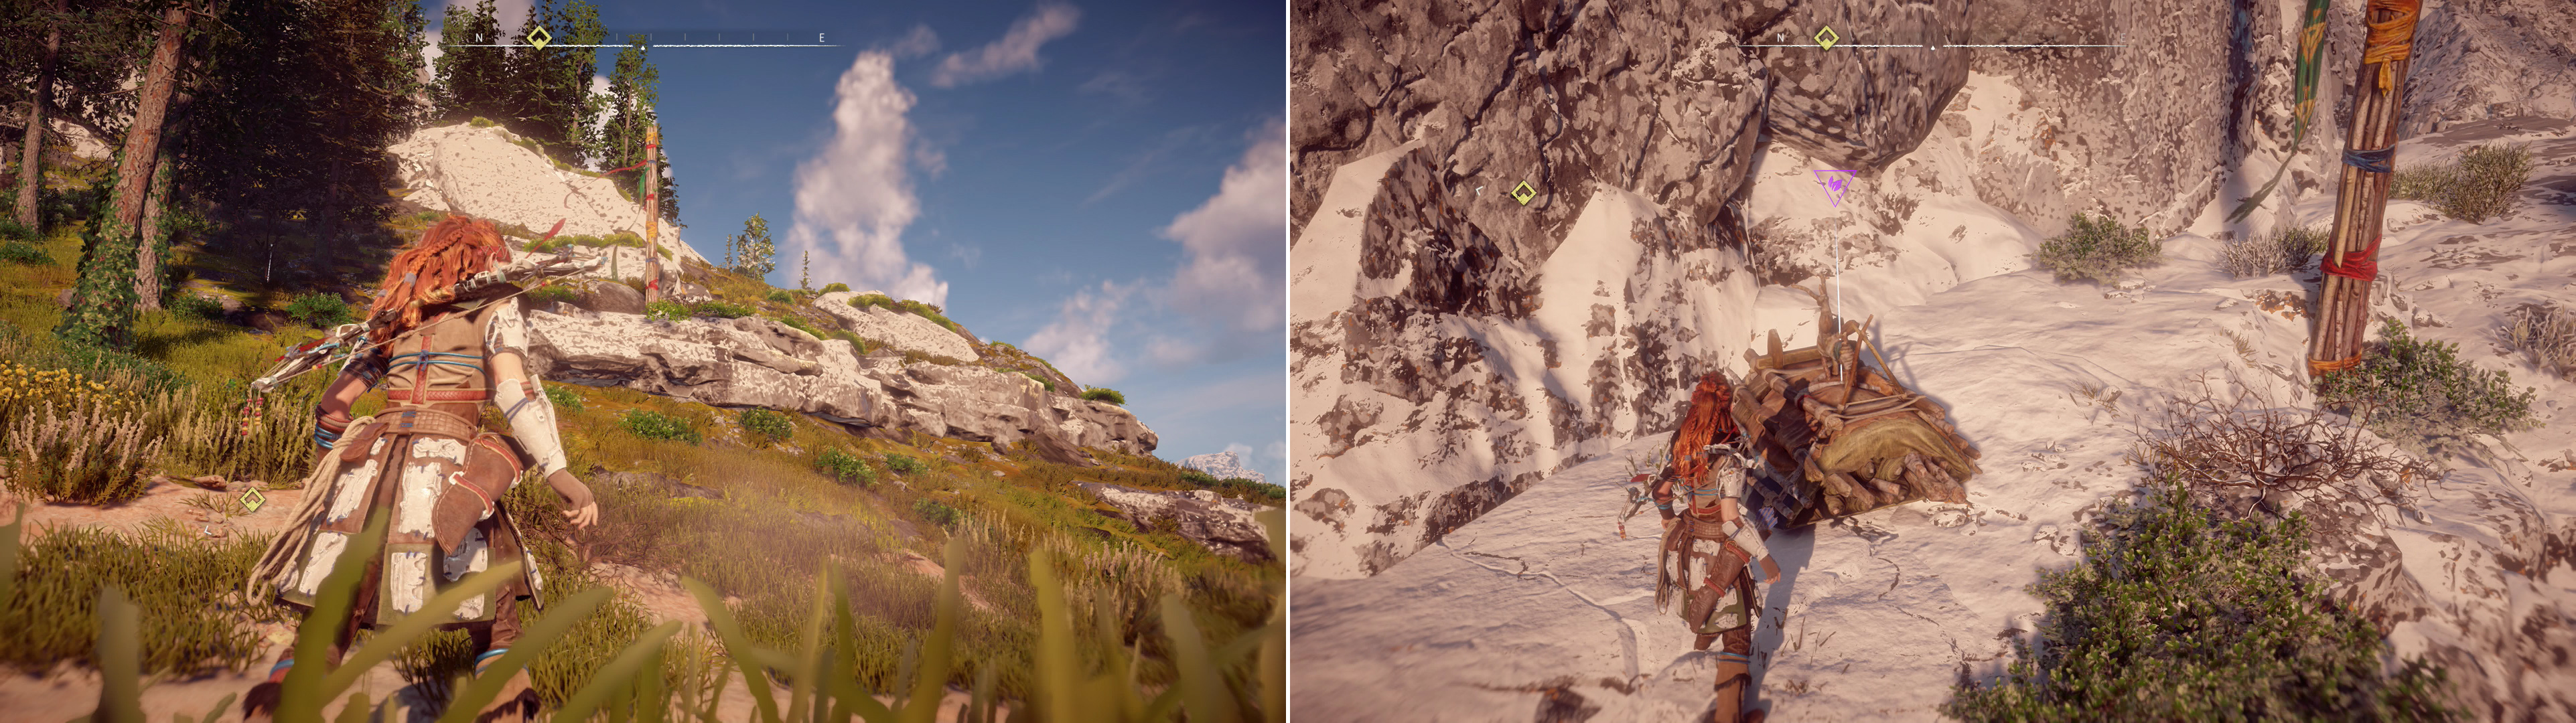
Spot a pole with colorful ribbons tied on it (left) which marks a nearby Banuk site, where you can climb to find the Banuk Artifact - Mother (right).
Banuk Figurine - Mother
Leave Cauldron ZETA behind and make your way south to the road, south, southeast of which is a Campfire. Once you’re all saved up and ready to go, follow a trail east/northeast through the mountains, eliminating or evading whatever machines you come across along the way. Eventually you’ll pass by a fork, northeast of which is a Campfire near a Charger Site. There are plenty of map markers to clear off south of the river nearby, but for this section, let’s stay somewhat focused on the task at hand… you know, now that Sun Furrows Hunting Grounds and Cauldron ZETA are out of the way.
Continue on the road to the east, but keep your eyes to the north to spot a pole adorned with colorful ribbons. Head over to that pole, then ascend uphill, climbing over some rocks to the northeast to find another decorated pole. At this second pole turn north to find the signature Banuk paintings on the rocks. Follow the paintings north to find some cliffs with hand-holds you can use to climb up, then east to reach a ledge with the Banuk Figurine “Banuk Artifact: Mother” .

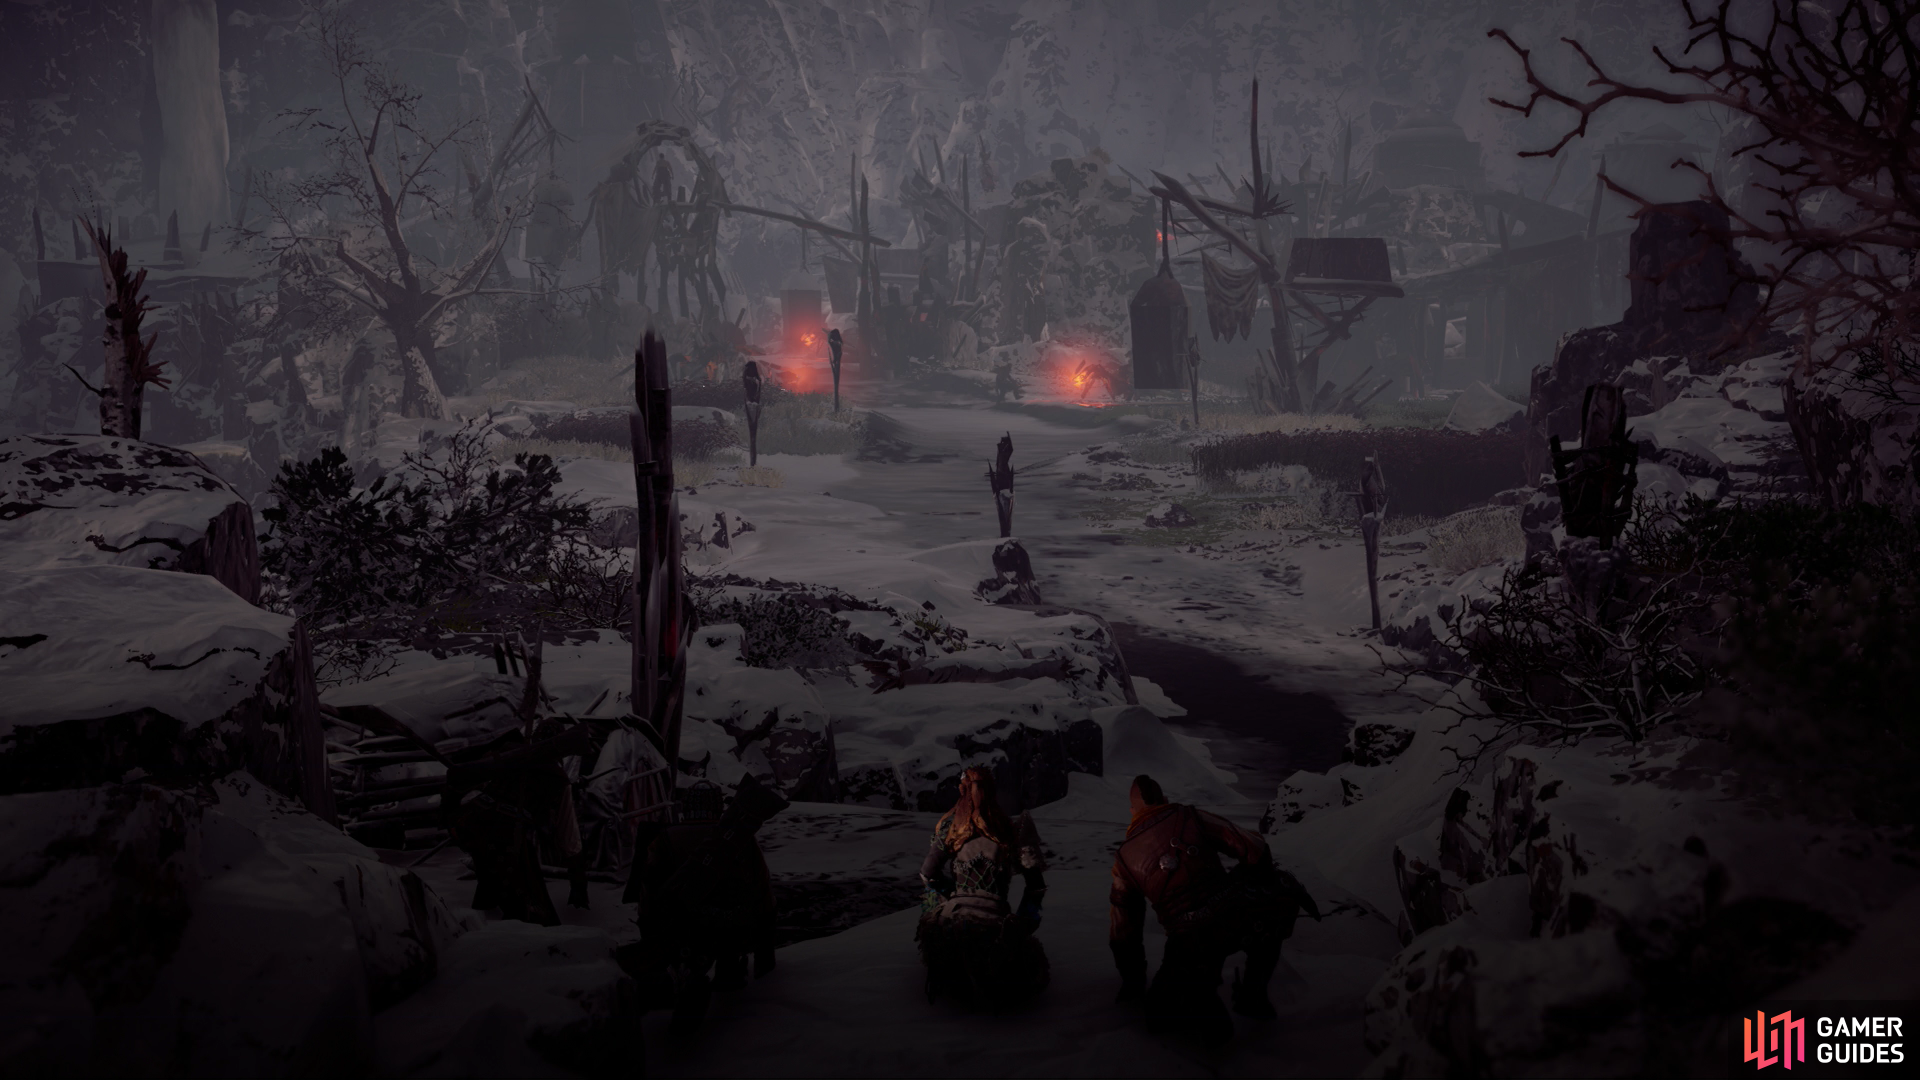
Meet up with Erend at Pitchcliffs (left) then locate Marad’s spy, who managed to leave intel before he died (right).
Pitchcliffs
Grab the figurine, continue east, then rappel down to a lower ledge, take a zipline down, then use another rappel point. From where you land, continue downhill to the east to reach a road, which you can follow the rest of the way north to reach a fork with a Campfire, just east of Pitchcliffs. Head on into Pitchcliffs to find a merchant you can trade with and another Campfire along the northwestern end of town. Otherwise, however, there’s not much to do but head over to the merchant, where Erend will show up and help Aloy search for Marad’s operative. And by “help”, of course, he’ll stand around while you do all the work.
Turn north and scan a trail, then follow it up a road to the west, then behind some buildings to find Marad’s operative near a well. He’s not in any condition to tell you anything, but he did find an ingenious way to spill his guts and snitch on Dervahl. Real intestinal fortitude that guy had.

Metal Flower - Mark II (G) can be found north of Dervahl’s camp (left), but you’ll likely have to deal with a Stormbird to claim your prize (right).
Smashing the Stormbird
Leave Pitchcliffs and return east to the fork with the Campfire, at which continue north along the road here, crossing a river and bashing or bypassing machines until you eventually reach another fork with a Campfire far to the north. Dervahl’s camp lies to the northwest, but before you go see the to trivial matter of finding out what happened to Ersa, there’s another collectible you can grab - and another large machine to fight.
Instead of following northwest, cross the river northeast of this campfire to find a more substantial road leading north. Cross a river to the northeast and note the large, winged machine flying overhead. That’s no Glinthawk, and annoying at those are, the machine flying around - the Stormbird - nearby is more dangerous.
It really only have two main means of attack - its Lightning Gun mounted on its chest, and blasts of force from its wings. As far as vulnerabilities go, it’s strong against Shock damage, has a Blaze Canister and Freeze Canister. The main targets, however, should be the Lightning Gun on its chest and the Engines on its wings. Like with the Thunderjaw, the real killer is Freeze damage - six Freeze arrows or so should freeze it, tripling the damage of your arrows, and after such an onslaught it should be fairly easy to knock it prone. While you work on freezing it and subsequently damaging it with other weapon, use Oseram Sparkworker Heavy armor to protect yourself. Once vanquished, expect to find yourself richer by two or three purple (Very Rare) modifications.
Metal Flower - Mark II (G)
After the winged menace is disposed of, continue northwest, then north along the trail. At a fork (not marked on the map) turn northeast to scale a ledge where Metal Flower - Mark III (G) can be found.
Dervahls Camp
Return back south to the Campfire southeast of Dervahl’s Camp, put on your Nora Silent Hunter Heavy armor, ready your Sharpshot Bow and get ready for some good ol’ camp infiltration and human-killing. This time, however, there’s a bit of a twist, as Dervahl’s notorious penchant for tinkering led him to chain up machines around his camp. This affords you with an opportunity - namely, if you can use the tall grass to get close enough to the bound machines while staying hidden, you can shoot off their shackles and let them run amok on Dervahl’s men. Free the Ravager and the Longlegs outside of camp, first, then stand back and wait for the Oseram to win the fight. There’s little chance these two machines will clear the camp, and it’s rather risky trying to free any more machines inside the camp while they’re around, as you’re more likely to just draw the machine’s attention.
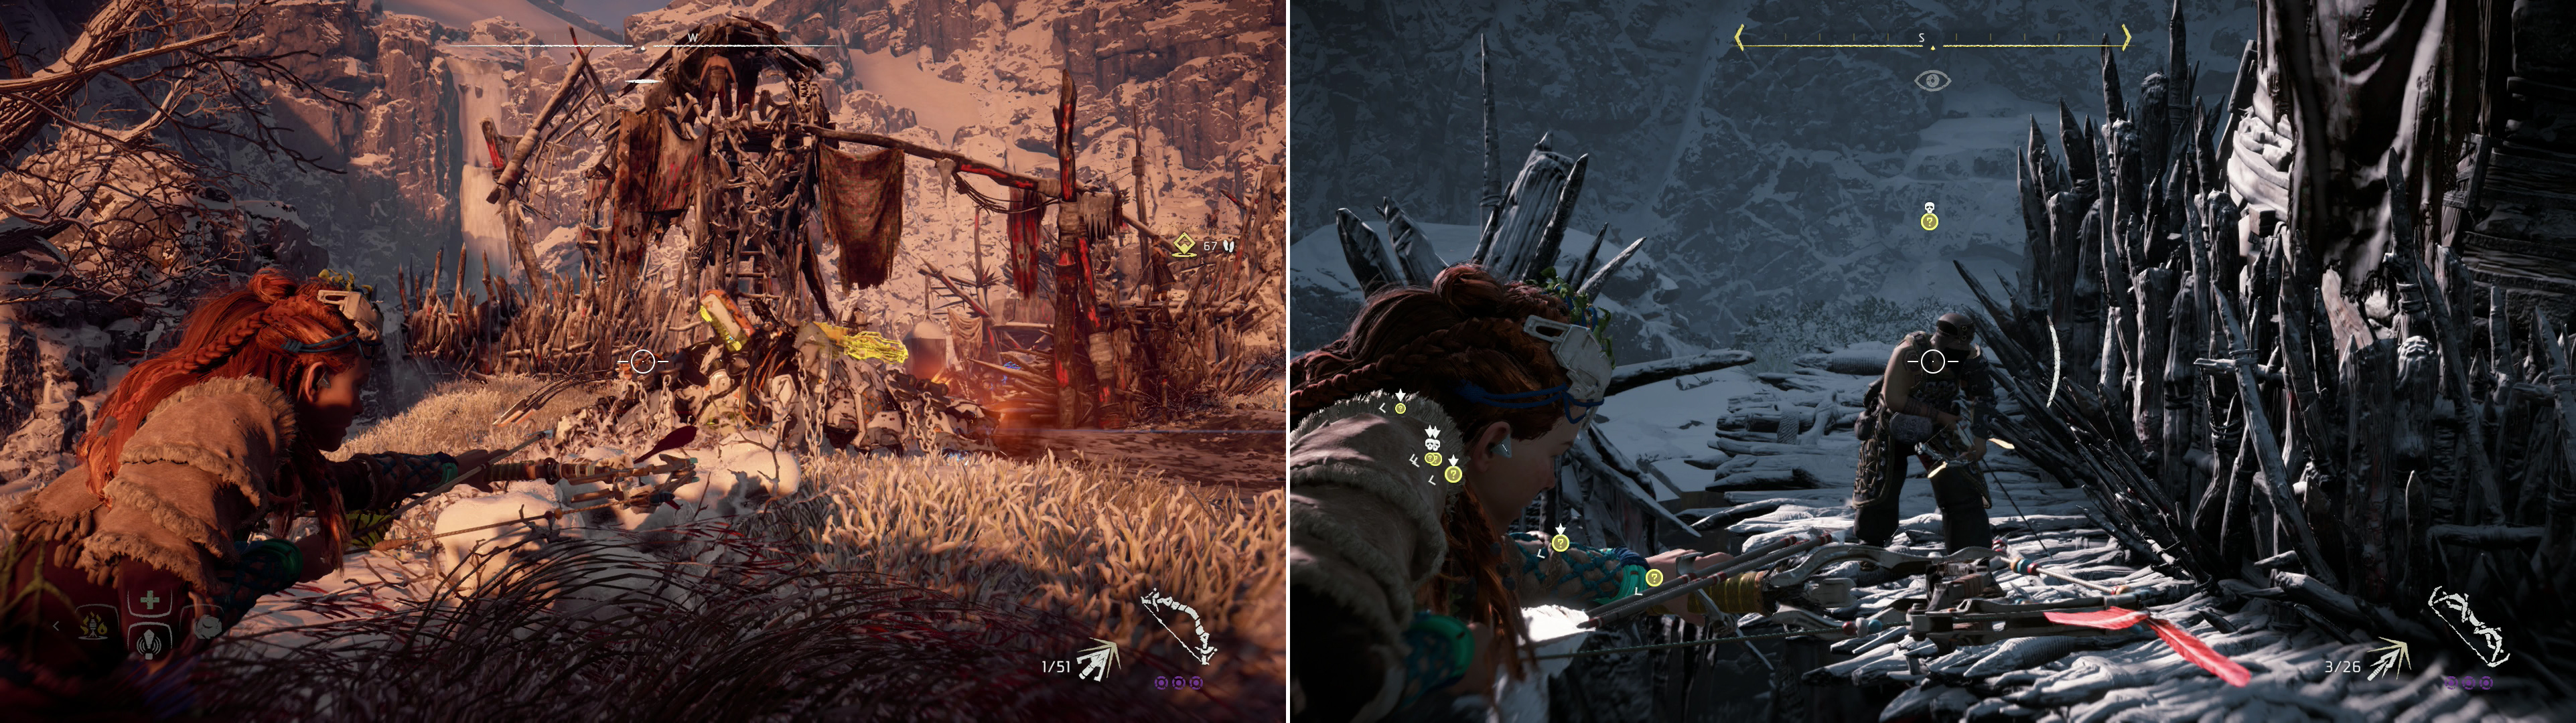
Shoots the chains tying down machines to unleash them on the Oseram (left). Don’t expect them to do all the work for you, however - some mercenaries will likely require your direct attention (right).
After things die down, use your Focus to scan and mark the enemies in the camp, then pick off whatever Oseram present themselves, of which there are quite a few. When you can make your way into the camp a bit, note a Watcher you can free, which… well, it might amuse an enemy or two. Another Longleg and Ravager awaits on some high ground to the north, and to reach them you can head north from the front gate of the camp and move around the eastern side of a building to find some ledges you can climb. This takes you to the elevated, northern edge of camp, where you’ll find some tall grass you can hide in, from which you can free the machines and let them wreck havoc on the camp below.

Defeat the heavily-armed mercenary that occupied Dervahl’s lair (left) after which Aloy will claim the devices that protected him from Dervahl’s sonic device (right).
Once Dervahl’s men and his pet machines are destroyed, enter a house along the northern end of camp to get to experience Dervahl’s sonic device first hand. After a bit of disorientation you’ll have to fight a Mercenary Heavy armed with a Firespitter. Put him down with Double Shot, Triple Shot, or perhaps a Ravager Cannon scavenged from a captive machine…
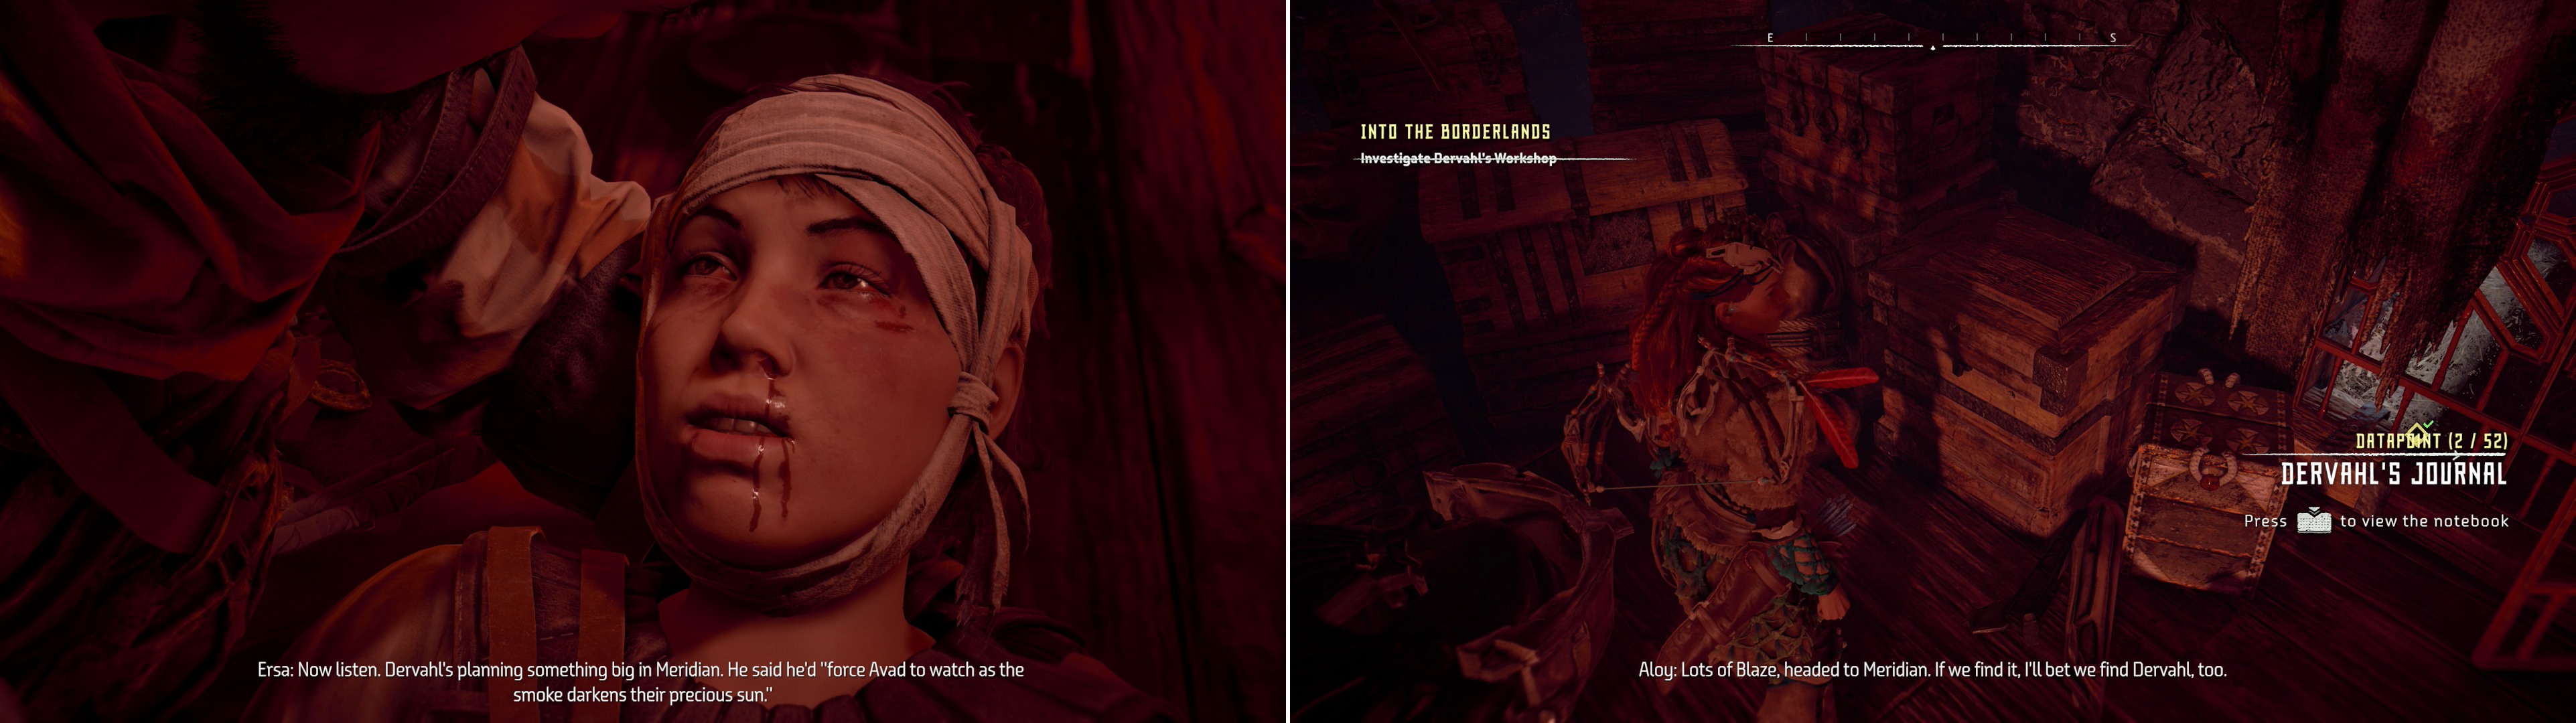
Ersa will pass on a dire warning to Erend (left) which you can confirm by searching Dervahl’s lair (right).
Defeat him, then head downstairs, now protected from Dervahl’s secret weapon with the magic power of… ear plugs? Disable the Sonic Device and continue down into the depths of Dervahl’s lair to find Ersa. She’ll set the story straight on the ambush, then tell you about Dervahl’s scheme. Ultimately, however, it’ll be left to you and Erend to thwart Dervahl. Loot a Large Supply Crate containing a variety of valuable modifications, then use your Focus to scan some Machine Parts to the west. Next scan a Recording Device to the northeast and examine it to gain the Datapoint “Recording Device”, then scan Dervahl’s Journal to the southeast. The former give you a glimpse into Dervahl’s motivations, while the latter hints at his means. Talk to Erend and discuss the matter, ending the quest “Into the Borderlands” and starting “The Sun Shall Fall”.
| Objective | Rewards |
|---|---|
| For learning about Dervahl’s scheme | 5,000 XP |

 Sign up
No Comments