

Disabling Dervahls Device
Fast travel south to the Campfire in Meridian and make your way north to the Royal Palace, where you’ll find… Well, nothing’s really going on just yet. Talk to Avad and the name Aelund Forgeman will come up, giving you a lead to explore. Before that, however, Marad will make an intolerable request of Erend, and you’ll get to make a meaningless trialogue decision with Avad.

Blameless Marad will give you a lead (left) allowing you to thwart Dervahl’s destructive ambitions (right).
Once you’re done discussing things, make your way south to the warehouse, which is quite close to the Hunters Lodge on the southwestern edge of Meridian. As you approach, Erend will employ some of his infamous Oseram subtlety, only to be stopped by a threat inside. Approach and examine the Blaze (the green goo on the ground) and the bomb, then head upstairs and let Erend and Aloy talk about the situation. Afterwards, examine the double doors near the barrels of Blaze, then the barrels of Blaze themselves. Aloy will open the doors, after which her and Erend will make use of some brute force to defuse the situation.
After apparently saving the day, Erend seems convinced that Dervahl has been thwarted, but cautious Aloy isn’t so sure. Erend will be sent to the palace, just in case, while Aloy will search around the warehouse. Scan to the northeast to find some track, then follow the tracks to a house along the northwestern edge of city. Head downstairs to find a breach in the wall, outside of which is a walkway you can follow north to spot some Oseram - led by Dervahl.
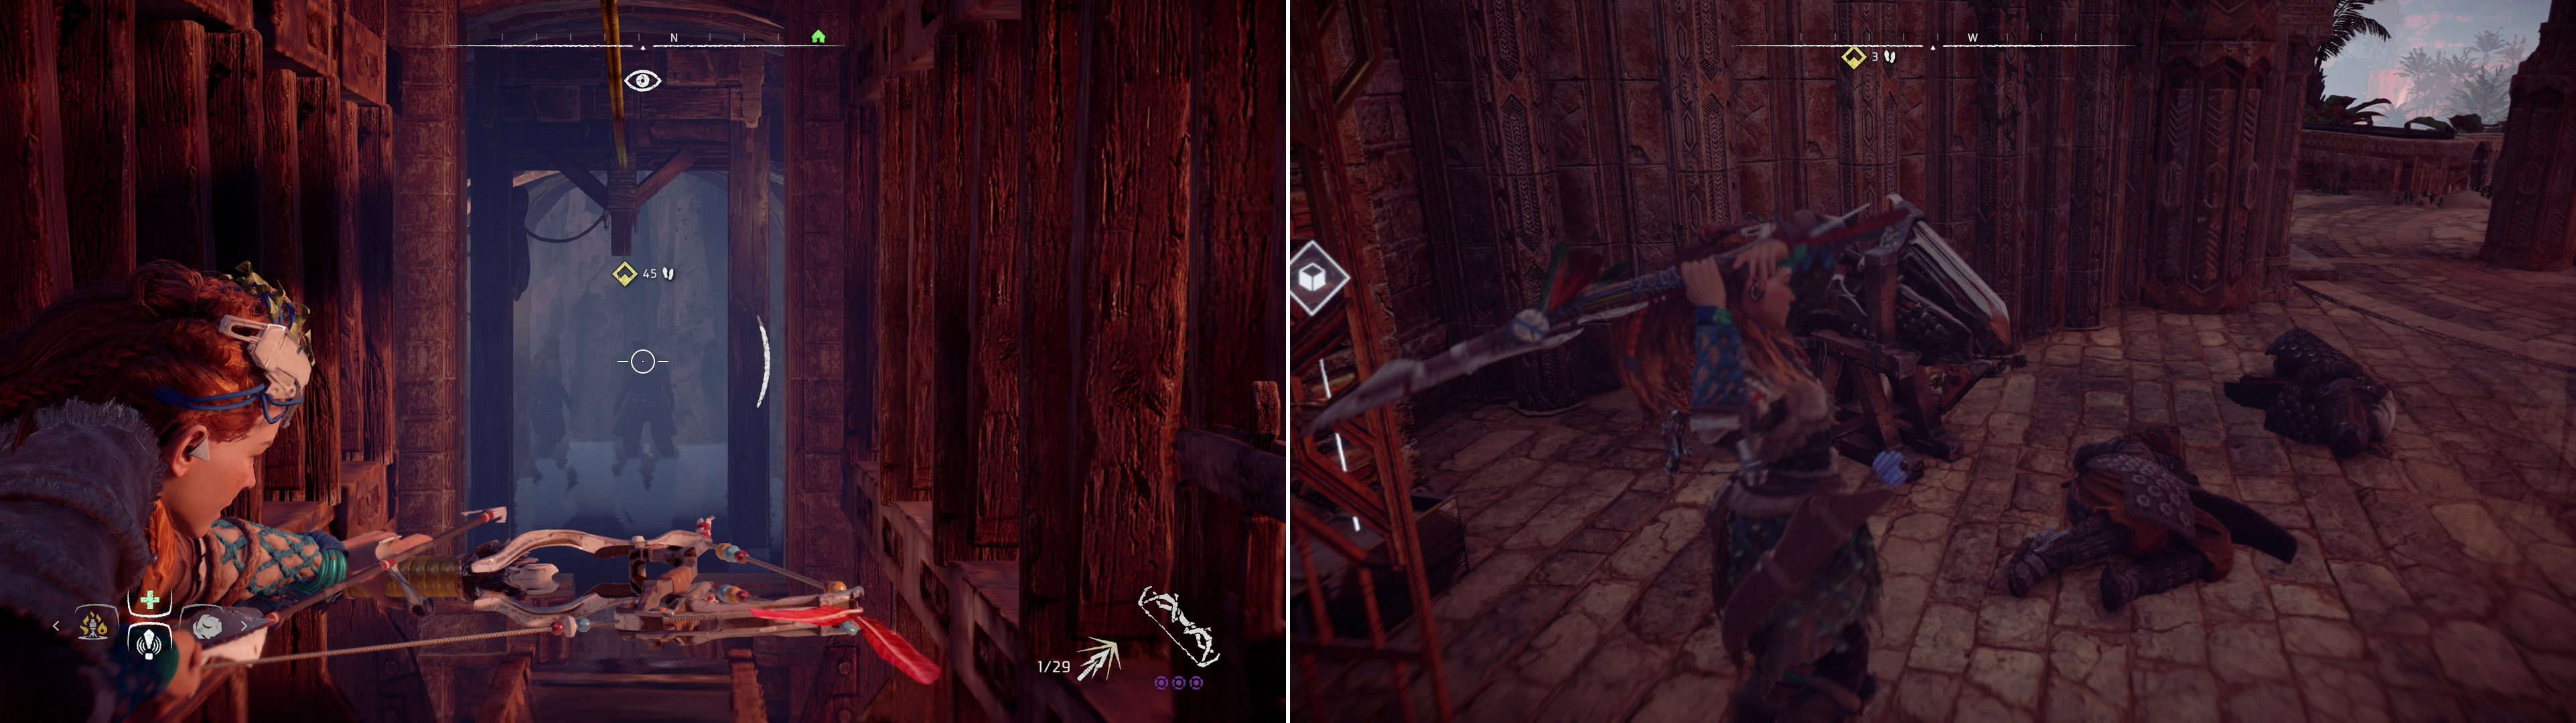
Kill the Oseram mercenaries (left) then disable Dervahl’s sonic device (right).
#Saving a Sun King
Jump onto a ledge, then climb down, east, then up a variety of hand-holds to reach the bridge Dervahl was crossing. Once on the bridge turn north and scan and tag two Oseram Mercenaries, which you can put down at a distance with your Sharpshot Bow. After they’re dead, enter the circular room they were in and ascend some stairs, following the linear path ahead until you reach the palace grounds.
Here you’ll find Dervahl giving his villain’s monologue to Avad, who is incapacitated by Dervahl’s sonic device. Can Avad even hear him? Who knows, but when Dervahl’s bomb fails to cause the reaction he expected he’ll run off, freeing you to destroy the Sonic Device. Do so, then head through a nearby gate to confront Dervahl, who will get to the bloody business at hand after some chatter.
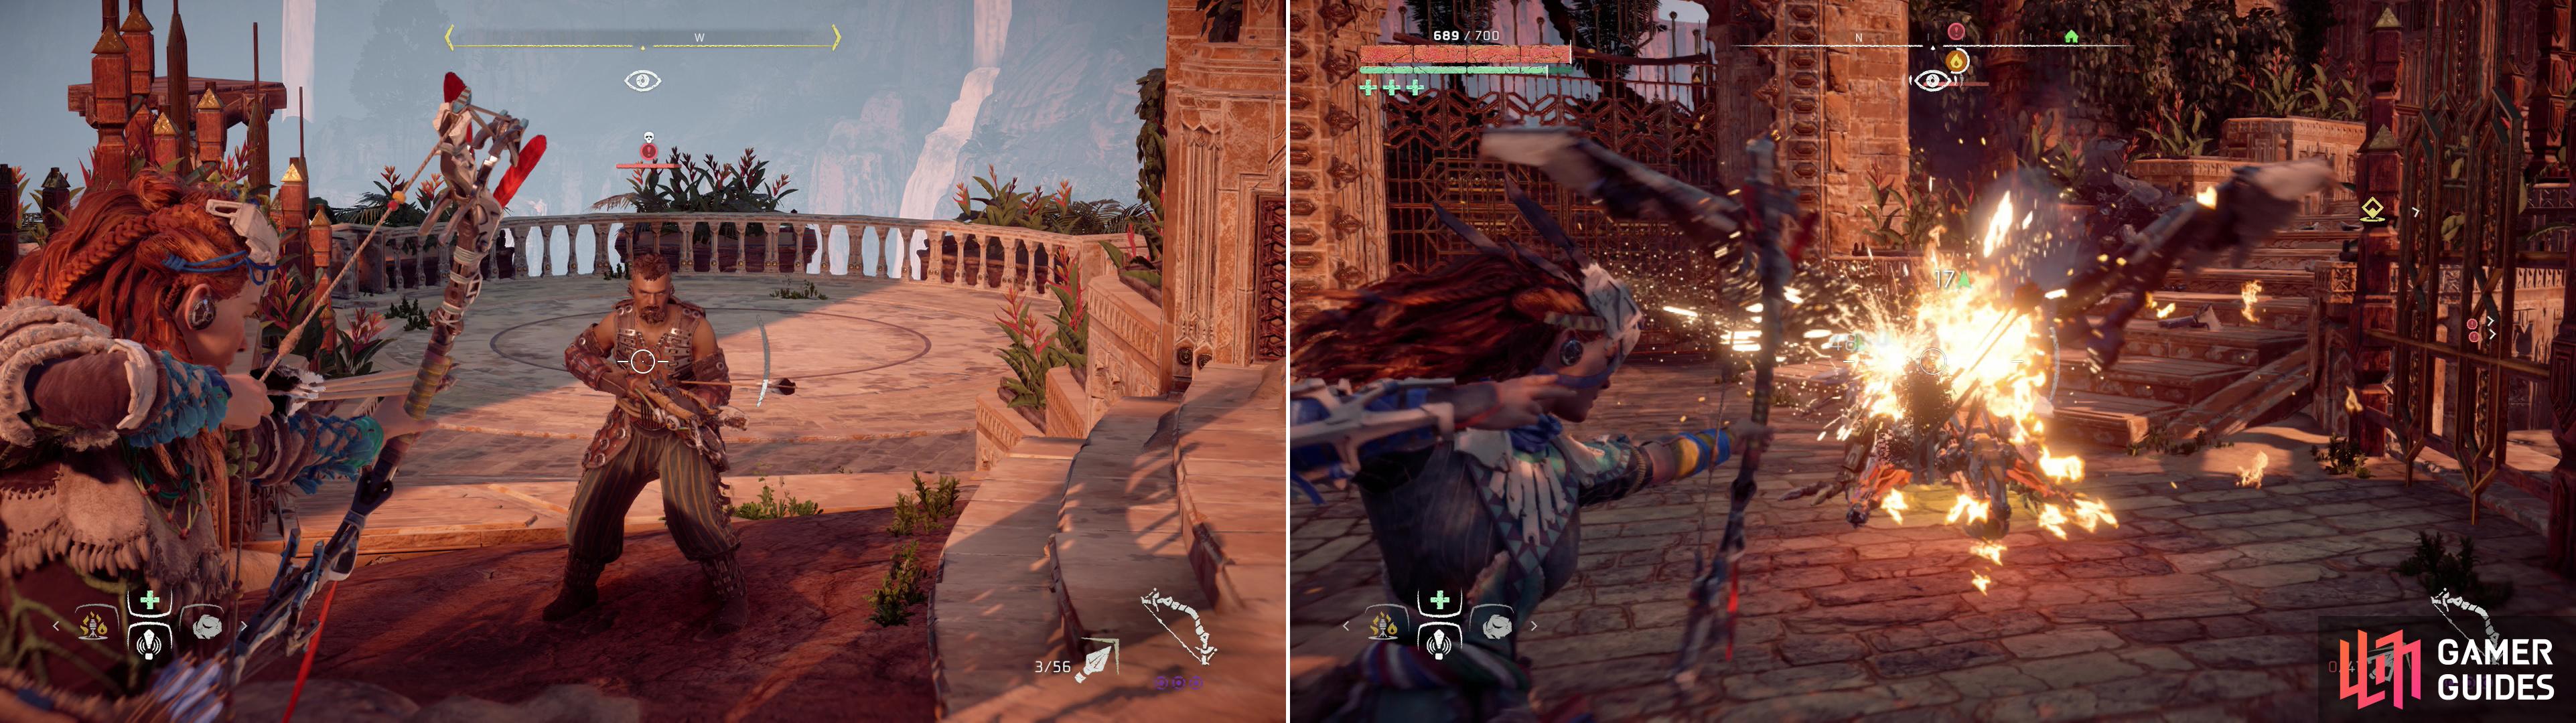
Dervahl may be armed with a heavy weapon, but a few arrows will put him down quick enough (left). After dealing with Dervahl, dismantle the Glinthawks he summons (right).
Dervahl himself is armed with a Firespitter and has a fair amount of health, although nothing so great as to make him incomparable to other elite, heavy foes you’ve faced thus far. Equip some Oseram Arrow Breaker Heavy armor, if you’ve got it, then put Dervahl down with a few Triple Shots. He’s also joined by two Mercenary Warriors who are armed with bows, but they can be safely ignored until Dervahl’s downed, then dispatched at your discretion.
Once the Oseram have been thrashed, Dervahl will move on to his third option, consider plans A and B have failed - with the use of a signal-emitting device, Dervahl will call in some Glinthawks. Switch to your Banuk Ice Hunter Heavy armor, if you have it, then use a combination of Fire Arrows and impact damage to finish off the Glinthawks. They come in two groups, the first group consists of two Glinthawks, while in the second group are four Glinthawks.
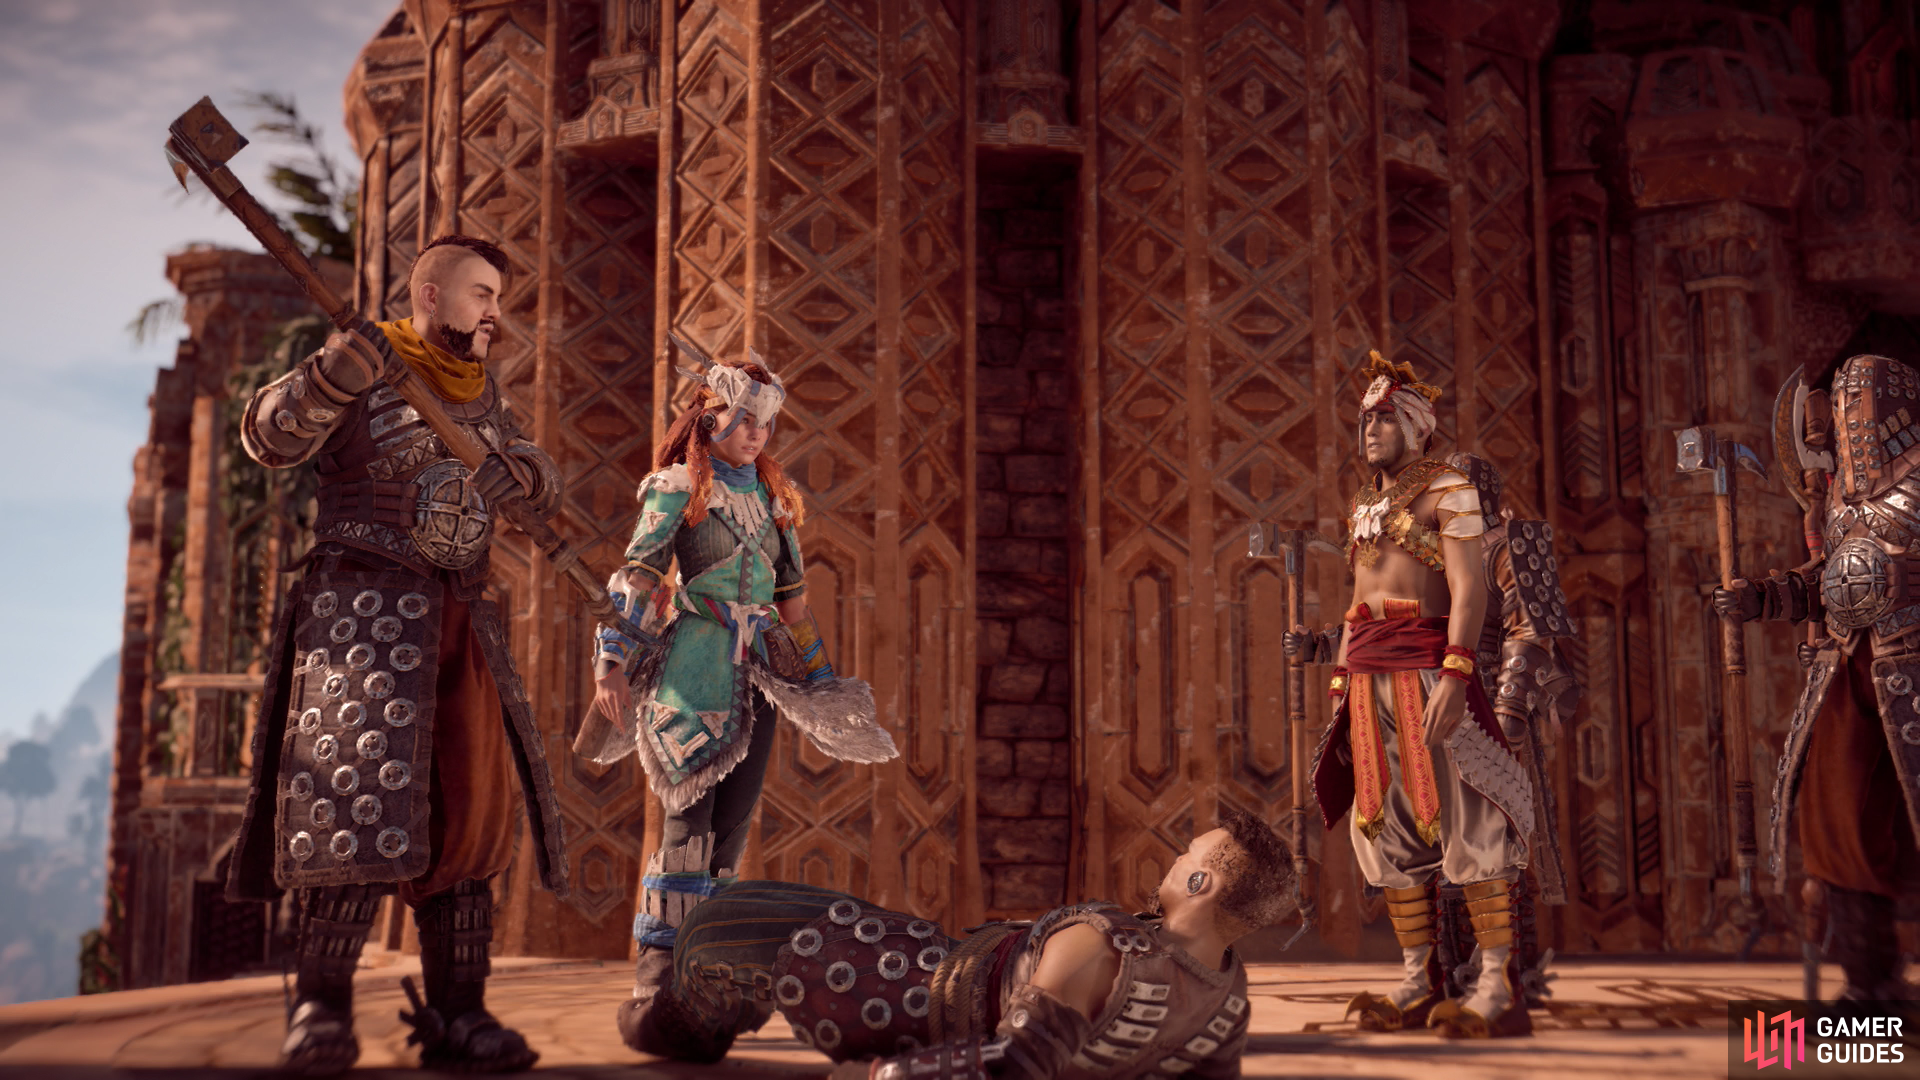
Destroy the machines, then talk to Dervahl. Erend will show some restraint - and maturity - after which you’ll be left with three objectives: talk to Dervahl, Avad and Erend. The first of the three is optional, and honestly, a complete waste of time. Chat with Erend, then Avad to finish this questline up. The latter of the two will make a bit of an indecent proposal, but Aloy’s got too much on her plate as it is to bother trying to fill Ersa’s shoes.
| Objective | Rewards |
|---|---|
| For thwarting Dervahl’s plot | 6,000 XP +1 Skill Point |

 Sign up
No Comments