

| Training Dummies |
|---|
| Training Dummy XXIII |
Ledge Sniping
With that, you’ve cleared just about every map marker in this disquiet valley between the Nora and the Carja. Time to turn your attentions to the mountains to the north. Follow the road back north past the Campfire with the merchant, then past the Vantage Point map icon, and up the circuitous mountains roads to the north until you find a Campfire at a fork. If you continue west you’ll reach Daytower, but there’s one more task you can complete before you go…
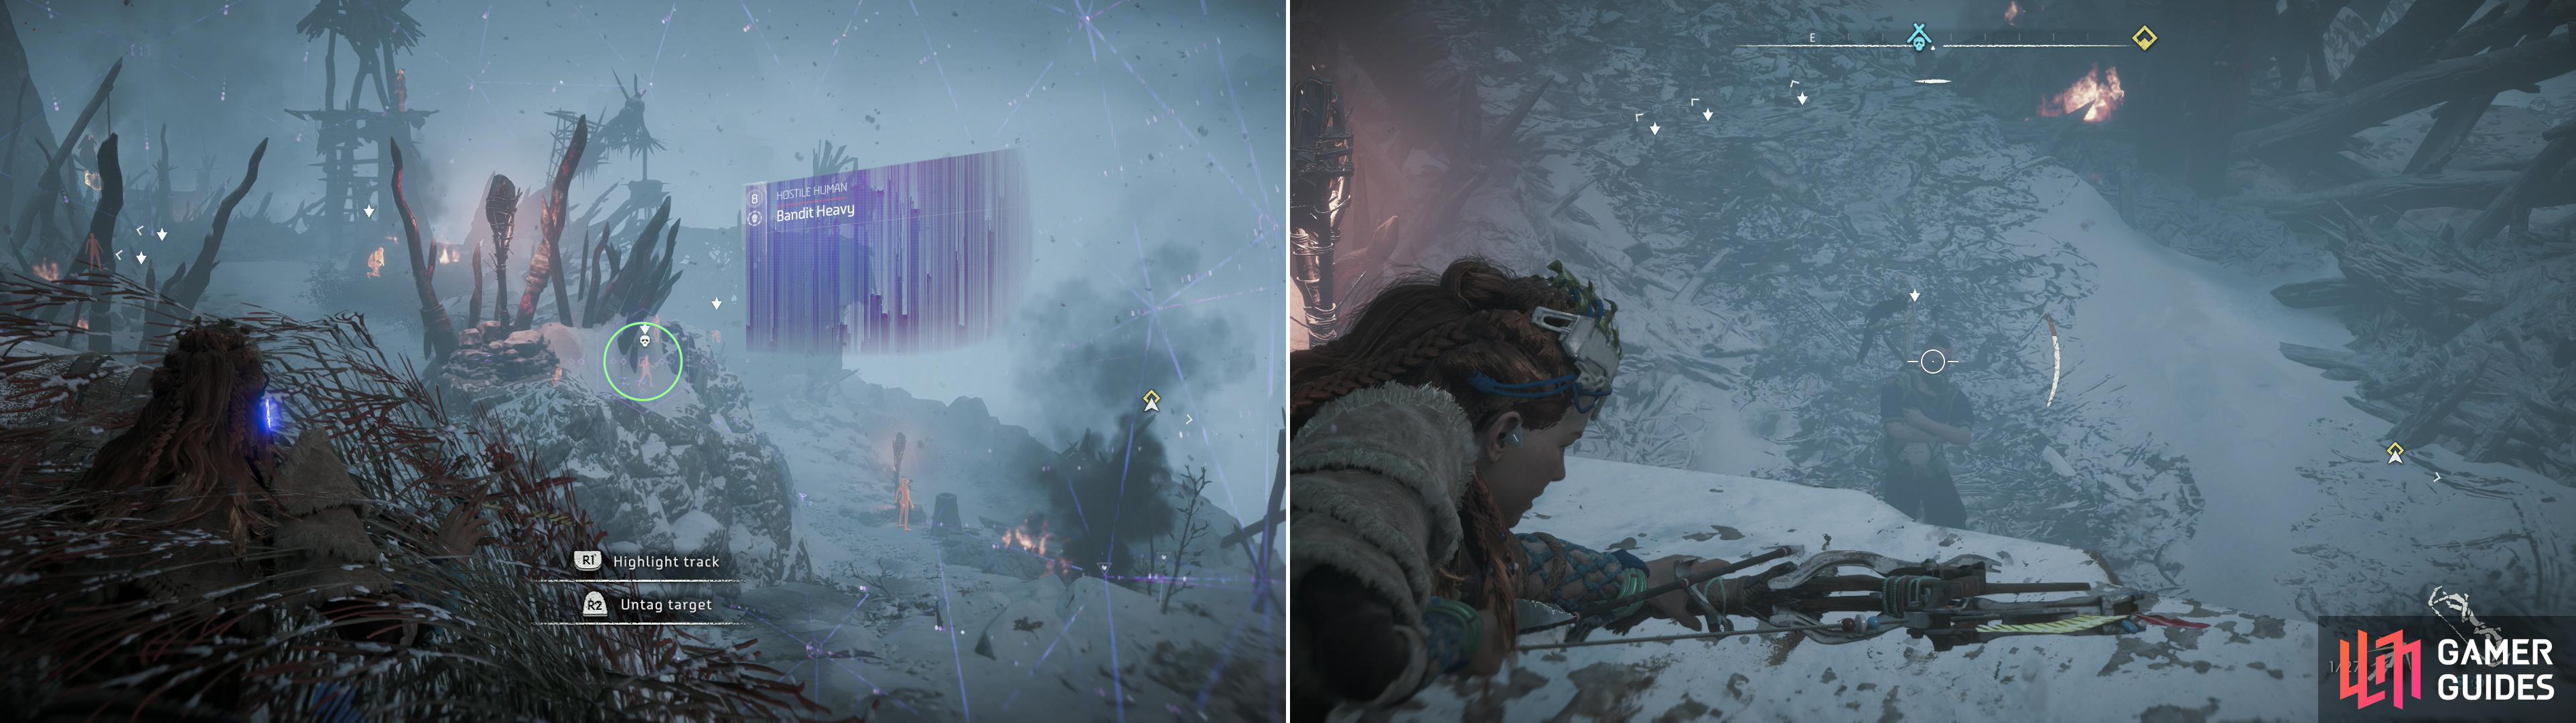
Scan and mark the locations of the Bandits (left) then pick off what Bandits you can from the ledge along the northwestern end of camp (right).
Head up the road to the north, then follow it east to find the Two-Teeth Bandit Camp. If you already cleared the Hollow Fort Bandit Camp, this one should prove to be no problem, as it’s much lower of a level. The same strategies you employed on the latter work to devastating effect here, just be wary that the Bandits occupying the fort can stray quite far from the Bandit Camp icon on the their patrols. Use your Focus often to scan for and mark the locations of enemies, and when the rare elite enemy shows up, use cover or Double Shot/Triple Shot to put them down without a fuss.
Follow the mountain trail east until you see some collapsed logs forming a triangle, which marks the camp’s western-most extent. Eliminate the patrolling Bandit here, then turn your attention north to the elevated ledge, where you can find two wonderful things - a height advantage, and tall grass. Unfortunately, even at its easternmost extent there are few Bandits in view from here, but you can certainly use these heights to eliminate them and penetrate further into their camp.
Pick off a Bandit on a watch tower (left), then take position atop the tower, from which vantage you can disable the alarm (right).
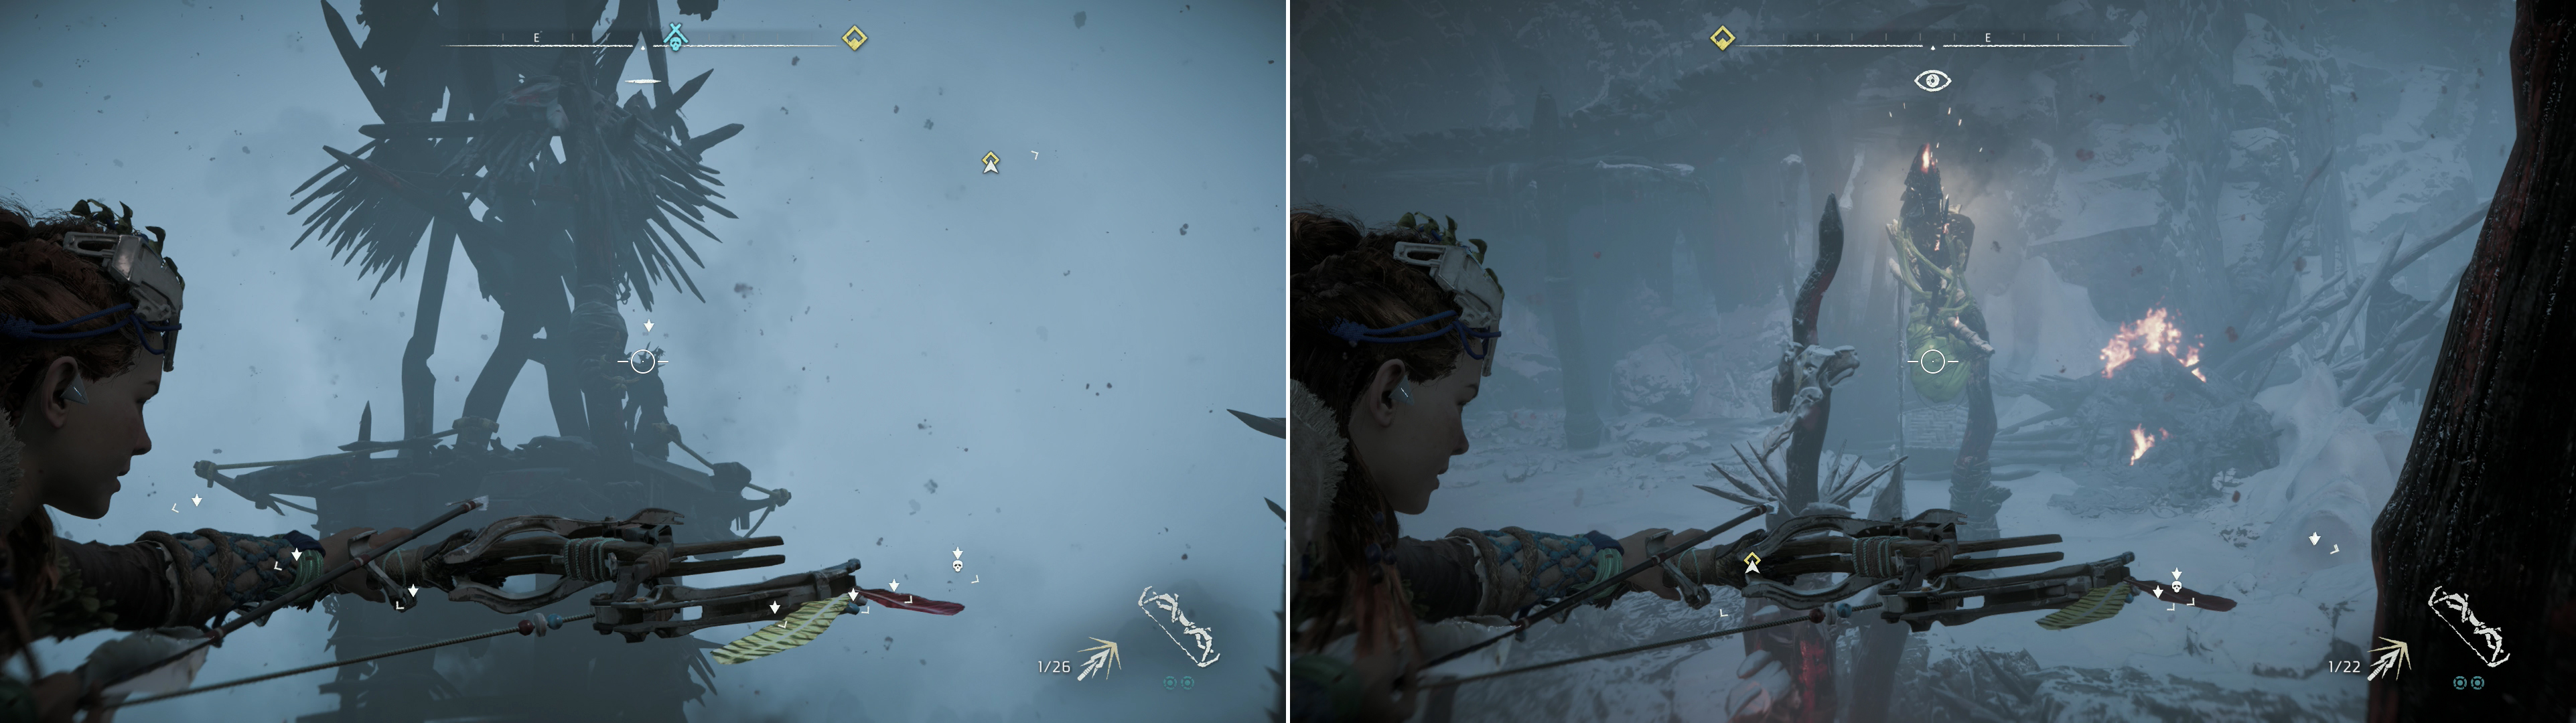
Disabling the Alarm
Eventually you’ll reach a fork in the path, which lead to the two branches of the camp. To the west is the upper camp, which is where you’ll find a watch tower, some prisoners and the alarm. Basically everything of interest. To the southwest you’ll find a Bandit Heavy (the sole elite of this camp) and some lesser Bandits. The choice is clear, drop back down to the trial (if necessary) and continue east until you find some tall grass, which provides fine cover from which to snipe the Bandit on the watch tower. Do so, then Silent Strike a nearby Bandit to the southeast and assume the deceased Bandit’s perch and look east to spot the alarm. Disable it, then rain death down upon the Bandits below.
Prisoners and the Final Push
Once they’re all dead, drop down to the north and free the prisoners, if you wish. Now all that’s left are the Bandits do the south. There’s a trail leading down near the alarm you can use, but you can also make use of any ledge or the watch tower to provide a vantage from which to snipe the remaining Bandits. Dispatching the Bandit Heavy and stealing his Firespitter is, as usual, a terribly fun way to mop up the last few Bandits.
| Objective | Rewards |
|---|---|
| For clearing the Two-Teeth Bandit Camp | 7,500 XP |
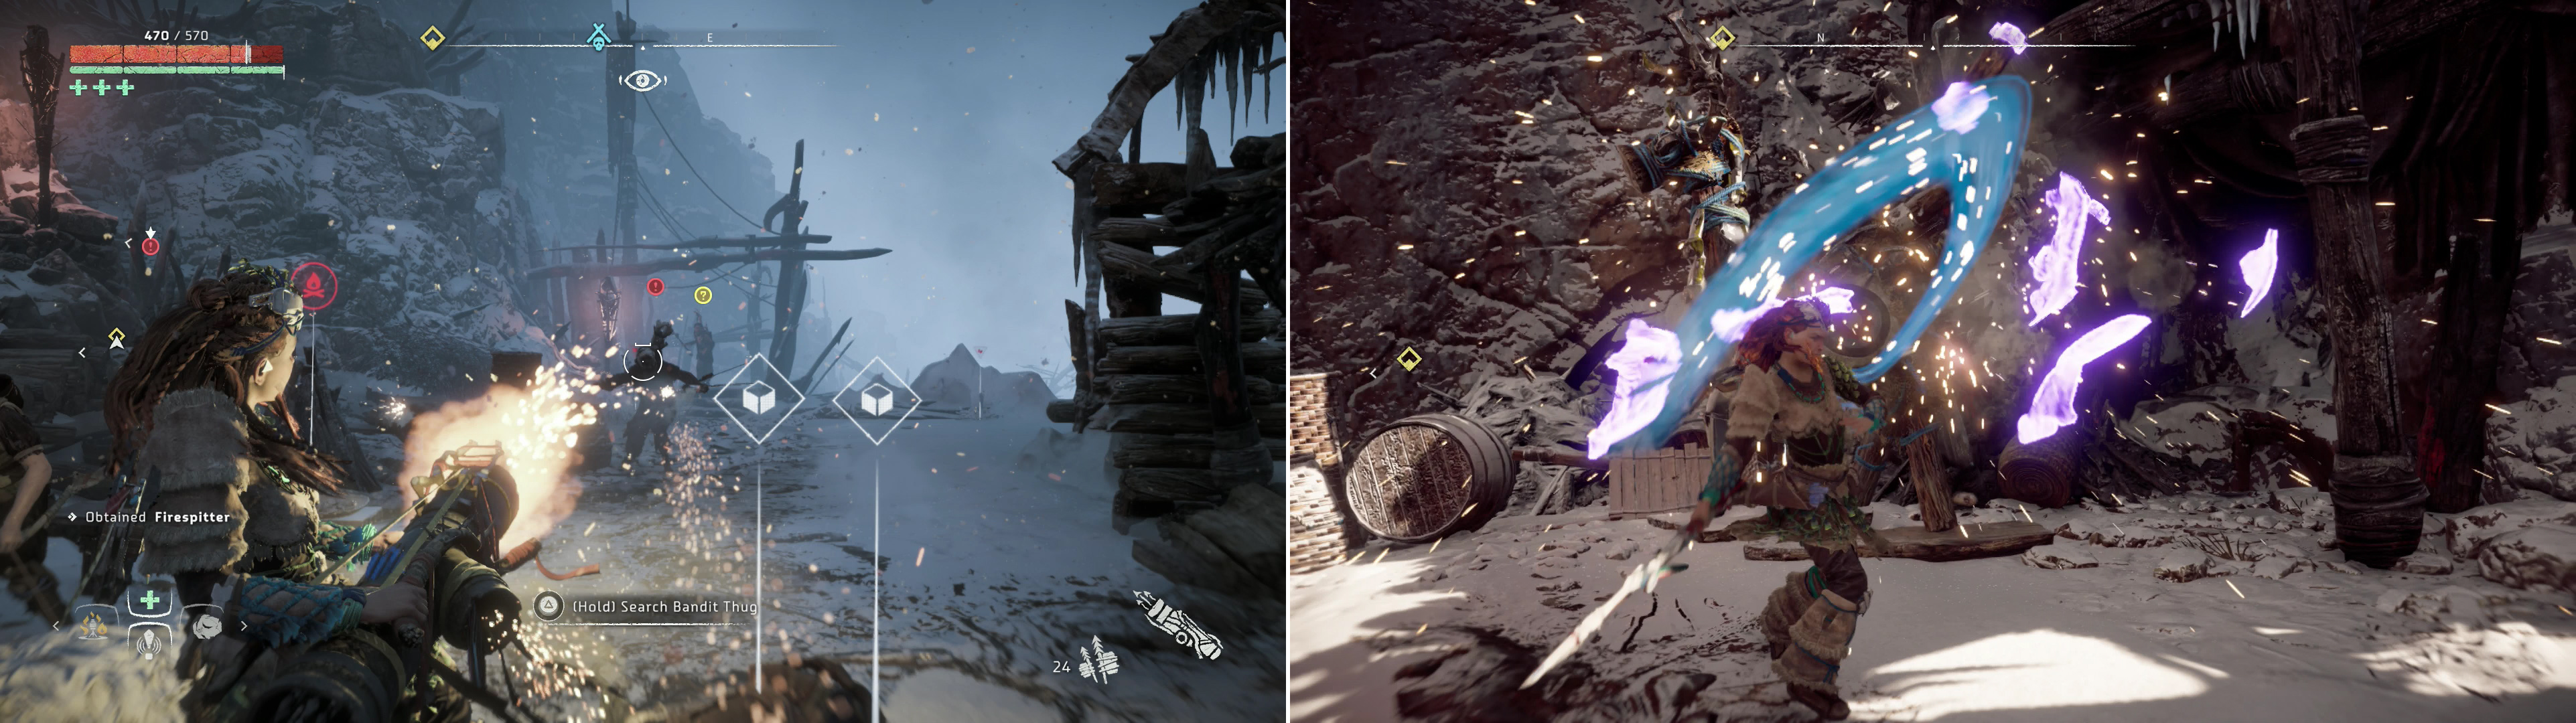
Once the alarm is disabled, you need only eradicate the few remaining Bandits (left). After the camp is liberated, smash the final Training Dummy to earn your trophy (right).
When the place is clear, civilization will return, including a merchant you can do business with. Loot the structure along the southern end of camp to find several Supply Crates well worth plundering. Most importantly, return to the northeastern end of the camp (northeast of the watch tower, near where the alarm was) to find Training Dummy XXIII - which, if you’re following this guide, should be your final Training Dummy.

Downed 23 Grazer dummies
Found and knocked over all of the Grazer training dummies in the Nora region.


 Sign up
No Comments