

Well, things don’t exactly start out on the right foot, as Deathbringers are marching on Meridian, but the first pressing matter is Helis, who breaks into Meridian itself, causing a bunch of chaos. The battle with Helis is quite tough and having the Shield-Weaver Outfit is immensely useful from the get-go, as you also have other enemies to contend with besides Helis. If you don’t have the armor, then you are in for a rough ride, so hopefully you have some fire-resistance and even ranged resistance.
One thing you do not want to do is engage Helis in melee, as he will hurt you bad. Throughout the arena are blaze barrels that you can set on fire to make them explode, which is one way of finishing the battle quickly. You definitely want to finish the battle in a swift manner, as the unseen machines attacking Meridian will start destroying the arena, giving you a smaller area in which to fight Helis. A maxed out Shadow Sharpshot Bow with damage mods should be doing around 250 damage for each headshot.
Rise of the Machines
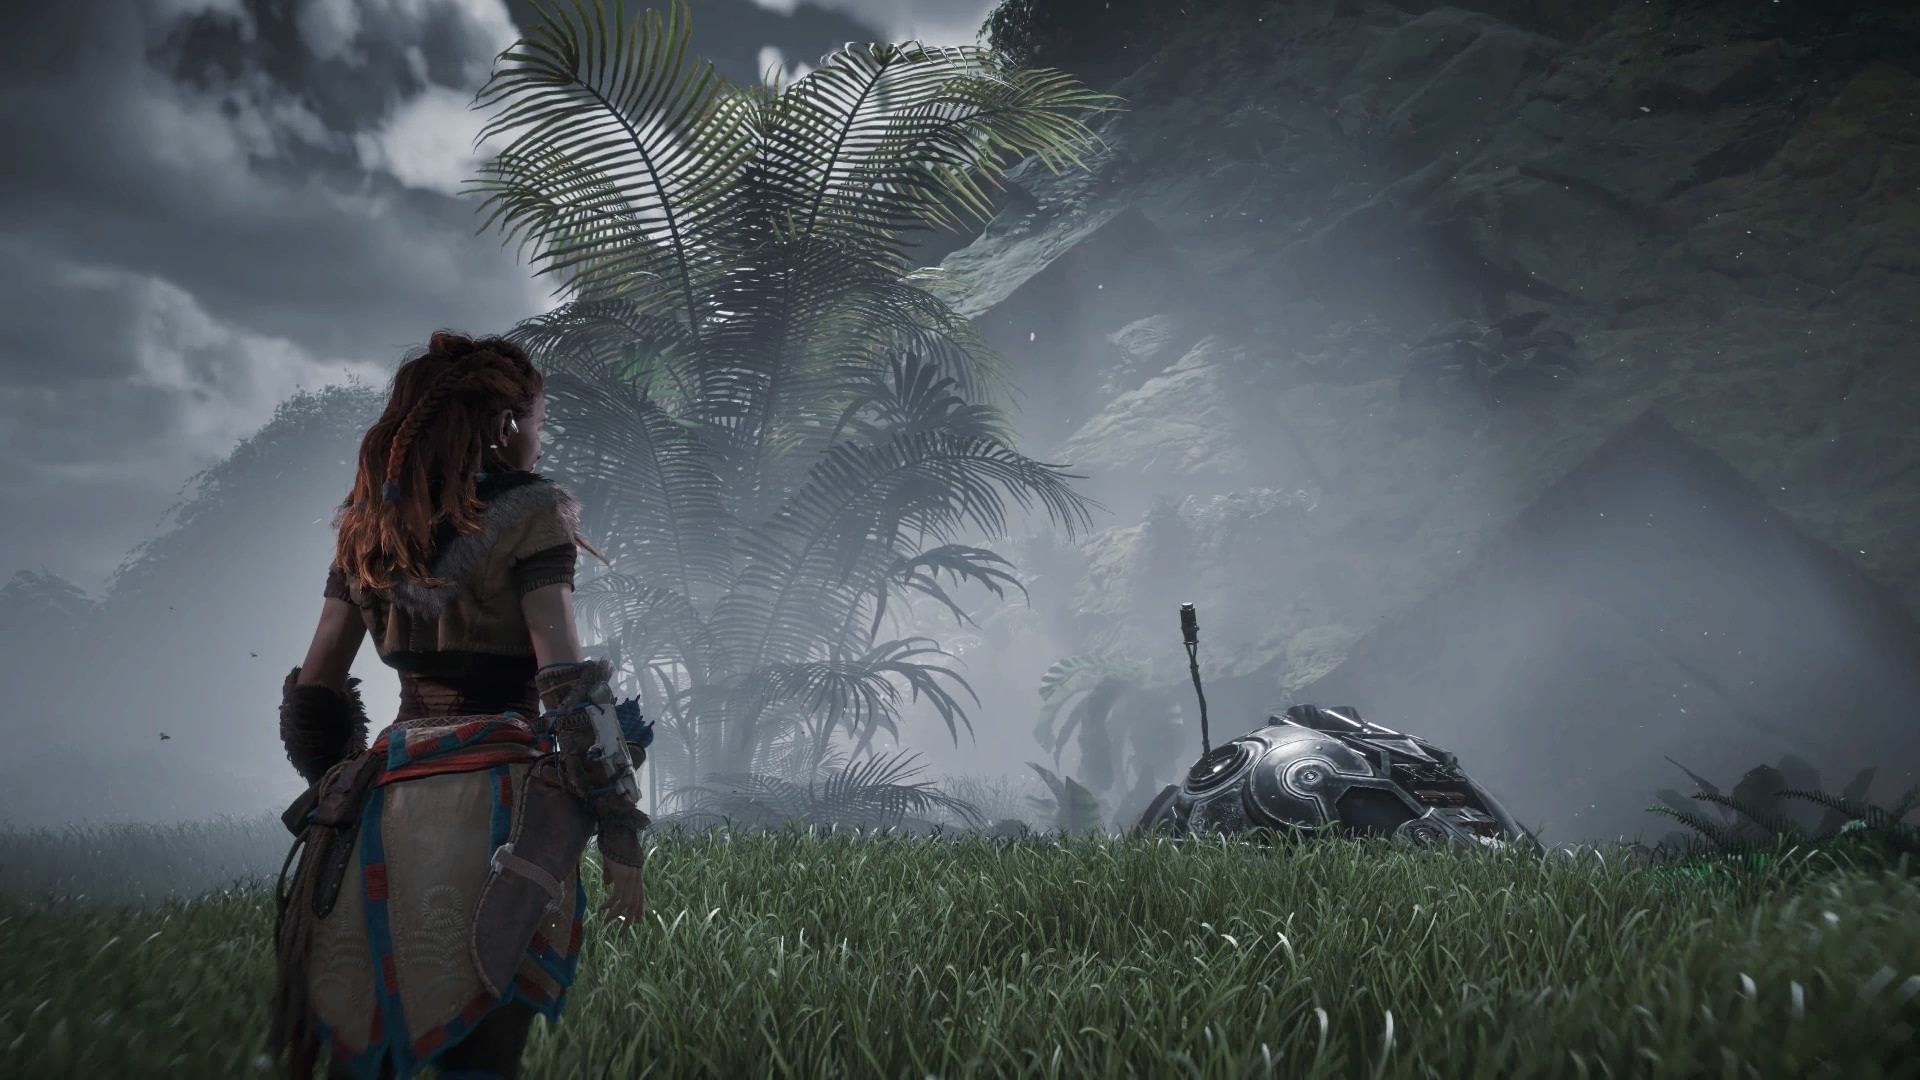
With Helis now out of the picture, your attention is turned towards the machines attacking Meridian. Loot Helis and breach the door, then take the zipline down to the Ridge. Head to the lowest level and pick up the Oseram Cannon from the one NPC. Hold down L2 and charge up the cannon with R2, then release the latter to fire it. There will be a total of three waves of machines before a lull in their attack. The first and third waves will come in from the right, with the second coming in from the left. The first and second waves will each have a Deathbringer, along with some other machines, like Ravagers, Scrappers and Bellowbacks.

You need to compensate for the Oseram Cannon’s drop by aiming a little higher.
Make sure you arch your shots and concentrate fire on the Deathbringers first, as they can dish out the most damage. After the short break, the assault will begin anew, with more Deathbringers, Scrappers and Bellowbacks. Of course, things aren’t as simple, as an aerial wave will appear, with Glinthawks being the first to respond, then a Stormbird not too long after that. These might be a little more difficult to hit, especially should they decide to keep moving, but the Oseram Cannon does deal huge damage if you connect with all of the shots. Once all of the machines have been turned into scrap metal, watch the scene that follows before you regain control.
The Decisive Battle
Wow, that certainly escalated into a much worse situation. When you can move, sprint through the burning village, stopping only to loot any supply crates or felling stray machines. Your destination is the top of the Spire, although there are some gaps in the path that will require you to use handholds and other things to cross. Meet up with Erend and the others near the top, picking apart the supply crates there to refresh any resources you may have spent. When you’re done, climb the remaining bit to the top and get ready to face the final boss.
Yes, it’s nothing more than a Deathbringer, but it’s quite a powerful one that has a lot of health. The battle will start out relatively tame, like any normal Deathbringer you have fought, so begin by aiming at the guns on its shoulders and just underneath them, using the various walls and pillars as cover, knowing they can and will be destroyed. Of course, you also have help in the form of Sona, Varl and Erend, who might help distract the Deathbringer.
The fun really starts whenever the Deathbringer calls in reinforcements in the form of other machines. When it does, concentrate on those and hopefully the big one will be distracted by your friends. When the coast is clear, return to fighting the Deathbringer until it brings out more machines, then repeat the process. Eventually, the big and burly Deathbringer will go down and you will be victorious, although there is one last thing to do before you celebrate. Go up to HADES and finish it once and for all.
Congratulations on finishing the main story for Horizon: Zero Dawn, so sit back, relax and enjoy the ending. After the credits roll, there will be one more scene, then the game will load you back to right before you visited Avad during The Looming Shadow. The plus side is that all of the experience you gained in the final battles and quests are still with you, making it that much easier to level to 50, if you haven’t already. You will also be able to go back to clean up anything else you haven’t done.
| Objective | Reward |
|---|---|
| For ending the war machine threat | 18,000 XP / +1 Skill Points |


 Sign up
No Comments