
| Obtainable Skills/Blueprints |
|---|
| URAGAN-5 Blueprint |
| # | Mission Task | Mandatory/Optional |
|---|---|---|
| 1 | Eliminated the former rebel Mbele soldier. | Mandatory |
| 2 | Eliminated the five prisoners held at Kungenga Mine. | Mandatory |
| 3 | Extracted a child prisoner. | Mandatory |
| 4 | Extracted the former rebel Mbele soldier. | Optional |
| 5 | Completed the mission by extracting five child soldiers without the enemy discovering their escape. | Optional |
| 6 | Eliminated the gunship. | Optional |
| 7 | Extracted five snipers from areas near Kungenga Mine, and the NE and SW guard posts. | Optional |
| 8 | Extracted three armored vehicles. | Optional |
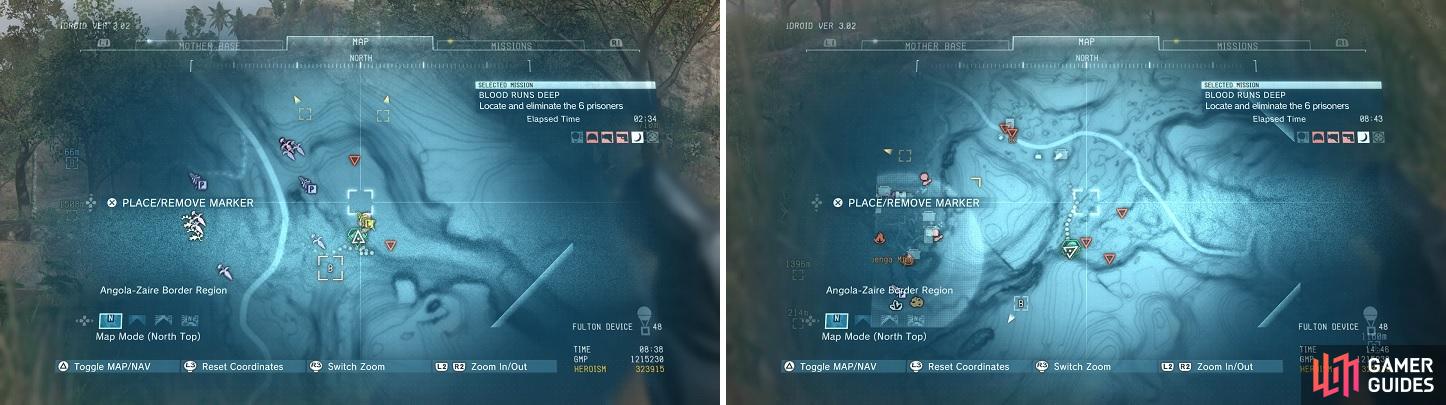
Before starting this mission, you will want to bring along a rocket launcher, just in case. Your objective in this mission is to eliminate six soldiers, who are spread across two areas. One of the first things you will notice is that there’s a gunship that patrols between both areas you have to go to. It’s best to just ignore it right now and lay low whenever you see it passing through on your map.
To start, head to the Bampeve Plantation, the location of the first objective marker. The rebel soldiers you’re looking for are mixed in with the regular ones, so you’ll need to identify them first. Although, you can simply tranq and extract them all, but there’s only one guy you need in this area. He is easily recognizable by the white shirt he is wearing, since he’s the only one wearing a white shirt.
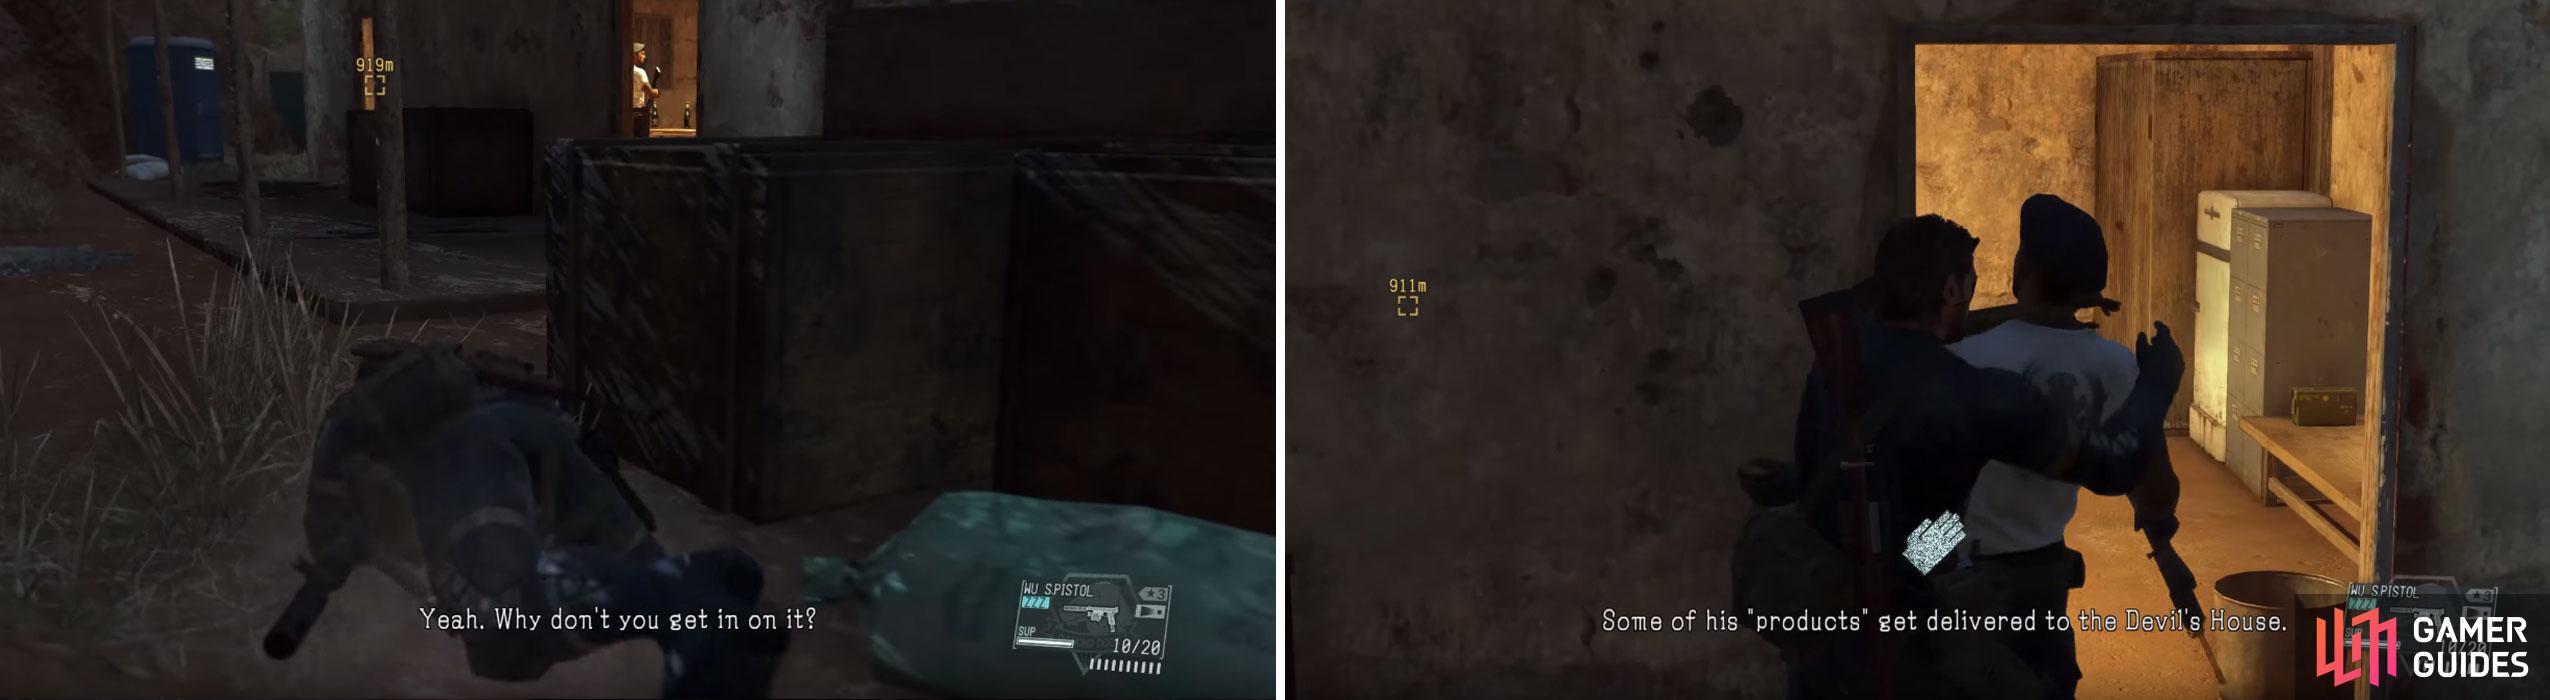
Creep up to the target (left) then choke/ stun or Tranq the soldier so you can extract him or simply eliminate him (right).
The rest of the rebel soldiers are located at Kungenga Mine. Note that the gunship tends to circle around this area, then make a pass through the center of it, so always keep a lookout for it when it does the pass. To prevent things from escalating a little later, it’s a good idea to tranq/extract all of the enemies at the mines.
Once you do that, head to the southern section of the area and look for a metal gate that’s a little recessed in the rocky terrain. Unlock this one and then the net to view a cutscene, after which, you will need to protect the five children as you guide them to the chopper for extraction. The only problem is that one of the children is hurt and cannot move on his own, so you’ll need to carry him there. There are also 3x Rough Diamonds in the back of the prison cell.
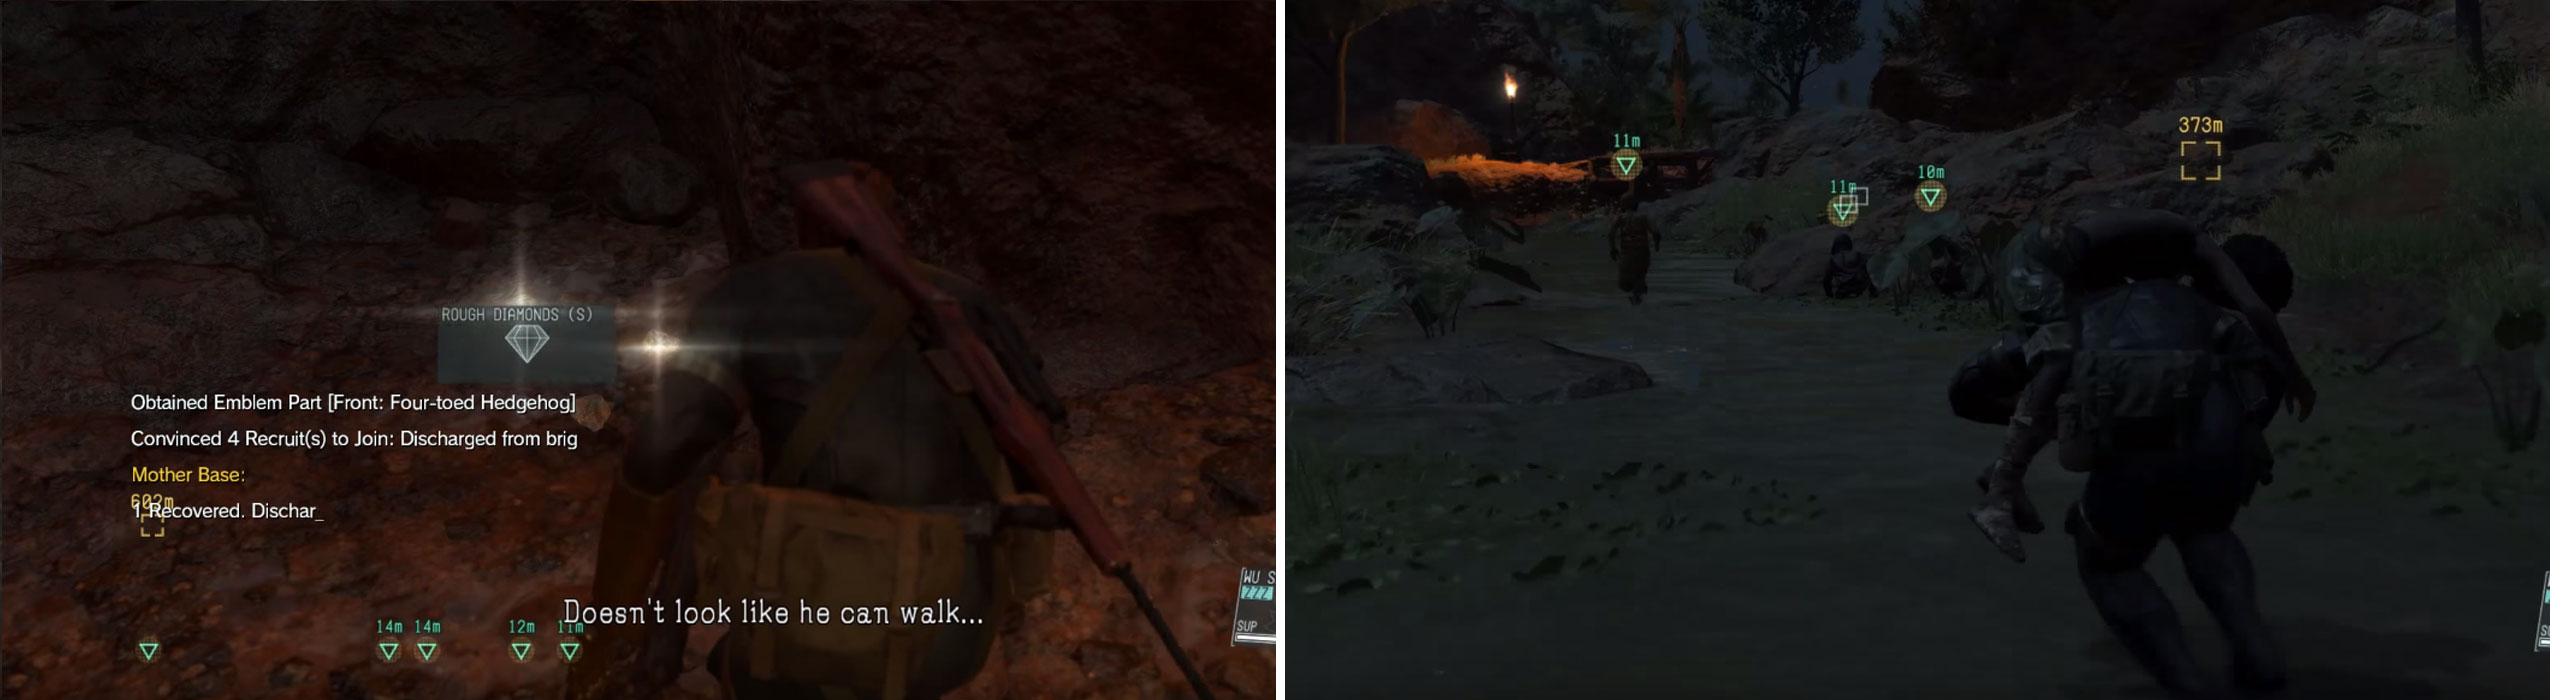
Collect the diamonds from the cell (left) then carefully escort the children to the chopper (right).
The children can be ordered similar to your Buddies (look on the left of your command circle), with the only options being to ‘Wait’ and ‘Go’. If you’re too far from them, then they won’t hear you and will act on their own, often getting into danger. Speaking of which, there will be enemies on the way to the LZ, as well as the gunship from earlier, which passes every now and then. When you see the gunship in the area, order the kids to stop and don’t move yourself.
There will be around four groups of enemies along the path to the marker, usually consisting of two or more soldiers. The best thing to do as you get to each one is make the children stop moving, then put the one you’re carrying down before putting the enemies to sleep. If you want to extract them, you can, as this makes it so you can easily backtrack in case you miss something. Once you get to the helicopter, you will have to manually place each of the children inside. Do that, then get inside yourself to leave and finish.
Mission Task 5
Extracting the 5 children without the enemy discovering their escape can prove to be difficult. However, if you wait until later on in the game, you can get an upgrade to your Fulton Device that allows you to extract children. Clear out the mine area before going into it to rescue them, then put them to sleep before extracting them.
Mission Task 7
The 5 snipers you need are pretty far away from the main battlefield and it’s likely you won’t even run into them by any chance at all. Three of them will be in the big, open area southeast of Guardpost #2 and there will be two more in the clearing on the east side of the road that’s southeast of Guardpost #13. Keep low to the ground and if you have trouble spotting them, bring D-Dog or use your night-vision goggles.
The two locations where you will find the five snipers needed for Mission Task 7.
Mission Task 8
The three armored vehicles are patrolling the roads around the mine, with the first one driving by the road near your initial landing zone at the beginning of the mission. For the other two, look for them by going in between the guardposts on the map.

 Sign up
No Comments