
The Kingmaker’s Trial is split into two actual trials, the Trial of Knowledge and the Trial of Courage. By their names alone, you are probably expecting a puzzle for the former and a battle of some kind for the latter. You will start with the Trial of Knowledge, so step into the portal and get ready to go.
Trial of Knowledge
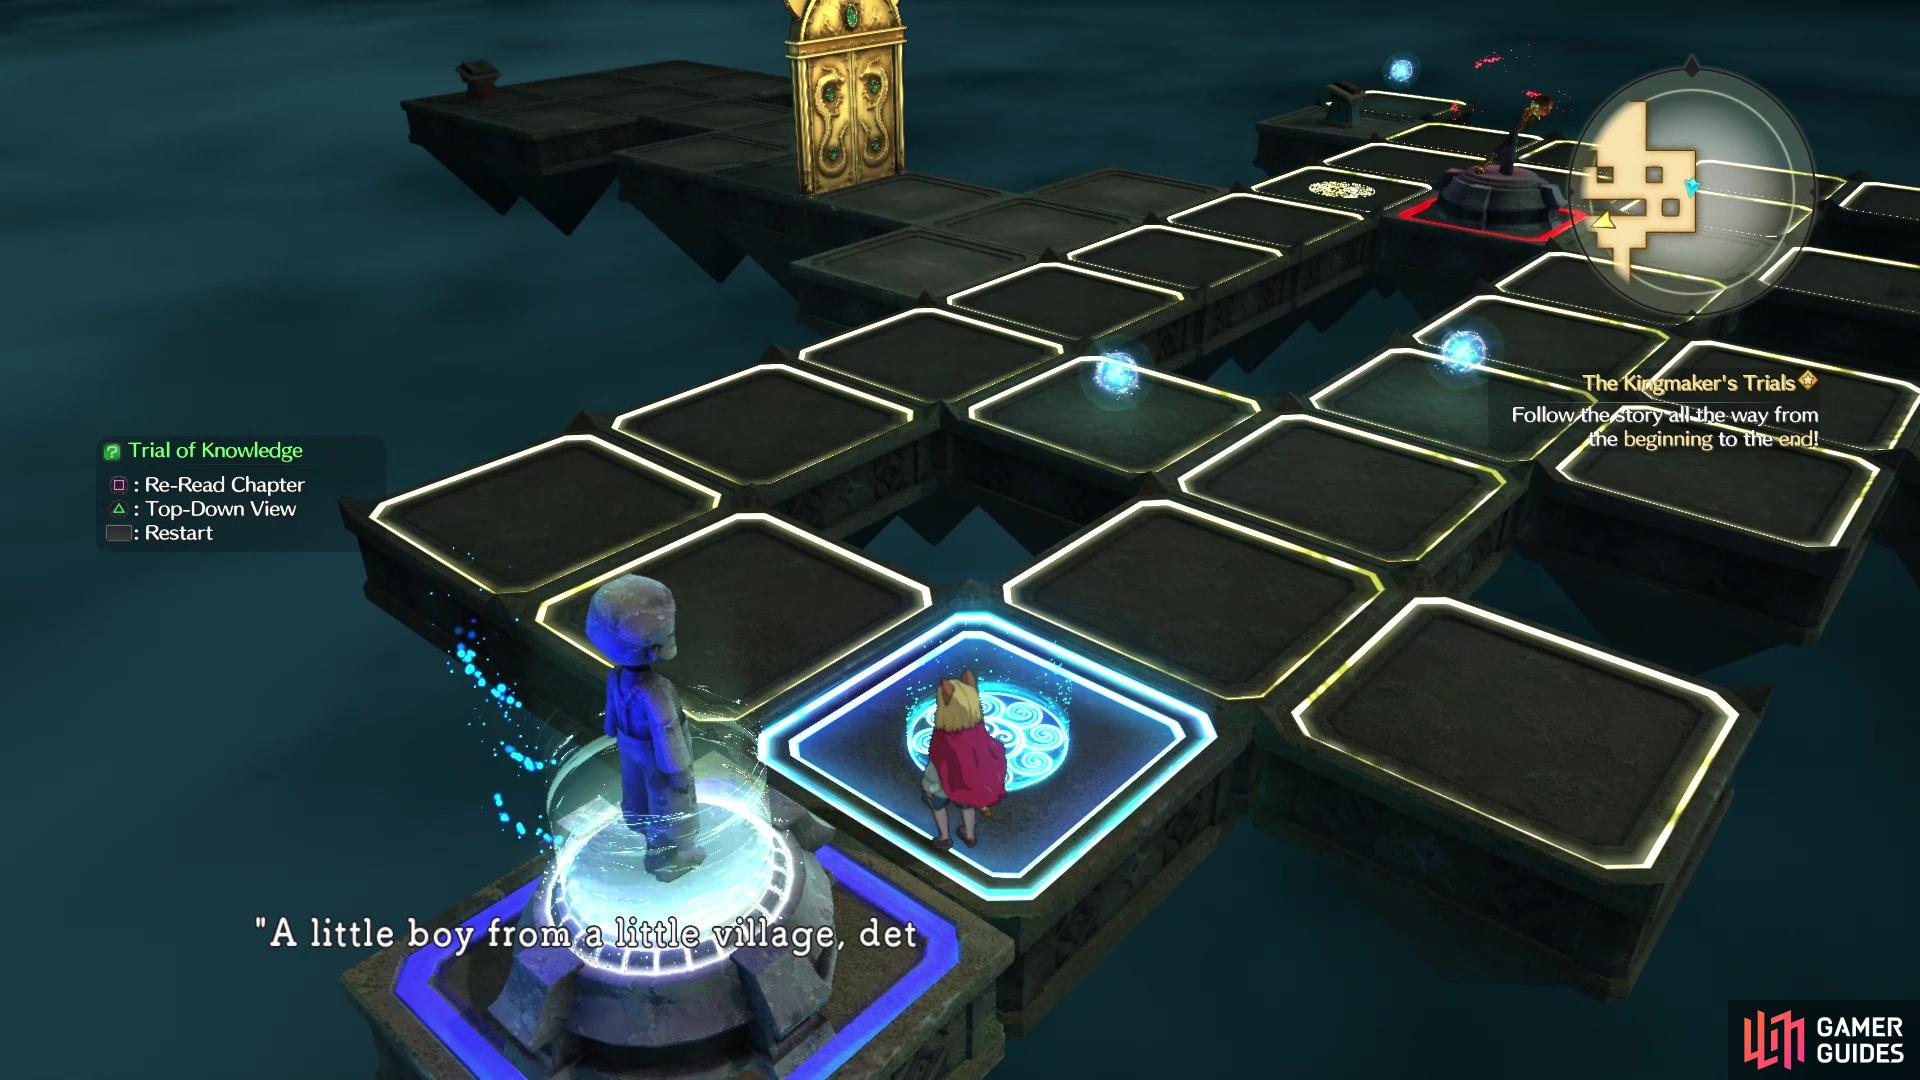
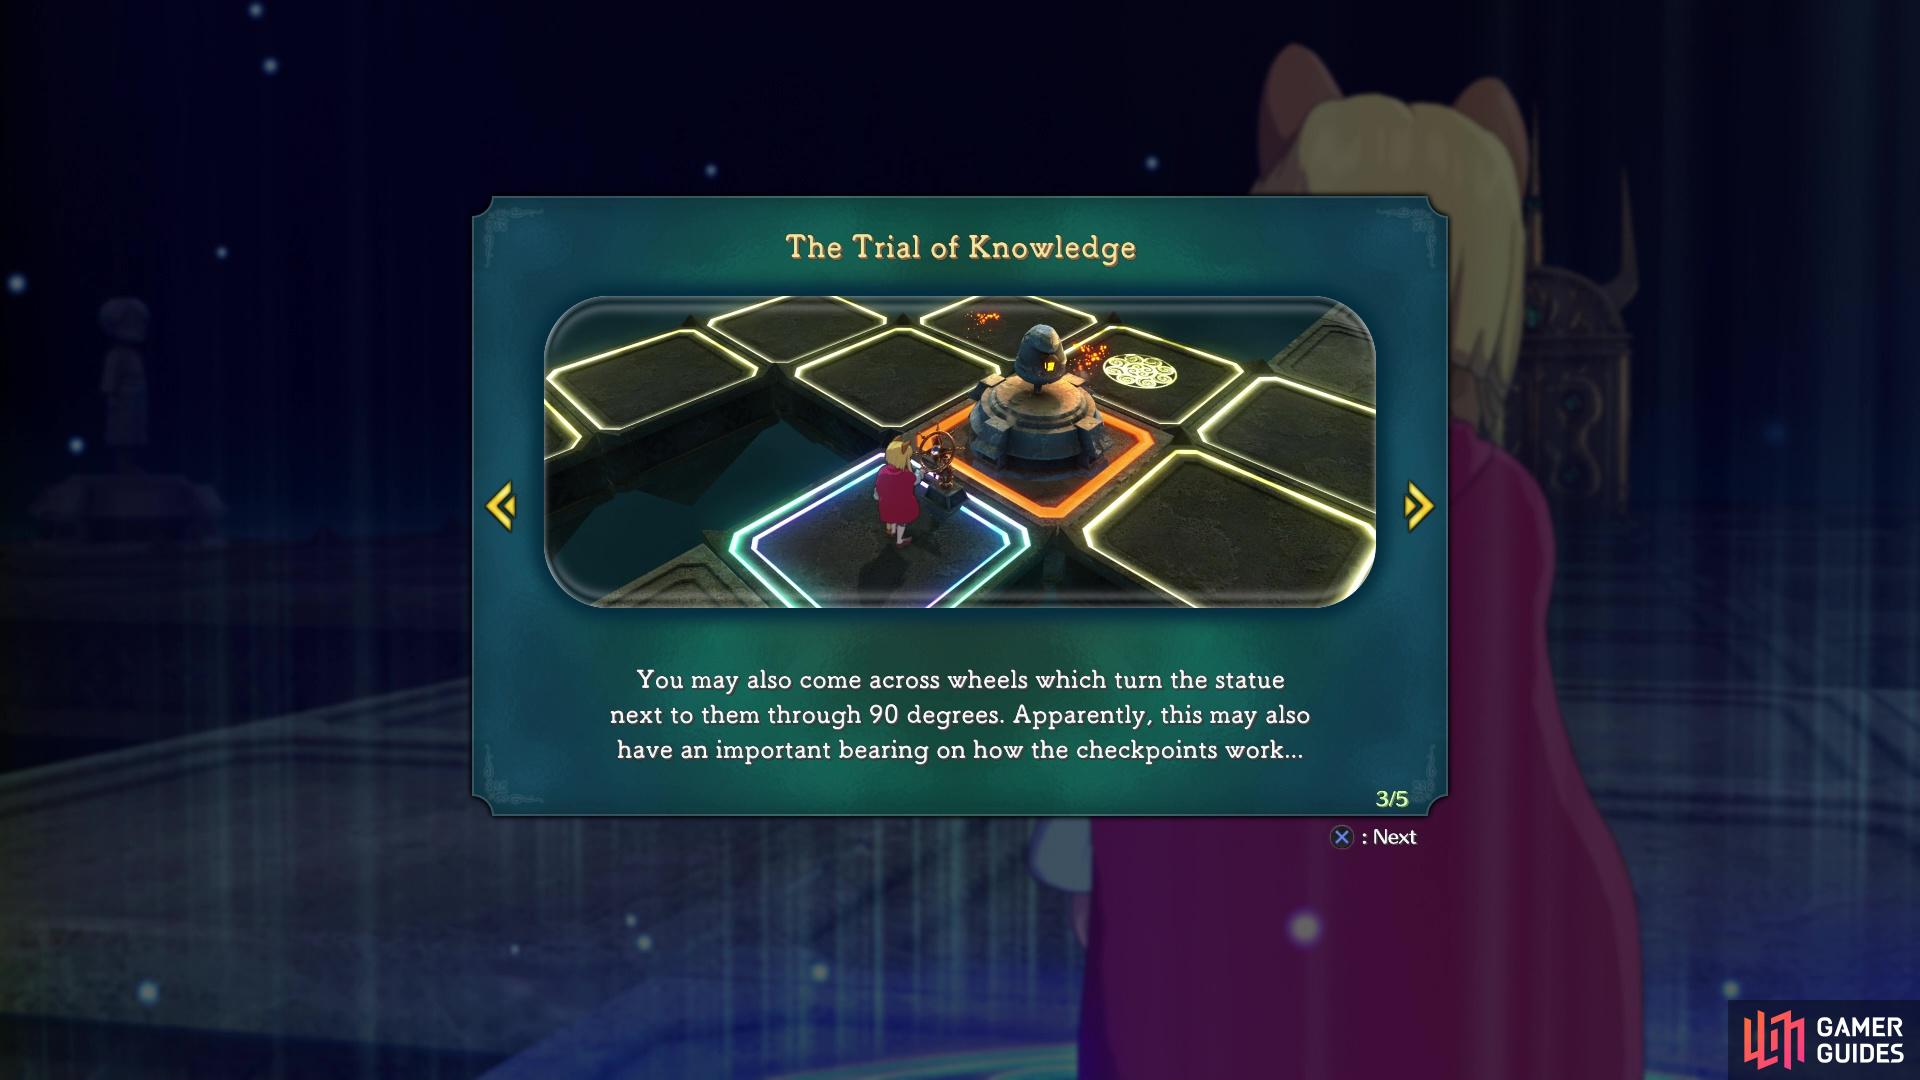
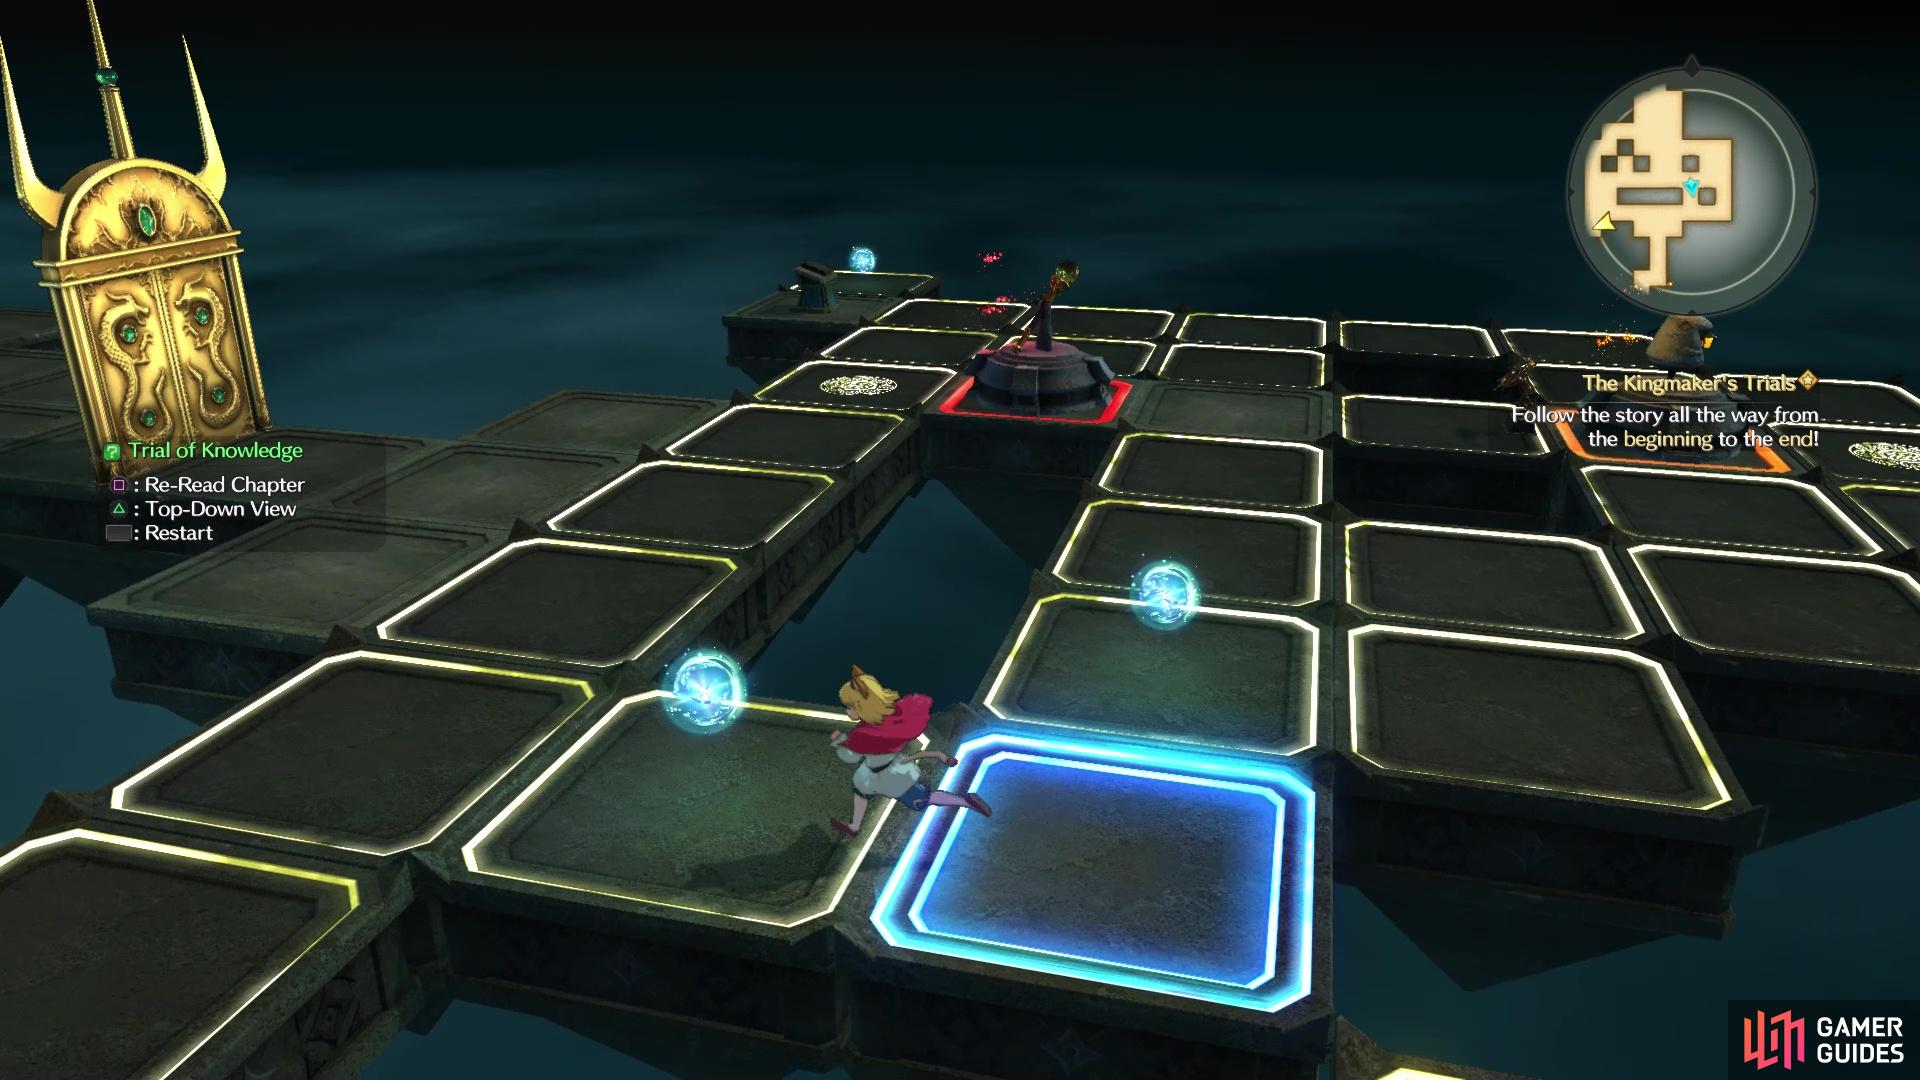
Well, it’s time for a puzzle, as the trial starts you off by giving a brief tutorial about how it works. Each puzzle consists of a few statues with some switches next to them. In order to finish them, you have to step on the switches in the correct order, but there’s a bit more than meets the eye. The tiles that are lit up will fall away as you walk over them, meaning that you won’t be able to backtrack and will need to trace a single path. Additionally, some statues are able to be turned via the valves next to them (turns them 90 degrees with each interaction), which are important to the puzzles.
If you think you are on the correct solution and get it wrong when stepping on a switch for a statue that can turn, then it isn’t facing the right way. You can reset puzzles easily by hitting the Touchpad, and there are no actual penalties for doing so. One last thing, before getting started, are the bonus orbs that you will find, with there being a total of three orbs per puzzle. You do not have to get them, but you will receive some extra items for grabbing them when finishing the puzzles.
Trial of Knowledge 1
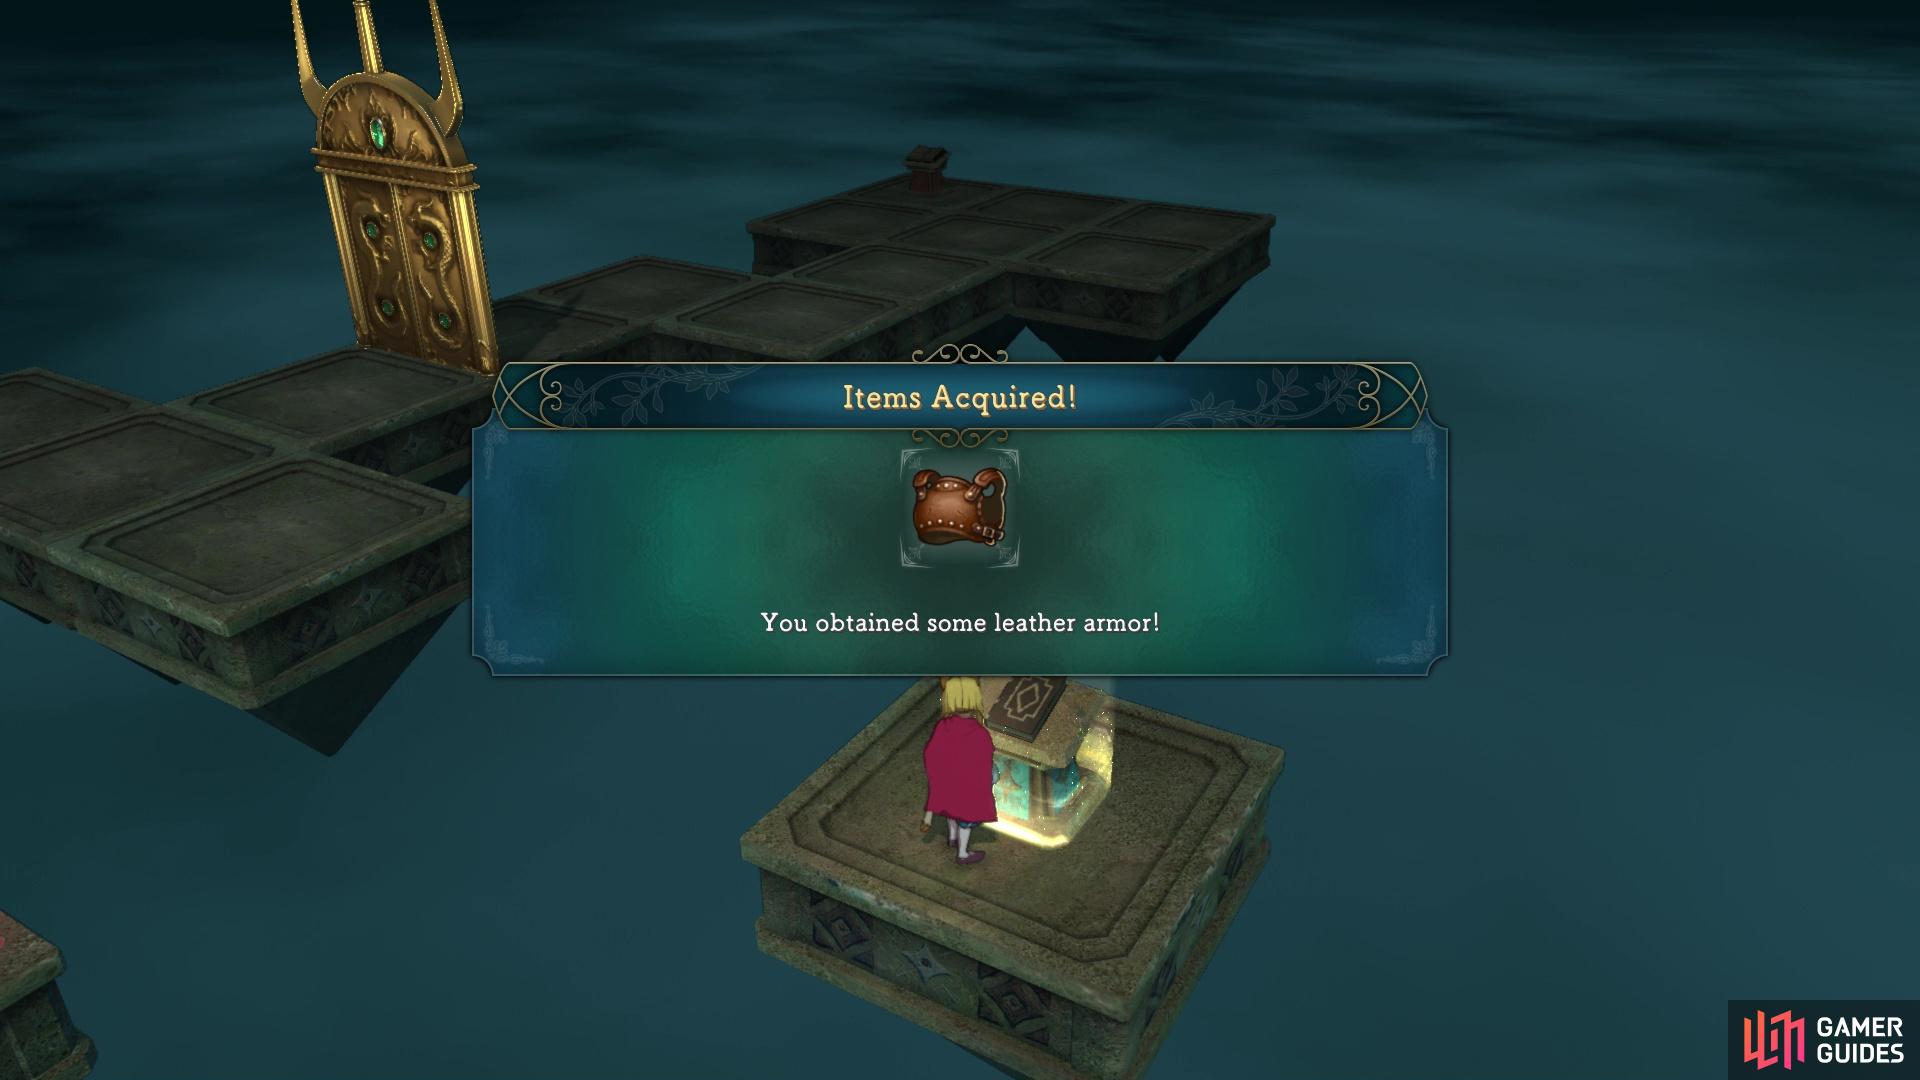
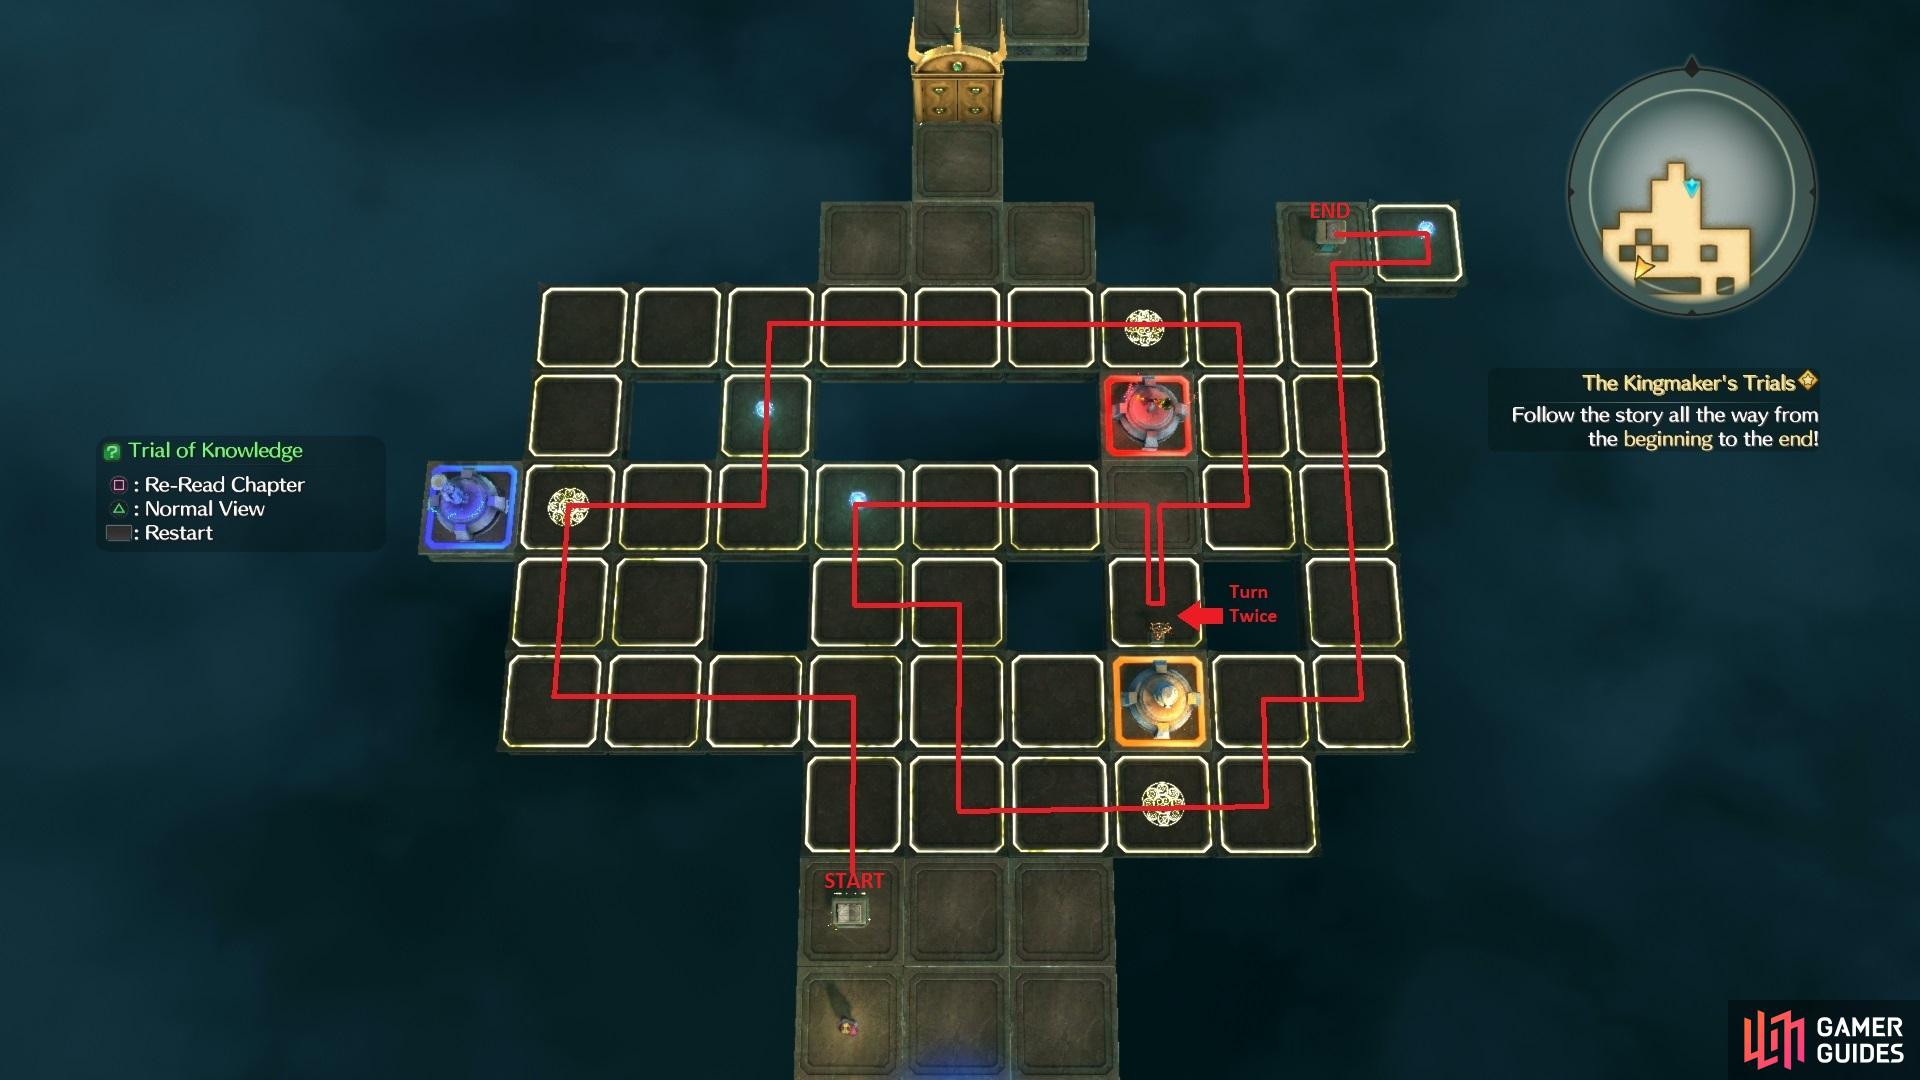
The solution for this puzzle is to go to the boy first, then the wand and lastly, the fairy. However, the only catch is that the fairy can be turned with a switch and you will actually want to use it twice to make it facing the door at the end. The solution will be below, which gathers all three orbs, with your prizes being a Soreaway, Strong Sixth Censer, and a Leather Armor.
Trial of Knowledge 2
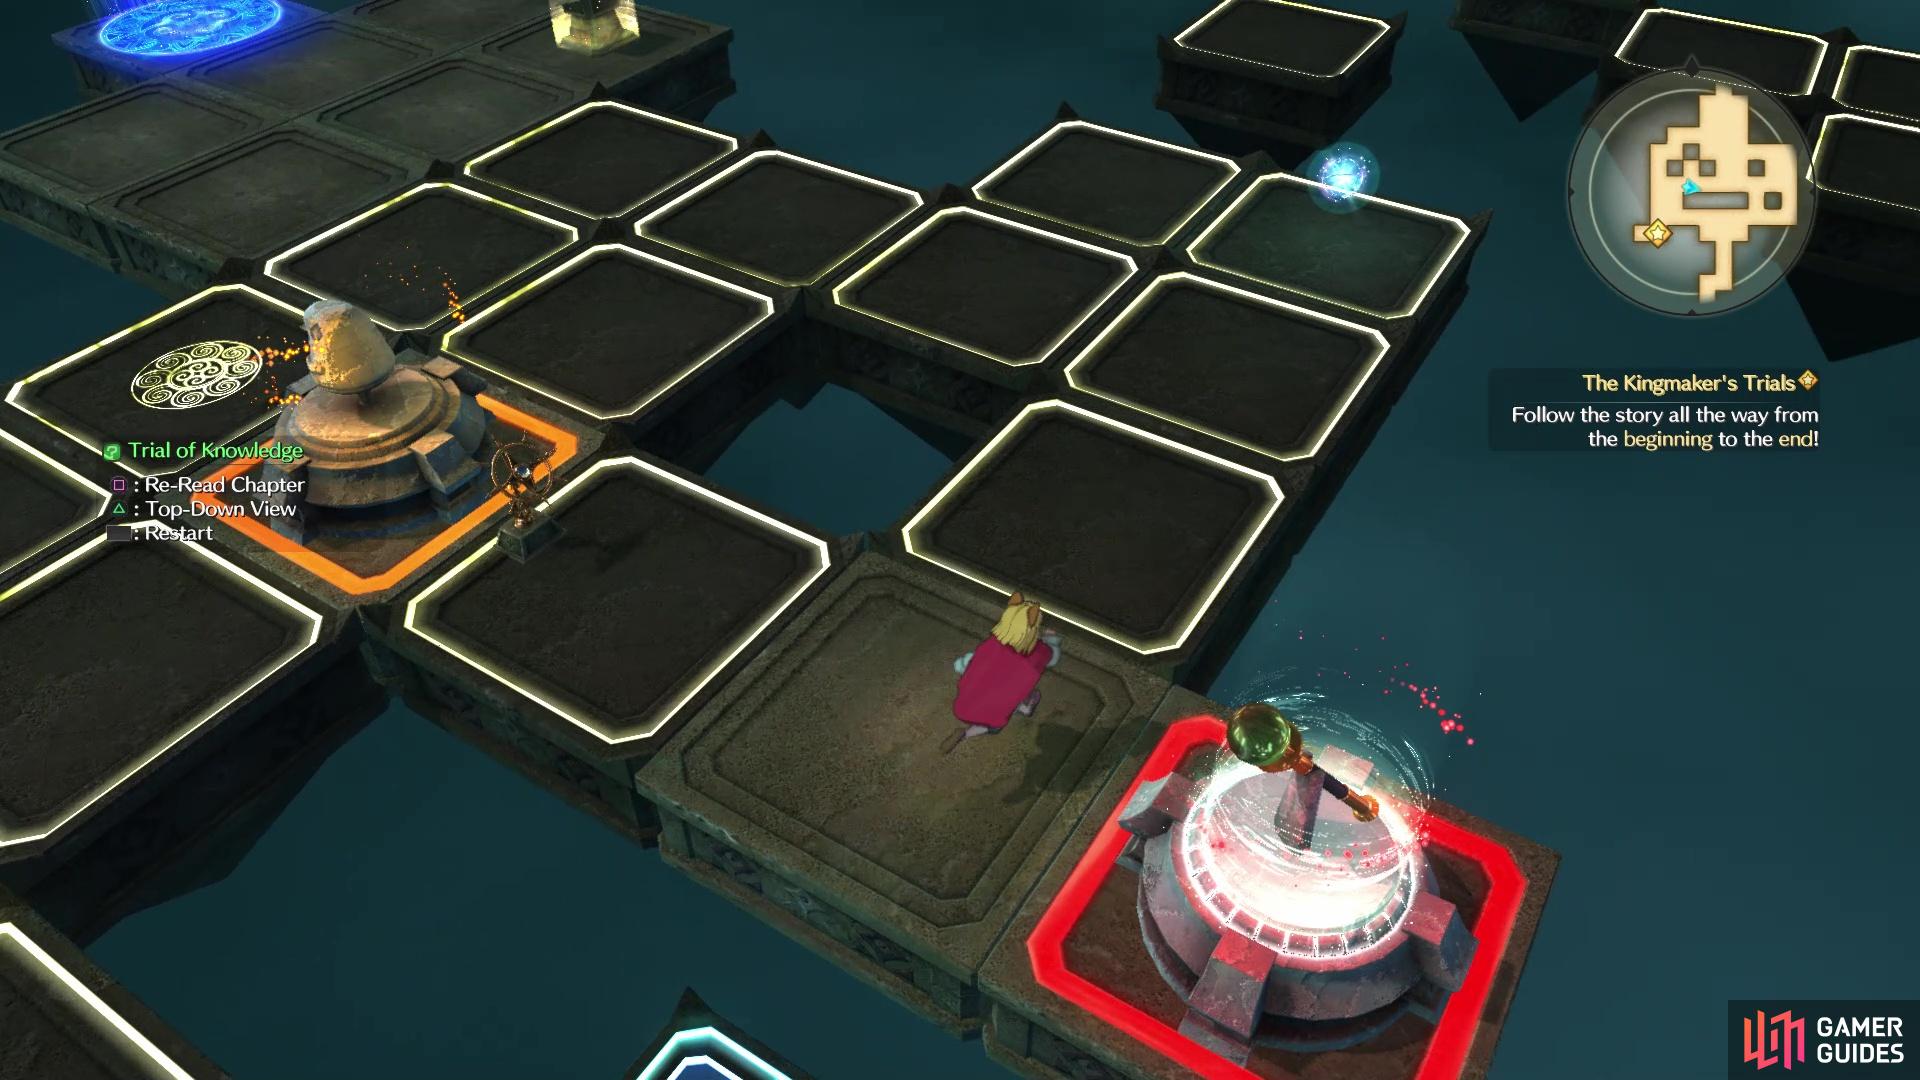
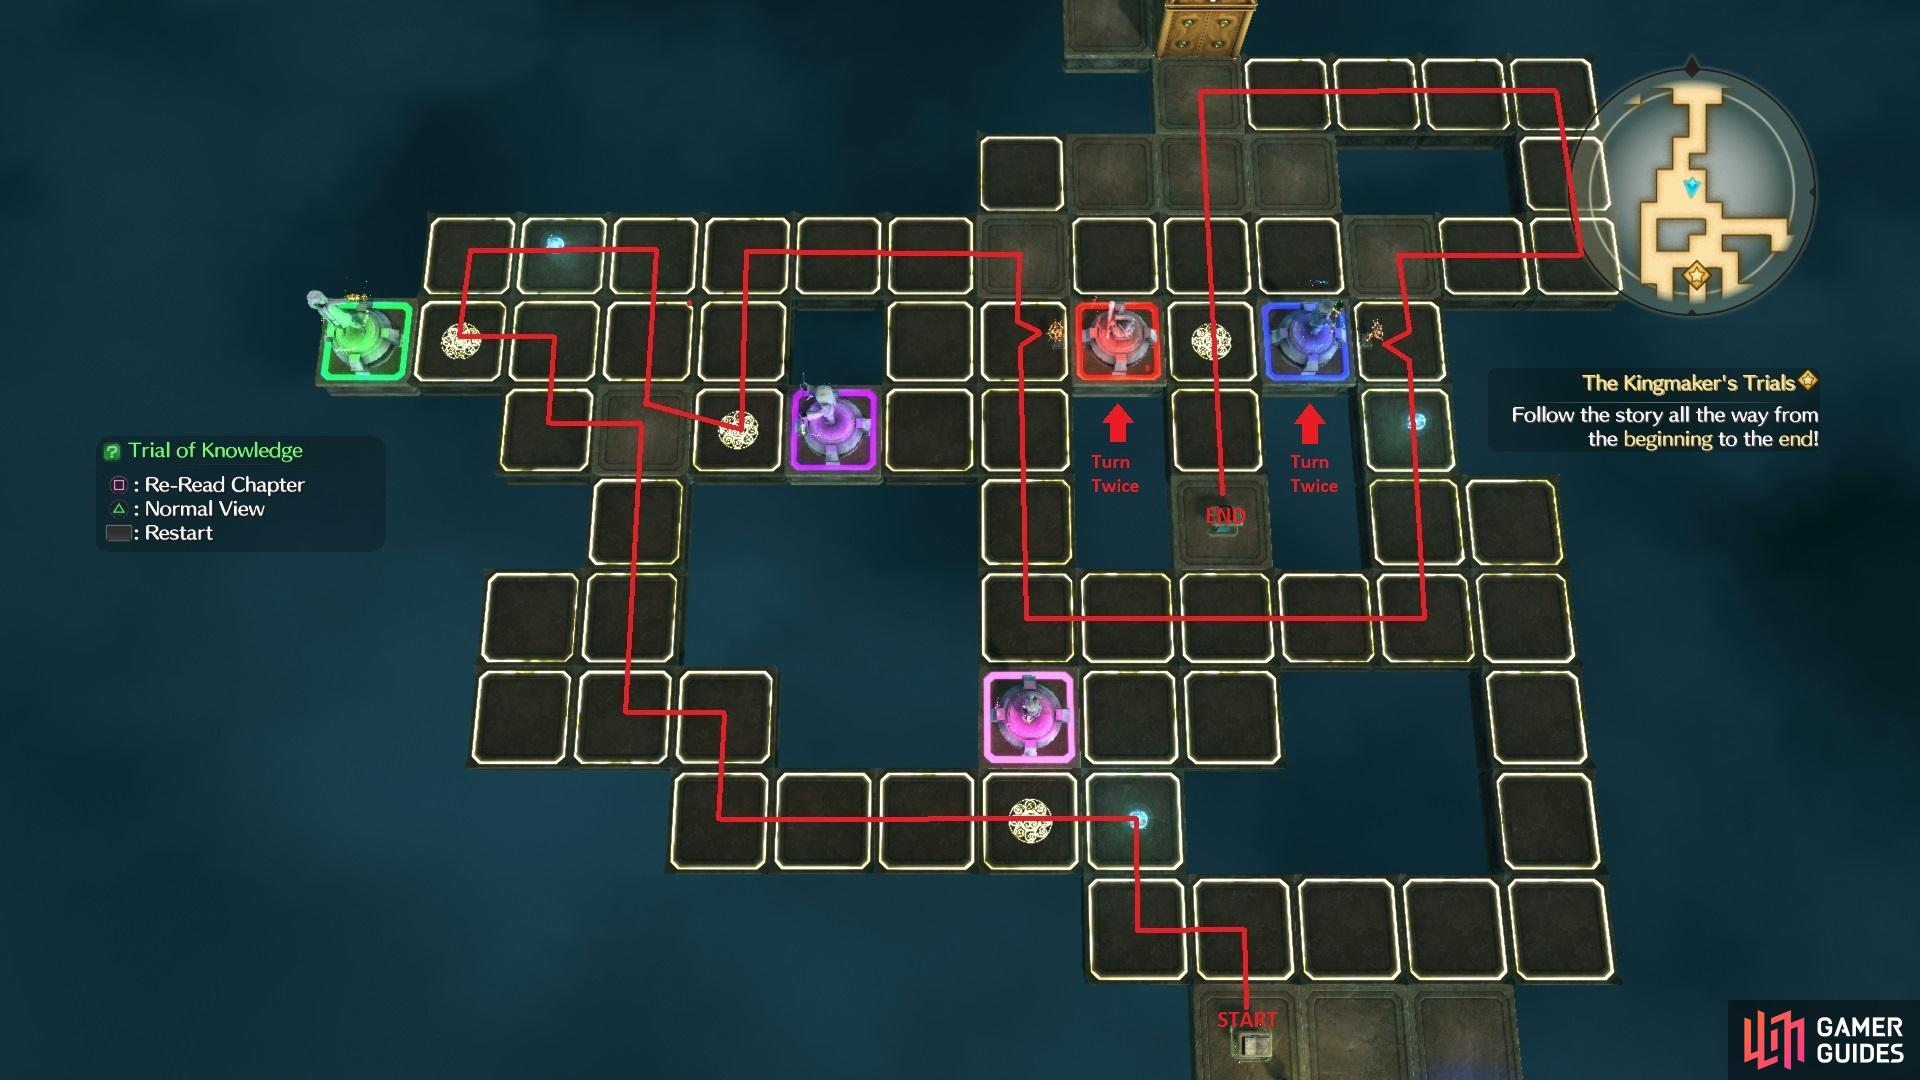
The second puzzle will add a few more statues into the mix, mainly the harpist, pistolier, wizard and monsters, while retaining just the boy from the previous puzzle. The order for this puzzle is harpist, pistolier, wizard, and boy. The monsters one doesn’t have a switch, so you don’t need to worry about pressing a switch for that one. However, there are valves to turn and both of them need to be turned twice to make the boy and monster face each other. Your prizes for grabbing all three orbs are a Sixth Censer, Three-Leafed Soreaway, and a Warlock’s Wand.
Trial of Knowledge 3
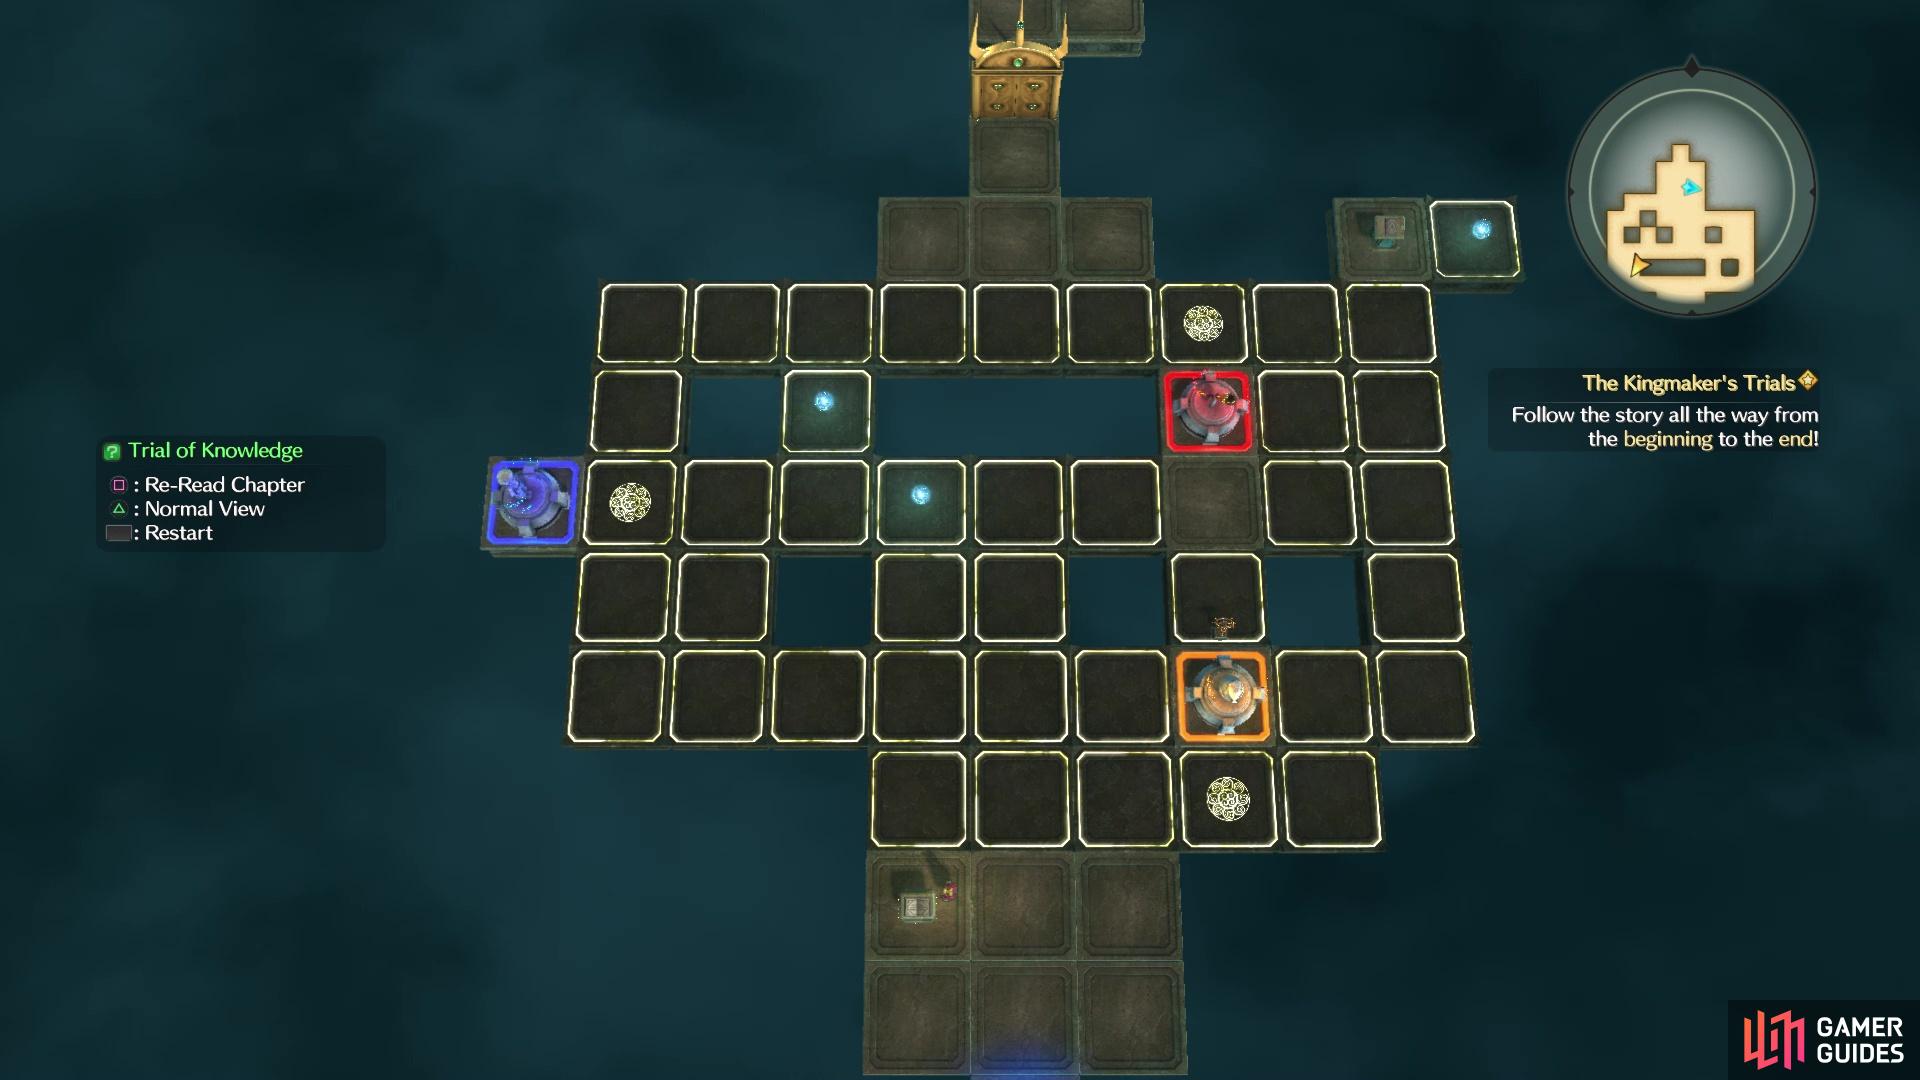
The final puzzle adds a little something extra into the mix, which is the dragon statue in the middle. This can be rotated like the other statues, but it has some stone tiles that rotate along with it, which will be used as safe spots when traversing the landscape. The other little gimmick with this puzzle is that you’ll need to have the character statues destroy the towers, which apart from one, you just aim the character at the tower (the wizard is already aimed at his). There are many valves to turn here, which is done in the following order (all according to your minimap): first dragon (2), Pistolier (3), second dragon (1), Harpist (3), third dragon (1), Fairy (2), final dragon (2).
You will receive a Three-Leafed Soreaway, Sage’s Secret, and Shamshir for collecting all three orbs. That will be it for the Trial of Knowledge, which means the Trial of Courage is next. Step into the blue light and press X to be teleported to a new area, which appears to be a giant arena of some sort. It should be noted that for the upcoming boss, you will only have Evan, so use the free chance you have before confronting the boss to equip him with the goodies you got from the puzzles, plus anything else from other characters. There is a waystone right before the arena, so you can save your game in case (do it on a new slot). Step into the middle of the arena to begin the fight.

(1 of 3) First Puzzle
BOSS - Thogg
While you are technically alone, you do have your higgledies in this battle, so you can use them to help out. This gorilla-like enemy exhibits the kind of behavior you would expect. He has a jumping pounce and he can also “conjure” rocks from the ground, throwing them at you. When you’re in close, be wary that he can quickly just throw out a punch or two, which are pretty quick. One last move, which seems to be a little rare, is that Thogg will lunge forward and clap his hands together.
At around half health or so, Thogg will charge up, giving himself an aura of some kind. This might seem to up his attack a little bit, but it’s hardly noticeable, although he definitely seem faster. He also gains two new attacks whenever this happens, both of which have huge charge up times. The first one is when he’s spinning his arm around, resulting in a large projectile being shot in your direction. The other new move is that Thogg will charge up, with the aura around him, then he will jump into the air and slam into the ground, with a decently sized shockwave being generated. This only extends so far out, though, so if you’re far enough away, then it shouldn’t hit you.
There’s really not much you can do, other than gauge how risky you can get via the damage done to Evan. If you are getting hit for a lot, then you need to be a little more careful. The majority of the boss’ attacks can be evaded if you keep moving, although its melee attacks tend to come out very quick. Don’t forget you have your higgledies here, with Tove’s one attack dealing major damage, provided it can hit the boss due to his movements.
Upon delivering the final blow, you will receive a pair of boss’s boots and there will be more scenes, with Evan receiving his kingmaker. Well, that’s certainly not what you were expecting, eh? Not only do you have the blessing to create a new kingdom, Lofty will also hand over the Tactic Tweaker. Unfortunately, you won’t be able to look at it quite yet, as you’ll be returned to the pirates’ base. You’ll need to tell the boss you’re back, but let’s take a look at that Tactic Tweaker now, by selecting it from the menu.
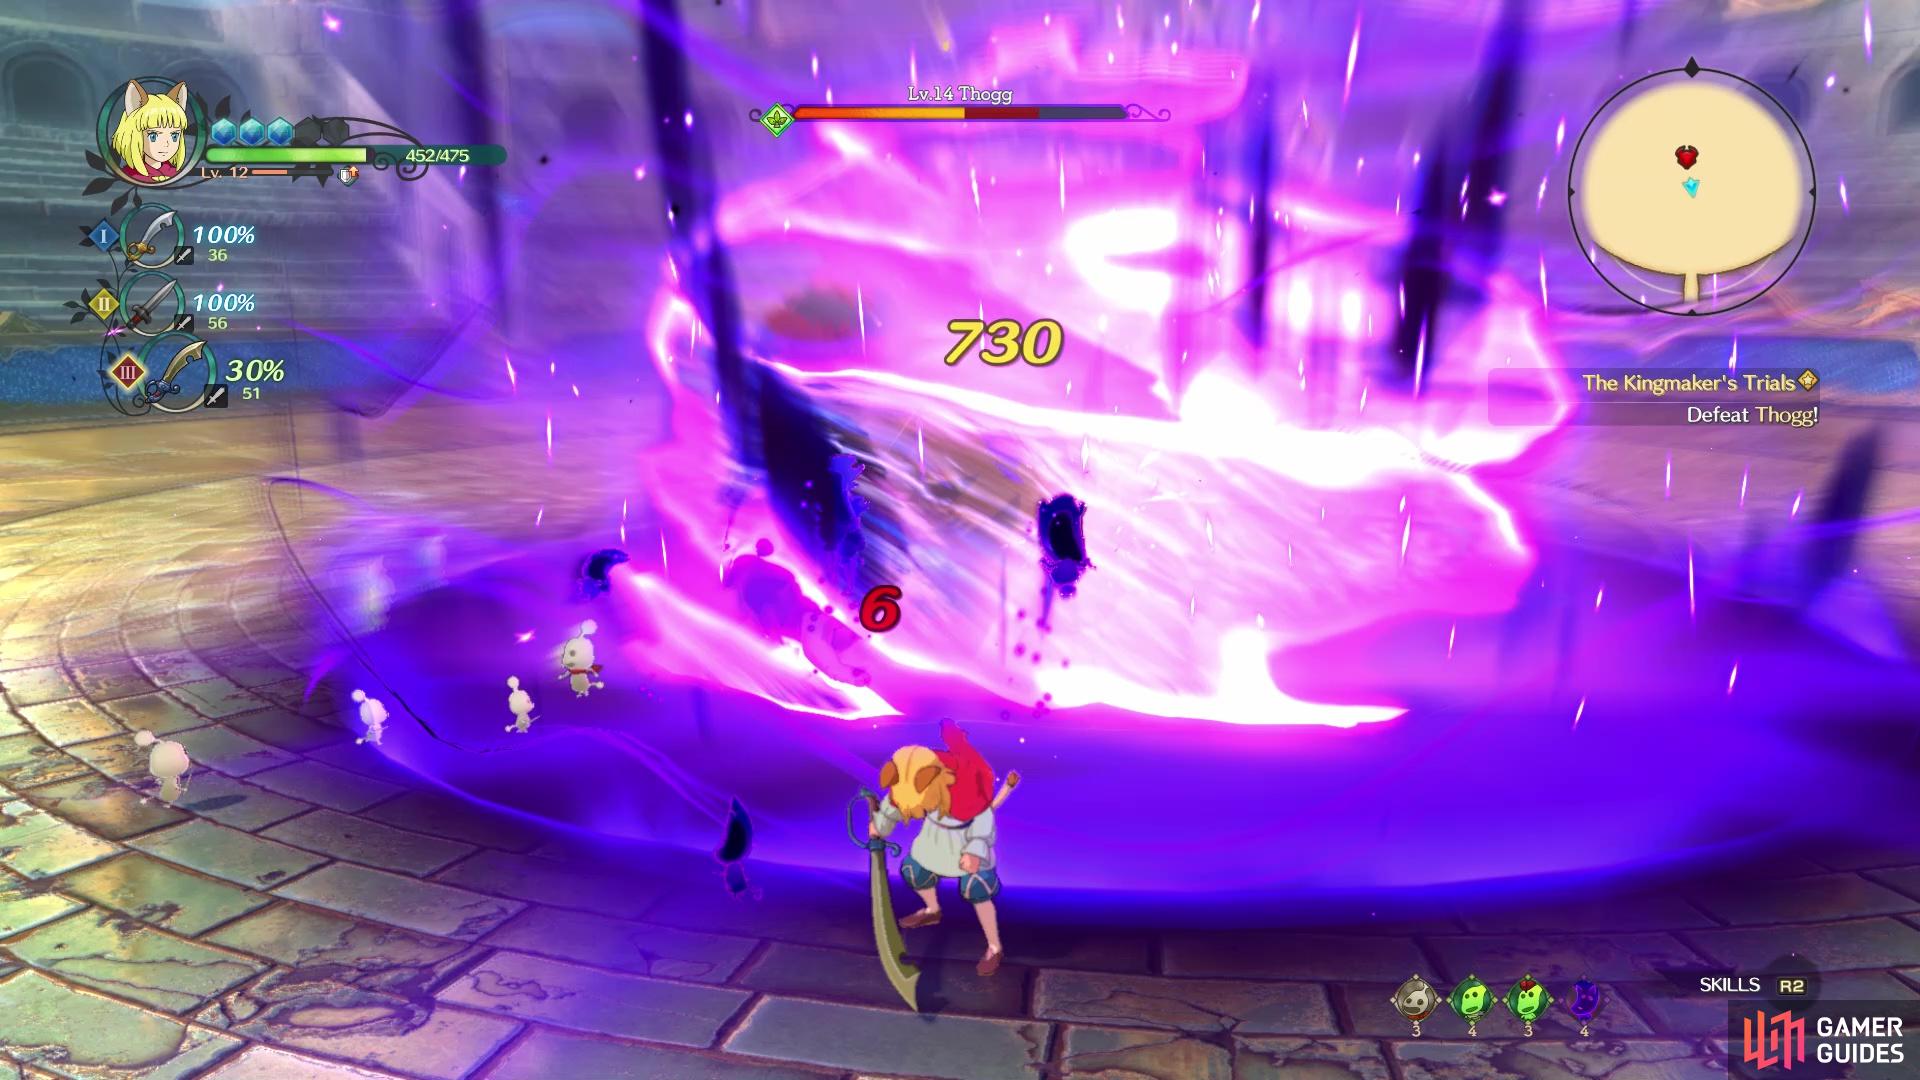
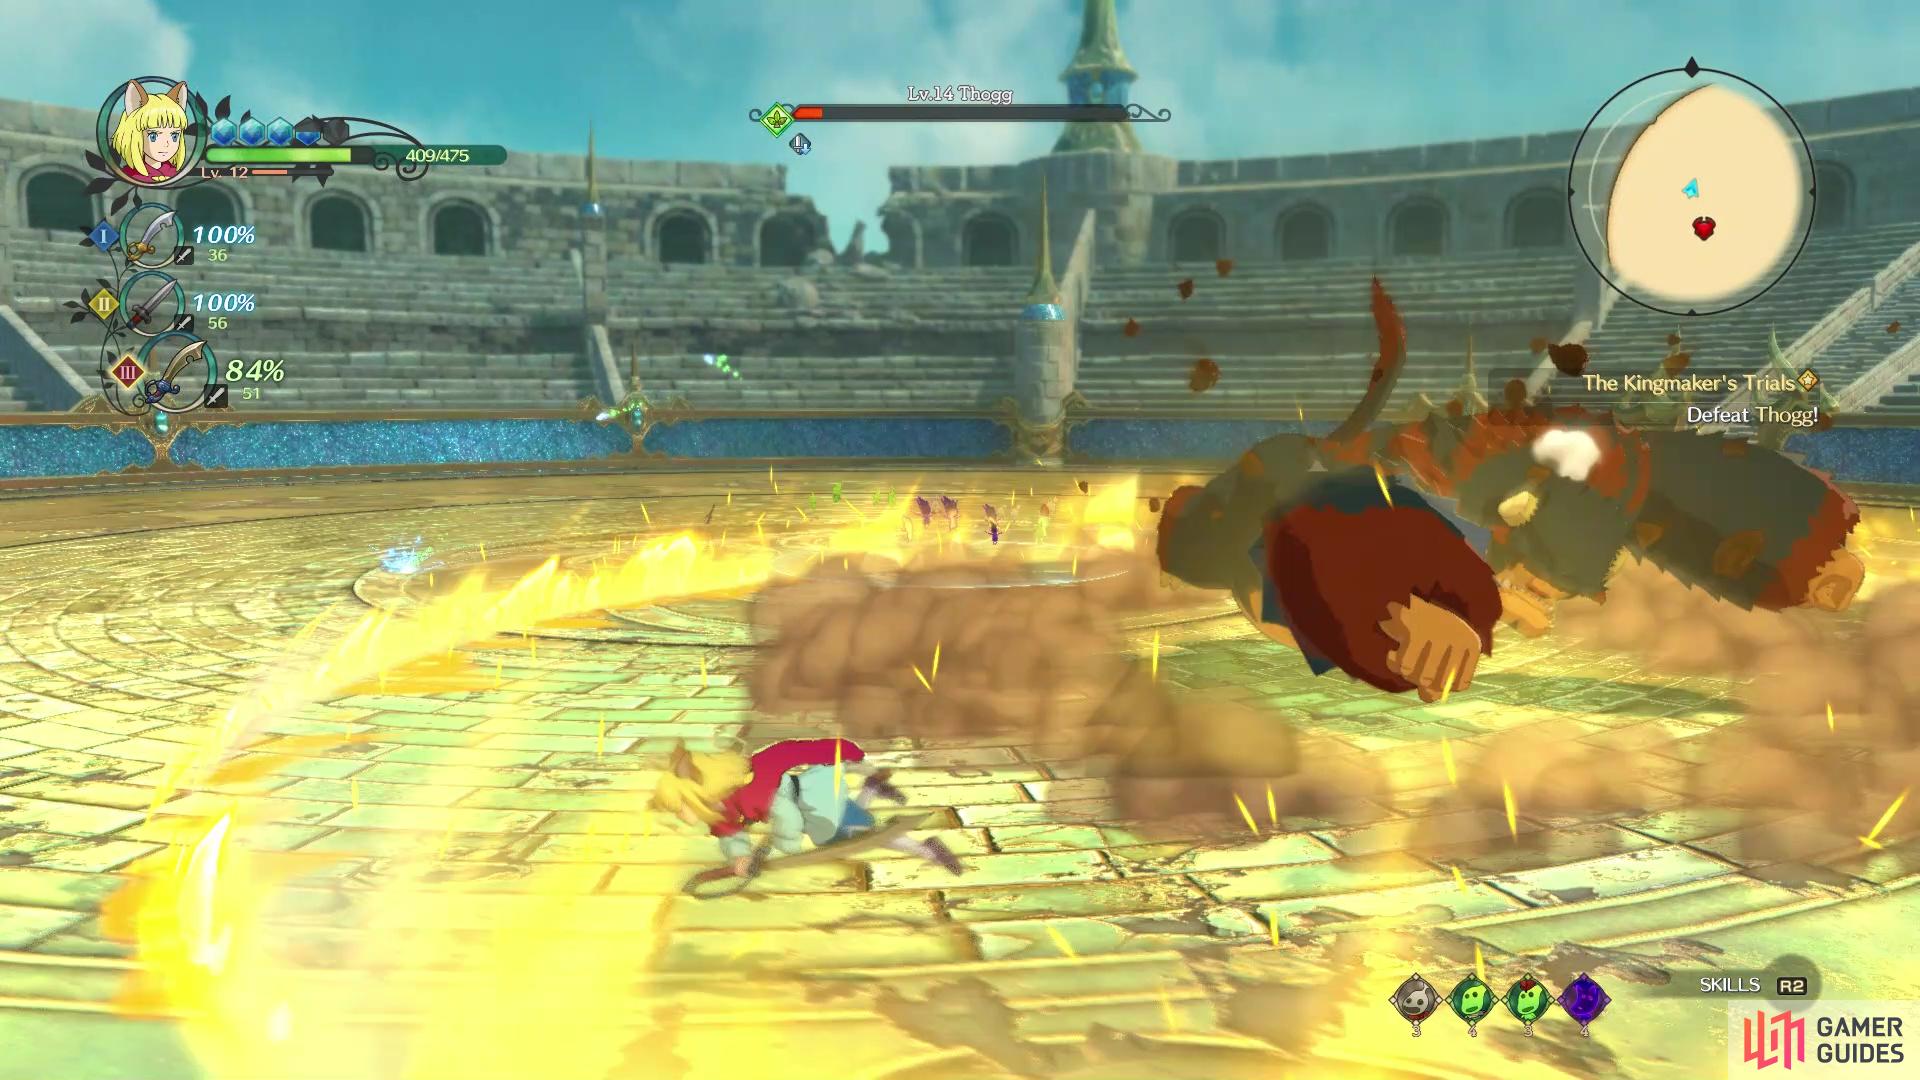
(1 of 2) Tove can knock off a huge chunk of the boss’ HP with its special move
Tove can knock off a huge chunk of the boss’ HP with its special move (left), The shockwave from Thogg’s body slam is very hard to dodge when he’s low on health (right)
Tactic Tweaker Tutorial
The Tactic Tweaker is a special stone given to you by your kingmaker, which will allow you to adjust various parameters that affect battles. It is split into four separate sections, with each one requiring Battle Points. These points are earned every time a character levels up, so it actually rewards grinding, in a way. The top left allows you to adjust how much damage you inflict on specific types of monsters, the top right will allow you to increase your resistance to elemental damage and status ailments, the bottom left revolves around the spoils you receive from combat, and the bottom right has various parameters to increase that affect the battles themselves.
To start off, it’s probably best to put points into the Spoils section, as this will help you increase the experience, gold, equipment, or rare materials you get from fights. There are four options in this particular block, with you choosing between one of the two options presented. For example, after investing some points, you could make it so you gain more experience or acquire more rare materials. If you wish to learn more about it, visit the Tactics Tweaker page.
With that short bit out of the way, you simply need to go report in to Batu, who can be found in the high section of the base. Watch the scenes that follow, which will bring us to the end of Chapter 2.


 Sign up
No Comments