
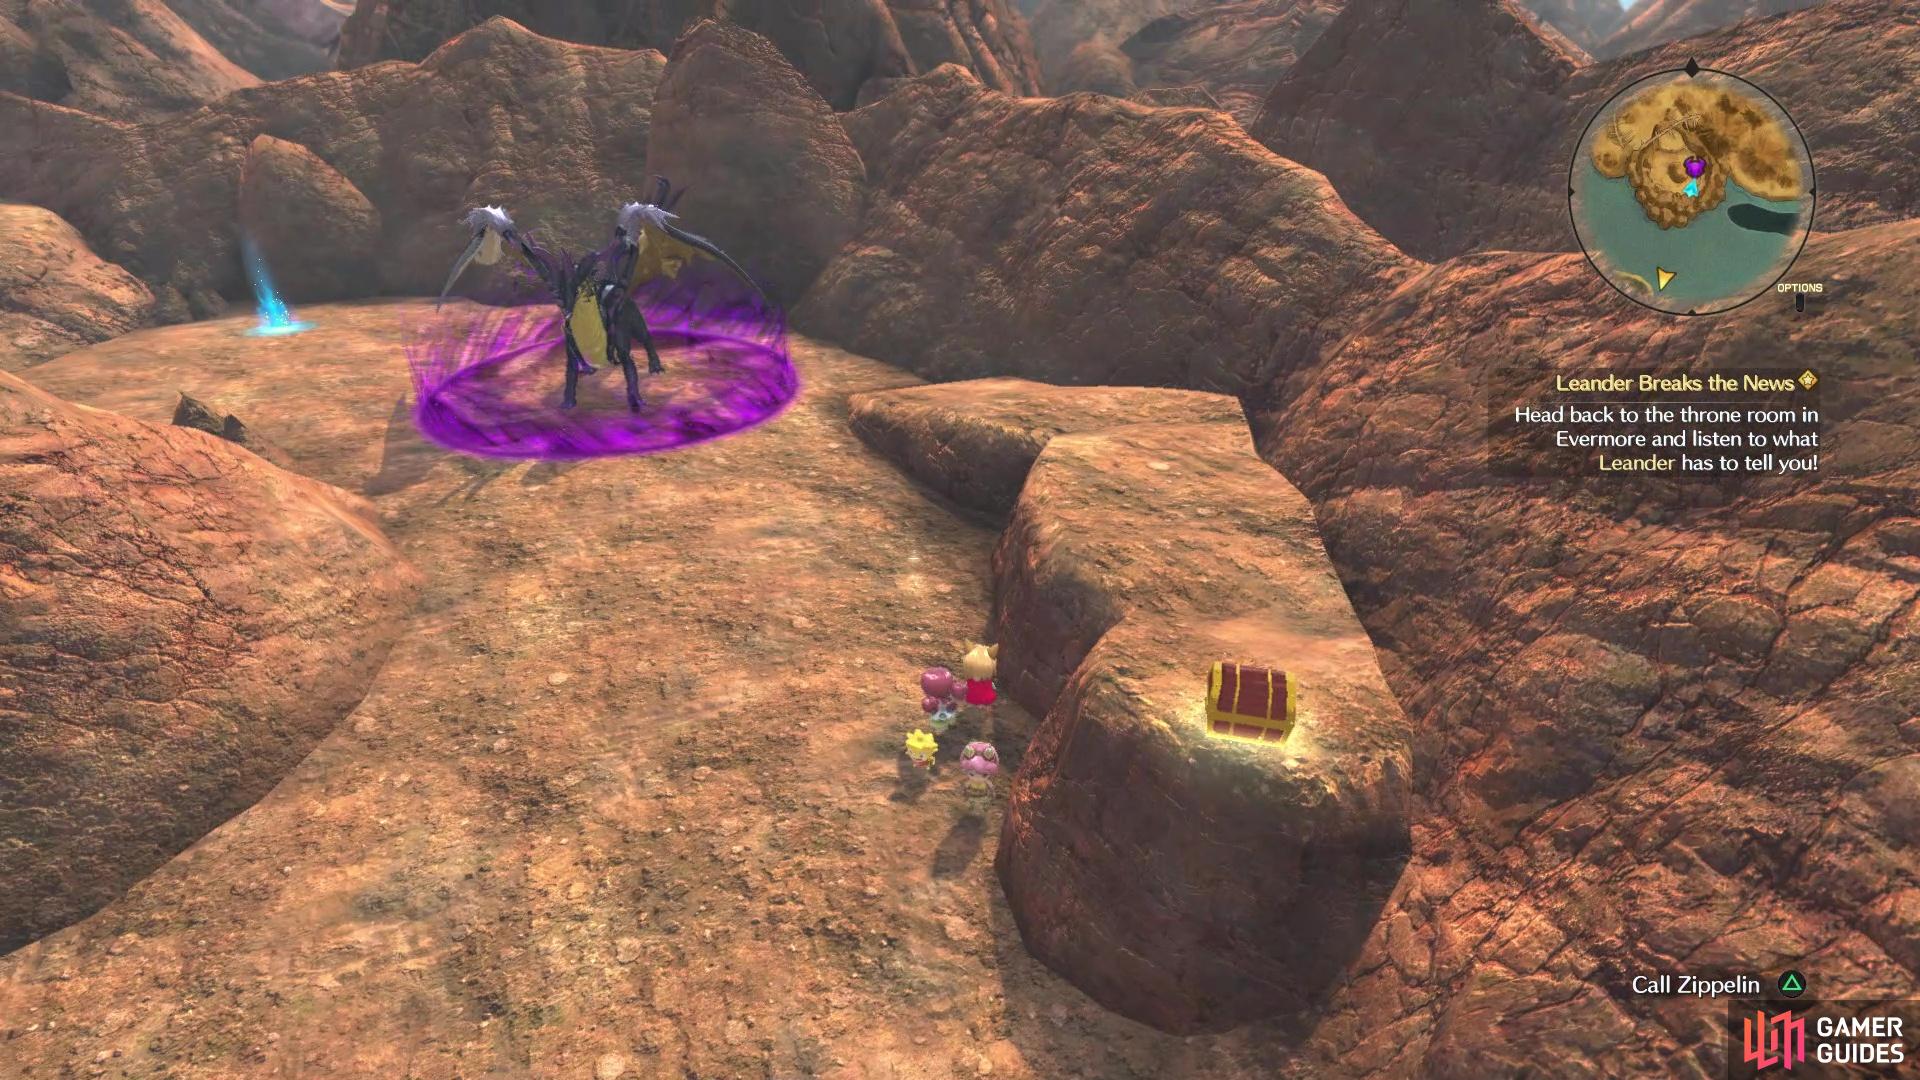
Your next objective is to return to Evermore and speak with everyone in the throne room, but an airship invites a lot of adventuring. The only problem with the Zippelin is that you can’t see enemies on the world map, but the upside is that you can see sparkles and chests. Since you should be in the vicinity of Broadleaf, let’s start off there. There’s nothing really in the Broadleaf area, but you can find a chest (if you didn’t grab it earlier) on the piece of land to the west, where Crawlspace Cave is located. On the northern end is a chest with a pair of Hale Cybernetic Boots inside.
Shrine that Time Forgot
See the ruins near the chest? With the Rejuvenate spell from the Spellworks facility in Evermore, you can restore the place to uncover the Shrine That Time Forgot. The enemies inside are in their mid-40s, so you should be safe to explore. In the first room with enemies, there is a chest on the northern side with 2 Rook’s Brocades. The path will split here, so go east first to find more enemies and a higgledy stone. It asks for a bolt eagle feather, which is something you can actually get from the resource facilities in Evermore, so hand it over if you have one to get Boss-Woss the Bruiser to join you. There is one final chest in the southwestern room (take the southern path at the previous split), which contains a Windproof Liberator’s Cloak.
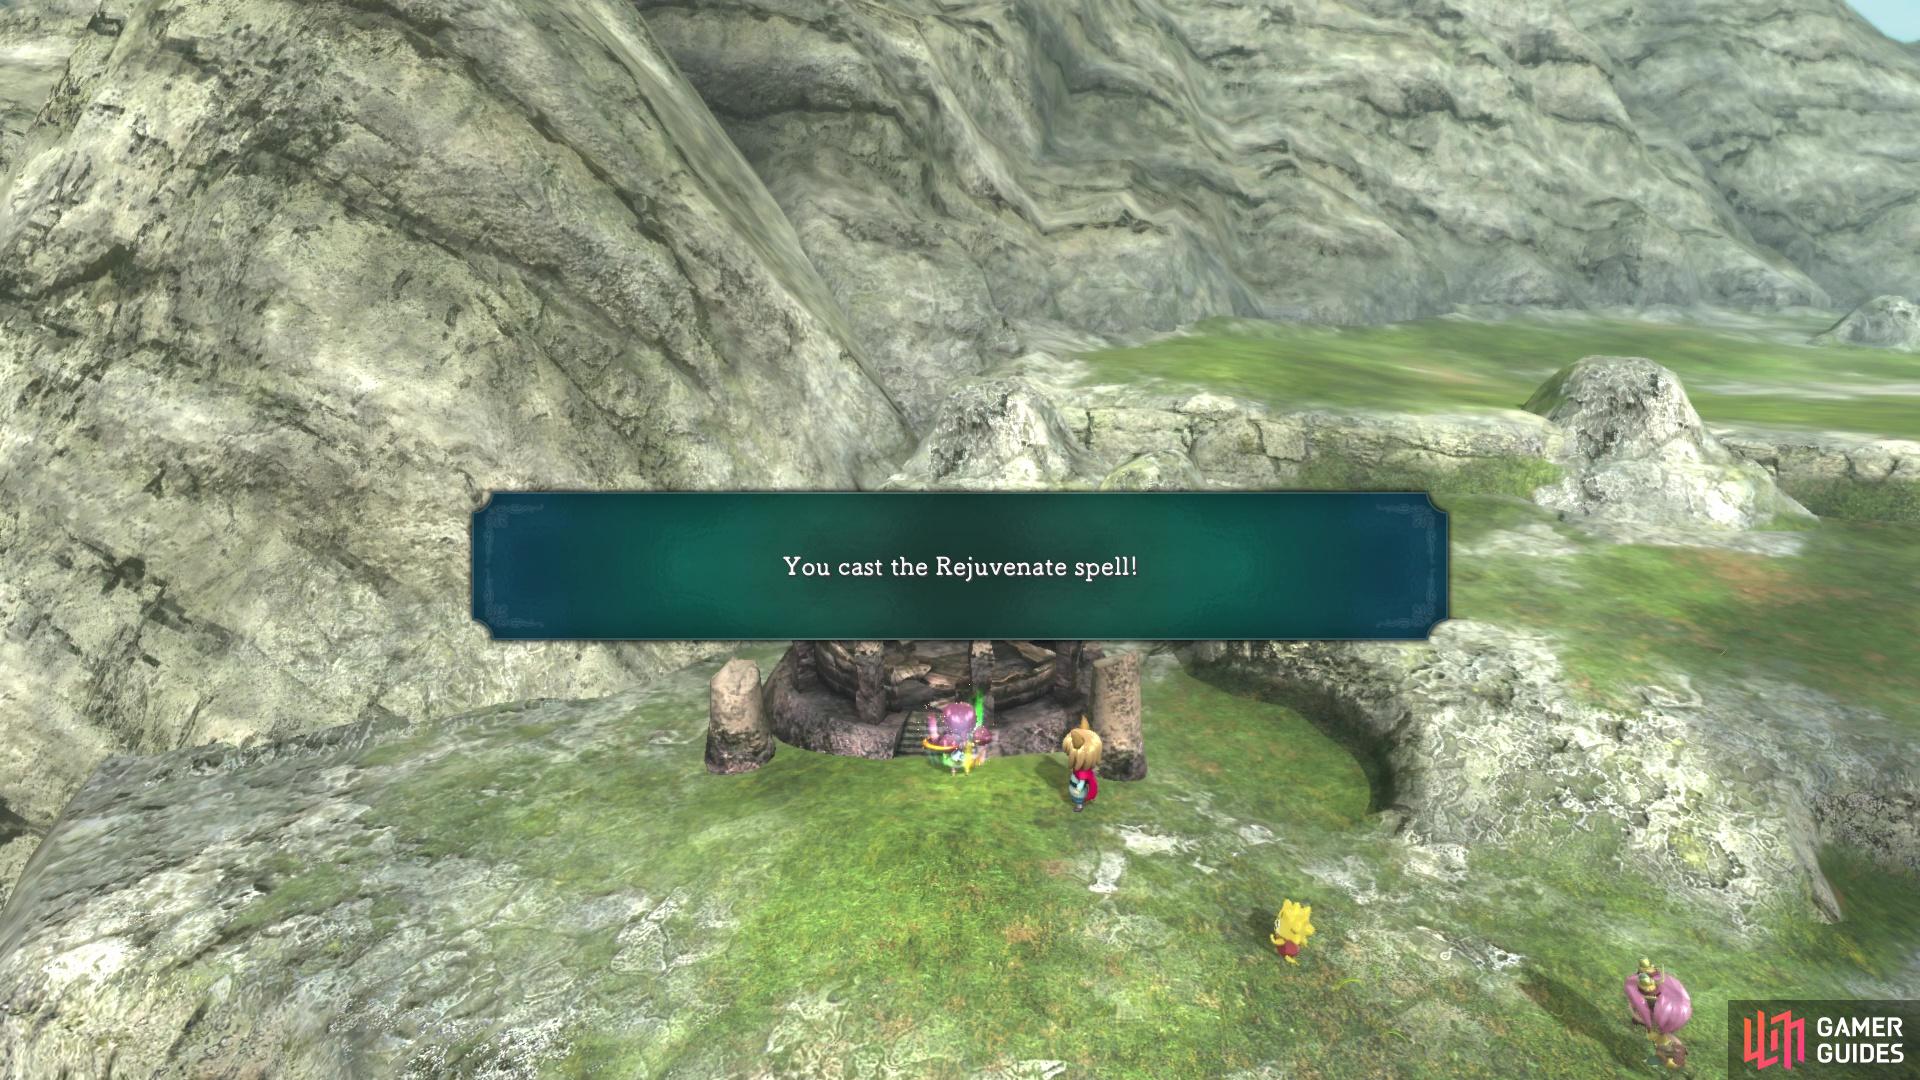
The Rejuvenate spell is needed to enter this shrine
Exploring the Frozen North
To the north of Broadleaf is a wintry wonderland, which you might have had a peek at before when doing the rounds around Broadleaf. The biggest problem with this area is that the enemies are at a higher level than normal, so battle might prove dangerous. However, the airship provides precise landing next to chests and the like, so you shouldn’t have to do any fighting. Look at your map and find the Chattertooth Ridge name on it, which is where the trip door you likely activated earlier is located. Northeast of that is an enclosed area with the name of Coldera on it, so fly there to find another Trip Door (Coldera).
There’s nothing else inside this area, so look straight south of it on the map to see the eastern coast of Chattertooth Ridge. On the southern end will be a chest with 3 Frostyfluff Cottons. There’s some land to the east of Coldera, with another chest to be found in the southwestern corner (3 Nocturnium Nuggets). On the northern tip of this small area will be a blue chest, which contains a set of Hearty Robes of Wisdom. To the west of Coldera is something called a Crash Site, with some land to the north of that.
See how Coldera and the previously mentioned piece of land are separated by an ocean rift? Follow the coast of the northern piece of land along the rift, starting from the Crash Site, and you’ll happen upon a shrine. This is Shivery Shrine and there’s actually a Trip Door right outside of it (Shivery Shrine). Unfortunately, the enemies inside are as high of a level as the ones outside, but if you can manage to sneak into the second room, you’ll find the level 52 Tainted Monster called Doombo. It hits very hard, but you can actually cheese the battle with ranged attacks (provided you have strong ranged weapons).
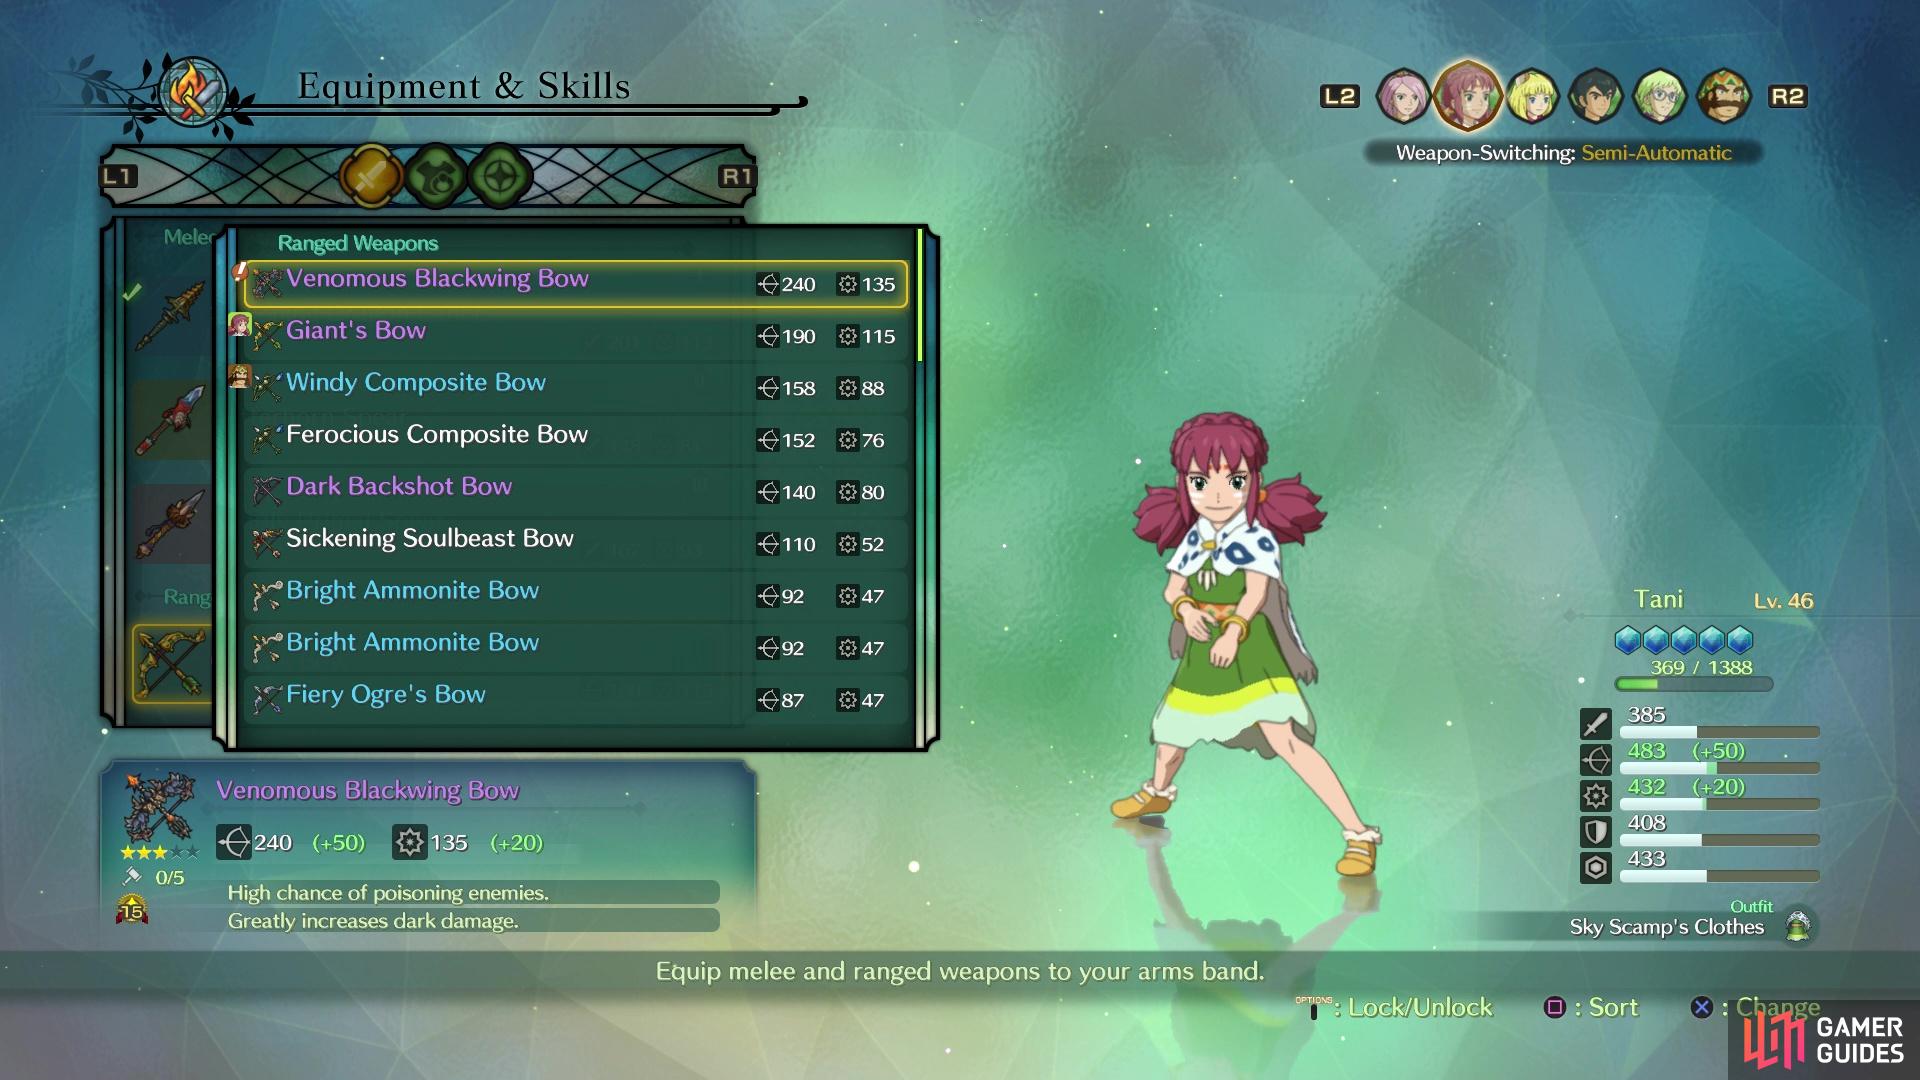
Should you be able to fell it, you’ll receive a Venomous Blackwing Bow and you can find a chest on the southern end with a Shiny Hearty Pendant. A little deeper inside (no more enemies other than the first room) will be a save point and a Dreamer’s Maze. Since the mazes usually have the same level range of enemies as the surrounding area, it’s best to save this one for later. Exit Shivery Shrine and follow the northern coastline as it heads west, which will bring you to another blue chest (Chilly Hailstorm Harpoon). You may have seen some enemies to the north, on the big pieces of ice. On the biggest piece just north of you is a chest towards the southeastern corner (Awesome Antifreeze Pendant).
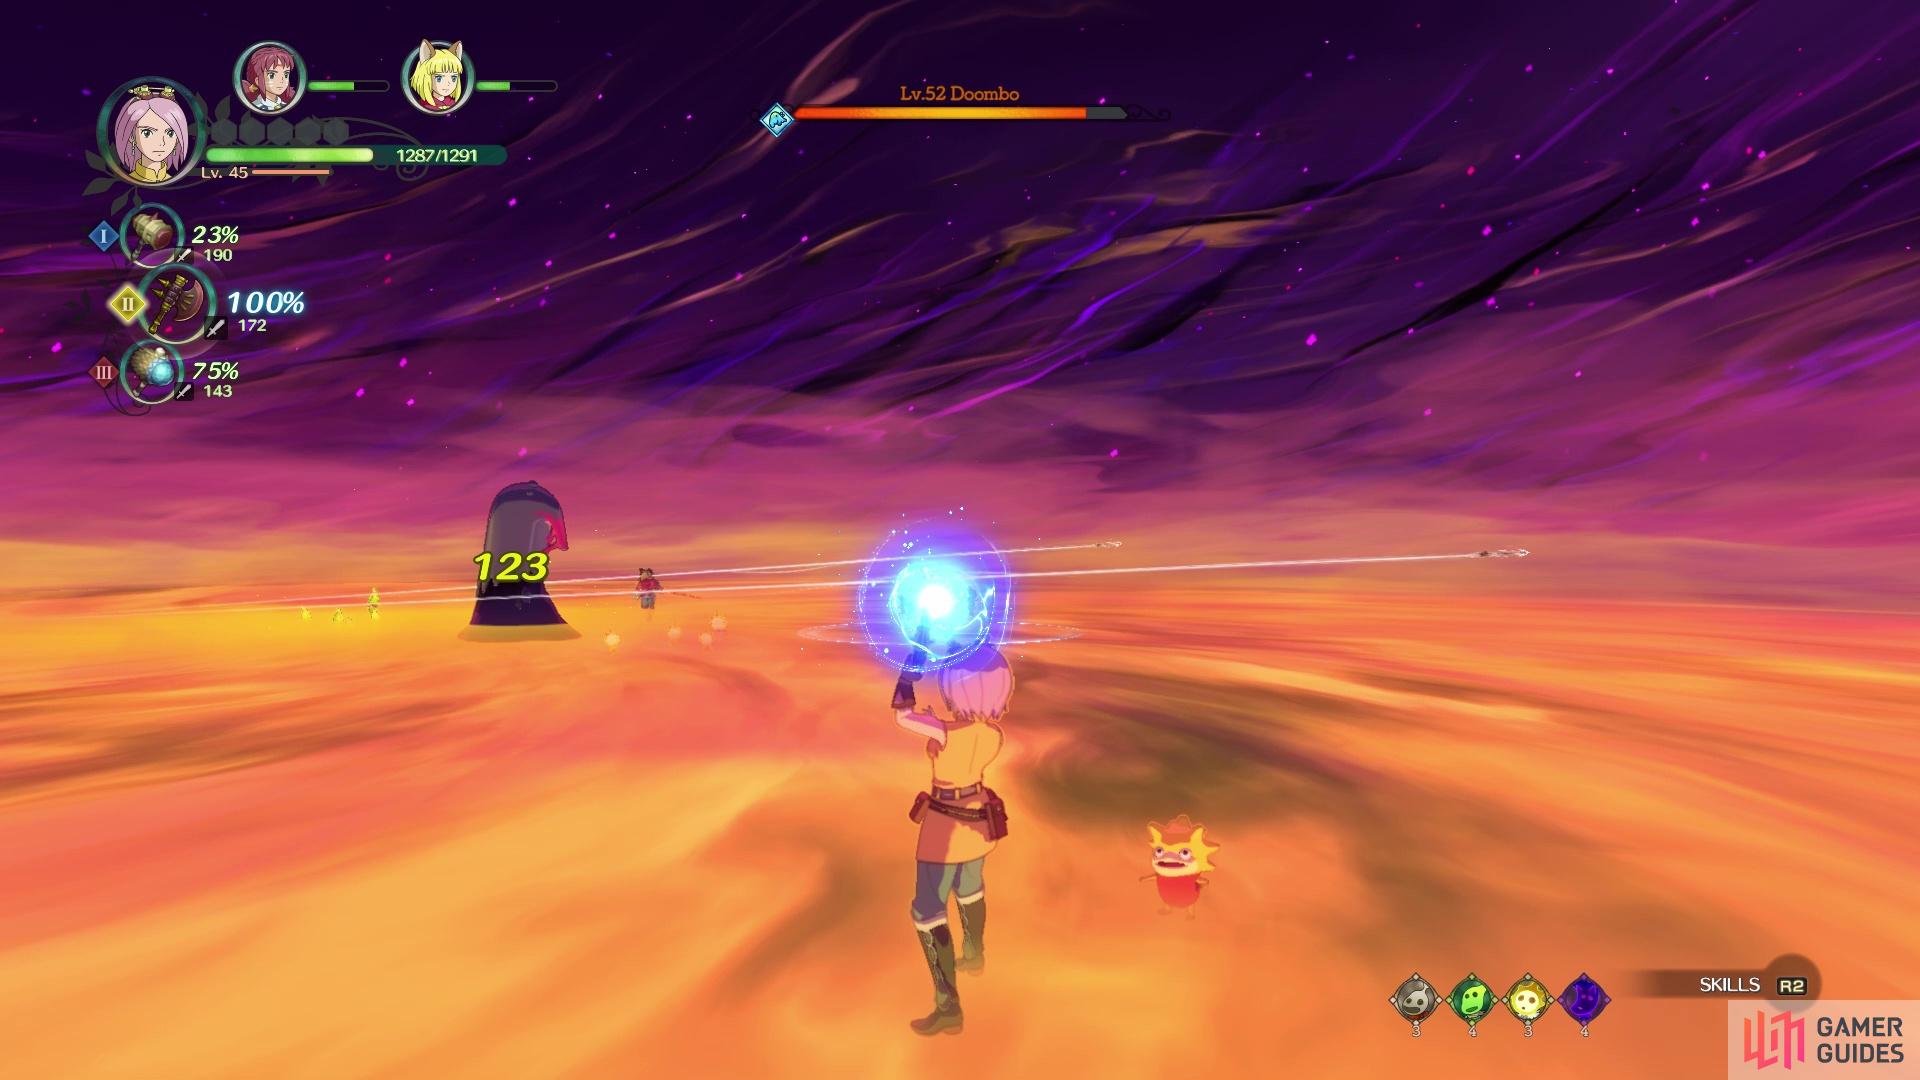
(1 of 2) Sticking to ranged attacks is useful for this Tainted Monster
Sticking to ranged attacks is useful for this Tainted Monster (left), You will receive a very powerful bow should you conquer Doombo (right)
Fly off to the west and just prior to the next batches of ice, right when the northern shore opens up to more land, you should find another cave, Glacial Grotto. There is not much inside, but you will find a chest (3 Seraphic Silks) and a sparkle. Back outside, northwest of the cave will be a Tainted Monster on one of the pieces of ice, level 42 Gaialith. Considering its level, go ahead and defeat it to net yourself an Omniproof Daredevil’s Armor. Cross the ocean rift to the southwest and on the biggest piece of ice here will be another chest, towards the south bend (Sage’s Secret). Just east of that chest is another one on the mainland (Necklace of Insight).
You may be curious about that Crash Site, so head over there now. On the westernmost tip will be a chest (you can land next to it), which contains a Deadly Crimson Halberd. Head to the northern edge of the wreckage, then follow it east to find another chest nestled close to the mountains (Blinding Ring). Get back on the wreckage and continue east, all the way to the end, where you should spot a chest sitting just north of the engine there (Savior’s Tear). Look a little bit northeast to see the ocean rift and follow the southern of the two coasts to another chest; this is along the ledge that’s north of Coldera (Shiny Mage’s Ring).
There’s not much left now, so head back to the western side of the Crash Site, staying on the southern side of it. There will be a chest along the wreckage, a little bit west of the large wing or whatever it is that’s sticking out of the southern side (3 Shivering Wonderwaters). Three more chests to find, all in the Permafrost Plains area. There are three clumps of rocks on your map in the previously mentioned area, and the chest is on the southern side of the middle cluster (Anti-Nixing Strongbox Boots). Northwest of that will be another set of ruins you can bring back with Rejuvenate, called Ice House.
Unfortunately, the enemies inside are of a high level, so it’s best to save this place for later. From Ice House, follow the mountain south and then east, until you get to the southeast corner, where a chest will be hiding amongst the trees (3 Radiant Radishes). The last chest is on the raised section just north of the previous one, on the highest part (Sovereign Soreaway Sweet). Next to it, along the mountains, will be another cave, Freezybones Cave. The enemies might be a bit too high-leveled in here, so once again, you can come back to it later.
Daddy Come Home
Well, most of the sidequests you already did at the onset of this chapter, but there was one that you couldn’t do, since you needed an airship; this is Sidequest 042 Daddy Come Home. The Drylands is located south of Broadleaf, but before you head there, look to the east of Junkyard Mire to see a small island. This is Faraway Isle and home to the Faraway Forest, one of the endgame areas you will be visiting (there’s a Dreamer’s Maze inside). The enemies in the actual forest it are in their low 40s, so you’re free to explore it. There is a chest in the middle of it, on the hill, which contains 3 Candy-Owl Feathers. Note that there’s a Trip Door next to the Dreamer’s Door (Forest Depths).
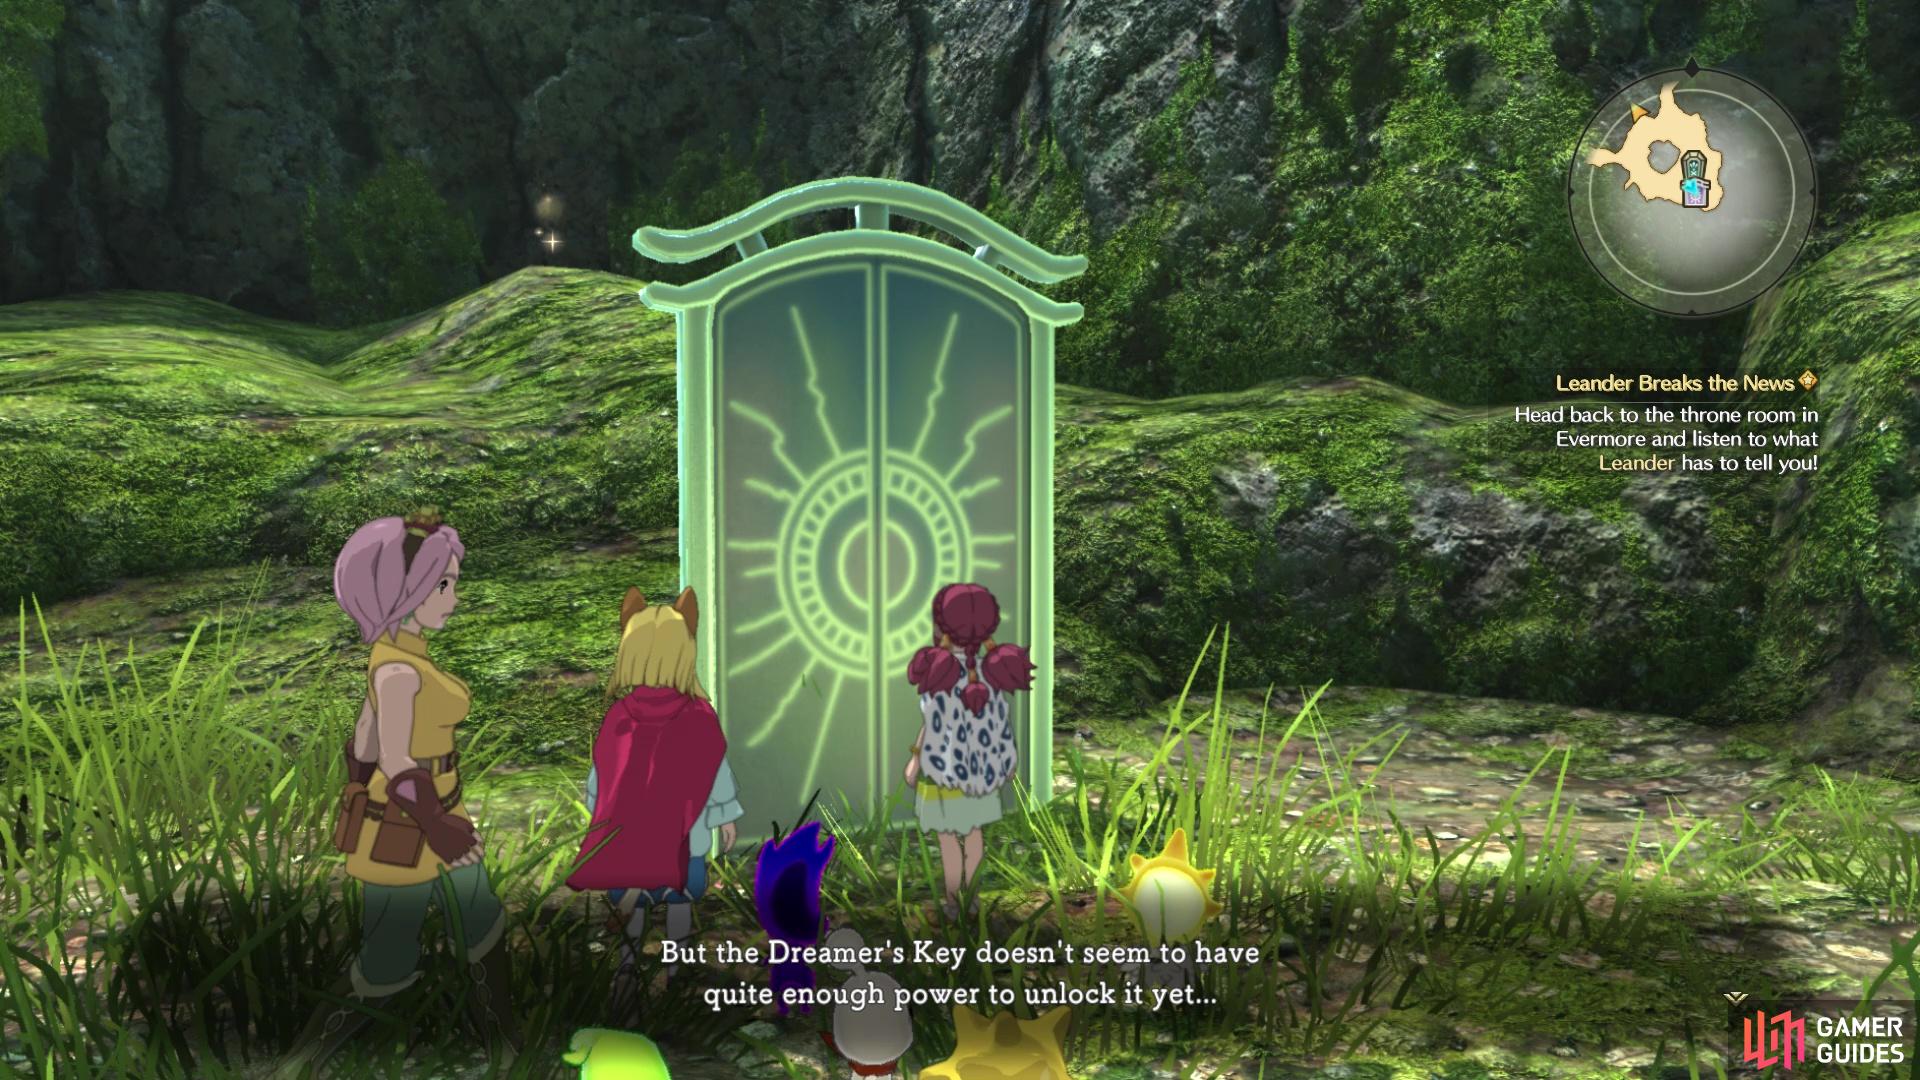
You won’t be able to open this Dreamer’s Door yet
You will just want to grab the two chests on the island, one towards the southwest corner (Cryptic Close-Range Ring) and the other on the cape on the eastern side (Initiate’s Ring). Now, fly to The Drylands, but before doing anything rash, it should be noted that the enemies here are in their mid-to-upper 50s, so it might be wise to avoid encounters. There are at least five mini-dungeons in the Drylands, but the enemies inside are all around the same levels as the ones outside. Also, the rocky area surrounding desert area are pretty much all explorable, which means a lot of chests will be hidden on those platforms.
At the northern end of The Drylands, there should be a Tainted Monster marked on your map. This one is a bit too strong for you at the moment, but on the highest platform just north of it will be a chest (Mamooni Garb), carrying a new outfit for Evan. For the moment, you’re going to be following the outer ring of this area clockwise. Do just that and you will be able to spot a Trip Door right next to a cave (Blowtorch Cave); there is another chest on the lower platform just next to the trip door and cave (3 Knight’s Brocades). The enemies inside are high level and there is a chest off the first side path (3 Gold Nuggets). Be careful with the first big room, as there doesn’t look like any enemies are there, but it’s hiding a Fangfish. Lastly, there is also a Dreamer’s Maze in here, so remember it for later.
Return outside and continue clockwise, just past the rift, and right where the desert meets the rocky platforms, you should see another chest (All-Be-Gone). Keep going south and east of where “Drythroat Dunes” is marked on your map, you should find a chest on the rocky platforms (Savior’s Tear). South of that, as the coast starts turning west, you’ll run into another Tainted Monster, this one being an appropriate level. The level 45 Gryndi is a wyvern-type monster, so you should have a good understanding of its attacks. You’ll receive an Epic’s Giant Tooth for felling the beast.
Carry on west, sticking out a little bit towards the water, to see another cave on one of the lowest platforms. Forgo exploring Mugsburrow, because of the enemy levels, and look on the lower platform just west to find another chest (Smashy Marauder’s Armor). Another ocean rift will be to your immediate west, but you’ll want to stay on the eastern side of it. Follow the rocky terrain as it moves north and when it connects to the actual desert, you will spot a chest (Mammoth Bow). Cross the rift now and there will be yet another chest right there in plain sight (Sage’s Secret). Another shrine will be a little more west (Bleachbone Shrine), but the enemies prevent you from pilfering all of the goodies.
As the outer circle starts turning north, you should now be within the blue circle for Sidequest 042. There are no treasures along the way, but keep a lookout for a cave towards the upper end of the circle, Crackskin Cavern. Enter it to find absolutely nothing, but what you need to do is investigate the stuff in the northwest corner, which will spawn a spirit. You will need the Spirit Medium spell in order to speak with it and it turns out the spirit is Keeley’s father. He asks you to do him a favor, which is to retrieve his necklace from the monsters who attacked him.
(1 of 2) Inspect the supplies to advance the quest
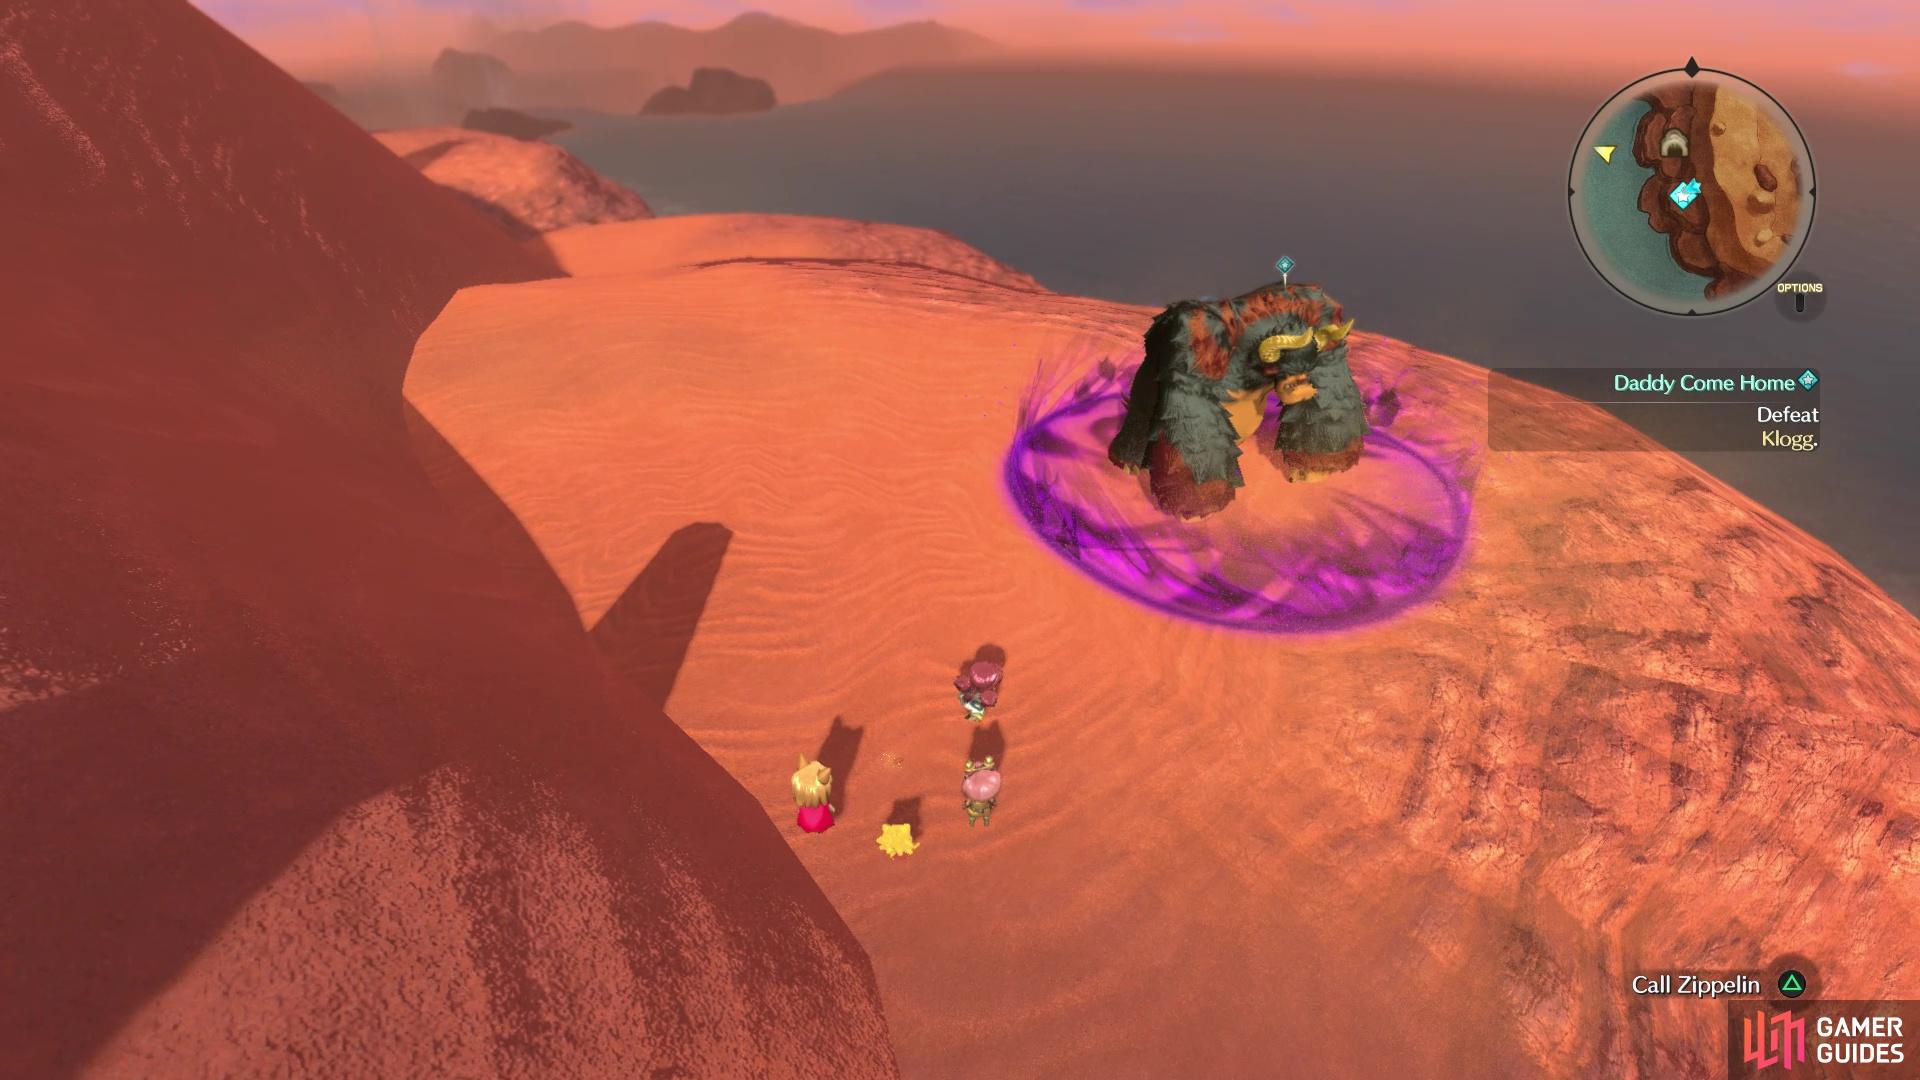
Inspect the supplies to advance the quest (left), You’ll find Klogg behind you right outside of the cave (right)
The monster that attacked him is a Tainted Monster, who appears right behind you, just to your south. It is level 44 and named Klogg, being one of those giant ape-like ones. Just be careful when it starts charging up, as its attacks can put out a bit of damage. For felling the beast, you will receive 5 Four-Leafed Soreaways, as well as Keeley’s Keepsake. Show this to Scully back in the cave, who will direct you to show it to Keely back in Capstan. Go ahead and do that now, since you don’t have to worry about having trouble returning to The Drylands. Hand over the necklace to finally put an end to this sidequest.
| Objective | Reward |
|---|---|
| For finding Keeley’s father | 7110 Exp, 2130G, Wee Urchins (x2), Swellfish (x2), Seasilk (x2), Keeley as Citizen |
Alright, that’s finally been taken care of, so it’s time to get back to exploring The Drylands. Return to the entrance of Crackskin Cavern and fly north a little bit, where you should see a blue chest slightly hidden by a higher platform (Sickening Cataclysm Ax). That’s all for the outer edge of the area, so it’s time to delve into the inner part of The Drylands. You should be back at the Tainted Monster in the northern part, with a small oasis (Slakethirst Oasis) just southeast of it. You’ll find a chest on the eastern bank of this oasis, which contains a Superior Sixth Censer and a little east of that is a shrine you can rebuild with Rejuvenate (Sunshade Shrine).
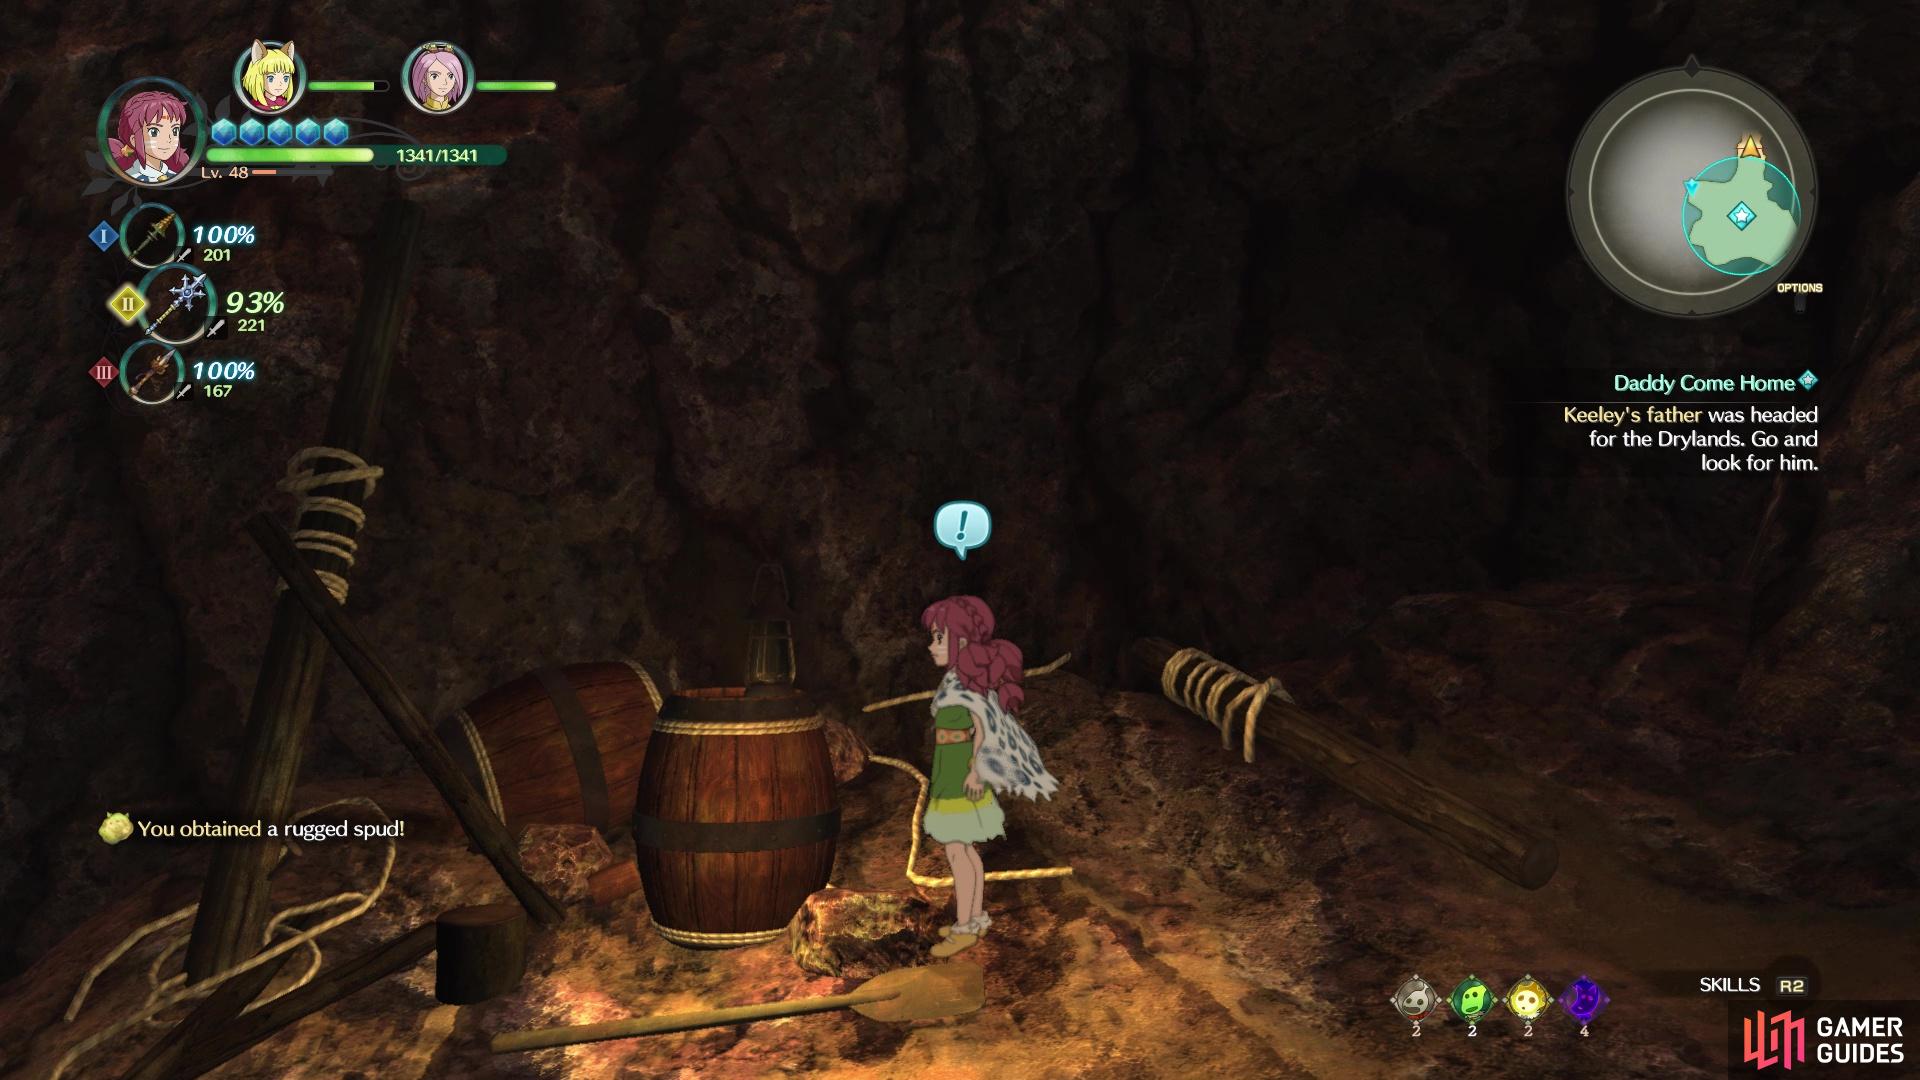
Of course, the enemies inside might be a bit much for you, so come back later. Nearby, just across the rift, will be another chest just to the east (3 Simmering Wonderwaters). The southeastern area has nothing, but if you follow the southern canyon from the south to the north, you will see a plateau off to the right of the northern tip, where a chest will be waiting (Blazing Ring). Also, near the tip of the southern crack is a Trip Door (Drylands). You’re almost done here, so fly to the southwestern corner and straight north of Bleachbone Shrine will be a chest (3 Rugged Spuds). There is another plateau to the north of the chest, with a treasure sitting at the base, on the eastern side (3 Cuddlywarm Cottons). Lastly, one more plateau is north of the previous one and once again, at the base on the northern side will be a chest with a Killer Kebab inside.
Tropical Tour
There is still plenty to explore, so continue by flying to Leucippes’ Labyrinth and look near the bridge to spot a blue chest on top of one of the buildings there (Lucky Locket). Head on over to Makronos, where there are a few chests you couldn’t open before, since they were too high up. The first is towards the northeast, above Coral Cave. It contains a Swift Hag’s Tooth, so grab it and follow the trail west to Dampshoe Cave. Fully explore this cave to find a chest in the southeast corner (3 Littlehorn Shells) and a Tainted Monster, level 49 Tusker. You’ll acquire a Freezing Fish Fork for winning the battle, then head to the northeast corner for a higgledy stone. Give it a coral huebloom to have Trundle the Tropical join you.
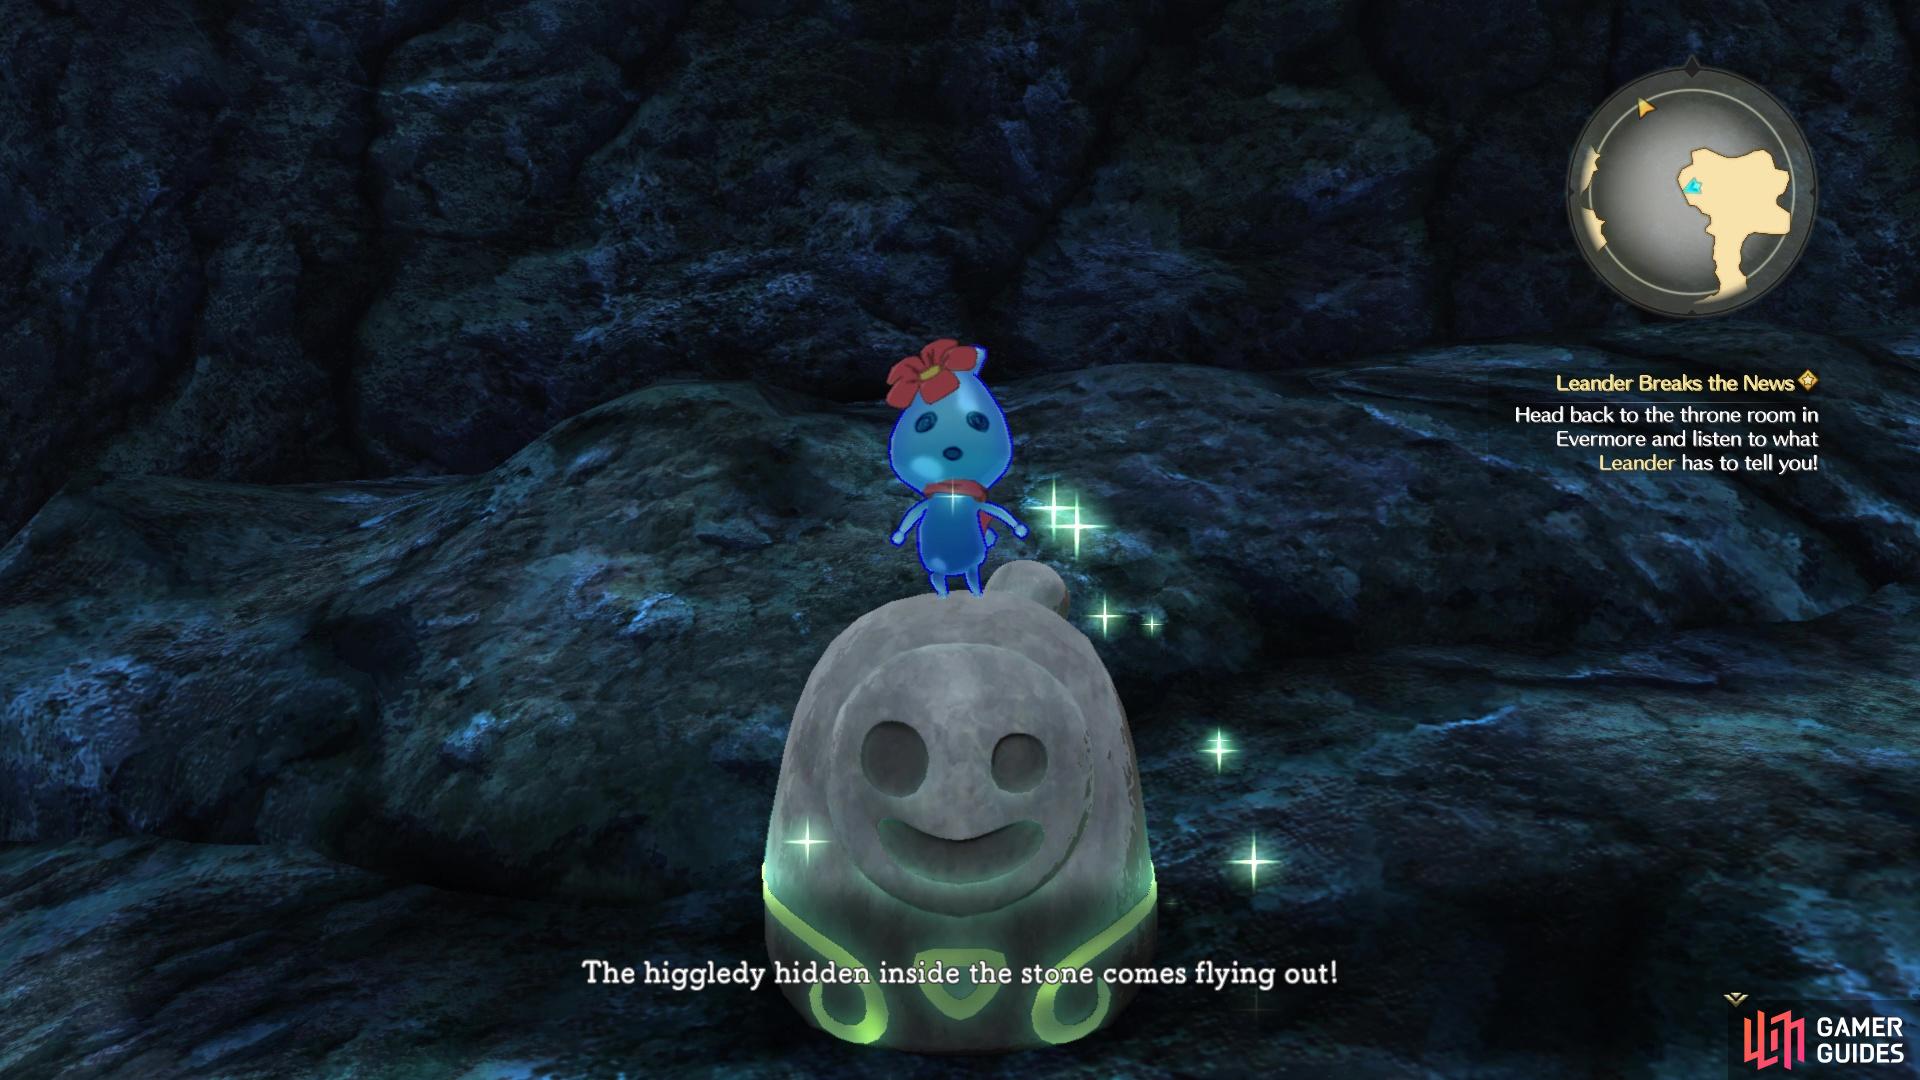
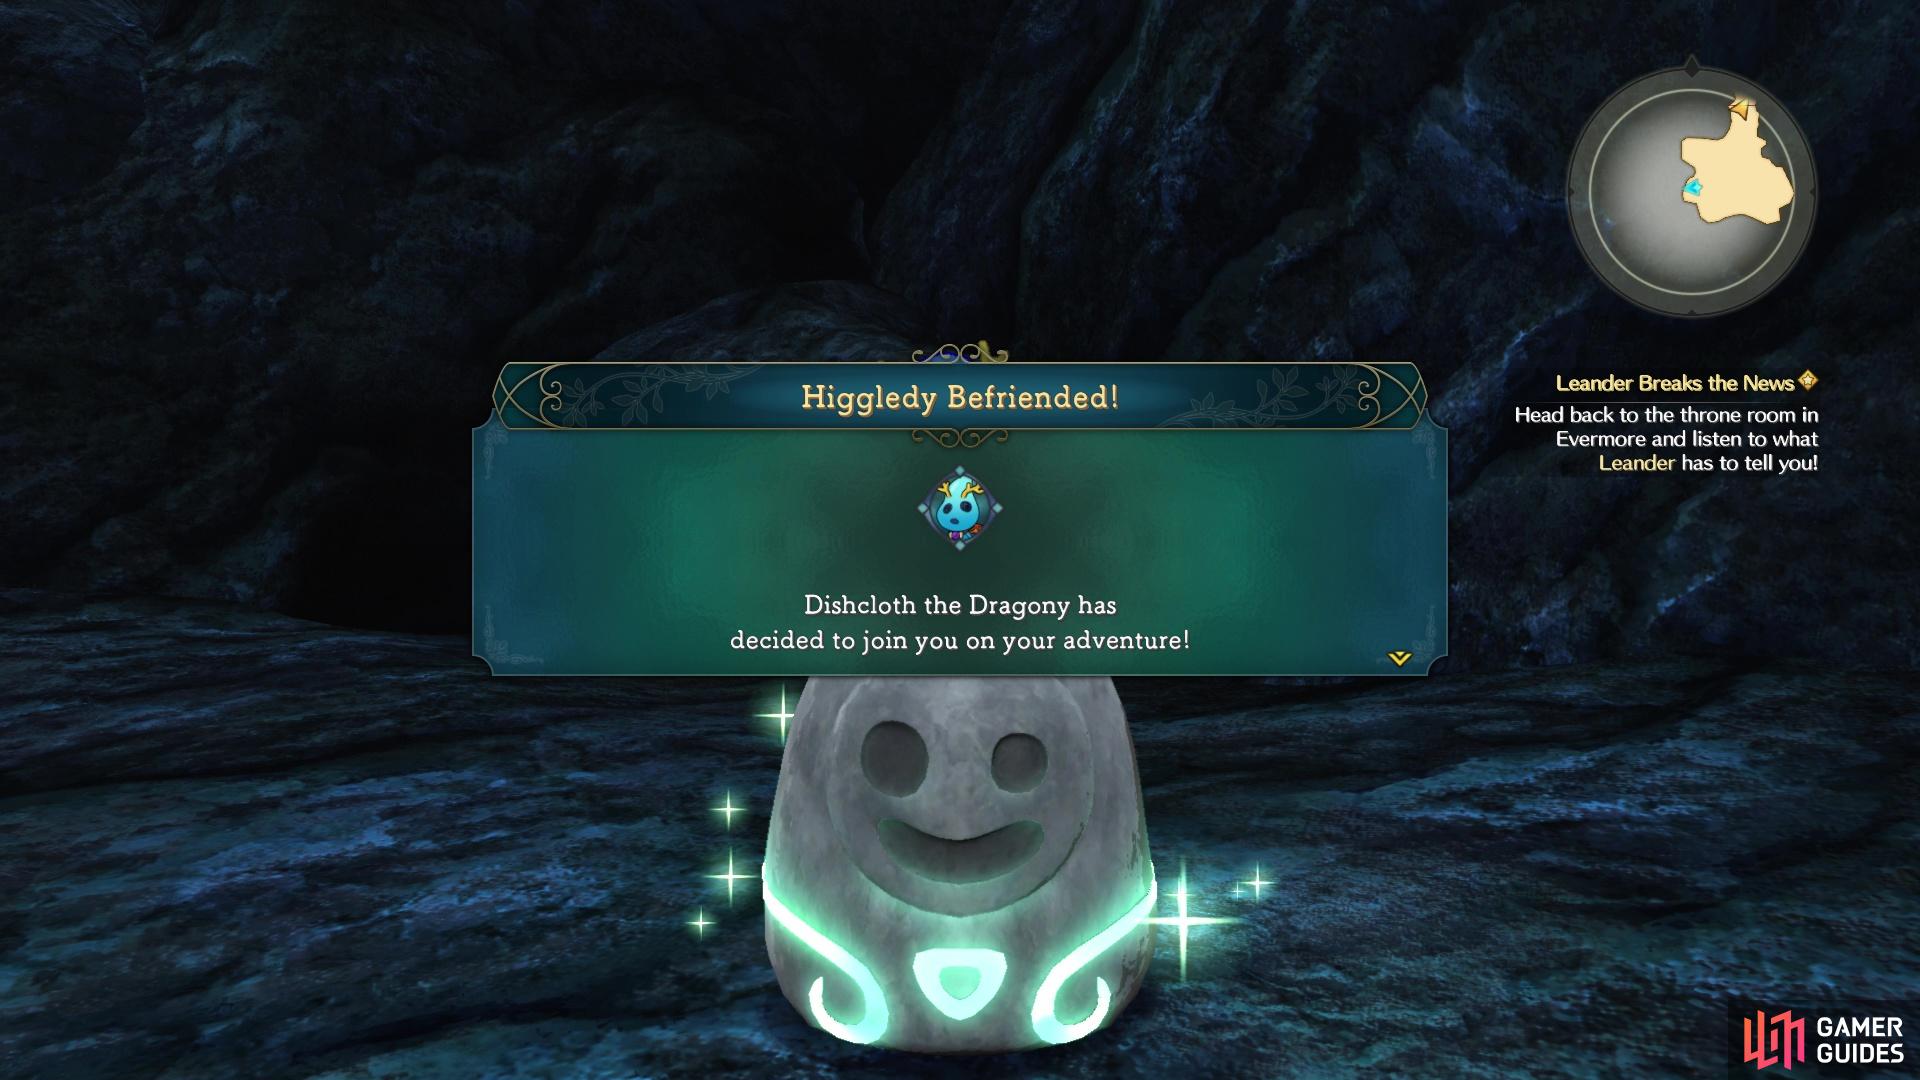
Back outside, continue west until you start descending, where you will eventually run into another chest containing 3 Hosepipe Corals. Fly to Mikronos now to find two more chests, which will have a Sopping Ring and a Savior’s Tear inside of them. There is also a cave on this little spot, in the lower section, called Seaspray Tunnel. There’s not much in it, but you will find a higgledy stone. Hand over a briar coral to have Dishcloth the Dragony join you on your adventure.
(1 of 2) You can get a pair of new Higgledies from stones in Dampshoe Cave
You can get a pair of new Higgledies from stones in Dampshoe Cave (left), as well as in Seaspray Tunnel (right)
Next up is the area around Capstan, so head on over there and although they could have been acquired earlier, there are two chests on Starboard Isle. One’s on a little beach area isolated from the other (Shiny Long-Range Ring), while the other is on the southern stretch of land (Refreshing Wand of Wit). Likewise, Larboard Isle was also neglected, with a chest on it (Punishing Burning Blade) and a Tainted Monster, level 40 Madusa (Stellar Jelly-type enemy); you’ll receive some *Secure Strongbox Boots for vanquishing the beast.
Fly to Capstan and look slightly north to spot a chest sitting on top of a plateau (Perfectly Poised Pendant), then take a gander below it for another chest that requires the airship to reach (3 Bighorn Shells). Locate Hidey Hole on the map and you’ll find a plateau to the immediate north, with a chest on it (Superior Sixth Censer), as well as two more directly northeast from the first, one on the higher plateau (Blustery Ring) and one on the lower spot (Secure Strongbox Boots).
Goldpaw and Surrounding Areas
West of the last chest you opened should be Tidewash Cave on the map, but surrounding it is a horseshoe-shaped piece of land, with a watery area to the north of it (Backwaters). Land on the southern side of the horseshoe to find a shrine, Shabby Shrine. There is a chest in the room with the Manticore (Ring of Spite), as well as a Tainted Monster in the final room. Unfortunately, this monster is level 62, so it may be a little out of your league (it’s a Mumshroom type). Exit and instead of immediately boarding your airship, have a gander to the east to spot a cave not too far off from your current location, down a short little slope.
This is Death’s Door and there will be a chest right next to the spirit at the beginning (3 Night-White Threads), as well as a higgledy stone on the side path a little deeper inside. It’ll want a knight’s brocade, so hand one over to have Gabardine the Gawker join your party. That’s all that is in Death’s Door, so return to the world map and venture to the northern part of the horseshoe to find a chest (Quickfire Ring). Now, there should be some slopes that bring you down to the Backwaters area, with another Tainted Monster (level 56 Toxina; a Stellar Jelly) blocking the way.
If you don’t feel confident enough in taking it out, you can simply fly over it with your airship. There are two chests in the Backwaters area, one towards the southern end (Alert Chieftain’s Cloak) and one in a little notch on the western side (Great Sage’s Secret). There is also a Trip Door here (Cradle of Fire) and a building with the same name. This is where the Kingmaker of Goldpaw rests, but you can’t do anything here right now, unfortunately.
To the west of the Cradle of Fire, though, is a small spot where you can actually land, which is surrounded by mountains. Land there, run north and there will be a chest to your left (Goldpaw Gown), then continue all the way to the northern tip for another chest (Next-Level Nixaway Necklace). Note that the gown is an alternate outfit for Bracken, which you can switch to on her equipment screen by pressing the Options button.

Press Options on the character equipment screen to change costumes
Start heading northeast now, towards the Forest of Niall. Remember that one Tainted Monster, Swellhorn, near the Forest of Niall? It’s level 46, so you can probably fight it now without much trouble (you’ll get Songbook No. 21 if you do). Shiverwood Shrine can also be explored, which is the place near Swellhorn. There is a chest next to the spirit towards the end of the mini-dungeon (3 Somnium Nuggets), as well as a higgledy stone in the final room. Give it a twisty bone to have Dirge the Dismal join you on your travels.
Back on the world map, fly northeast of the Forest of Niall, to the raised area just south of the Jumblewoods. There will be a chest here (Burning Yeti’s Tooth), as well as another chest on the raised area north of the Jumblewoods (Savior’s Tear). East of there is another plateau you can land on, which is directly south of Evermore, where another chest awaits (Blindguard Pendant). Continue north, to where Tightfit Cavern is located, and land on top of there for another treasure (Shipwright’s Shirt); this is a costume for Batu.
Northeast from there is Farflung Cape, nestled in the mountains. There is a Tainted Monster here, but it’s definitely the strongest one you know of at this point, at level 69. Ignore it and grab the three treasure chests in this small area for a One-and-All-Be-Gone, Giant’s Bow and a Shabby Coat. There’s not only that, but also a Trip Door (Farflung Cape) and a cave, named Crooked Cavern. There is a chest by the first spirit (3 Arrowhawk Feathers) and a higgledy stone towards the southern end. It wants a glacier crystal cluster and you’ll get Slithy the Spelunker in return. One last chest is located in the southeasternmost room (Shiny Close-Range Ring).
Storme is the strongest of the first 50 Tainted Monsters in the game
Cloudcoil Canyon Area
You’ve exhausted the majority of locations remaining, with there being two regions left now, the area with Cloudcoil Canyon and the one with Ding Dong Dell. You’ll be ignoring the Ding Dong Dell area, since there are areas where you can’t explore, so you’ll come back to there later. Locate the northern exit of Cloudcoil Canyon and look north of it for a raised platform with a chest (Turbo Toxaway Pendant). Drop off and climb the slope nearby, looking south by southeast for a ledge with a cave. You can either fly here or approach the ledge to see a “!” pop up; press the X button here to cast the Bridge spell. Open the chest (Barrage Bow) before entering Looksee Cave. The only thing you’ll find inside is a level 25 Tainted Monster, Stormigan (one of those birds); you’ll get a Lethal Soldier’s Spear upon winning.
The only other place to explore in the arid region here is by Wyverns’ Den, where you’ll see a total of four chests on the raised areas. Open them for 3 Arrowhawk Feathers, 3 Somnium Nuggets, some Vengeful Marauder’s Armor, and a Superior Sixth Censer. It may have been skipped earlier in the game, but there’s a lower area that is accessible using the Quicken Growth spell nearby, where two more chests await you (Glowproof Spring Mantle and Songbook No. 19). Whew, that was certainly a lot of flying around and exploring, so it’s time to finally move on with the story.
 Sign up
No Comments